
1. Produktüberschreitungview
The Ralcam H406BD Dual Lens Articulating Borescope is an advanced inspection camera designed for detailed visual examination of inaccessible areas. It features a 6.5mm slim probe with dual lenses, offering both front and side views simultaneously or individually. The probe is equipped with adjustable LED lights and a two-way articulation mechanism for precise maneuverability. The device includes a 5-inch IPS display for clear, real-time viewing and is powered by a rechargeable battery, making it suitable for automotive, HVAC, plumbing, and industrial inspections.
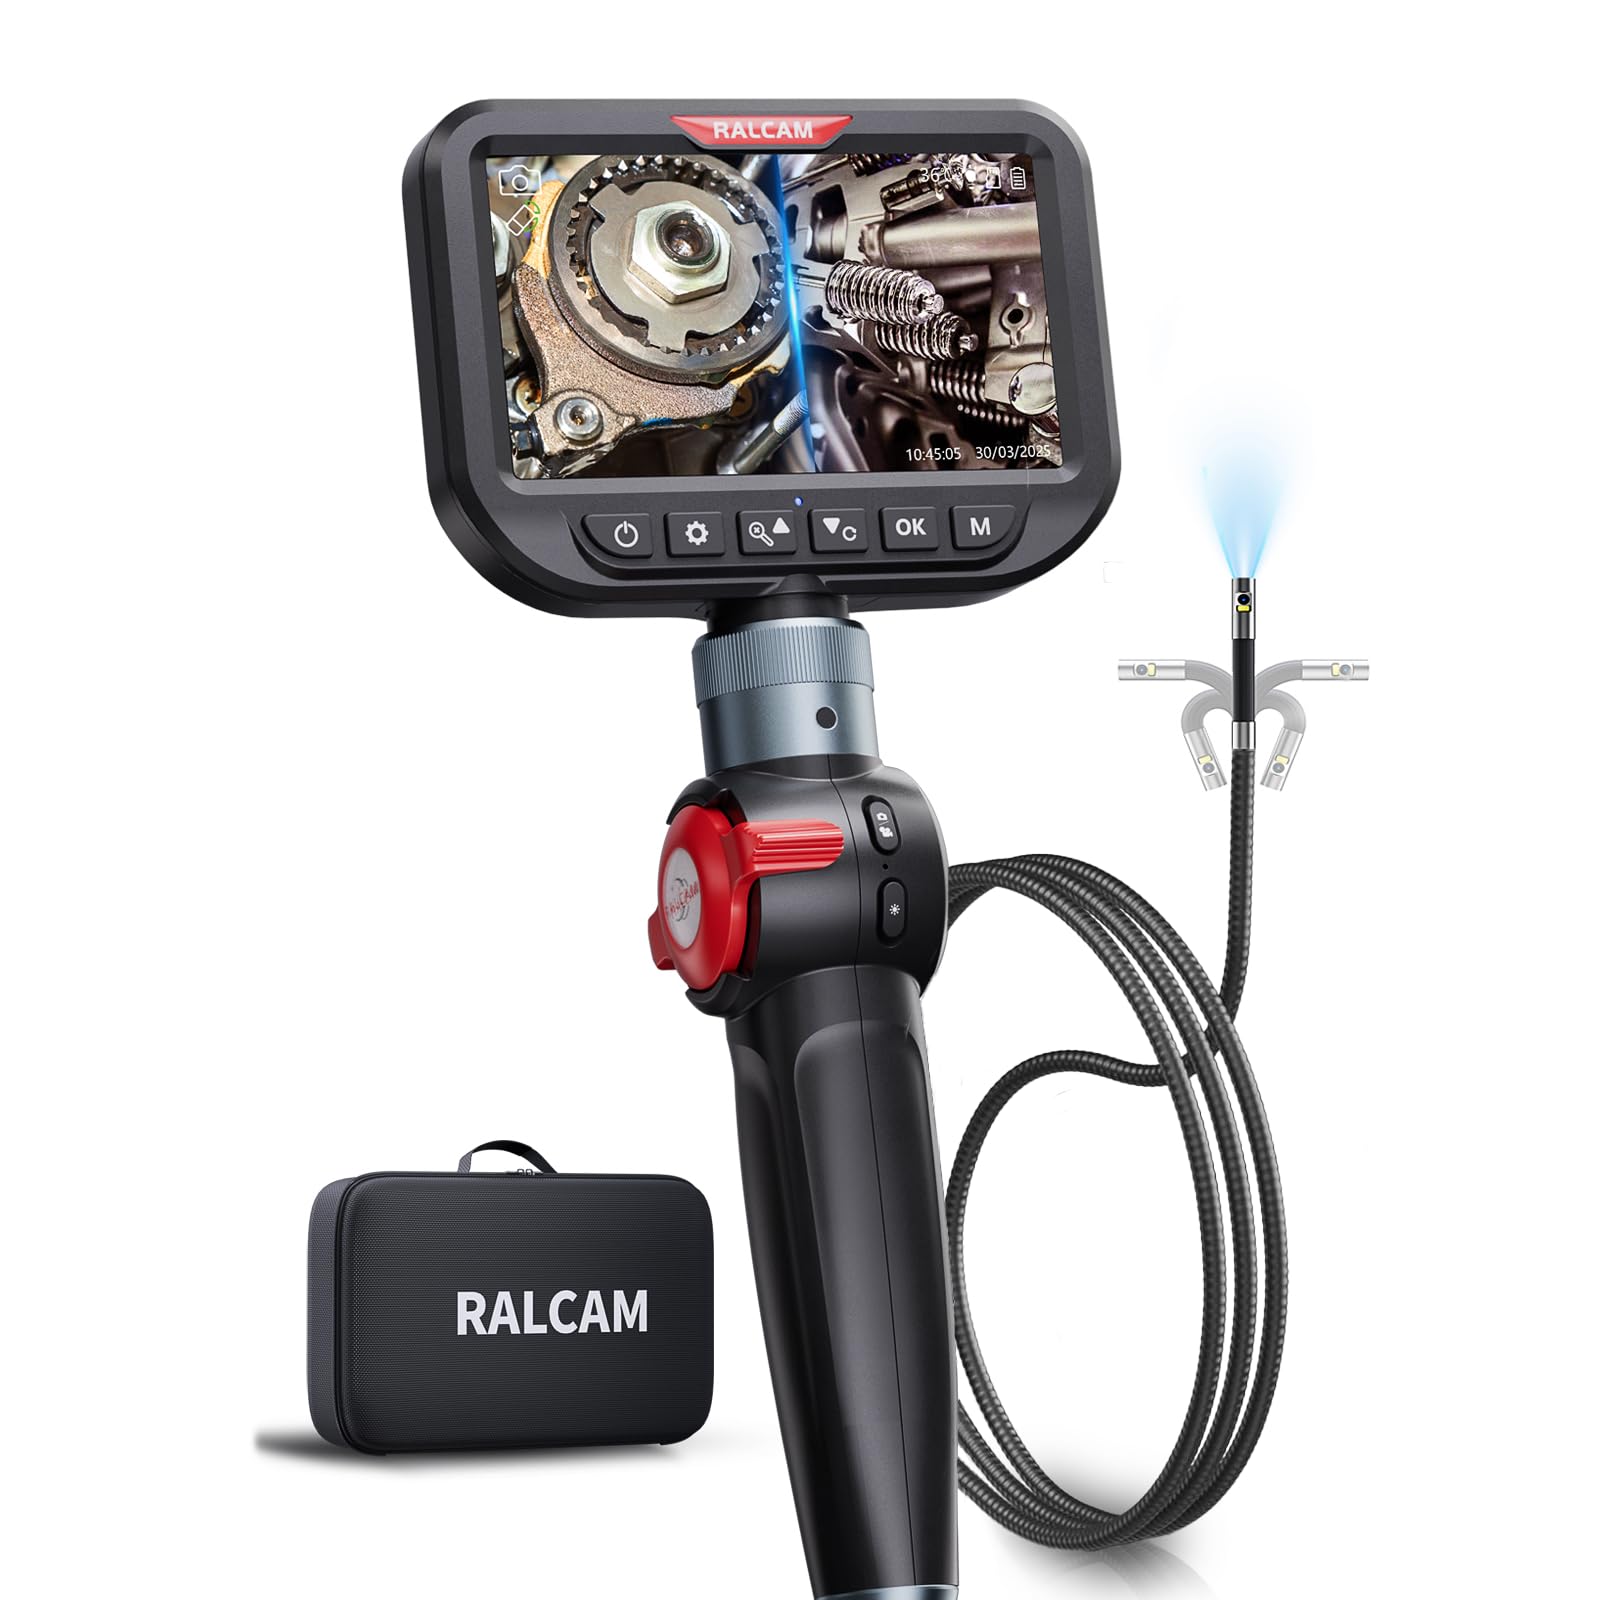
Figure 1: Ralcam H406BD Dual Lens Articulating Borescope main unit.
2. Packungsinhalt
Bitte überprüfen Sie, ob alle unten aufgeführten Artikel in Ihrem Paket enthalten sind:
- 1 x Ralcam H406BD Borescope Main Unit
- 1 x 1.5m/5.0ft Flexible Snake Tube (Probe)
- 1 x Tragetasche
- 1 x 32 GB TF-Karte (vorinstalliert)
- 1 x USB-C Charging/Data Transfer Cable
- 1 x Benutzerhandbuch
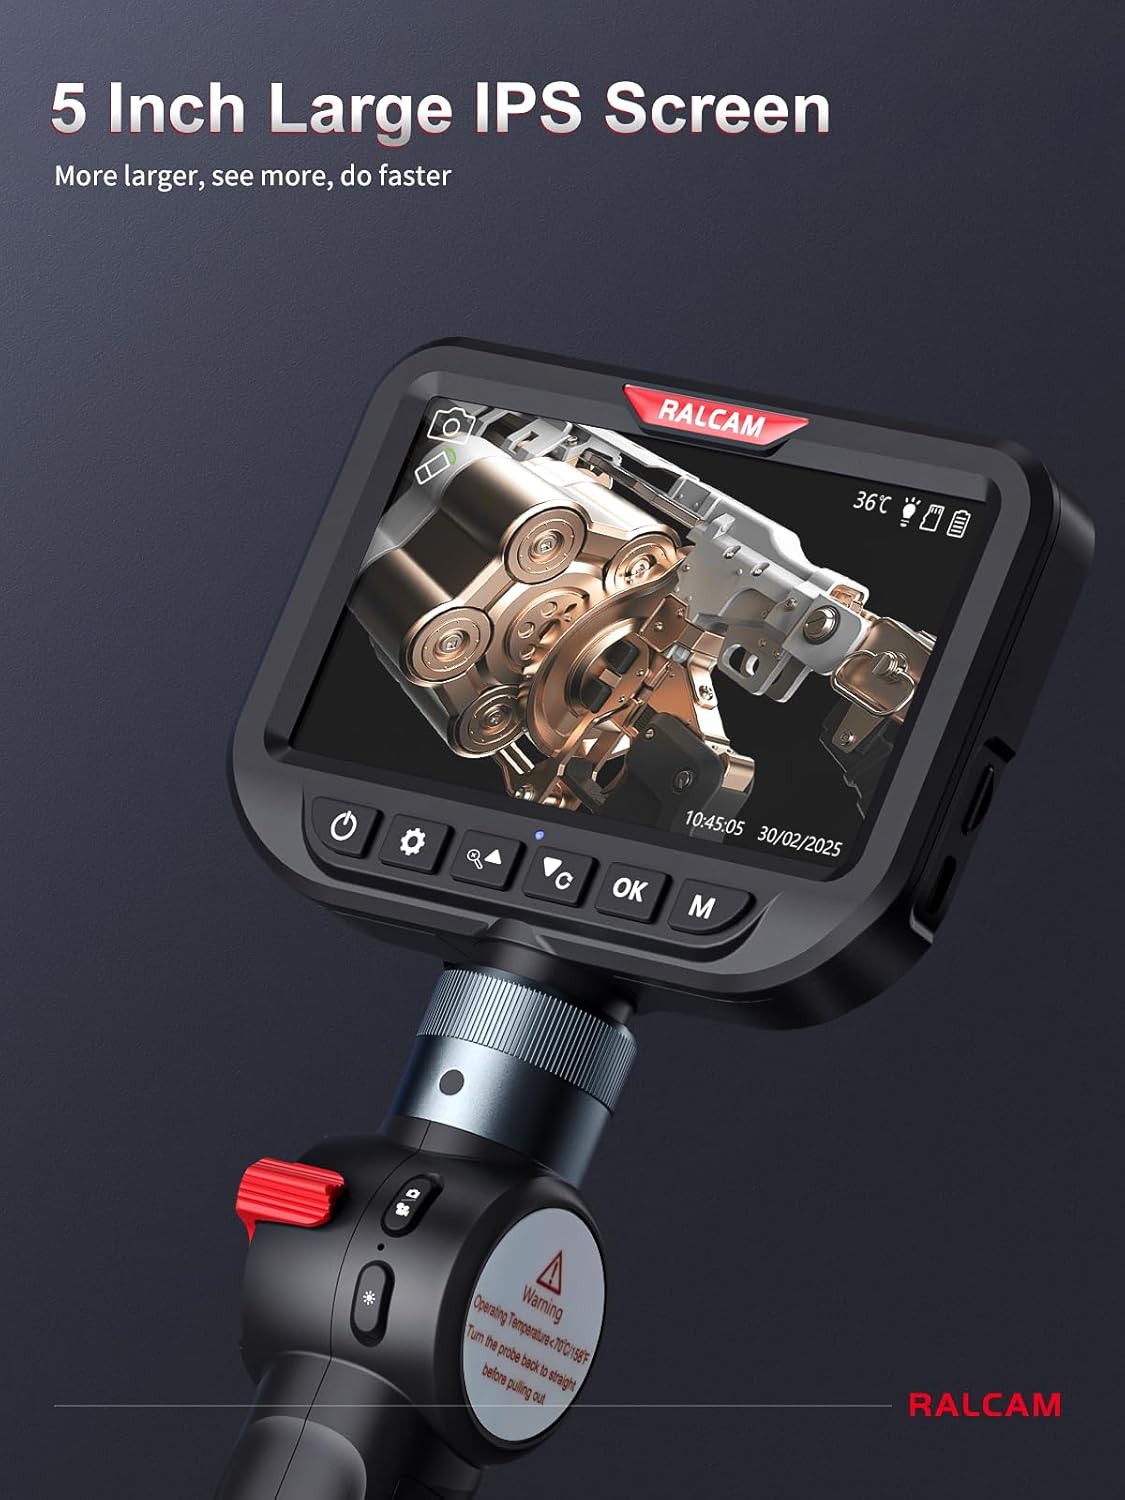
Figure 2: Borescope main unit, flexible probe, and accessories neatly stored in the carrying case.
3. Einrichtung
3.1 Aufladen des Geräts
Before first use, fully charge the borescope's built-in rechargeable battery. Connect the provided USB-C cable to the charging port on the main unit and plug the other end into a compatible USB power adapter (not included).

Figure 3: The borescope features a detachable and rechargeable battery for convenience.
3.2 Anbringen der Sonde
Carefully align the connector of the flexible snake tube probe with the port on the main unit. Push firmly until it clicks into place, ensuring a secure connection.
3.3 Ein-/Ausschalten
Press and hold the power button (usually marked with a power symbol) for approximately 2 seconds to turn the device on. The indicator light will turn green. To power off, press and hold the power button again for 2 seconds.
4. Bedienungsanleitung
4.1 Anzeige und Bedienelemente
The 5-inch IPS screen provides a clear, real-time view of the inspection area. The control panel below the screen allows access to various functions.

Figure 4: The 5-inch IPS screen offers a large and detailed view for inspections.
4.2 Einstellen der LED-Leuchten
The probe features 6+1 adjustable LED lights to illuminate dark inspection areas. Use the dedicated light adjustment button on the main unit to cycle through different brightness levels (Low-light, Middle-light, Ultra-bright) to suit various lighting conditions and avoid glare.

Figure 5: Adjustable LED lights provide optimal illumination in various environments.
4.3 Switching Lens Modes (Front, Side, Dual View)
The Ralcam H406BD features dual lenses. Long press the appropriate button (indicated by a camera icon with an arrow) to toggle between Front Camera (default), Side Camera, and Dual Camera Modes. This allows for comprehensive inspection without repositioning the probe.

Figure 6: Switching between front, side, and dual camera views for thorough inspection.
4.4 Artikulationskontrolle
The probe offers two-way 210° articulation. Use the red control wheel on the handle to precisely adjust the angle of the camera tip, allowing navigation around obstacles and viewing from multiple perspectives.

Figure 7: Two-way 210° articulation for flexible viewArbeiten in beengten Räumen.
4.5 Fotografieren und Videoaufnahmen
The borescope allows you to capture high-resolution images and videos. Use the dedicated buttons on the control panel to switch to capture mode, take photos, or start/stop video recording. All media is saved to the included 32GB TF card.

Figure 8: Utilize 4X digital zoom for closer inspection of details.
Video 1: Demonstration of the Ralcam H406BD borescope's features, including articulation, LED adjustment, and dual-lens viewing, during an automotive inspection.
5. Wartung
5.1 Reinigung der Sonde und der Linse
The probe is IP67 waterproof, allowing for use in wet and dusty environments. After each use, especially in dirty conditions, gently wipe the probe and camera lens with a soft, damp cloth. Ensure no debris obstructs the lens for clear imaging.

Figure 9: The IP67 waterproof probe is designed for durability in challenging environments.
5.2 Datenübertragung
To transfer photos and videos to your computer, connect the borescope to your PC using the provided USB-C cable. The device will appear as a removable storage device, allowing you to access and copy your files.

Figure 10: USB-C port for convenient charging and data transfer to a computer.
6. Fehlerbehebung
6.1 Kein Bild auf dem Bildschirm
- Stellen Sie sicher, dass das Gerät eingeschaltet und vollständig aufgeladen ist.
- Check that the probe is securely connected to the main unit.
- Starten Sie das Gerät neu.
6.2 Hochtemperaturschutz
The device is equipped with high-temperature protection. If the probe temperature exceeds 90°C (194°F), the device may automatically shut down to prevent damage. Allow the probe to cool down before resuming operation.

Figure 11: High temperature protection warning on the screen.
6.3 Schlechte Bildqualität
- Reinigen Sie das Kameraobjektiv wie im Abschnitt Wartung beschrieben.
- Adjust the LED brightness to optimize illumination and reduce glare.
- Ensure the probe is positioned at an optimal distance from the object being inspected.
7. Spezifikationen
| Besonderheit | Spezifikation |
|---|---|
| Modellnummer | H406BD-Max-1.5M |
| Sondendurchmesser | 6.5 mm |
| Kabellänge | 5.0FT (1.5M) Flexible Cable |
| Auflösung der Videoaufnahme | 1080p |
| Bildschirmgröße | 5 Zoll IPS |
| Artikulation | Zwei-Wege 210° |
| LED-Leuchten | 6+1 einstellbare LEDs |
| Wasserdichtigkeit | IP67 (Sonde) |
| Batterie | Rechargeable (1 A battery included) |
| Lagerung | Micro-SD-Karte (32 GB im Lieferumfang enthalten) |
| Konnektivität | USB-C zum Laden und zur Datenübertragung |
| Artikelgewicht | 3.03 Pfund |
| Farbe | Schwarz |
8. Garantie und Support
For warranty information and technical support, please refer to the documentation included with your product or contact Ralcam customer service. Specific warranty terms and conditions may vary.