
1. Einleitung
The Retevis RB666S is a user-friendly, rechargeable two-way radio designed for clear and reliable communication. It is ideal for family activities, hiking, camping, and other outdoor adventures. This manual provides detailed instructions on how to set up, operate, and maintain your RB666S walkie talkie.

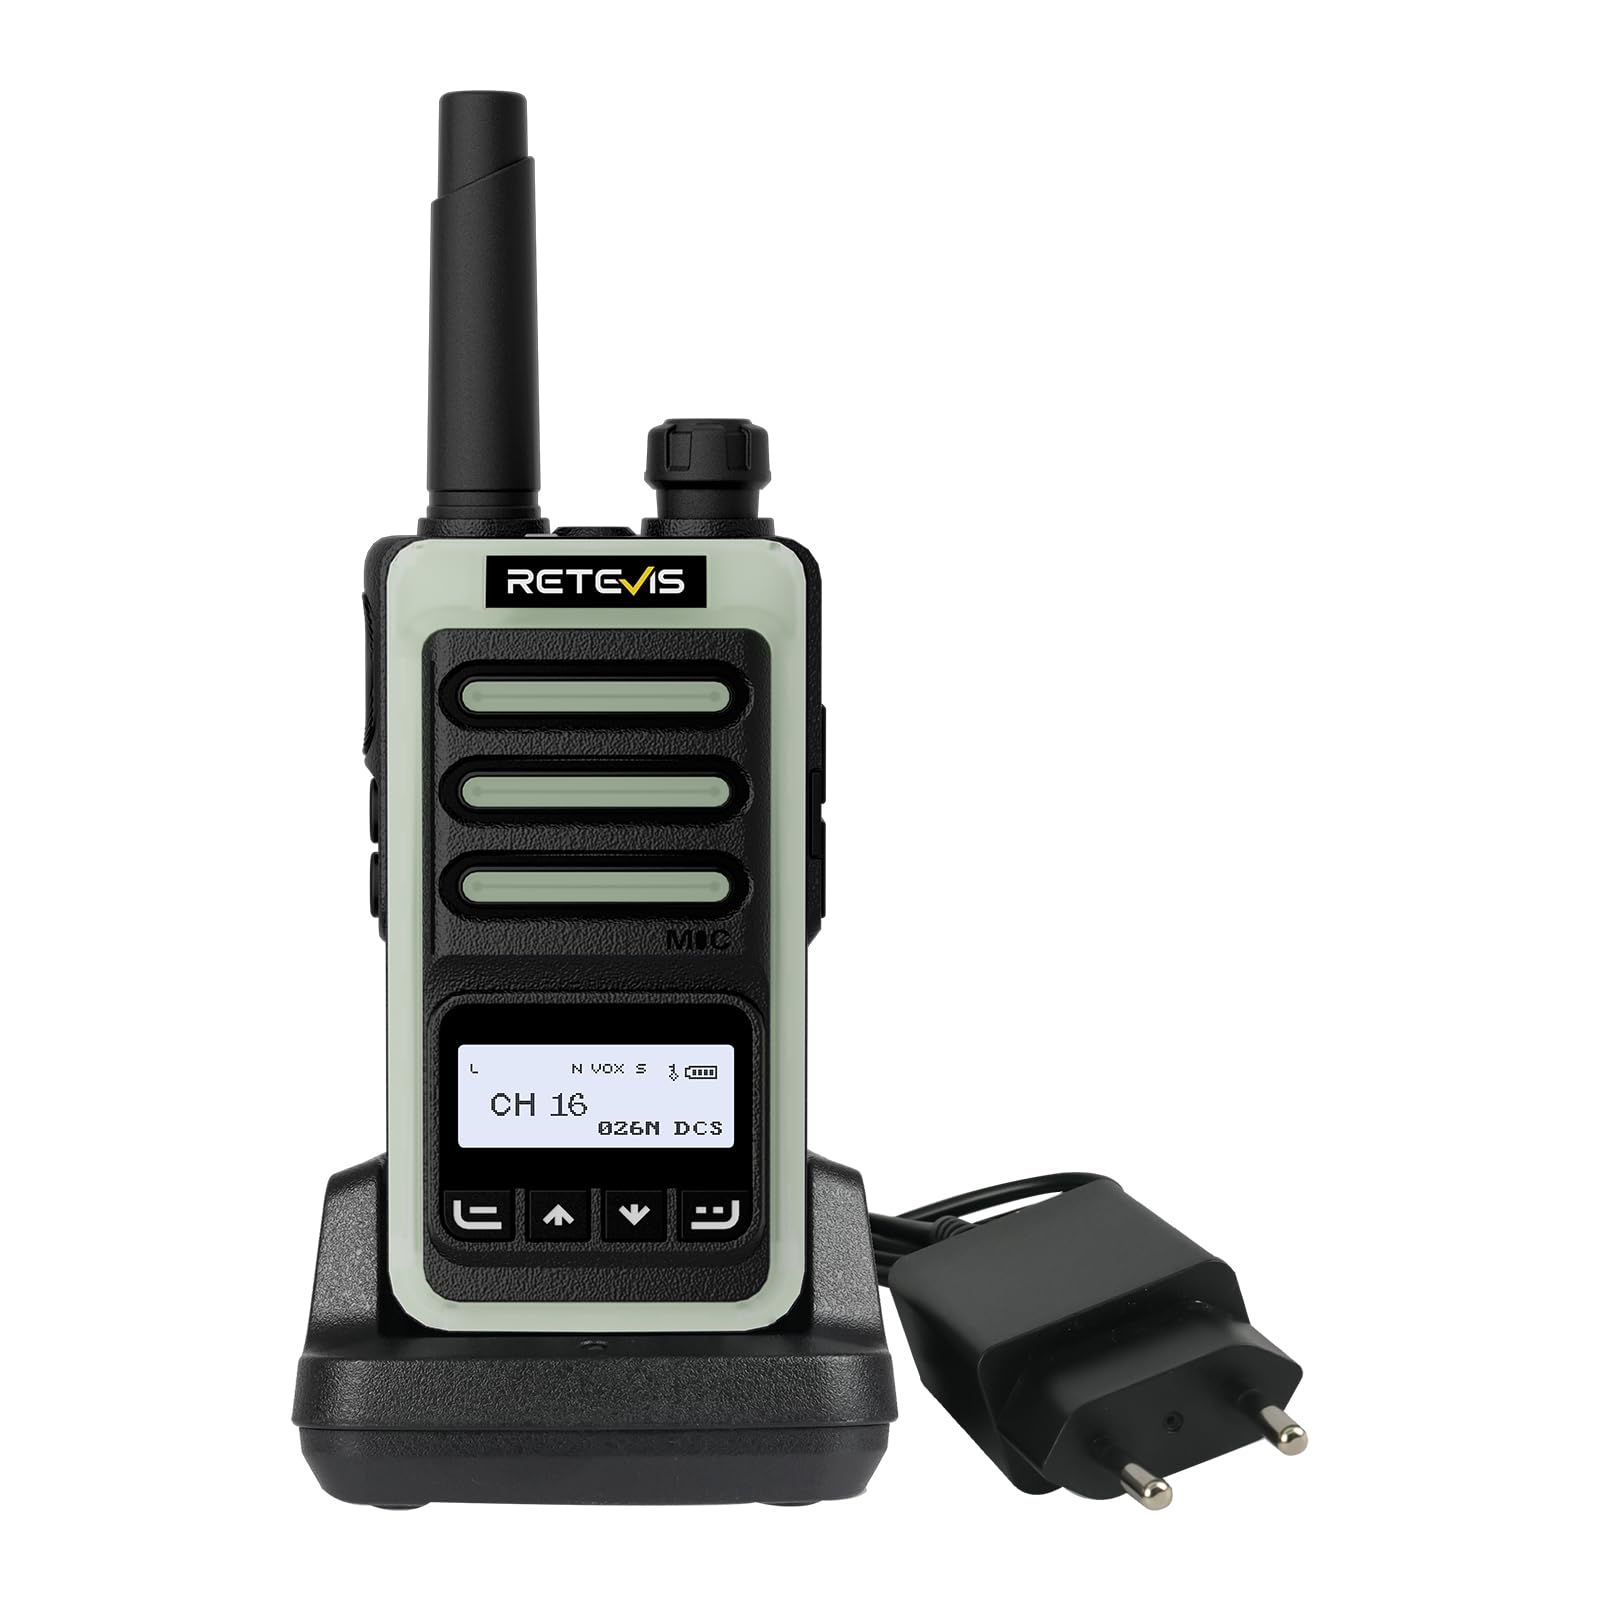
The Retevis RB666S walkie talkie is designed for easy communication during outdoor activities.
2. Packungsinhalt
Bitte überprüfen Sie das Paket sorgfältig, um sicherzustellen, dass alle Artikel vorhanden sind:
- 1 x RB666S Walkie Talkie
- 1 x Batterie
- 1 x Ladestation
- 1 x Typ-C Ladekabel
- 1 x Adapter
- 1 x Gürtelclip
- 1 x Schlüsselband.
- 1 x Benutzerhandbuch

All components included in the RB666S package.
3. Produktüberschreitungview
3.1 Komponenten
Familiarize yourself with the main components of your RB666S walkie talkie:

Detaillierte view of the RB666S walkie talkie components.
- On/Off/Volume Knob: Zum Ein-/Ausschalten und zur Lautstärkeregelung drehen.
- Taschenlampe: Integriertes LED-Licht.
- Ladeanschluss: Typ-C-Anschluss zum direkten Laden.
- Kontrollleuchte: Zeigt den Status an (z. B. Senden, Empfangen, Laden).
- PTT-Taste (Push-to-Talk): Zum Übertragen Ihrer Stimme drücken und halten.
- Seitentaste 1: Multi-function button, typically for emergency alarm.
- Seitentaste 2: Multi-function button, typically for flashlight activation.
- MIKROFON: Mikrofon für Spracheingabe.
- Bildschirm: 1.3-inch LCD for channel, battery, and signal information.
- Menü-Schaltfläche: Greift auf Menüoptionen zu.
- Up/Channel+ Button: Navigates up or changes channel.
- Down/Channel- Button: Navigates down or changes channel.
- Zurück-Schaltfläche: Returns to previous screen or exits menu.
4. Einrichtung
4.1 Einsetzen des Akkus
- Stellen Sie sicher, dass das Funkgerät ausgeschaltet ist.
- Suchen Sie die Abdeckung des Batteriefachs auf der Rückseite des Geräts.
- Schieben Sie die Abdeckung nach unten und nehmen Sie sie ab.
- Setzen Sie die Batterie ein und achten Sie dabei auf die korrekte Ausrichtung der Kontakte.
- Replace the battery compartment cover and slide it up until it clicks into place.
4.2 Anbringen des Gürtelclips und des Lanyards
- Befestigen Sie den Gürtelclip zur bequemen Befestigung an dem dafür vorgesehenen Schlitz auf der Rückseite des Funkgeräts.
- Thread the lanyard through the loop on the top or side of the radio for added security.
5. Aufladen des Geräts
Before first use, fully charge the battery. The RB666S offers two convenient charging methods:
5.1 Verwendung der Ladestation
- Connect the adapter to the charging cradle and plug it into a power outlet.
- Place the walkie talkie into the charging cradle. Ensure the charging contacts align.
- The indicator light on the radio or cradle will show the charging status (e.g., red for charging, green for fully charged).
5.2 Using the Type-C Cable
- Connect the Type-C charging cable to the charging port on the side of the walkie talkie.
- Plug the other end of the cable into a compatible USB power source (e.g., wall adapter, car charger, power bank, PC).
- Die Kontrollleuchte zeigt den Ladestatus an.
Eine vollständige Aufladung dauert ungefähr 1 Stundeund bietet über 14 hours of autonomy und über 46 Stunden Standby-Zeit.
Fast charging in 1 hour using the cradle.

Versatile Type-C charging options.
6. Grundlegende Bedienung
6.1 Ein-/Ausschalten und Lautstärkeregelung
- To power on, rotate the On/Off/Volume knob clockwise until you hear a click.
- Zum Ausschalten drehen Sie den Knopf gegen den Uhrzeigersinn, bis Sie ein Klicken hören.
- Die Lautstärke kann durch Drehen desselben Knopfes eingestellt werden.
6.2 LCD-Bildschirmanzeige
The 1.3-inch LCD screen provides essential information at a glance:
- Kanal Nummer: Indicates the current communication channel.
- Batteriestand: Zeigt die verbleibende Batterieladung an.
- Signalstärke: Zeigt die Stärke des empfangenen Signals an.

Clear 1.3-inch LCD screen for essential information.
6.3 Einen Kanal auswählen
Use the Up/Channel+ and Down/Channel- buttons to select your desired communication channel. Ensure all radios in your group are on the same channel.
6.4 Senden und Empfangen
- Zu übertragen, press and hold the PTT (Push-to-Talk) button. Speak clearly into the microphone. The indicator light will typically glow red.
- Zu erhalten, release the PTT button. The indicator light will typically glow green when a signal is received.

Intuitive 4-button layout for easy control.
7. Erweiterte Funktionen
7.1 Klare Klangqualität
The RB666S is engineered to provide clear audio, ensuring every word is heard distinctly, even in noisy outdoor environments like windy trails or busy campStandorte.

Enjoy clear sound quality for effective communication.
7.2 VOX-Funktion (Sprachgesteuerte Vermittlungsstelle)
The VOX function allows for hands-free transmission. When activated, the radio will automatically transmit when it detects your voice, eliminating the need to press the PTT button.

Hands-free communication with VOX function.
7.3 Kopplung per Fingertipp
Simplify connecting with other compatible radios using the one-touch pairing feature. Refer to the specific instructions for pairing in the full manual if available.

Effortless connection with one-touch pairing.
7.4 CTCSS/DCS (Continuous Tone-Coded Squelch System / Digital Coded Squelch)
Utilize CTCSS/DCS codes to filter out unwanted signals and ensure more private communication within your group. This feature helps to reduce interference from other users on the same channel.

Enhanced privacy with CTCSS/DCS codes.
7.5 LED Taschenlampe
The integrated LED flashlight provides illumination for navigating in low-light conditions. Briefly press Side Button 2 to activate or deactivate the flashlight.

Illuminate your path with the built-in LED flashlight.
7.6 Fluorescent Design
The RB666S features a fluorescent design, making it highly visible and easy to locate in low-light outdoor environments, enhancing safety during nighttime activities.

High visibility in low light with fluorescent design.
7.7 Notfallalarm
For added safety, the RB666S includes an emergency alarm function. Long-press Side Button 1 to activate the alarm, alerting others to your situation.

Activate the emergency alarm for enhanced safety.
7.8 Channel Lock / Keypad Lock
To prevent accidental channel changes or button presses, you can activate the channel lock or keypad lock feature. This ensures stable communication, especially during active use like climbing or cycling.

Maintain stable communication with channel lock.
8. Wartung
- Reinigung: Verwenden Sie ein weiches,amp Verwenden Sie ein Tuch, um das Äußere des Radios zu reinigen. Verwenden Sie keine scharfen Chemikalien oder Scheuermittel.
- Lagerung: Store the walkie talkie in a cool, dry place away from direct sunlight and extreme temperatures. Remove the battery if storing for extended periods.
- Batteriepflege: Avoid fully discharging the battery frequently. Recharge regularly to prolong battery life.
- Wasser vermeiden: While designed for outdoor use, avoid submerging the radio in water unless specified as waterproof.
9. Fehlerbehebung
| Problem | Mögliche Ursache | Lösung |
|---|---|---|
| Das Radio lässt sich nicht einschalten | Die Batterie ist schwach oder nicht richtig eingesetzt. | Laden Sie den Akku auf oder setzen Sie ihn korrekt wieder ein. |
| Senden und Empfangen nicht möglich | Falscher Kanal ausgewählt; außerhalb der Reichweite; Batterie schwach. | Ensure correct channel; move closer to other radios; charge battery. |
| Schlechte Audioqualität | Volume too low; interference; microphone/speaker obstructed. | Adjust volume; move away from interference sources; check microphone/speaker. |
| Die Tastatur reagiert nicht | Die Tastensperre ist aktiviert. | Deactivate keypad lock (refer to specific instructions in the full manual). |
10. Spezifikationen
- Marke: Retevis
- Modellnummer: RB666S
- Anzahl der Kanäle: 16
- Batterie: 1 x 12 V (im Lieferumfang enthalten)
- Bandtage: 7.4 Volt
- Produktabmessungen (T x B x H): 2.5 x 5.3 x 9.5 cm (0.98 x 2.09 x 3.74 Zoll)
- Anzeige: 1.3-Zoll-LCD-Bildschirm
- Laden: Type-C Fast Charging, Charging Cradle
- Besondere Merkmale: LED Flashlight, Fluorescent Design, Emergency Alarm, VOX, CTCSS/DCS, Channel Lock
11. Garantie und Support
11.1 Garantieinformationen
Retevis bietet ein 2 Jahr Garantie für das Funkgehäuse und ein 1 Jahr Garantie for accessories. We also provide a 30-tägiges Rückgaberecht ohne Angabe von Gründen. Beyond the warranty period, maintenance services are available, with buyers responsible for associated costs.
11.2 Kundendienst
For any questions, issues, or support needs, please contact us through Amazon. We are committed to responding to your inquiries within 12 hours.
11.3 Sicherheitshinweise
For important safety guidelines, please refer to the official safety information document: Sicherheitsinformationen (PDF)