
1. Produktüberschreitungview
This manual provides instructions for the xmartO WiFi 6 Long Range Wire-Free Solar Home Security Camera System. This system includes a WNP810-W6 10-channel WiFi 6 NVR and 10 solar WiFi cameras, designed for comprehensive indoor and outdoor surveillance.
Zu den Hauptmerkmalen gehören:
- 10-Camera Bundle: Monitor up to 10 areas simultaneously with the included cameras.
- Long-lasting Solar Power: Cameras are equipped with automotive-grade rechargeable batteries and solar panels for continuous power.
- Extended WiFi 6 Coverage: Cameras operate up to 1300ft from the NVR in line of sight, ensuring flexible placement.
- PIR Thermal & Humanoid Detection: Advanced detection minimizes false alerts, sending notifications for people, animals, or vehicles.
- Standalone NVR with Dual-WiFi: The NVR features two WiFi modules, one for camera connections and another for internet access, preventing network lag.
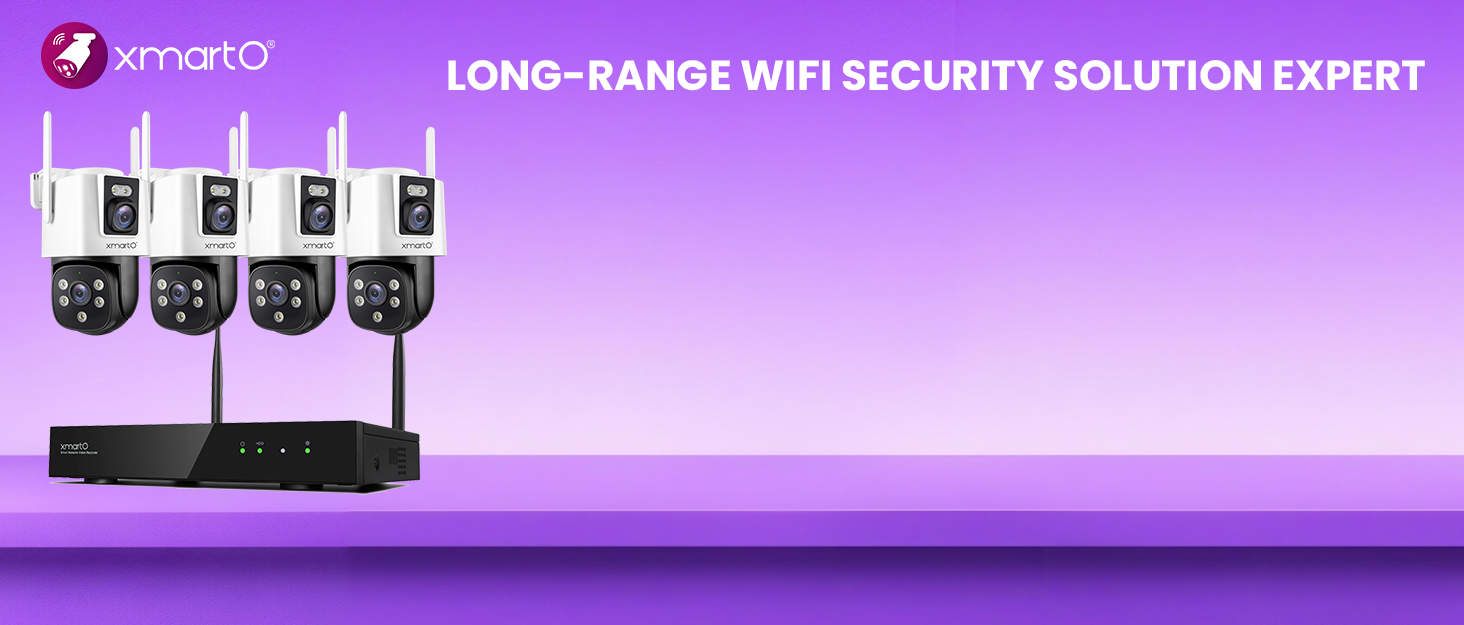
Bild 1.1: Überview of the xmartO WiFi 6 Solar Security Camera System with NVR and cameras.
2. Einrichtungsanweisungen
2.1 Auspacken und erste Inspektion
Carefully unpack all components. Verify that all items listed in the packaging contents are present and undamaged. Contact customer support immediately if any items are missing or damaged.
2.2 NVR-Verbindung
Connect the NVR to a monitor using an HDMI or VGA cable. Connect the power adapter to the NVR and plug it into an electrical outlet. The NVR will power on automatically. For internet access, connect the NVR to your router via an Ethernet cable or configure its internal WiFi connection.

Image 2.1: NVR ports and indicators for connection.
2.3 Kamerainstallation und -kopplung
The cameras are designed for wire-free installation. Mount the solar panel in a location that receives ample direct sunlight throughout the day to ensure optimal charging. Position the camera to cover the desired surveillance area.

Abbildung 2.2: Beispielample of wire-free camera installation with solar panel.
Erstladung der Batterie: Before first use, fully charge the camera batteries to 100% using a standard 5V USB charger. This ensures maximum battery life and performance.
Paarung: Follow the on-screen instructions on the NVR monitor to pair the 10 cameras with the NVR. The system is designed for easy plug-and-play setup.
Image 2.3: Illustration of the long-range WiFi capability.
3. Bedienungsanleitung
3.1 Fernbedienung Viewund Wiedergabe
Greifen Sie auf Ihre Kamerabilder und aufgezeichneten Inhalte zu.tage from anywhere using the dedicated mobile application or through the NVR connected to a monitor. The system supports live viewing and playback of recorded events.

Abbildung 3.1: Fernbedienung viewing on mobile and desktop devices.

Image 3.2: Mobile app interface showing live view und Aufnahmeoptionen.
3.2 Bewegungserkennung und Benachrichtigungen
The cameras utilize PIR thermal sensors and humanoid detection to accurately identify motion from people, animals, and vehicles, reducing false alarms. When motion is detected, the system can send instant alerts to your mobile app or email.

Image 3.3: Motion detection in action with app notification.
3.3 Aufnahmemodi
The system offers flexible recording options:
- Bewegungsaktivierte Aufzeichnung: When powered by solar and battery, cameras record only when motion is detected to conserve power.
- Kontinuierliche Aufzeichnung rund um die Uhr: If the camera is connected to a 5V phone charger (plugged in), it can record continuously.

Image 3.4: Comparison of motion-activated and 24/7 recording modes.
3.4 Automatic Warning Lights and Siren
Upon detecting an intruder, the cameras can automatically activate warning lights and a siren to deter unwanted visitors and alert you.

Image 3.5: Automatic warning lights and siren in action.
4. Wartung
4.1 Solar Panel and Battery Care
Ensure the solar panels are kept clean and free from obstructions (e.g., leaves, dirt, snow) to maximize sunlight absorption. The solar panel is designed to replenish the camera's automotive-grade rechargeable batteries daily, reducing the need for manual recharging after the initial full charge.

Image 4.1: Solar panel and battery features, highlighting all-weather charging.
Image 4.2: Cameras are designed to operate in various weather conditions.
4.2 Firmware-Updates
Periodically check for firmware updates for both the NVR and cameras through the mobile app or NVR interface. Updates can improve performance, add new features, and enhance security.
5. Fehlerbehebung
5.1 No Camera Feed
- Überprüfen Sie die Leistung: Ensure the camera battery is charged and the solar panel is receiving sunlight.
- WLAN-Signal: Verify the camera is within the NVR's WiFi range. Relocate the camera or NVR if the signal is weak.
- Kamera neu koppeln: If necessary, try re-pairing the camera with the NVR following the setup instructions.
5.2 Häufige Fehlalarme
- Empfindlichkeit anpassen: Reduce the motion detection sensitivity settings in the camera's configuration.
- Erkennungszonen: Configure specific detection zones to exclude areas with frequent irrelevant motion (e.g., moving trees, busy roads).
- PIR Placement: Ensure the PIR sensor is not directly facing heat sources or areas with rapid temperature changes.
5.3 NVR Not Connecting to Internet
- Ethernet Kabel: If using a wired connection, ensure the Ethernet cable is securely connected to both the NVR and your router.
- WLAN-Konfiguration: If using WiFi, check the NVR's network settings and ensure it's connected to the correct network with a strong signal.
- Routerstatus: Verify your home router is functioning correctly and has internet access.
6. Spezifikationen
| Besonderheit | Detail |
|---|---|
| Modell | WNP810-W6 |
| Kameraauflösung | 4MP QHD |
| NVR-Kanäle | 10-Channel (Expandable) |
| Standard WiFi | WLAN 6 |
| Drahtlose Reichweite | Bis zu 1300 Fuß (Sichtlinie) |
| Kamera Power | Wire-Free, Solar Powered with 9000mAh Rechargeable Batteries |
| Erkennungstyp | PIR Thermal Sensors, Humanoid Detection |
| NVR Connectivity | Dual-WiFi Modules (for cameras & internet), Ethernet, HDMI, VGA, USB |
| Aufnahmeoptionen | SD Card (camera), NVR (HDD), Cloud Storage |
| Betriebsumgebung | Suitable for Indoors/Outdoors (All-Weather Charge) |
| Erstes verfügbares Datum | 19. September 2024 |
7. Garantie und Support
7.1 Garantieinformationen
This xmartO product is covered by a 1 Jahr eingeschränkte Garantie Diese Garantie gilt ab Kaufdatum und deckt Herstellungsfehler ab. Sie gewährleistet, dass das Produkt bei normalem Gebrauch wie vorgesehen funktioniert.
7.2 Rückgaberecht
A 30 Tage Geld-zurück-Garantie and free return policy are offered for this product. Please refer to your purchase platform's return guidelines for detailed instructions.
7.3 Kundendienst
For technical assistance, troubleshooting, or any product-related inquiries, xmartO provides 24/7 Online-Support. Please visit the official xmartO website or refer to the contact information provided with your product packaging for support options.
Bild 7.1: Überview of after-sales support.