
chufa XK0017
chufa 110V Tankless Electric Water Heater User Manual
Modell: XK0017
1. Einleitung
This manual provides essential instructions for the safe installation, operation, and maintenance of your chufa 110V Tankless Electric Water Heater, Model XK0017. Please read this manual thoroughly before installation and retain it for future reference.

Image 1.1: The chufa 110V Tankless Electric Water Heater, Model XK0017, shown with its power cord and included mounting screws.
2. Sicherheitshinweise
Read all safety warnings and instructions carefully before installing or operating this appliance. Failure to follow these instructions may result in electric shock, fire, property damage, or personal injury.
- This appliance must be installed by a qualified electrician or plumber in accordance with all local electrical and plumbing codes.
- Ensure the electrical supply matches the specifications of the heater (110V, 3000W). A dedicated 32A circuit and 13AWG wire are required.
- Das Heizgerät darf nicht in Betrieb genommen werden, wenn es beschädigt ist oder eine Fehlfunktion aufweist.
- The unit is designed for point-of-use heating for sinks and handwashing; it is not intended for whole-home showers or high-flow applications.
- Features Dry Combustion Protection and Overvoltage Protection for enhanced safety.
- Do not block the water inlet or outlet.
- Sorgen Sie für eine ordnungsgemäße Erdung, um Stromschläge zu vermeiden.
3. Packungsinhalt
Vergewissern Sie sich vor Beginn der Installation, dass alle Komponenten vorhanden und unbeschädigt sind.
- chufa Tankless Electric Water Heater Unit (Model XK0017)
- Befestigungsschrauben und Anker
- Bedienungsanleitung
4. Spezifikationen

Image 4.1: Dimensions and installation requirements for the chufa water heater.
| Besonderheit | Spezifikation |
|---|---|
| Modell | XK0017 |
| Bandtage | 110 Volt |
| Wastage | 3000 Watt |
| Produktabmessungen (B x H) | 4.53" x 7.87" (11.5 cm x 20 cm) |
| Artikelgewicht | 2.4 Pfund |
| Besondere Merkmale | Dry Combustion Protection, LED Display, Overheat Protection, Rustproof, Temperature Lock |
| Wasserdichtigkeit | IPX4 |
| Flow Rate (Hot Water) | 2 l/min |
| Erforderlicher Leistungsschalter | ≥32A |
| Required Wire Gauge | ≥2.5mm² (approx. 13AWG) |
| Rohranschluss | 1/2" NPT |
5. Einrichtung und Installation
This appliance must be installed by a qualified professional. Ensure all local plumbing and electrical codes are followed.
5.1 Standortwahl
- Install the unit under a sink or in a similar compact space.
- Stellen Sie sicher, dass der Standort vor Frost geschützt ist.
- Provide adequate clearance around the unit for maintenance and ventilation.
- The unit is IPX4 waterproof, suitable for damp environments but not direct water spray.
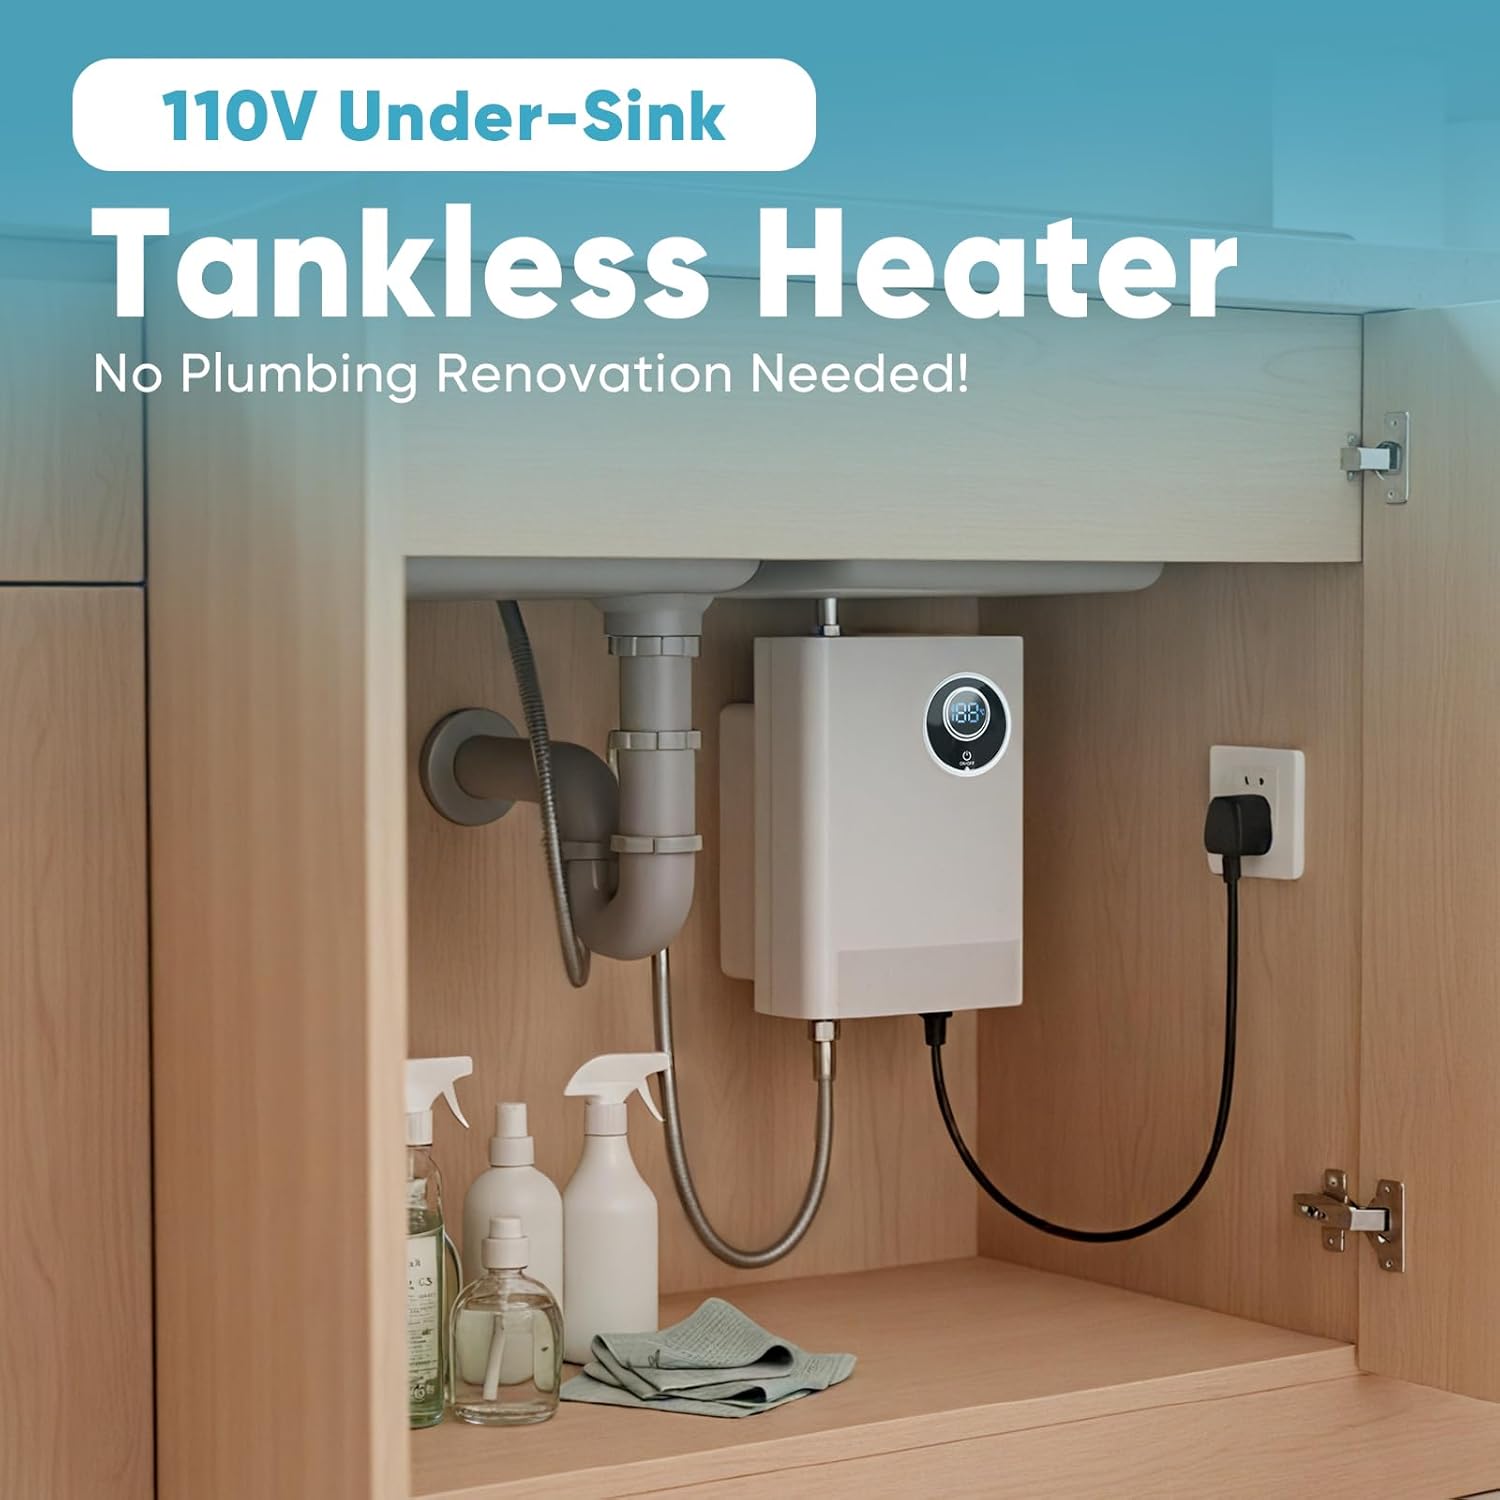
Abbildung 5.1: Beispielample of under-sink installation, demonstrating the compact design.
5.2 Sanitäranschluss
- Drehen Sie die Hauptwasserzufuhr ab.
- Connect the cold water inlet (marked blue or with a 'C') to the cold water supply line using 1/2" NPT fittings.
- Connect the hot water outlet (marked red or with an 'H') to the hot water faucet line using 1/2" NPT fittings.
- Stellen Sie sicher, dass alle Verbindungen dicht und dicht sind.
- Open the hot water faucet to purge air from the system before turning on the heater.
5.3 Elektrischer Anschluss
- Ensure the power supply is OFF at the circuit breaker.
- Connect the heater to a dedicated 110V, 32A circuit.
- Use 13AWG or thicker wire for the electrical connection.
- Sorgen Sie für eine ordnungsgemäße Erdung.
- Once connections are secure, turn on the circuit breaker.
6. Bedienungsanleitung
6.1 Ein-/Ausschalten
- Drücken Sie die EIN/AUS button on the unit's display to turn the heater on or off.
- Das LED-Display leuchtet auf, sobald das Gerät eingeschaltet wird.
6.2 Temperatureinstellung

Image 6.1: The LED display with touch controls for temperature adjustment and unit switching.
- Use the touch controls on the LED display to increase or decrease the desired water temperature.
- The display shows the current temperature setting.
- The unit features a Temperature Lock to maintain your preferred setting.
6.3 Schalttemperatureinheiten (°C/°F)
- To switch between Fahrenheit (°F) and Celsius (°C), long-press the designated button on the display (refer to Image 6.1).
6.4 Bestimmungsgemäße Verwendung
- This heater is designed for point-of-use applications such as handwashing, dishwashing, or small sink tasks.
- It is not suitable for continuous high-flow applications like showering or supplying multiple fixtures simultaneously.
7. Wartung
Regelmäßige Wartung gewährleistet optimale Leistung und verlängert die Lebensdauer Ihres Warmwasserbereiters.
- Reinigung: Wischen Sie die Außenseite des Geräts mit einem weichen,amp Tuch. Keine Scheuer- oder Lösungsmittel verwenden.
- Entkalkung: In areas with hard water, mineral deposits can accumulate. Consult a qualified plumber for periodic descaling to maintain efficiency.
- Inspektion: Periodically check water connections for leaks and electrical connections for signs of wear or damage.
- Überwinterung: If the unit is in an area prone to freezing and will not be used for an extended period, drain the water from the unit to prevent damage.
8. Fehlerbehebung
Bevor Sie den Kundendienst kontaktieren, ...view Im Folgenden werden häufige Probleme und Lösungsansätze vorgestellt.
| Problem | Mögliche Ursache | Lösung |
|---|---|---|
| Kein Warmwasser / Gerät schaltet sich nicht ein | No power; Circuit breaker tripped; Unit is off. | Check power supply; Reset circuit breaker; Press ON/OFF button. |
| Wasser nicht heiß genug | Temperatureinstellung zu niedrig; Zu hohe Eingangswassertemperatur; Zu hoher Durchfluss. | Increase temperature setting; Reduce water flow at the faucet. |
| Der Wasserdurchfluss ist gering | Clogged aerator; Mineral buildup in pipes/unit. | Clean faucet aerator; Consult a plumber for descaling. |
| Leckagen aus Verbindungen | Lose Wasserleitungen. | Tighten connections; Use plumber's tape if necessary. |
| Fehlercode auf dem Display | Internal fault or safety activation. | Turn off power, wait 5 minutes, then restart. If error persists, contact customer support. |
9. Garantie und Support
For warranty information or technical support, please contact chufa customer service. Keep your purchase receipt as proof of purchase.
Contact information can typically be found on the product packaging or the official chufa webWebsite.
Ask a question about this manual
Ask about setup, troubleshooting, compatibility, parts, safety, or missing instructions. Manuals+ will review the question and use this page’s manual context to help answer it.