ONESPORT OT12
ONESPORT OT12 Electric Trekking Bike User Manual
Modell: OT12
Einführung
Thank you for choosing the ONESPORT OT12 Electric Trekking Bike. This manual provides essential information for the safe assembly, operation, and maintenance of your ebike. Please read it thoroughly before your first ride and keep it for future reference.
Sicherheitswarnungen
- Beim Fahren immer einen Helm und die entsprechende Schutzausrüstung tragen.
- Machen Sie sich mit den örtlichen Verkehrsgesetzen und -vorschriften vertraut.
- Führen Sie vor jeder Fahrt eine Sicherheitsprüfung durch, einschließlich der Überprüfung von Bremsen, Reifen und Batterie.
- Fahren Sie nicht unter Alkohol- oder Drogeneinfluss.
- Avoid riding in extreme weather conditions or on excessively rough terrain if not designed for it.
- Vor Fahrtantritt sicherstellen, dass alle Komponenten fest montiert sind.
Packungsinhalt
Your ONESPORT OT12 Electric Trekking Bike package includes the following items:
- ONESPORT OT12 Electric Bike (80% pre-assembled)
- 36V 13Ah Lithiumbatterie
- 42 V 2A Ladegerät
- Accessory Kit (Saddle, Accelerator Handle, Pedals, Quick Release Skewer, Pump, Multi-function Tools, Phone Bag)
- Bedienungsanleitung

Einrichtung und Montage
Your ONESPORT OT12 ebike comes 80% pre-assembled. Follow these steps to complete the assembly and prepare for your first ride.
1. Lenkermontage
- Carefully unbox the bike and remove all packaging materials.
- Befestigen Sie den Lenker am Vorbau und achten Sie darauf, dass er mittig sitzt und die Bremshebel und Schalthebel in einer bequemen Position sind.
- Ziehen Sie die Vorbauschrauben fest an.
2. Sattelmontage
- Setzen Sie die Sattelstütze in das Sitzrohr ein.
- Adjust the saddle height to ensure your feet can comfortably touch the ground when stopped, or slightly touch with toes when seated.
- Sichern Sie den Schnellspannhebel oder die Sattelstützenklemme.amp.
3. Pedalinstallation
- Identifizieren Sie das linke (L) und rechte (R) Pedal.
- Das rechte Pedal (R) im Uhrzeigersinn in den rechten Kurbelarm einfädeln.
- Das linke Pedal (L) gegen den Uhrzeigersinn in den linken Kurbelarm einfädeln.
- Ziehen Sie beide Pedale mit einem Schraubenschlüssel fest an.
4. Einbau und Aufladen der Batterie
The 36V 13Ah lithium battery is removable for convenient charging. Ensure the battery is fully charged before your first ride.
- Installation: Insert the battery into its designated compartment on the bike frame. Secure it with the key lock mechanism to prevent theft and ensure it's firmly seated.
- Laden: Connect the 42V 2A charger to the battery's charging port, then plug the charger into a standard wall outlet. The charging time is approximately 6-8 hours. The charger indicator light will change when charging is complete.
- Entfernung: Use the key to unlock the battery and carefully slide it out for off-bike charging or storage.

Bedienungsanleitung
1. Ein-/Ausschalten
- To power on the ebike, press and hold the power button on the LCD display for a few seconds.
- Zum Ausschalten halten Sie die Einschalttaste erneut gedrückt, bis sich das Display ausschaltet.
2. LCD Display and Assistance Levels
The 6-wire LCD display shows essential information such as current speed, battery level, and assistance level. It also features a USB port for charging devices.
- The ONESPORT OT12 offers 4 levels of pedal assistance (0-3).
- Use the '+' and '-' buttons on the display control panel to cycle through assistance levels.
- Level 0: No electrical assistance (pure pedal power).
- Level 1-3: Increasing levels of motor assistance.
- The integrated speed sensor ensures smooth and precise assistance delivery.
3. Gangschaltung
The ebike is equipped with a Shi-mano 7-speed derailleur system for adapting to various terrains.
- Zum Schalten der Gänge benutzen Sie den Schalthebel am Lenker.
- Shift to lower gears for climbing hills and higher gears for flat terrain or descents.
- Always pedal lightly when shifting gears to ensure smooth transitions and prevent damage to the drivetrain.
4. Bremssystem
The ONESPORT OT12 features dual 160mm disc brakes with motor cut-off for reliable stopping power.
- Betätigen Sie beide Bremshebel gleichzeitig, um ein ausgewogenes und effektives Bremsen zu gewährleisten.
- The motor cut-off feature disengages the motor assistance when brakes are applied, enhancing safety.
- Test your brakes before each ride to ensure they are functioning correctly.

Wartung
Regular maintenance ensures the longevity and safe operation of your ONESPORT OT12 ebike.
1. Allgemeine Reinigung
- Reinigen Sie Ihr E-Bike regelmäßig mit einem Reinigungstuch.amp Mit einem Tuch und milder Seife reinigen. Hochdruckreinigung vermeiden, insbesondere in der Nähe von elektrischen Bauteilen.
- Trocknen Sie das Fahrrad nach der Reinigung gründlich ab.
2. Batteriepflege
- Um die Lebensdauer des Akkus zu verlängern, sollte er nach jeder Fahrt oder mindestens einmal im Monat, wenn er nicht benutzt wird, vollständig aufgeladen werden.
- Lagern Sie die Batterie an einem kühlen, trockenen Ort, fern von direkter Sonneneinstrahlung und extremen Temperaturen.
- Setzen Sie die Batterie weder Wasser noch Feuchtigkeit aus.
3. Reifendruck
- Check tire pressure before each ride. The recommended pressure for the 27.5x2.25" anti-slip tires is usually indicated on the tire sidewall.
- Proper tire pressure improves ride comfort, efficiency, and reduces the risk of punctures.

4. Bremseninspektion
- Bremsbeläge regelmäßig auf Verschleiß prüfen und gegebenenfalls austauschen.
- Stellen Sie sicher, dass die Bremshebel fest sitzen und gut reagieren. Passen Sie gegebenenfalls die Seilspannung an.
5. Kettenschmierung
- Um reibungslose Gangwechsel zu gewährleisten und Rost vorzubeugen, sollte die Kette sauber und geschmiert gehalten werden.
- Tragen Sie regelmäßig ein spezielles Fahrradkettenöl auf, insbesondere nach Fahrten bei Nässe.
Fehlerbehebung
This section addresses common issues you might encounter with your ONESPORT OT12 ebike.
| Problem | Mögliche Ursache | Lösung |
|---|---|---|
| Das E-Bike lässt sich nicht einschalten. | Batterie nicht geladen oder nicht richtig eingesetzt. Lose elektrische Verbindung. | Ensure battery is fully charged and securely locked in place. Check all visible cable connections. |
| Motor assistance is not working. | Assistance level set to 0. Brake levers engaged. Loose motor cable. | Increase assistance level on the display. Release brake levers completely. Check motor cable connection. |
| Die Gänge lassen sich nicht reibungslos schalten. | Dirty or unlubricated chain. Derailleur adjustment needed. | Clean and lubricate the chain. If issue persists, consult a bike mechanic for derailleur adjustment. |
| Die Bremsen fühlen sich schwach oder schwammig an. | Worn brake pads. Loose brake cable. Air in hydraulic system (if applicable). | Inspect and replace worn brake pads. Adjust brake cable tension. For hydraulic brakes, professional service may be required. |
Wenn Sie auf Probleme stoßen, die hier nicht aufgeführt sind, oder weitere Hilfe benötigen, wenden Sie sich bitte an den Kundensupport.
Technische Spezifikationen
| Besonderheit | Detail |
|---|---|
| Modellnummer | OT12 |
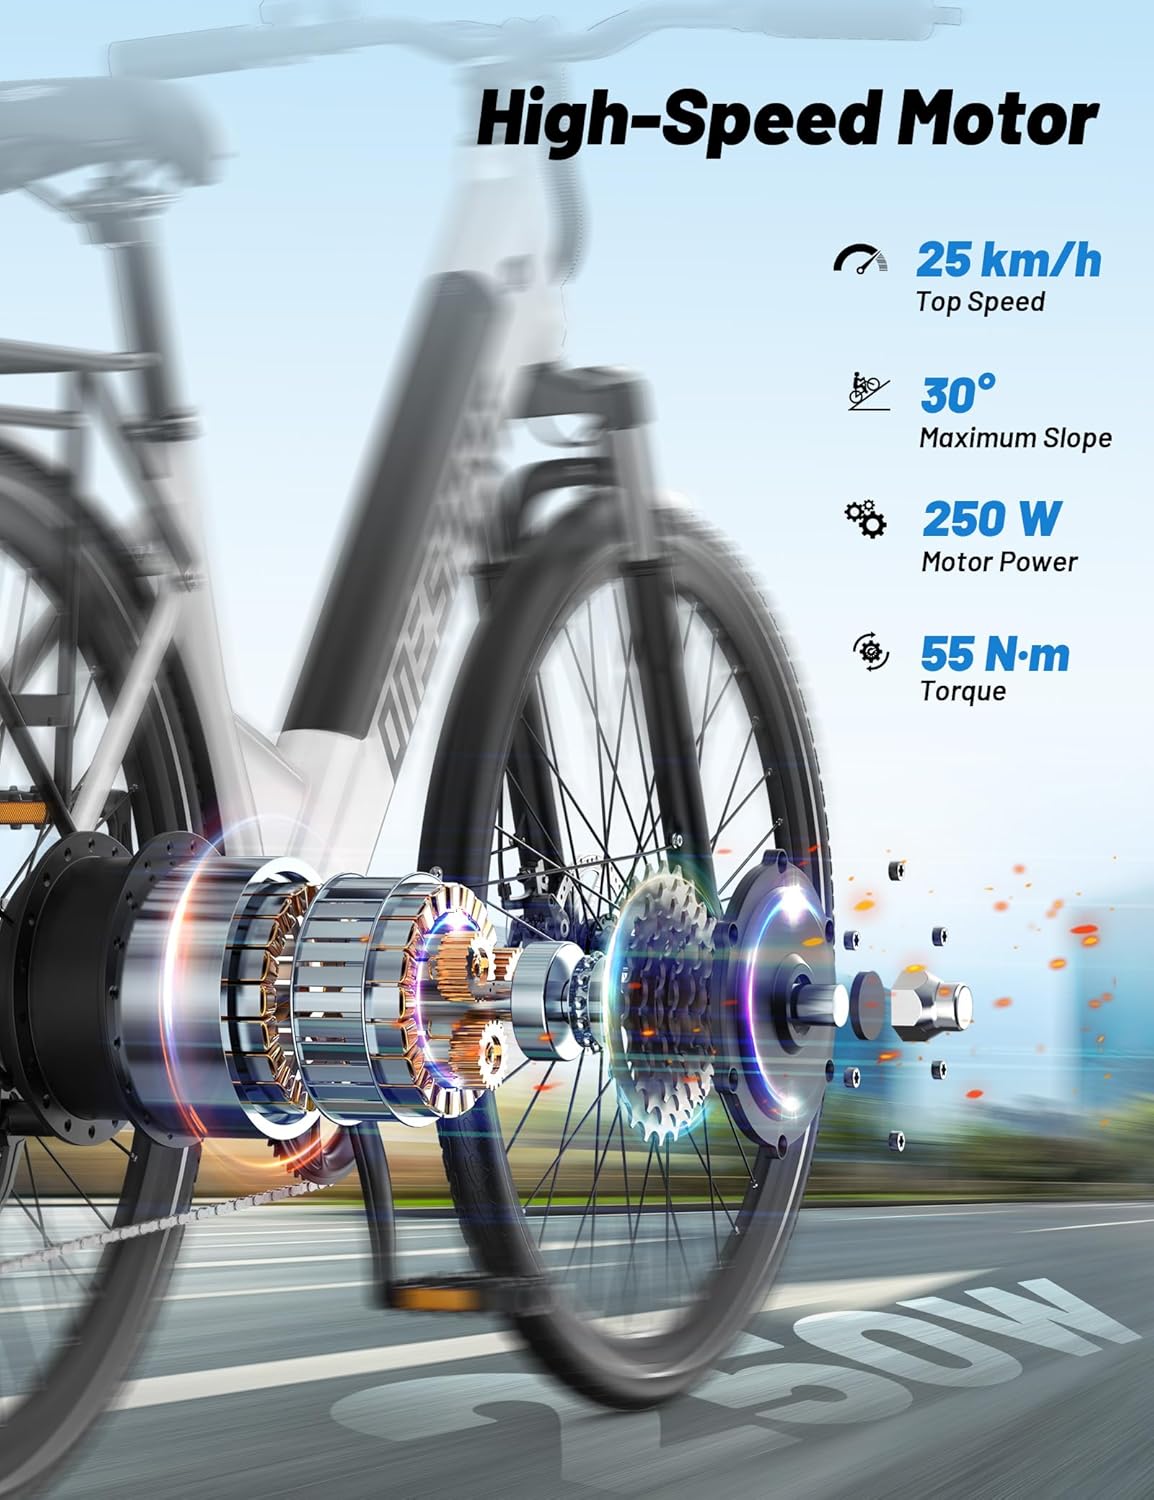
| Motor | 250W Brushless Motor, 44 N·m Torque |
| Maximal unterstützte Geschwindigkeit | 25 km/h |
| Batterie | 36V 13Ah austauschbarer Lithium-Ionen-Akku |
| Herd (rein elektrisch) | Bis zu 40 km |
| Reichweite (Pedalunterstützung) | Bis zu 65 km |
| Ladegerät | 42 V, 2 A |
| Ladezeit | 6-8 Stunden |
| Anzeige | 6-wire LCD (Speed, Assistance Level, Battery) |
| Unterstützungsstufen | 4 levels (0-3) |
| Getriebe | Shi-mano 7-speed Derailleur |
| Rahmenmaterial | Stahl |
| Räder | 27.5 Zoll |
| Reifen | 27.5×2.25" Anti-slip |
| Bremsen | Dual 160mm Disc Brakes with Motor Cut-off |
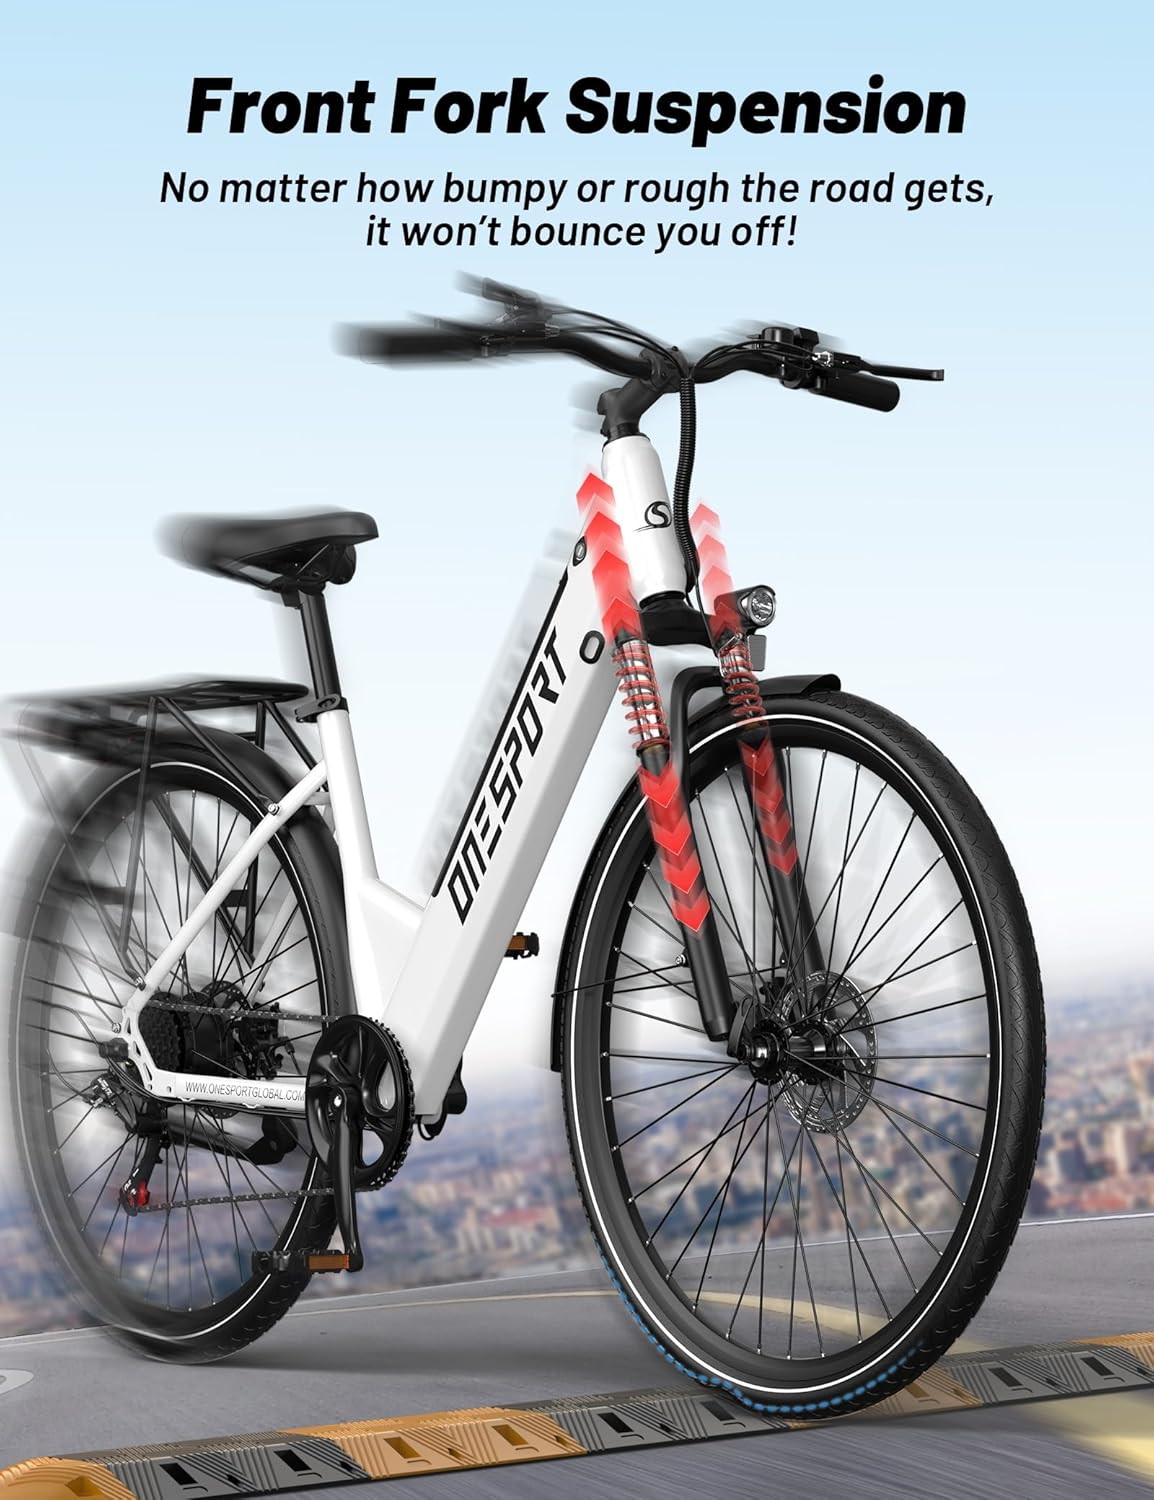
| Suspension | Front Steel Fork, 85mm Travel (non-adjustable) |
| Abmessungen (L x B x H) | 1800 x 680 x 1100 mm |
| Lenkerbreite | 64 cm |
| Nettogewicht | 27.8 kg |
| Bruttogewicht | 34 kg |
| Empfohlene Fahrergröße | 160-200 cm |
| Maximale Tragfähigkeit | 100 kg |
| Wasserdichtigkeit | IPX4 |
| Besondere Merkmale | Digital Display, Dual Disc Brakes, Front Suspension, Multiple Speeds, Adjustable Saddle, Front and Rear K-code Lighting, Fenders, Full Steel Luggage Rack |

Garantie und Support
ONESPORT is committed to providing excellent customer service. For technical assistance or any inquiries regarding your ONESPORT OT12 ebike, please contact our support team.
- Technische Unterstützung: Assistance is available via email. Our team aims to respond within 24 hours.
- Die genauen Garantiebedingungen entnehmen Sie bitte Ihrer Kaufdokumentation.