
Einführung
This manual provides detailed instructions for the safe and proper installation, operation, and maintenance of your Perlegear Ultra Slim Full Motion TV Wall Mount, Model PGTVM65B-LF-US. Please read all instructions carefully before beginning installation and keep this manual for future reference.
Sicherheitshinweise
WARNUNG: Failure to read and follow all instructions can result in personal injury, property damage, or voiding your warranty. Do not install on drywall alone. Ensure the mounting surface can safely support the combined weight of the mount and your TV.
- Verify your TV's VESA pattern and weight are within the mount's specifications.
- Verwenden Sie einen Balkensucher, um die Holzbalken genau zu lokalisieren.
- For concrete or brick walls, use the provided anchors.
- Always use appropriate safety gear, including eye protection.
- Für die Installation werden zwei Personen empfohlen.
Packungsinhalt
Please check that all components are present and undamaged before installation. If any parts are missing or defective, contact Perlegear customer support.

Abbildung 1: Enthaltene Komponenten
- Wandplattenbaugruppe
- TV-Halterungen (2)
- Hardware-Set (verschiedene Schrauben, Unterlegscheiben, Abstandshalter, Dübel)
- Wasserwaage
- Kabelbinder
- Installationshandbuch
Technische Daten
| Besonderheit | Spezifikation |
|---|---|
| Modellnummer | PGTVM65B-LF-US |
| Kompatibilität mit Bildschirmgrößen | 42 - 90 Zoll |
| Maximale Tragfähigkeit | 132 kg |
| VESA-Kompatibilität | 200 x 200 mm bis 600 x 400 mm |
| Montagetyp | Wandhalterung |
| Bewegungstyp | Volle Bewegungsfreiheit (Schwenken, Neigen, Ausziehen) |
| Neigungswinkel | +5° / -15° |
| Schwenkwinkel | ±45° |
| Pegelanpassung | ±3° |
| Verlängerung von der Wand | Bis zu 15 Zoll |
| Profile (Retracted) | 1.1 Zoll |
| Material | Legierter Stahl |
Wichtig: Always confirm your TV's VESA pattern and weight before installation.

Figure 2: Universal Compatibility and VESA Patterns

Figure 3: VESA Mounting Reference Position
Setup und Installation
Prüfungen vor der Installation
- Wandtyp prüfen: This mount is suitable for wood studs (16" to 24" spacing), solid concrete, and brick walls. NICHT ausschließlich auf Trockenbauwänden installieren.
- Check TV Weight and VESA: Ensure your TV weighs no more than 132 lbs and has a VESA pattern between 200x200mm and 600x400mm.
- Check Cable Access: Verify that the mount will not block any ports or cable connections on the back of your TV.

Figure 4: Compatible Wall Types and Stud Spacing
Installationsschritte
Follow these steps carefully for a secure installation. Refer to the included drilling template for precise hole placement.
- TV-Halterungen anbringen: Secure the TV brackets to the back of your TV using the appropriate screws, washers, and spacers from the hardware kit. Ensure the brackets are centered and level.
- Bohrstandorte markieren: Position the wall plate assembly on the wall at your desired height. Use the integrated bubble level to ensure it is perfectly horizontal. Mark the drilling points through the holes on the wall plate.
- Pilotlöcher bohren:
- Für Holzbolzen: Drill pilot holes using a 7/32" (5.5mm) drill bit.
- Für Massive Beton-/Ziegelwände: Drill pilot holes using a 3/8" (10mm) masonry drill bit. Insert wall anchors into these holes.
- Wandplatte montieren: Attach the wall plate assembly to the wall using the lag bolts and washers. Tighten all bolts securely.
- Fernseher aufhängen: Carefully lift your TV with the attached brackets and hook it onto the wall plate. Ensure the TV is securely seated on the mount.
- Fernseher sicher an der Wand befestigen: Use the safety screws or locking mechanisms on the TV brackets to prevent the TV from accidentally lifting off the wall plate.
Installationsvideo-Anleitung
Video 1: General Installation Guide for Perlegear TV Mounts. This video demonstrates the steps for mounting the TV bracket to the TV and securing the wall plate to various wall types, followed by hanging the TV.
Bedienungsanleitung (Einstellungen)
This full-motion TV mount allows for various adjustments to achieve optimal viewwinkeln.
- Verlängerung: Gently pull the TV away from the wall to extend the arms up to 15 inches.
- Schwenken: Pivot the TV left or right up to ±45° to adjust the horizontal viewing-Winkel.
- Neigung: Loosen the tilt knobs on the TV brackets, adjust the screen to your desired vertical angle (+5° up / -15° down), and then re-tighten the knobs to secure the position. This helps reduce glare.
- Pegeleinstellung: After installation, you can fine-tune the TV's level by rotating it up to ±3°.

Abbildung 5: Einstellbar ViewWinkel
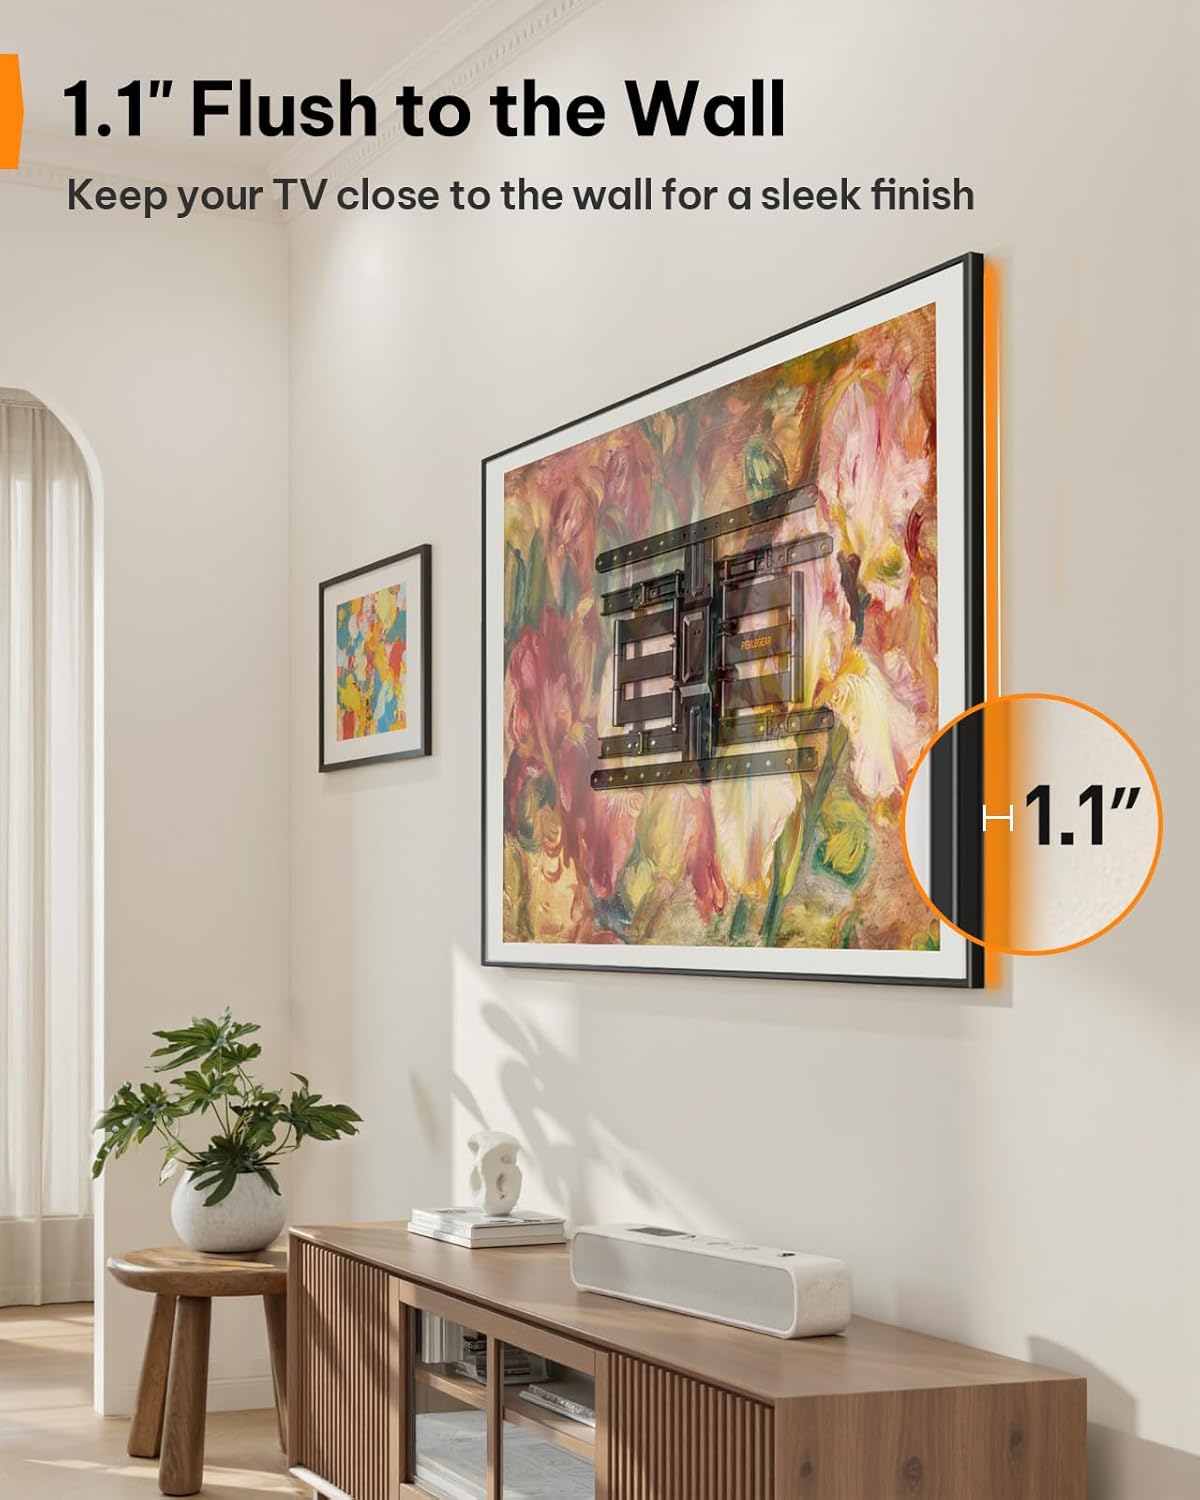
Figure 6: Ultra-Slim Profile
Produktvideo
Video 2: Perlegear Ultra Slim TV Mount Features. This video showcases the mount's slim profile, cable management, swivel, and tilt capabilities in a modern living room setting.
Wartung
Regelmäßige Wartung gewährleistet die Langlebigkeit und den sicheren Betrieb Ihrer TV-Halterung.
- Verbindungen prüfen: Überprüfen Sie regelmäßig alle Schrauben und Bolzen, um sicherzustellen, dass sie fest sitzen. Ziehen Sie sie gegebenenfalls nach.
- Sauber: Wischen Sie die Halterung mit einem weichen, trockenen Tuch ab, um Staub zu entfernen. Vermeiden Sie scheuernde Reinigungsmittel oder Lösungsmittel.
- Schmierung: The articulating arms are designed for smooth movement. If movement becomes stiff over time, a small amount of silicone-based lubricant can be applied to the pivot points.
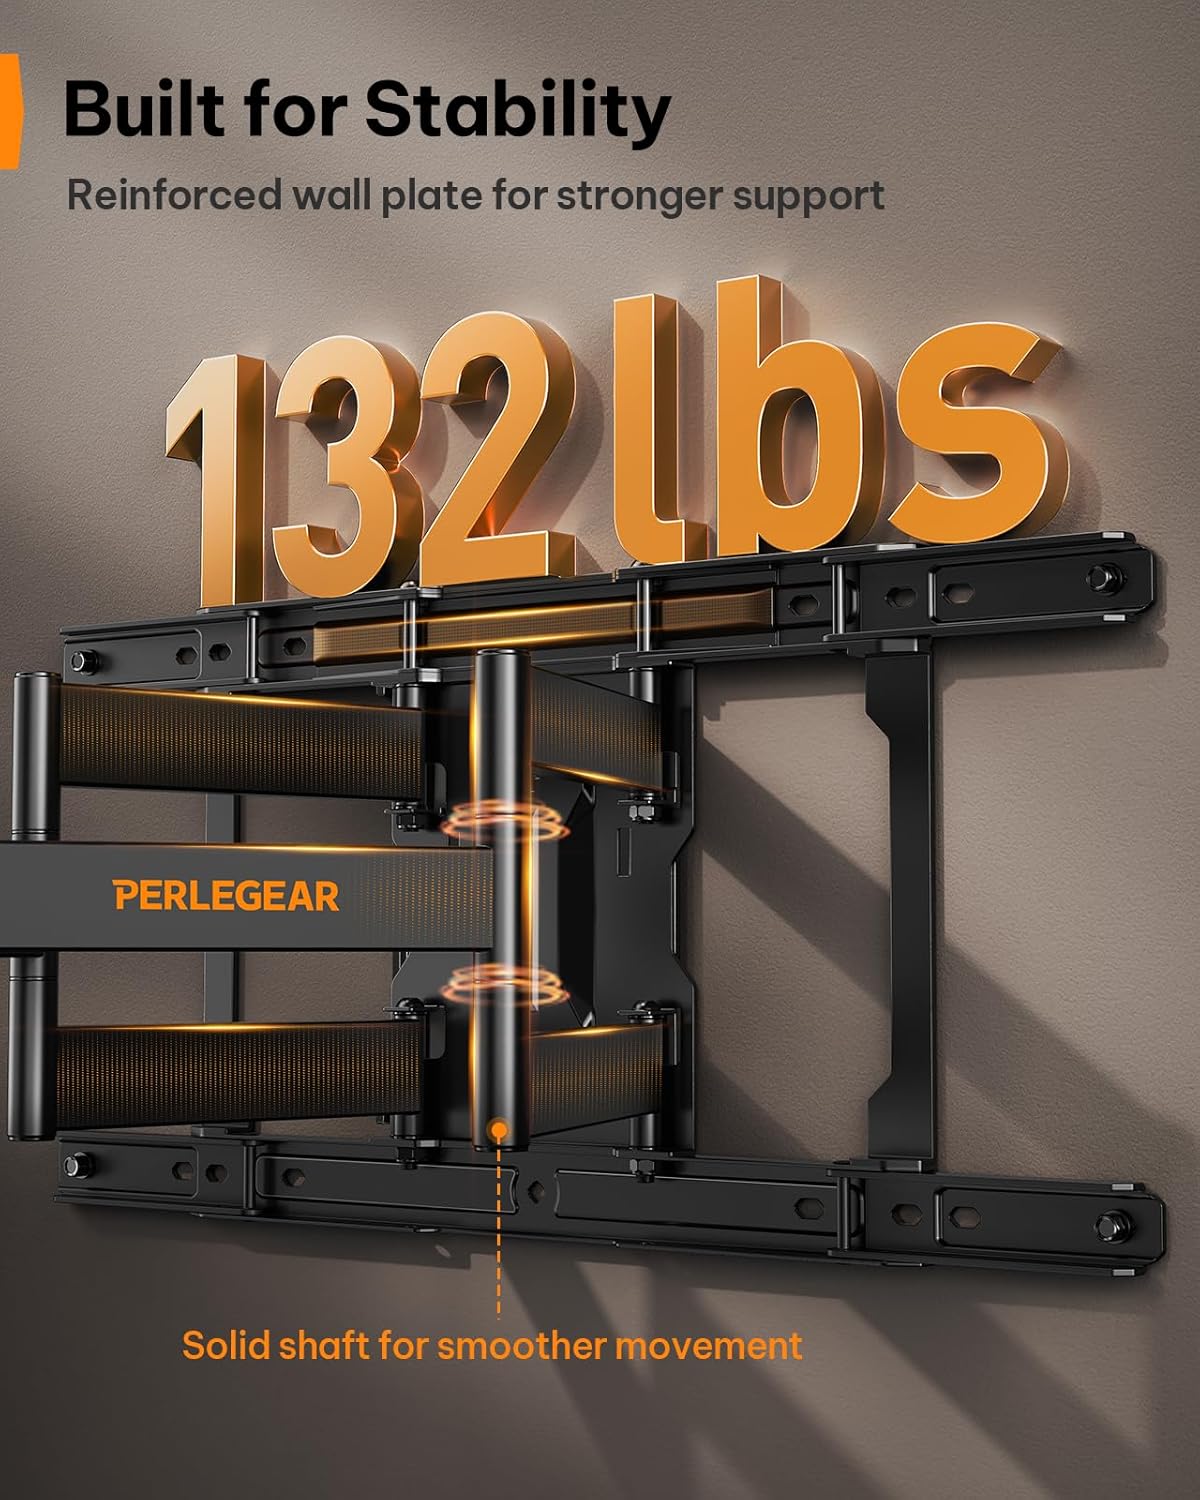
Figure 7: Built for Stability
Fehlerbehebung
| Problem | Mögliche Ursache | Lösung |
|---|---|---|
| Der Fernseher steht nach der Installation nicht waagerecht. | Geringfügige Fehlausrichtung während der Installation. | Use the ±3° level adjustment feature to fine-tune the TV's position. |
| Die Halterung sitzt locker an der Wand. | Lag bolts not fully tightened or incorrect wall anchors used. | Ensure all lag bolts are securely tightened. Verify correct anchors were used for your wall type. If on wood studs, ensure bolts are in the center of the stud. |
| Der Fernseher passt nicht an die Halterung. | Falsches VESA-Muster oder falsche TV-Größe/-Gewicht. | Double-check your TV's VESA pattern and weight against the mount's specifications (200x200mm to 600x400mm, max 132 lbs). |
| Mount arms are stiff to move. | Lack of lubrication or dust accumulation. | Apply a small amount of silicone-based lubricant to the pivot points of the articulating arms. Clean any dust or debris. |
Garantie und Support
This Perlegear TV wall mount comes with a 5-year warranty. For warranty claims, technical assistance, or any questions regarding installation or operation, please contact Perlegear customer support.
You can find contact information on the official Perlegear webWebsite oder über Ihre Einkaufsplattform.