
Einführung
Thank you for choosing the VGR 877S3 Professional Hair Clipper Kit. This all-in-one grooming system is designed for both personal and professional use, offering precision and reliability. This manual provides essential information for the safe and effective operation, maintenance, and care of your VGR 877S3 kit. Please read it thoroughly before first use and keep it for future reference.
Sicherheitshinweise
Always read all safety warnings and instructions before using this appliance. Failure to follow the warnings and instructions may result in electric shock, fire, or serious injury. Keep this manual in a safe place for future reference.
- Do not immerse the appliance in water or use it near water.
- Bewahren Sie das Gerät außerhalb der Reichweite von Kindern auf.
- Stellen Sie sicher, dass das Netzteil mit Ihrer örtlichen Spannung kompatibel ist.tage.
- Verwenden Sie das Gerät nicht, wenn es beschädigt ist oder eine Fehlfunktion aufweist.
- Only use attachments supplied by the manufacturer.
- Ziehen Sie vor der Reinigung den Stecker aus der Steckdose.
Packungsinhalt
Your VGR 877S3 Professional Hair Clipper Kit includes the following items:
- 1 x Hair Clipper Unit
- 1 x Hair Trimmer Unit
- 1 x Foil Shaver Unit
- 10 x Guide Combs (various sizes)
- 2 x Ladestationen
- Magnetic Protective Covers
- 1 x Schmieröl
- 1 x Reinigungsbürste
- 1 x USB-C Ladekabel
- Zero-Gap Adjustment Tool
Produkt überview
Familiarize yourself with the components of your VGR 877S3 kit:
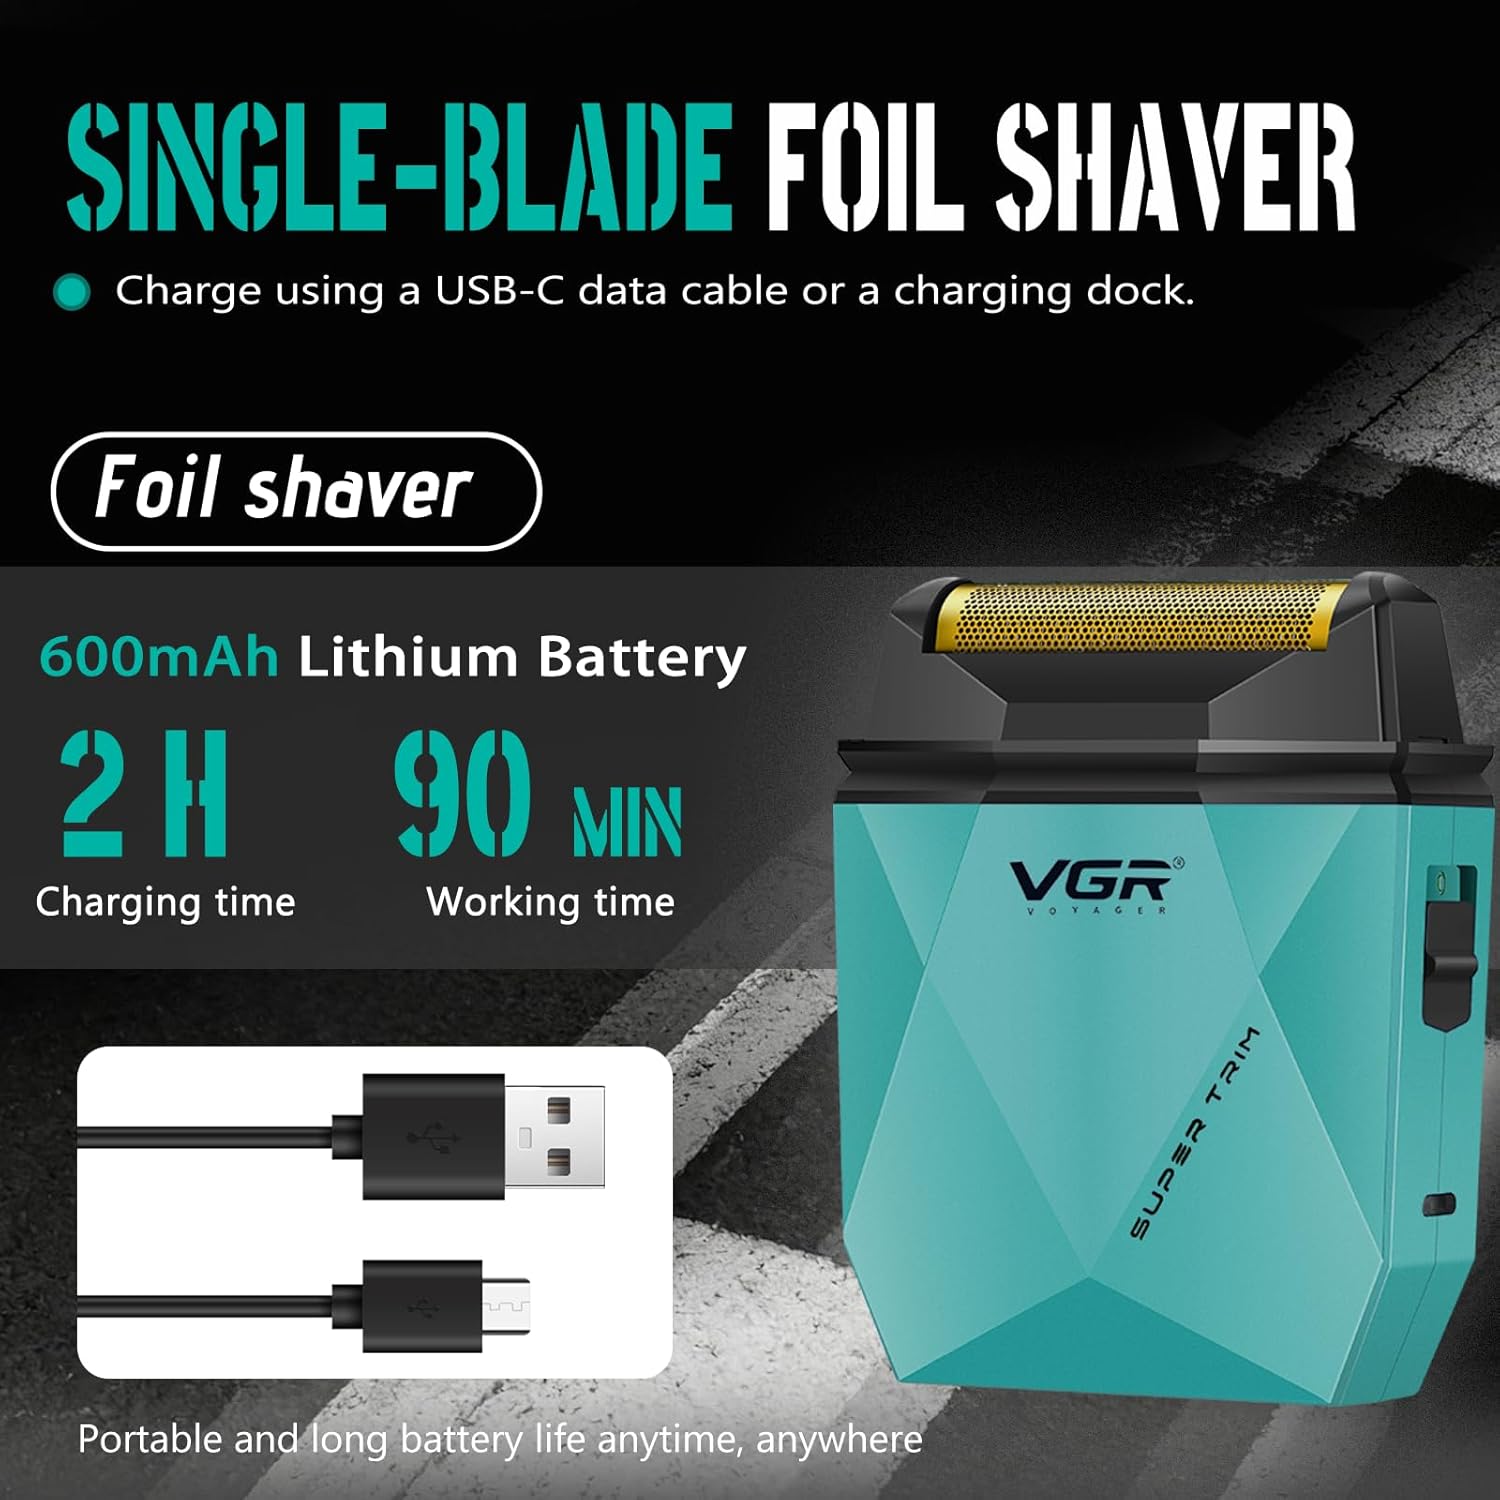
Abbildung 1: Labeled components of the VGR Hair Clipper and Trimmer. Key parts include Ceramic blades, Adjusting rod, Magnetic cover, LED Display, On/off switch, Polygon cutting machine body, and Charging dock.

Abbildung 2: The Hair Clipper features a 9000 RPM motor, and the Hair Trimmer features an 8000 RPM motor, both designed for high-efficiency cutting.

Abbildung 3: T-Shaped Profile Trimming Blade with precise adjustment from 0.1 mm to 0.5 mm, featuring precision ceramic injection molded metal blades for smooth and even trimming.

Abbildung 4: The kit includes a full set of guide combs: 4 guide combs for the clipper (1.5mm, 3mm, 6mm, 9mm) and 6 guide combs for the trimmer (1.5mm, 3mm, 4.5mm, 6mm, 9mm, 12mm).
Aufstellen
Aufladen des Geräts
Before first use, fully charge the hair clipper, trimmer, and foil shaver. Each unit has its own battery specifications:
- Haarspange: 2000mAh Lithium Battery, 3 hours charging time for 150 minutes working time.
- Haarschneider: 2000mAh Lithium Battery, 3 hours charging time for 180 minutes working time.
- Folienrasierer: 600mAh Lithium Battery, 2 hours charging time for 90 minutes working time.
So laden Sie:
- Place the desired unit (clipper, trimmer, or shaver) onto one of the provided charging bases.
- Connect the USB-C charging cable to the charging base and then to a compatible USB power adapter (not included).
- The LED display on the unit will indicate the charging status. A full charge is indicated when the battery percentage erreicht 100 %.

Abbildung 5: Hair Clipper charging on its base, displaying 2000mAh battery, 3 hours charging time, and 150 minutes working time.
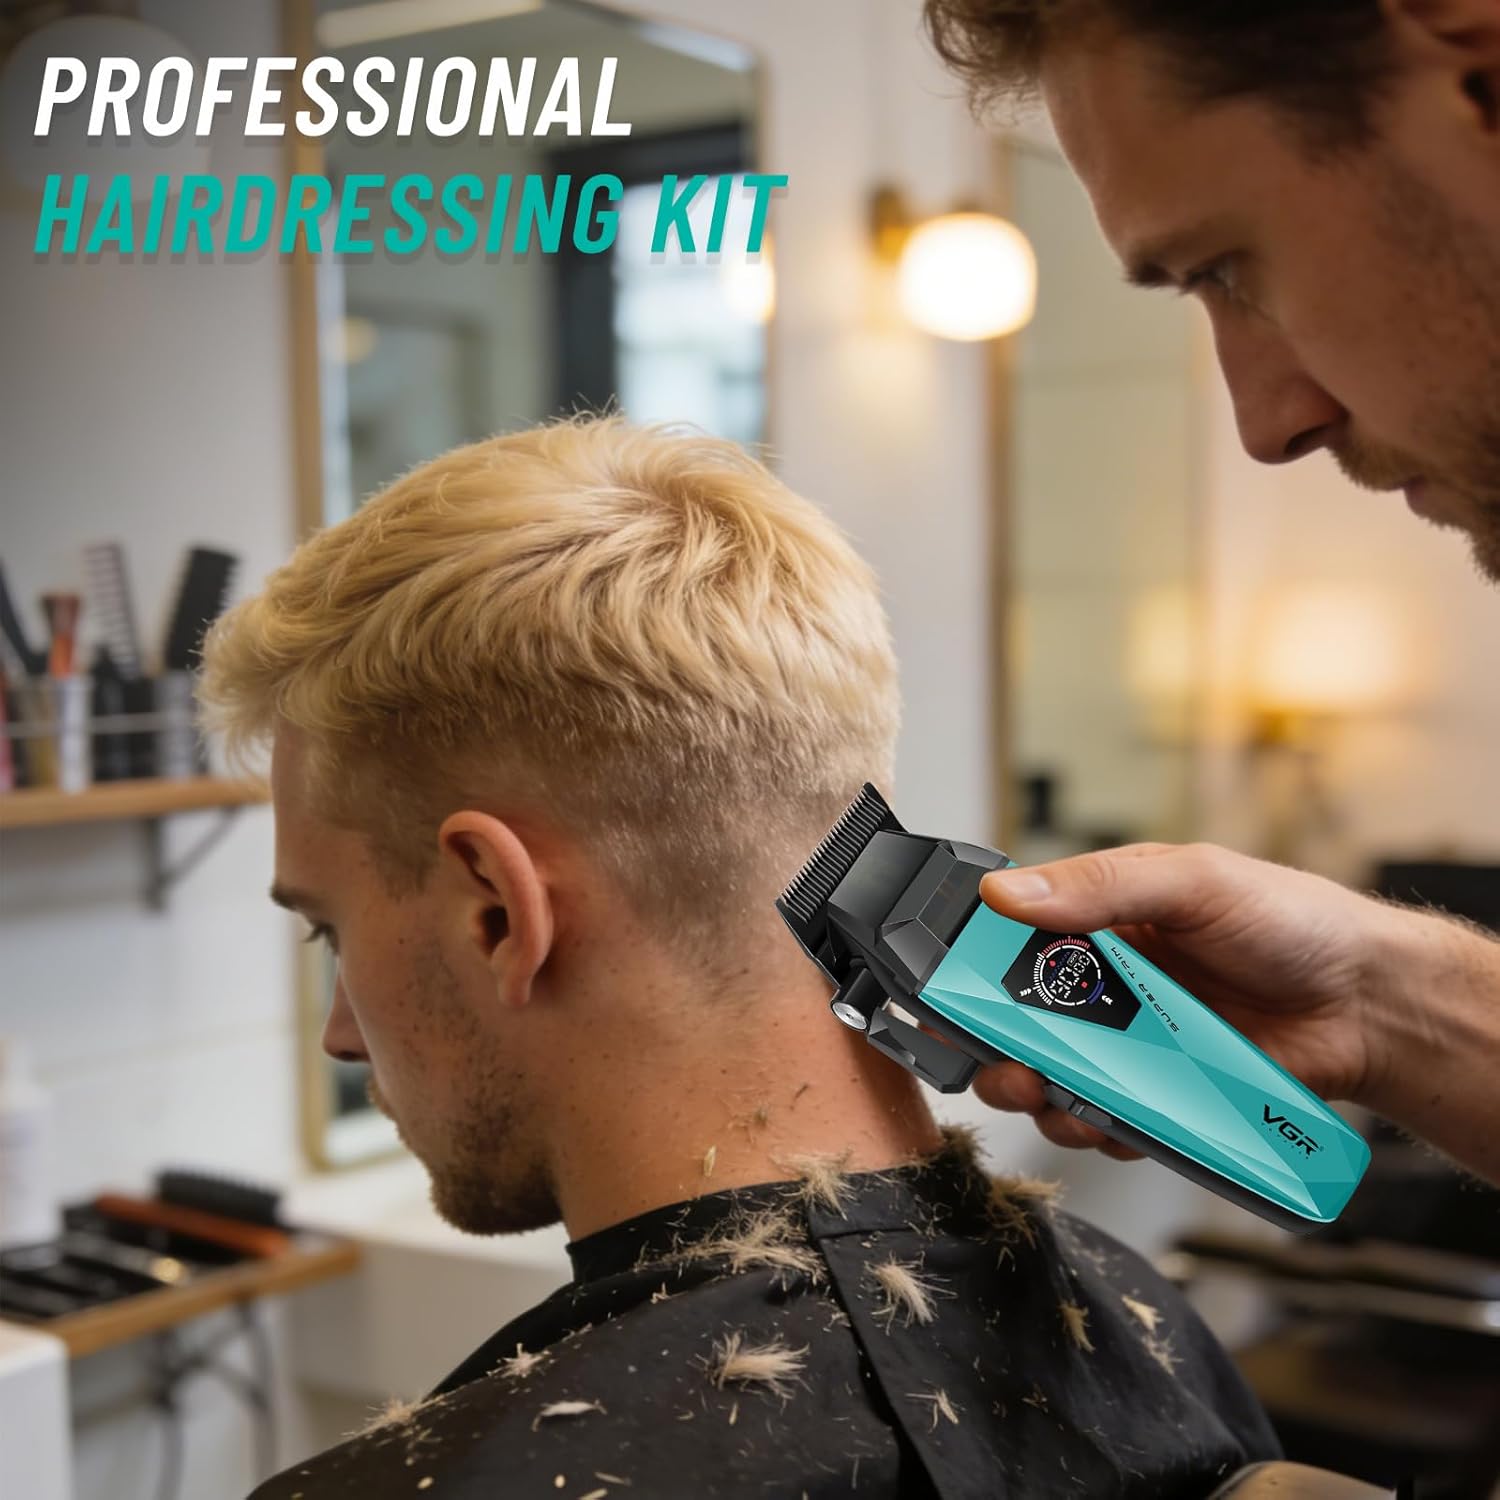
Abbildung 6: Hair Trimmer charging on its base, displaying 2000mAh battery, 3 hours charging time, and 180 minutes working time.

Abbildung 7: Foil Shaver with its USB-C charging cable, displaying 600mAh battery, 2 hours charging time, and 90 minutes working time.
Anbringen von Führungskämmen
To achieve desired hair lengths, attach the appropriate guide comb:
- Select the guide comb corresponding to the desired cutting length.
- Align the comb with the blade of the clipper or trimmer.
- Push the comb firmly until it clicks into place.
- Zum Entfernen den Kamm vorsichtig von der Klinge abziehen.
Bedienungsanleitung
Ein-/Ausschalten
Press the On/Off switch located on the front of the unit to power the device on or off. The LED display will illuminate upon activation.
Using the Hair Clipper and Trimmer
- Ensure the blades are clean and oiled before use.
- Select and attach the appropriate guide comb for your desired hair length. For zero-gap cutting, use the trimmer without a guide comb and adjust the blade using the zero-gap adjustment tool.
- Turn on the device. The LED display will show the current battery level and speed setting.
- For thicker hair, activate the turbo function (if available on your model) for increased motor speed and cutting power.
- Hold the unit with the blades pointing downwards and move it against the direction of hair growth.
- Use smooth, even strokes for consistent results.
Verwendung des Folienrasierers
- Stellen Sie sicher, dass Ihre Haut sauber und trocken ist.
- Schalten Sie den Rasierer ein.
- Gently press the shaver head against your skin and move it in short, circular motions or straight strokes against the direction of hair growth.
- Avoid applying excessive pressure to prevent irritation.
LED-Anzeige
The intelligent LED display provides real-time feedback:
- Akku-Prozenttage: Shows the remaining battery life, allowing you to monitor usage and recharge as needed.
- Geschwindigkeitseinstellung: Indicates the current motor speed, which can be adjusted on some models.
- Ladeanzeige: Displays when the unit is charging.
Wartung
Reinigung der Klingen
Regelmäßige Reinigung gewährleistet optimale Leistung und Hygiene.
- Schalten Sie das Gerät aus und trennen Sie es von der Stromquelle.
- Entfernen Sie alle angebrachten Führungskämme.
- For the clipper and trimmer, the magnetic cap can be easily removed for cleaning. Gently detach the magnetic cover to access the blades.
- Use the provided cleaning brush to remove hair clippings from the blades and the internal mechanism.
- For the foil shaver, carefully remove the foil head and brush away any trapped hairs.
- Reattach the magnetic cap or foil head securely.

Abbildung 8: The magnetic cap design allows for easy opening and disassembly for cleaning with a cleaning brush.
Ölen der Klingen
To maintain blade sharpness and smooth operation, oil the blades regularly:
- After cleaning, apply 1-2 drops of the provided lubricating oil onto the blades.
- Schalten Sie das Gerät für einige Sekunden ein, um das Öl gleichmäßig zu verteilen.
- Wischen Sie überschüssiges Öl mit einem weichen Tuch ab.
Fehlerbehebung
| Problem | Mögliche Ursache | Lösung |
|---|---|---|
| Gerät lässt sich nicht einschalten. | Schwacher Akku oder keine Ladung. | Charge the device fully. Check if the charging cable and adapter are working correctly. |
| Schlechte Schnittleistung. | Die Klingen sind stumpf, schmutzig oder nicht geölt. | Clean the blades thoroughly and apply lubricating oil. If blades are dull, consider professional sharpening or replacement. |
| Device pulls hair. | Blades are dirty, not oiled, or moving too slowly. | Clean and oil the blades. Ensure the device is fully charged. Use the turbo function for thicker hair. |
| Übermäßige Geräusche oder Vibrationen. | Foreign object in blades or internal issue. | Turn off and clean blades. If problem persists, contact customer support. |
Technische Daten
| Besonderheit | Spezifikation |
|---|---|
| Modellnummer | VGR 877S3 |
| Stromquelle | Batteriebetrieben |
| Akku für Haarschneidemaschine | 2000mAh Lithium, 150 min runtime (3h charge) |
| Haarschneider Akku | 2000mAh Lithium, 180 min runtime (3h charge) |
| Foil Shaver Battery | 600mAh Lithium, 90 min runtime (2h charge) |
| Hair Clipper Motor Speed | 9000 RPM (with Turbo function) |
| Hair Trimmer Motor Speed | 8000 RPM (with Turbo function) |
| Clipper Blade Material | DLC Coated |
| Trimmer Blade Material | Ceramic Injection Molded Metal |
| Foil Shaver Blade Material | Titanium Coated Foil |
| Ladeart | USB-C / USB-A (Universal Voltage 100-240 V) |
| Im Lieferumfang enthaltene Komponenten | 3 main units, 10 guide combs, 2 charging bases, magnetic protective covers, oil, brush, cleaning tools, zero-gap adjustment tool. |
Garantie und Support
The VGR 877S3 Professional Hair Clipper Kit comes with a standard manufacturer's warranty. Please refer to the warranty card included in your package for specific terms and conditions. For technical support, troubleshooting assistance, or warranty claims, please contact VGR customer service through the retailer where the product was purchased or visit the official VGR webWebsite.