
SMALLRIG 4861
SMALLRIG Super Clamp Kit (Model 4861) Instruction Manual
Heavy Duty Klamp for Photography and Video Equipment
1. Einleitung
The SMALLRIG Super Clamp Kit (Model 4861) is a versatile and robust mounting solution designed for securely attaching photography and video equipment. Constructed from durable aluminum alloy, this heavy-duty clamp offers a high load capacity of 15kg (33.1lb), making it suitable for various accessories such as cameras, microphones, monitors, and video lights. Its innovative design allows for stable clamping on both round tubes and flat surfaces, providing flexibility for diverse shooting environments.
2. Sicherheitshinweise
- Stellen Sie sicher, dass die clamp is securely fastened to the mounting surface before attaching any equipment.
- Die maximale Tragfähigkeit von 15 kg (33.1 lb) darf nicht überschritten werden.
- Verify that all screws and connections are tightened to prevent accidental detachment of equipment.
- Kl. vermeidenamping onto fragile or easily damaged surfaces. The integrated pads are designed for protection, but caution is advised.
- Überprüfen Sie die Kl. regelmäßigamp for any signs of wear or damage. Discontinue use if damage is observed.
3. Packungsinhalt
The SMALLRIG Super Clamp Kit (Model 4861) includes the following items:
- Super Clamp x 1
- 5/8" Stud with 1/4"-20 & 3/8"-16 Top Screw x 1
- M5-Schraube x 2

Image: Contents of the SMALLRIG Super Clamp Kit, showing the super clamp, 5/8" stud with 1/4"-20 and 3/8"-16 screws, and two M5 screws.
4. Produktmerkmale
- Robuste Konstruktion: Crafted from aluminum alloy, providing a robust and durable design with a maximum load capacity of 15kg (33.1lb).
- Vielseitige Montagemöglichkeiten: Equipped with a 1/4"-20 and 3/8"-16 top screw on a 5/8" stud for attaching various accessories.
- Flat Surface Compatibility: Features a removable wedge to enhance grip on flat surfaces up to 30mm (1.18in) thick.
- Round Tube Compatibility: Can be attached to cylindrical objects with a diameter of 10-60mm (0.4-2.3in), suitable for tripod legs, C-stands, and stabilizer handles.
- Multiple Threaded Holes: Includes 1/4"-20 threaded holes and M5 threaded holes for expanded connectivity with magic arms or other clamps.
- Schutzpolster: Integrated pads ensure effective protection of clamped objects and enhance grip stability.
- Doppel Clamp Konfiguration: Two Super Clamps (Model 4861) can be connected using M5 screws to create a double-headed super clamp for extended reach or dual mounting.
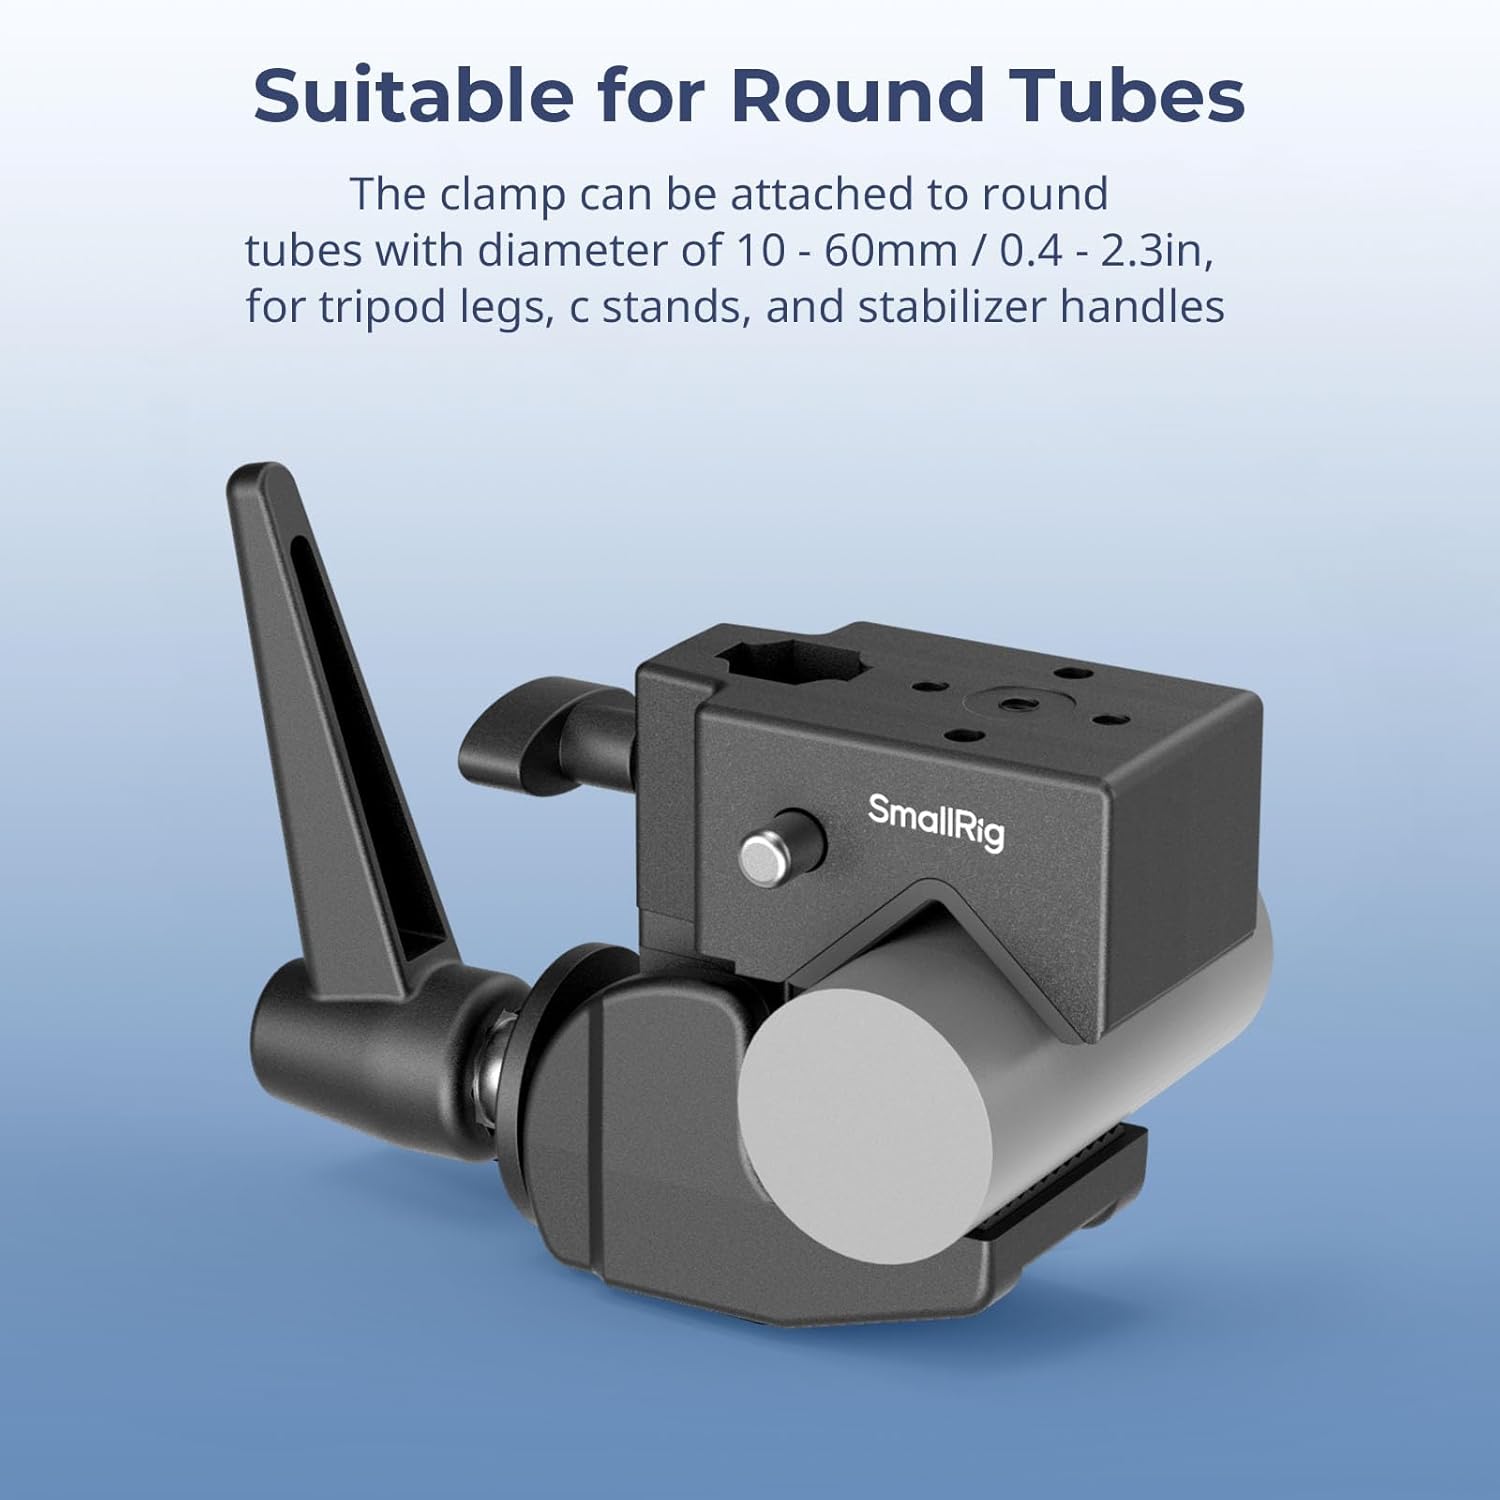
Bild: Detailliert view of the Super Clamp, highlighting the 1/4"-20 screw, 3/8"-16 screw, 1/4"-20 threaded hole, 5/8" hexagonal female, and M5 threaded holes.
5. Einrichtung
5.1 Attaching the 5/8" Stud
- Identify the 5/8" stud, which has a 1/4"-20 screw on one end and a 3/8"-16 screw on the other.
- Insert the desired screw end (1/4"-20 or 3/8"-16) into the corresponding threaded hole on the top of the Super Clamp.
- Rotate clockwise to tighten the stud securely.
5.2 Using the Removable Wedge for Flat Surfaces
- Für clamping onto flat surfaces, ensure the removable wedge is inserted into the clamp's jaw. This wedge provides a flat contact surface for enhanced grip.
- To remove the wedge for round tube clamping, gently pull it out from the clamp's jaw.
Video: Demonstration of the Super Clamp's features, including the removable wedge for flat surfaces and its application in various setups.
6. Bedienungsanleitung
6.1 Clamping to Round Tubes
- Ensure the removable wedge is removed from the clamp's jaw.
- Positionieren Sie dieamp around the round tube (diameter 10-60mm / 0.4-2.3in).
- Rotate the tightening lever clockwise until the clamp is firmly secured to the tube. Do not overtighten.
- Verify stability before attaching equipment.
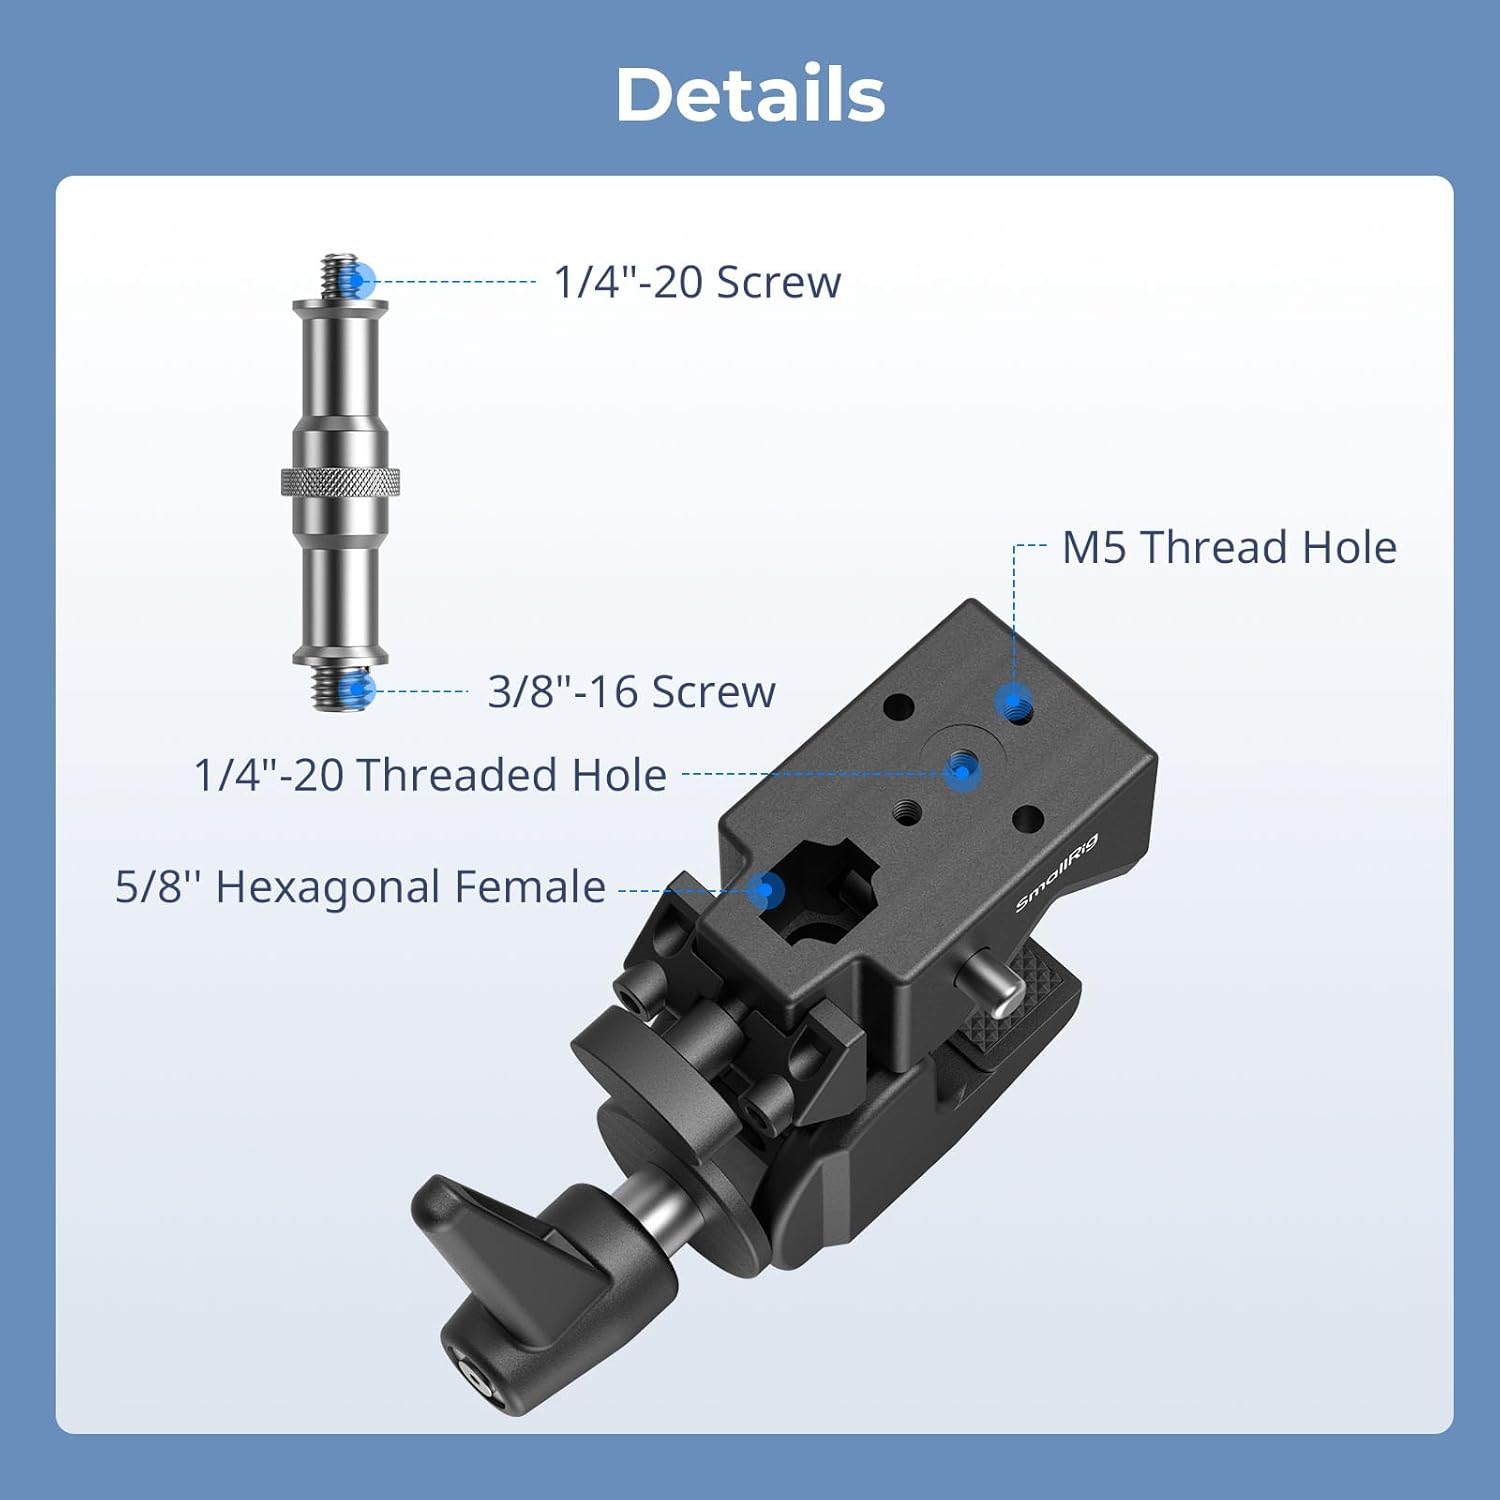
Image: The Super Clamp securely attached to a round tube, demonstrating its grip on cylindrical objects.
6.2 Clamping to Flat Surfaces
- Ensure the removable wedge is inserted into the clamp's jaw.
- Positionieren Sie dieamp onto the edge of the flat surface (up to 30mm / 1.18in thick).
- Rotate the tightening lever clockwise until the clamp fest mit der Oberfläche verbunden ist.
- Verify stability before attaching equipment.

Image: The Super Clamp attached to a flat surface, showcasing its stable grip with the removable wedge.
6.3 Anbringen von Zubehör
- Once the Super Clamp is securely mounted, attach your desired equipment (camera, monitor, light, etc.) to the 5/8" stud.
- Ensure the equipment is properly threaded and tightened onto the stud.
- For additional accessories or configurations, utilize the 1/4"-20 or M5 threaded holes on the clamp Körper.
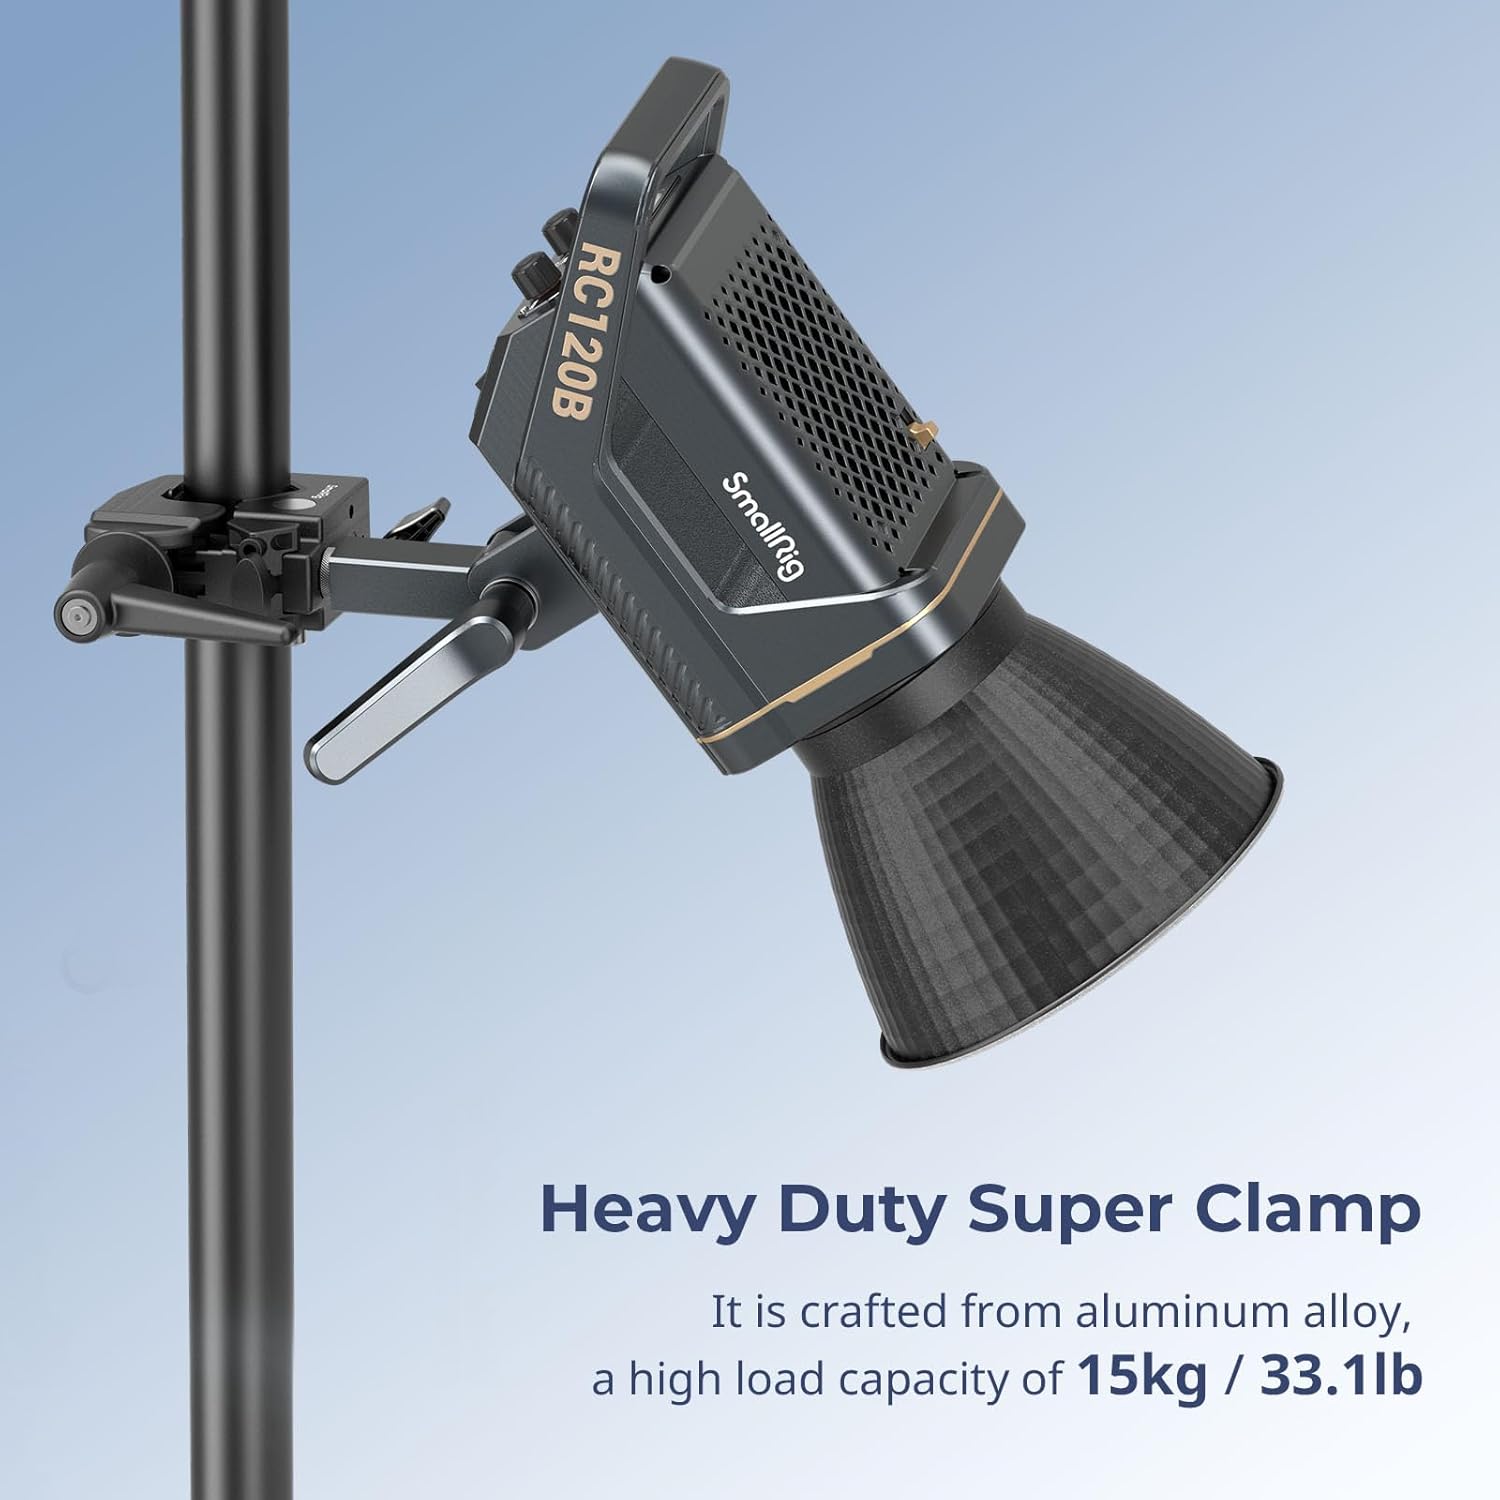
Image: The Super Clamp holding a video light on a stand, demonstrating its heavy-duty capability for supporting equipment.
6.4 Creating a Double Super Clamp
- To extend mounting possibilities, connect two Super Clamps (Model 4861) using the provided M5 screws.
- Align the M5 threaded holes on both clamps and secure them with the M5 screws.

Image: Two Super Clamps connected together, illustrating the double clamp configuration for extended reach or dual mounting points.
Video: Ein detaillierter Überblickview of the SmallRig Super Clamp Kit, demonstrating its heavy-duty capabilities and various applications for mounting equipment.
Video: A comprehensive demonstration of the SmallRig Super Clamp, showcasing its versatility and ease of use in different mounting scenarios.
7. Wartung
- Reinigen Sie dieamp regelmäßig mit einem weichen, trockenen Tuch abwischen, um Staub und Schmutz zu entfernen.
- Avoid using harsh chemicals or abrasive cleaners, as these may damage the aluminum alloy finish or protective pads.
- Lagern Sie die clamp in a dry environment when not in use to prevent corrosion.
- Überprüfen Sie regelmäßig alle Schrauben und beweglichen Teile auf festen Sitz und reibungslose Funktion.
8. Fehlerbehebung
- Clamp not holding securely: Ensure the tightening lever is fully engaged. For flat surfaces, verify the removable wedge is correctly inserted. For round tubes, ensure the wedge is removed. Check that the surface or tube diameter is within the specified clamping-Bereich.
- Equipment wobbling on stud: Confirm that the 5/8" stud is tightly screwed into the clamp and that the equipment is securely fastened to the stud.
- Difficulty attaching to a surface: Prüfen Sie, ob sich im Cl irgendwelche Hindernisse oder Ablagerungen befinden.amp's jaws. Ensure the surface thickness or tube diameter is compatible with the clamp's Spezifikationen.
9. Spezifikationen
| Marke | Kleiner Bohrer |
| Modellname | 4861 |
| Modellnummer | 252601-SR |
| Material | Aluminiumlegierung |
| Farbe | Schwarz |
| Artikelabmessungen (L x B x H) | 100.0 x 146.0x 44.0mm / 3.9x 5.7x 1.7in |
| Artikelgewicht | 560g ± 5g / 19.75oz ± 0.2oz |
| Maximale Tragfähigkeit | 15 kg / 33.1 lb |
| Round Tube Compatibility | 10 - 60mm (0.4 - 2.3in) diameter |
| Flat Surface Compatibility | Up to 30mm (1.18in) thickness |
| Montagetyp | Oberflächenmontage |
| Besonderheit | Rutschfest |
| Kompatible Geräte | Camera, Monitor, Microphones, Video Lights |
10. Gewährleistung
SMALLRIG products are manufactured to high-quality standards. This product is covered by a limited warranty against defects in materials and workmanship. For specific warranty terms and conditions, please refer to the official SMALLRIG webBesuchen Sie die Website oder kontaktieren Sie den Kundendienst. Bewahren Sie Ihren Kaufbeleg als Kaufnachweis auf.
11. Unterstützung
If you encounter any issues or have questions regarding your SMALLRIG Super Clamp Kit (Model 4861), please contact SMALLRIG customer support. You can find contact information and additional resources on the official SMALLRIG webWebsite: Visit the SMALLRIG Store on Amazon.
Inquiries will typically be responded to within 24 hours.
Ask a question about this manual
Ask about setup, troubleshooting, compatibility, parts, safety, or missing instructions. Manuals+ will review the question and use this page’s manual context to help answer it.