1. Einleitung
The Retevis RM01P is a handheld marine radio designed for reliable communication in marine environments. Its lightweight and compact design ensures ease of portability and use, even during demanding operations. Key features include IP67 waterproofing, a floating design for easy retrieval, and vibration water draining functionality, enhancing its durability and performance on the water.
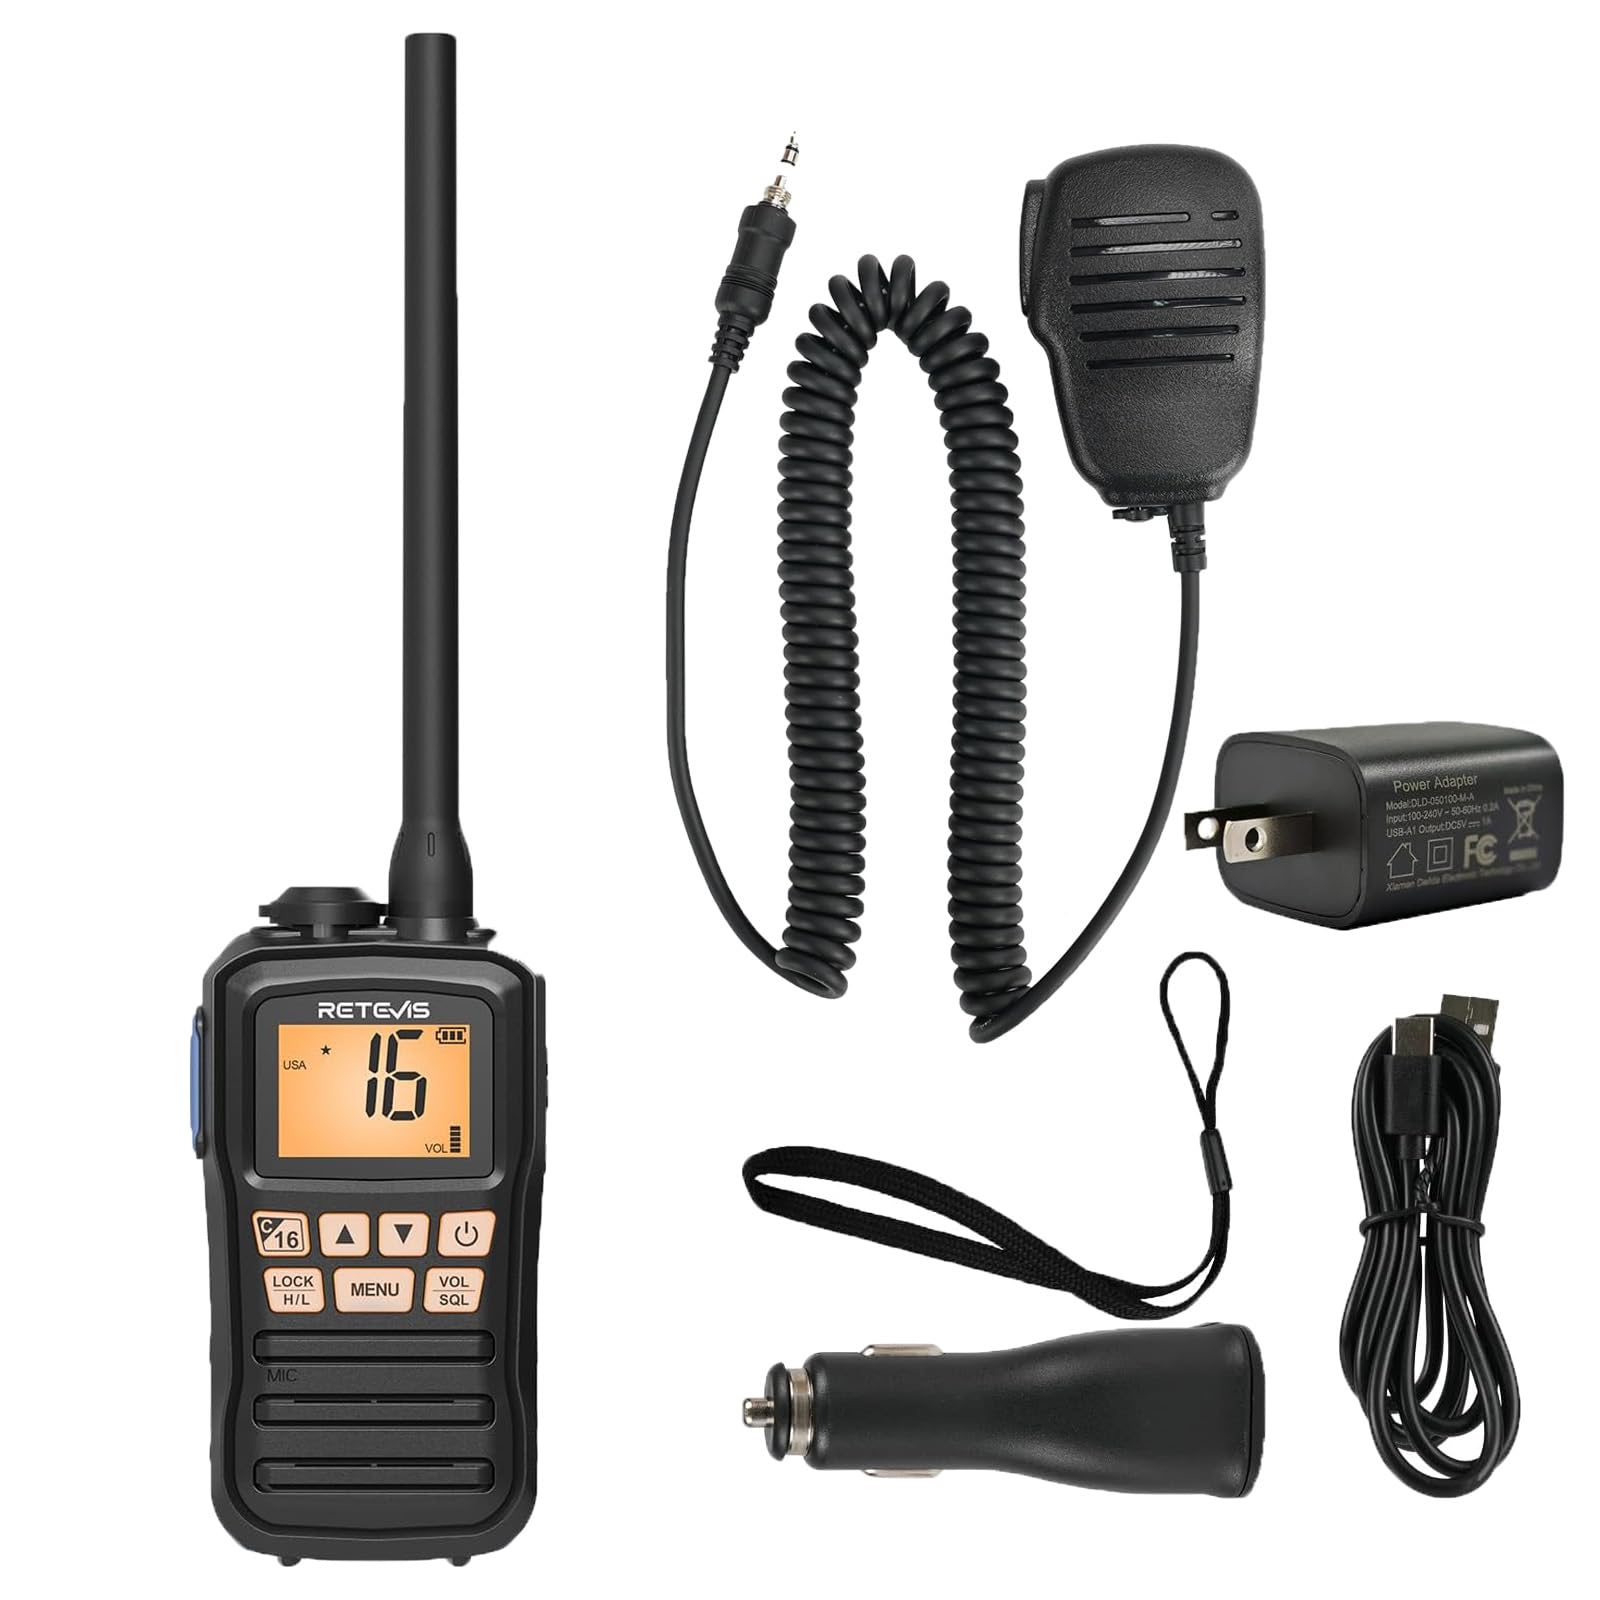
Image 1.1: The Retevis RM01P radio, highlighting its lightweight (136g) and portable design with dimensions (4.69in height, 2.48in width, 1.38in depth).
2. Packungsinhalt
Überprüfen Sie, ob alle Artikel im Paket vorhanden sind:
- RM01P Marine Walkie Talkie (1)
- Batterie (1)
- Autoladegerät (1)
- Gürtelclip (1)
- Benutzerhandbuch (1)
- Netzteil (1)
- Typ-C Ladekabel (1)
- Schlüsselband (1)
- Speaker Microphone (1)

Abbildung 2.1: Visuelle Darstellung des gesamten Packungsinhalts.
3. Sicherheitshinweise
- Wasserdichtigkeitsklasse IP67: The RM01P is designed to withstand immersion in water up to 1 meter (3.3 feet) for 30 minutes. Ensure all covers and ports are securely sealed before exposure to water.
- Schwebendes Design: If the radio is accidentally dropped into water, its design allows it to float on the surface, making it easier to locate and retrieve.
- Vibration Water Draining: After exposure to water, utilize the vibration water draining function to expel water from the speaker and microphone for optimal performance.
- Do not attempt to disassemble or modify the radio. This can void the warranty and cause damage.
- Use only Retevis-approved accessories and charging equipment.

Image 3.1: The RM01P demonstrating its floating capability and IP67 waterproof rating.
4. Einrichtung
4.1 Einlegen der Batterie
- Richten Sie die Batterie an dem Batteriefach auf der Rückseite des Radios aus.
- Drücken Sie die Batterie vorsichtig an ihren Platz, bis sie sicher einrastet.
- Ensure the battery cover is properly sealed to maintain the IP67 rating.
4.2 Laden des Akkus
The RM01P features a Type-C charging port for convenience.
- Schließen Sie das USB-C-Ladekabel an den Ladeanschluss des Radios an.
- Connect the other end of the cable to the provided power adapter, car charger, or a compatible power bank/USB interface.
- Die Ladeanzeige am Radio zeigt den Ladestatus an. Eine vollständige Ladung dauert in der Regel mehrere Stunden.
- The 1750mAh battery provides approximately 15 hours of continuous use and 66 hours on standby.

Image 4.1: Charging options for the RM01P, featuring Type-C connectivity.
4.3 Attaching the Speaker Microphone
The included speaker microphone connects via a 3.5mm 1-pin jack.
- Suchen Sie die 3.5-mm-Audiobuchse an der Seite des Radios.
- Insert the 3.5mm 1-pin connector of the speaker microphone firmly into the jack.
- The speaker microphone features a 360° rotatable collar clip for convenient attachment to clothing.
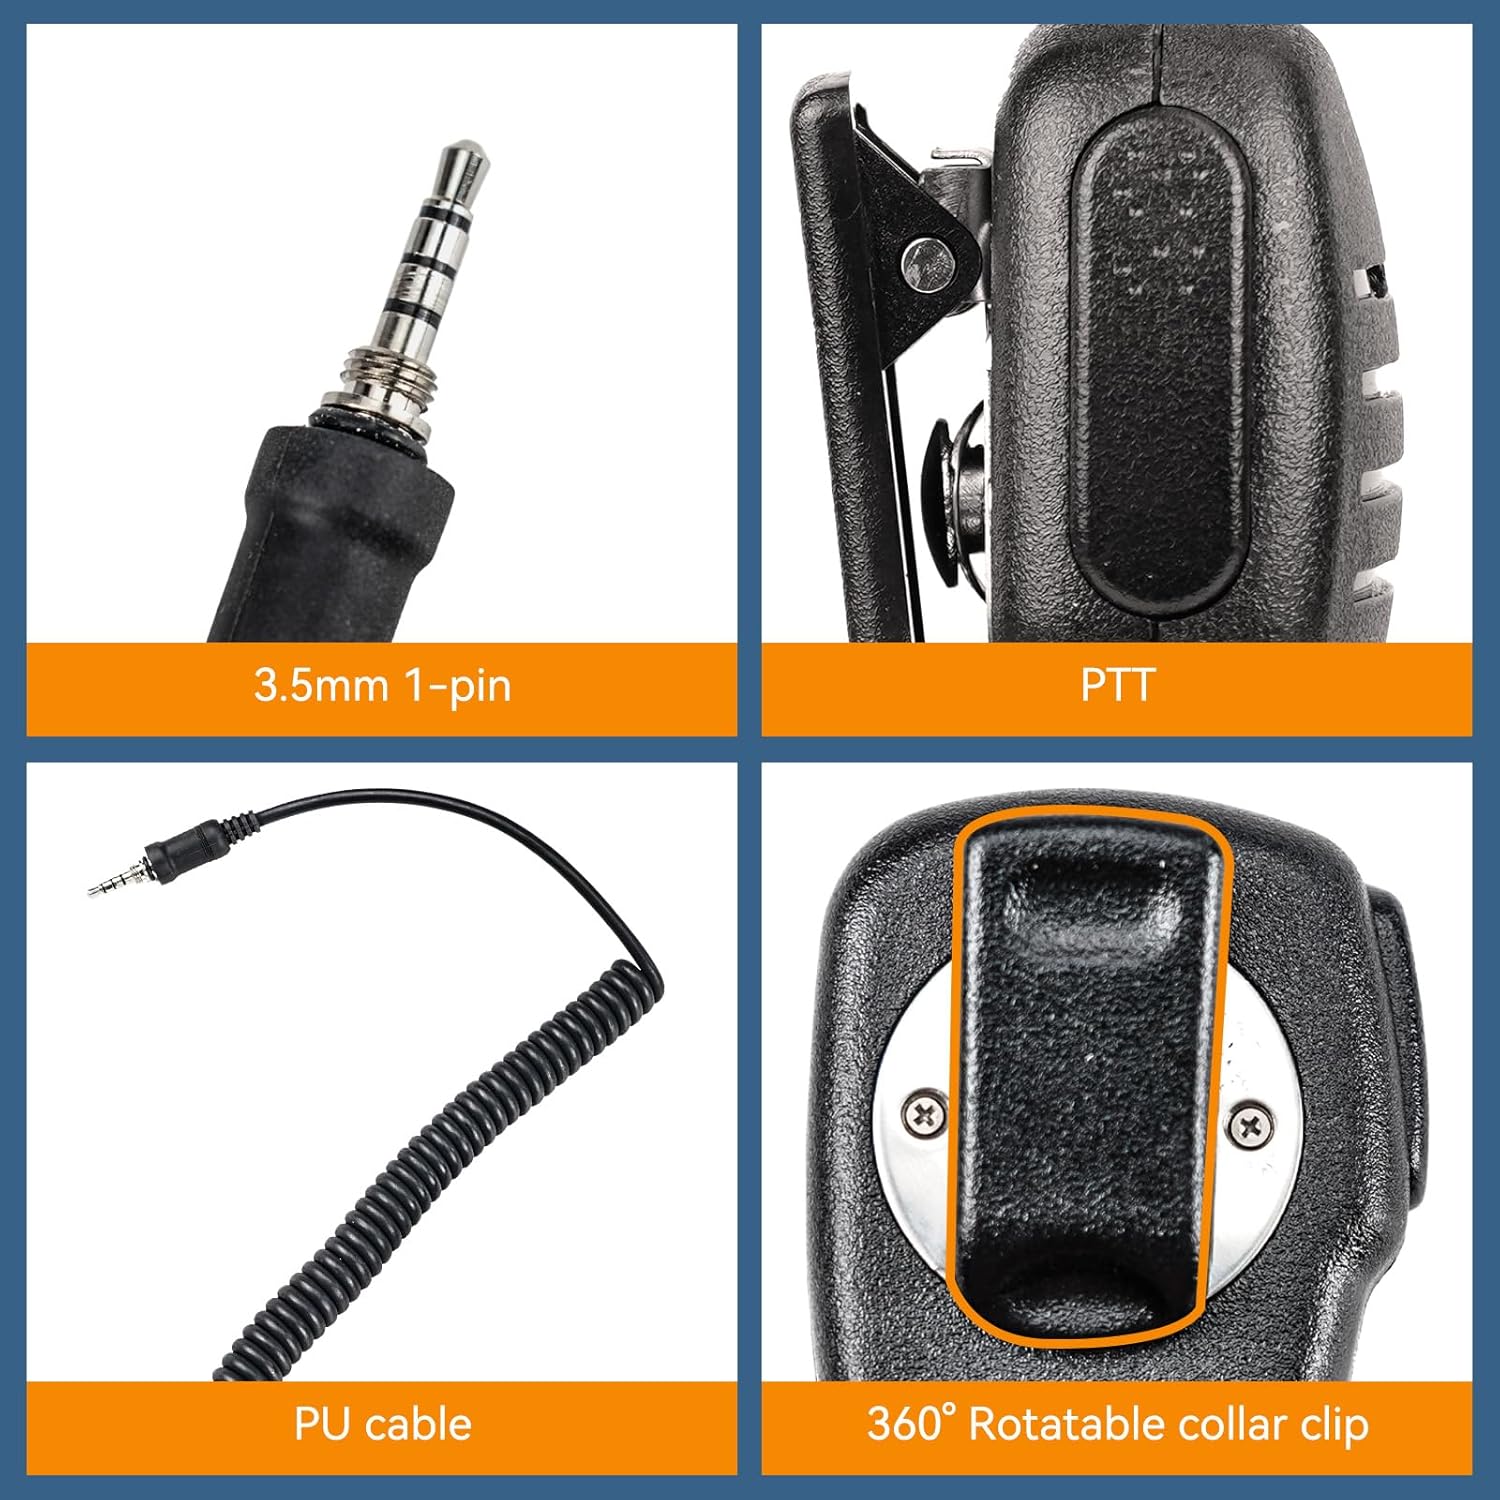
Image 4.2: Details of the 3.5mm 1-pin speaker microphone.
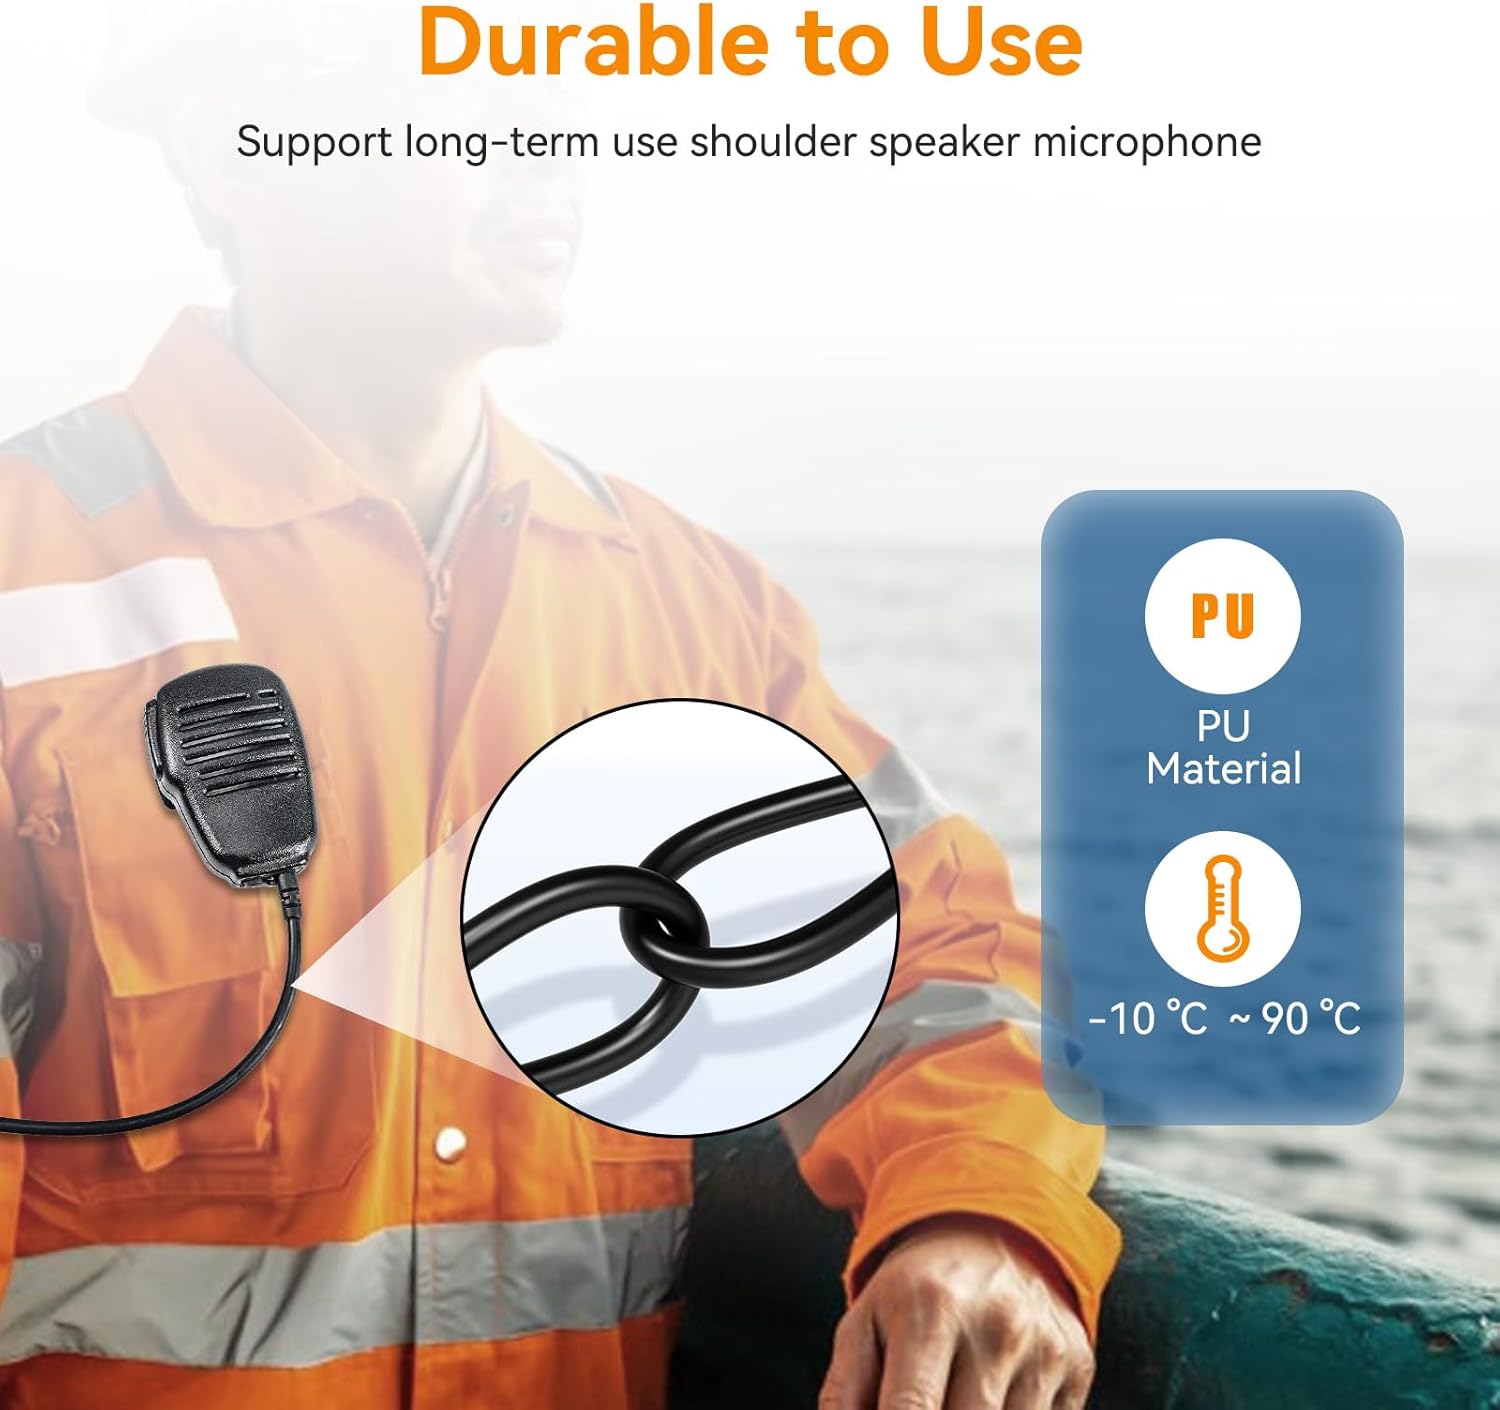
Image 4.3: Durability features of the speaker microphone, including PU material.
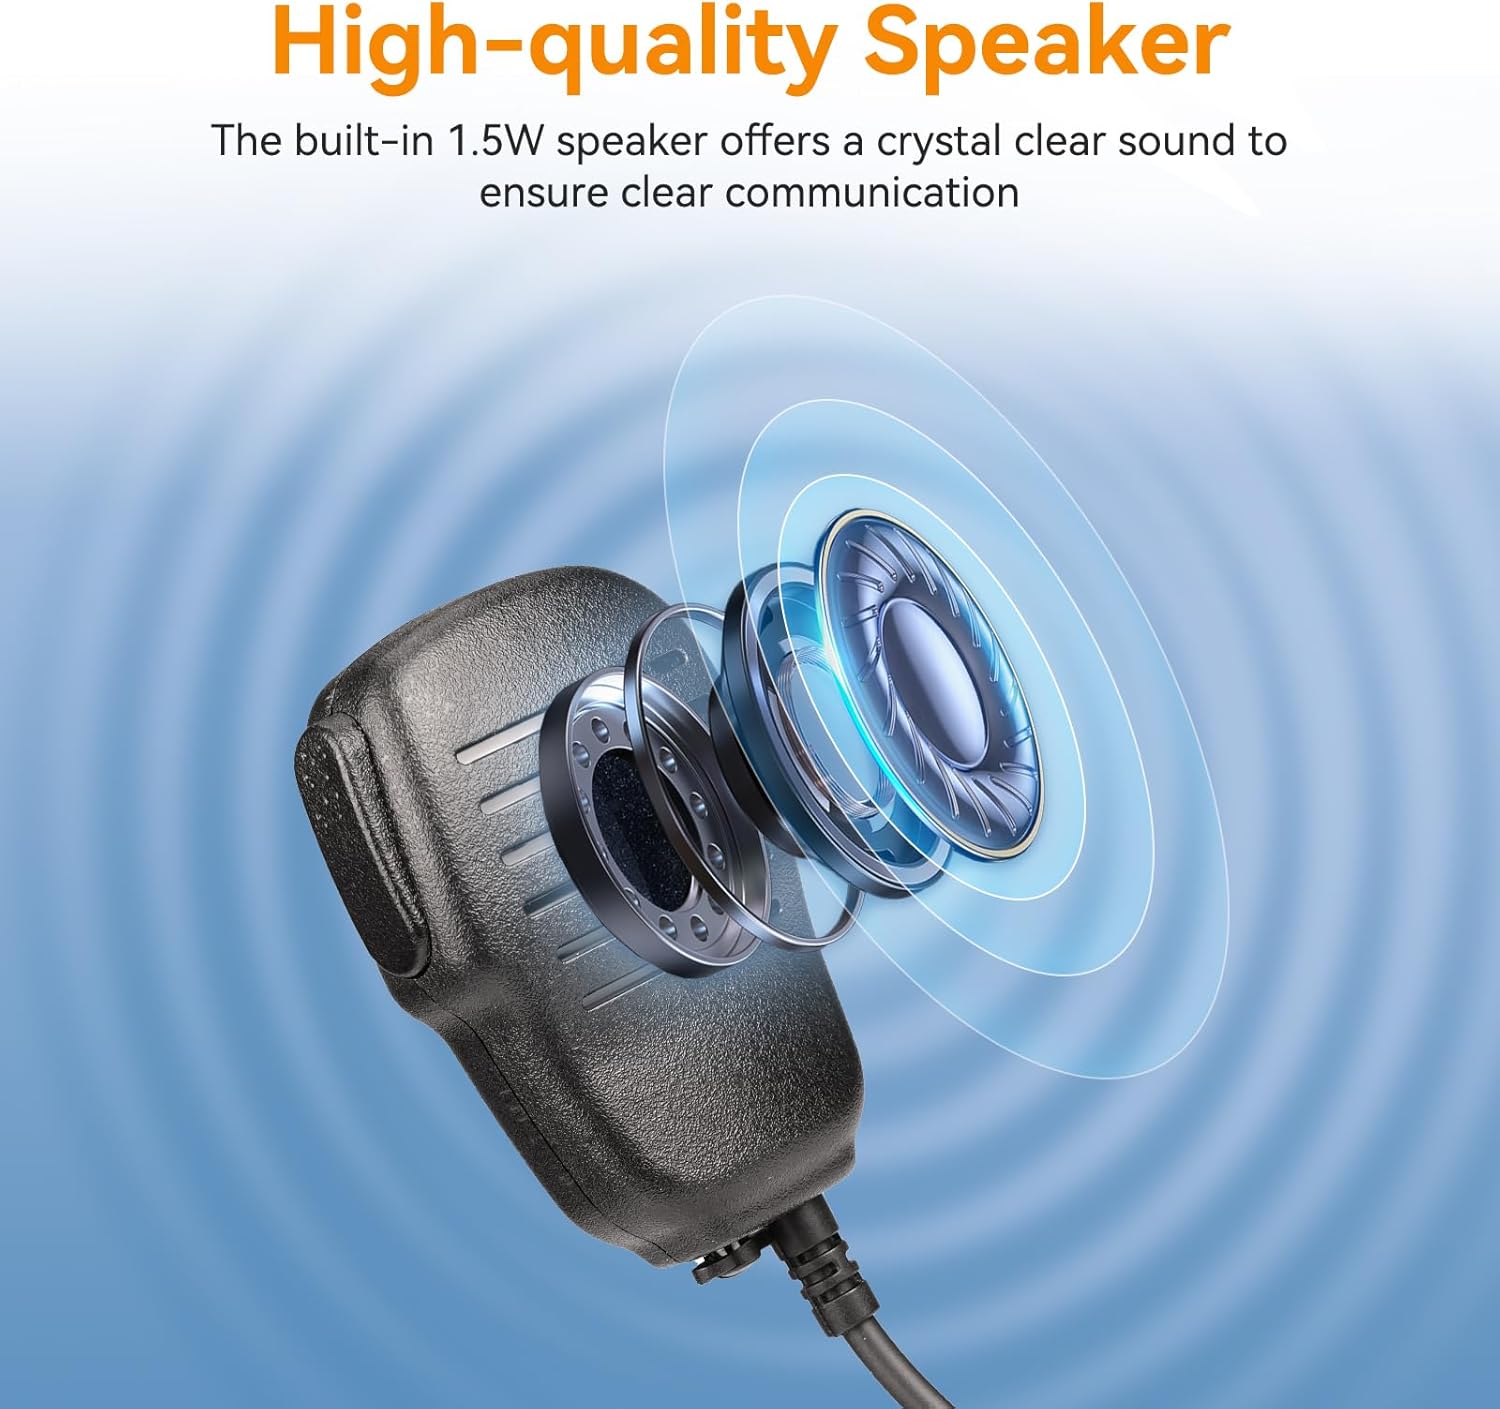
Image 4.4: High-quality speaker design for clear audio.
5. Bedienungsanleitung
5.1 Ein-/Ausschalten
Halten Sie die Leistung Taste (üblicherweise mit einem Ein-/Ausschaltsymbol gekennzeichnet) zum Ein- und Ausschalten des Radios.
5.2 Lautstärkeregelung
Verwenden Sie die VOL (Volume) up/down buttons or knob to adjust the listening volume.
5.3 Kanalauswahl
Verwenden Sie die AUF/AB arrow buttons to navigate through available marine channels. The current channel number will be displayed on the screen.
5.4 Senden und Empfangen
- Zum Senden die Taste gedrückt halten PTT (Push-To-Talk) button on the side of the radio or speaker microphone. Speak clearly into the microphone.
- Lassen Sie den PTT Taste zum Beenden der Übertragung und Rückkehr in den Empfangsmodus.
- Stellen Sie sicher, dass Sie den geeigneten Kommunikationskanal nutzen.
5.5 Squelch Adjustment (SQL)
Der SQL (Squelch) function filters out weak signals and background noise. Adjust it to a level where only clear signals are heard, minimizing static.
5.6 Lock Function (LOCK)
Drücken Sie die SPERREN button to prevent accidental changes to settings or channels. Press it again to unlock.
5.7 NOAA-Wetterkanäle
The RM01P supports 10 NOAA Weather Channels, providing real-time weather alerts to help avoid storms and hazards.
- Access NOAA channels through the menu or a dedicated button (refer to the radio's display for specific indicators).
- Monitor these channels for critical weather information relevant to your location.

Image 5.1: Radio display indicating NOAA Weather Channel functionality.
6. Wartung
- Reinigung: Wischen Sie das Radio mit einem weichen, damp Tuch. Verwenden Sie keine scharfen Chemikalien oder Scheuermittel.
- Wasser ablassen: After exposure to water, activate the vibration water draining function to clear water from the speaker and microphone grille. This helps maintain audio clarity.
- Lagerung: Bewahren Sie das Radio bei Nichtgebrauch an einem kühlen, trockenen Ort auf. Entfernen Sie die Batterie, wenn Sie es längere Zeit lagern.
- Batteriepflege: Avoid fully discharging the battery frequently. Charge the battery regularly to prolong its lifespan.
7. Fehlerbehebung
| Problem | Mögliche Ursache | Lösung |
|---|---|---|
| Das Radio lässt sich nicht einschalten. | Die Batterie ist schwach oder nicht richtig eingesetzt. | Charge the battery. Reinstall the battery, ensuring it is securely seated. |
| Kein Ton oder verzerrter Ton. | Volume too low, squelch too high, or water in speaker/mic. | Increase volume. Adjust squelch (SQL) level. Use water draining function if exposed to water. |
| Senden und Empfangen nicht möglich. | Incorrect channel, out of range, or PTT button issue. | Verify channel selection. Move closer to the other radio. Ensure PTT button is fully pressed. |
| Das Funkgerät ist gesperrt. | Sperrfunktion ist aktiviert. | Press the LOCK button again to unlock the radio. |
8. Spezifikationen
- Modell: Retevis RM01P
- Wasserdichtigkeit: IP67 (Tauchfähig bis zu 1 m für 30 Minuten)
- Batteriekapazität: 1750 mAh
- Akkulaufzeit: Approx. 15 hours (continuous use), 66 hours (standby)
- Ladeanschluss: Type-C (5V input voltage)
- Lautsprecherausgangsleistung: 1.5 W
- Mikrofonempfindlichkeit: -38dB ± 3dB
- Lautsprecher Empfindlichkeit: 88 dB ± 3 dB
- Speaker Microphone Pin: 3.5 mm, 1-polig
- Speaker Microphone Material: PU
- Speaker Microphone Operating Temperature: -10 °C bis 90 °C (14 °F bis 194 °F)
- NOAA-Wetterkanäle: 10
9. Garantie und Support
Informationen zur Garantie und zum technischen Support finden Sie auf der offiziellen Retevis-Website. webBesuchen Sie unsere Website oder wenden Sie sich an Ihren Händler vor Ort. Bewahren Sie Ihren Kaufbeleg für Garantieansprüche auf.
Verkäufer: Retevis Direct
Rückgaberecht: 30 Tage (Rückerstattung/Umtausch)
Weitere Unterstützung finden Sie unter Retevis Store bei Amazon.