1. Einleitung
This manual provides detailed instructions for the safe installation, operation, and maintenance of your Emerald P401TSW 6-inch Recessed Ceiling Light Fixture Kit. Please read all instructions carefully before beginning installation and retain this manual for future reference. Proper installation is crucial for safety and optimal performance.
2. Sicherheitshinweise
WARNING: RISK OF ELECTRIC SHOCK. Disconnect power at the circuit breaker or fuse box before installation or servicing. Failure to do so may result in serious injury or death.
- Alle elektrischen Anschlüsse müssen den örtlichen Vorschriften, Verordnungen und dem National Electric Code (NEC) entsprechen.
- Wenn Sie sich bezüglich der Verdrahtungsverfahren unsicher sind, wenden Sie sich an einen qualifizierten Elektriker.
- Tragen Sie während der Installation Schutzbrille und Handschuhe.
- Stellen Sie sicher, dass das Gerät ordnungsgemäß geerdet ist.
- Do not install insulation within 3 inches of the fixture housing.
- This fixture is designed for indoor use in dry or damp nur Standorte.
3. Packungsinhalt
Vergewissern Sie sich vor Beginn der Installation, dass alle Komponenten vorhanden sind:
- Recessed Housing (1)
- White Trim Ring (1)
- Frosted Glass Diffuser (1)
- Befestigungsmaterial (Schrauben, Drahtklemmen)
- Bedienungsanleitung (dieses Dokument)
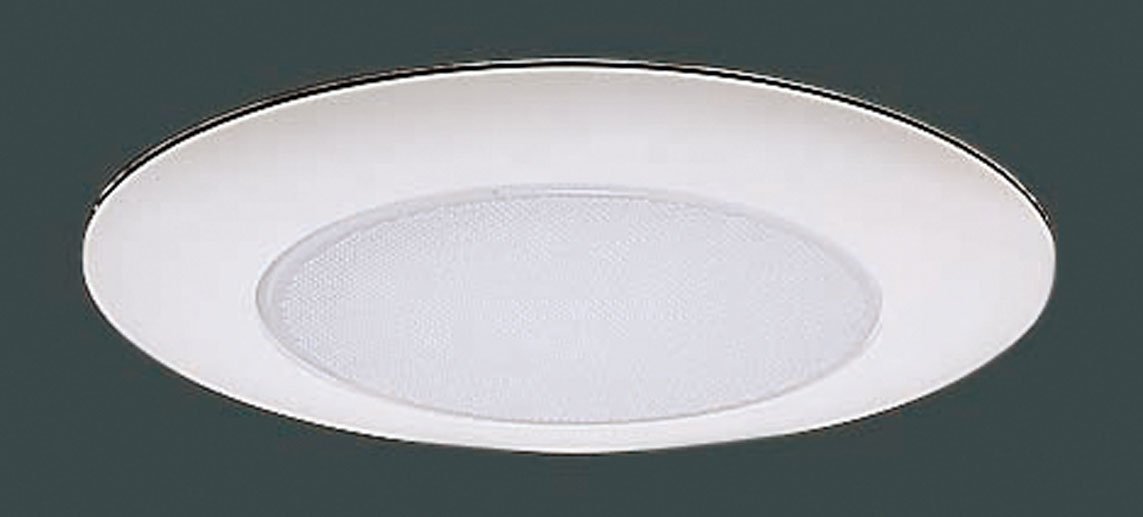
Image: Components of the Emerald P401TSW recessed light kit, showing the housing, white trim, and frosted glass diffuser.
4. Erforderliches Werkzeug
Für die Installation werden üblicherweise folgende Werkzeuge benötigt:
- Kreuzschlitzschraubendreher
- Flachkopfschraubenzieher
- Abisolierzangen
- Maßband
- Bleistift
- Drill with Hole Saw (6-1/4 inch recommended for a snug fit)
- Utility Knife (optional, for drywall)
- Schutzbrille
5. Installationsanweisungen
Follow these steps carefully to install your recessed light fixture. This kit is designed for both new construction and remodel applications.
Schritt 1: Bereiten Sie die Installation vor
- Strom ausschalten: Locate the circuit breaker or fuse box controlling the area where you will install the fixture and turn off the power. Verify power is off using a voltage Tester.
- Standort bestimmen: Choose a suitable location on the ceiling, ensuring there are no obstructions (joists, pipes, wires) behind the drywall.
- Mark and cut hole: Using a measuring tape and pencil, mark the center of your desired fixture location. Use a 6-1/4 inch hole saw to cut a circular opening in the drywall. Note: A slightly larger hole (e.g., 6-3/8 inch) may be necessary for easier installation and to prevent drywall damage, as reported by some users. Test fit before final wiring.
Schritt 2: Verdrahtung der Vorrichtung
- Anschlussdose öffnen: Open the access plate on the fixture's junction box.
- Drähte anschließen: Feed the electrical supply wires through the knockout hole into the junction box. Using wire nuts, connect the wires as follows:
- Verbinden Sie Schwarz (hot) wire from the supply to the Schwarz wire of the fixture.
- Verbinden Sie Weiß (neutral) wire from the supply to the Weiß wire of the fixture.
- Verbinden Sie blankes Kupfer or Grün (ground) wire from the supply to the Grün ground screw or wire in the junction box.
- Sichere Verkabelung: Ensure all connections are secure. Carefully tuck all wires and wire nuts into the junction box and close the access plate.
Step 3: Installing the Housing
- Insert housing: Carefully push the recessed housing up into the ceiling opening.
- Secure housing: The housing features spring clips or tension clips. Push these clips outwards and upwards to secure the housing firmly against the ceiling drywall. Ensure the housing is flush and level with the ceiling surface. If the housing does not sit level, it may require minor adjustment or shimming before proceeding.
Step 4: Installing the Trim and Glass
- Install bulb: Screw in the appropriate bulb (not included) into the socket. Refer to the specifications section for bulb type and wattage.
- Attach glass diffuser: Place the frosted glass diffuser into the trim ring.
- Verkleidung einbauen: Align the trim ring with the housing. The trim typically has torsion springs or clips that attach to brackets inside the housing. Gently push the trim upwards until it snaps securely into place, flush with the ceiling.
Schritt 5: Letzte Schritte
- Stromversorgung wiederherstellen: Schalten Sie den Strom am Sicherungsautomaten oder Sicherungskasten wieder ein.
- Prüfvorrichtung: Schalten Sie den Lichtschalter ein, um sicherzustellen, dass die Leuchte ordnungsgemäß funktioniert.
6. Bedienungsanleitung
Once installed, the Emerald P401TSW recessed light fixture operates like any standard ceiling light. Control it using a wall switch connected to the circuit. To replace the bulb, ensure power is off, allow the bulb to cool, then unscrew the old bulb and screw in a new one of the correct type and wattage.
7. Wartung
- Reinigung: Disconnect power before cleaning. Wipe the trim and glass diffuser with a soft, damp Tuch. Verwenden Sie keine Scheuermittel oder Lösungsmittel, da diese die Oberfläche beschädigen können.
- Lampenwechsel: Always turn off power before replacing a bulb. Allow the bulb to cool completely. Use only bulbs that meet the specifications listed in this manual.
- Inspektion: Überprüfen Sie die Leuchte regelmäßig auf Beschädigungen oder lose Verbindungen. Sollten Sie Mängel feststellen, schalten Sie die Stromzufuhr ab und wenden Sie sich an einen qualifizierten Elektriker.
8. Fehlerbehebung
| Problem | Mögliche Ursache | Lösung |
|---|---|---|
| Licht geht nicht an | Kein Strom zum Gerät Lose Kabelverbindung Defekte Glühbirne | Prüfen Sie den Leitungsschutzschalter/die Sicherung. Prüfen Sie, ob alle Drahtverbindungen fest sitzen (bei ausgeschalteter Stromversorgung). Glühbirne ersetzen |
| Licht flackert | Lose Kabelverbindung Falscher Lampentyp Dimmer-Inkompatibilität | Check wire connections (power off) Stellen Sie sicher, dass Sie den richtigen Lampentyp und die richtige Wattzahl verwenden.tage Verify dimmer is compatible with bulb type |
| Fixture is not flush with ceiling | Improperly seated clips Hole cut too small | Re-seat spring clips firmly Carefully enlarge hole slightly if necessary (power off) |
9. Spezifikationen
- Modell: P401TSW
- Gerätetyp: Recessed Ceiling Light Kit
- Größe: 6-inch (nominal opening)
- Endbearbeitung: Weiß
- Glas: Frosted Diffuser
- Bandtage: 120V AC, 60Hz
- Lampentyp: Incandescent, LED, or CFL compatible (bulb not included)
- Maximal Watttage: 60W (or equivalent LED/CFL)
- Standortbewertung: Trocken oder Damp
10. Garantieinformationen
This Emerald product is covered by a limited warranty against defects in materials and workmanship. Please refer to the warranty card included with your purchase or visit the manufacturer's website for specific terms and conditions. Keep your proof of purchase for warranty claims.
11. Kundendienst
For technical assistance, missing parts, or warranty inquiries, please contact Emerald customer support. Refer to the packaging or the manufacturer's official website for current contact information (phone number, email, or support portal).