1. Einleitung
This manual provides essential information for the safe and efficient operation of your Roline DesignSecure 525 Uninterruptible Power Supply (UPS). Please read this manual thoroughly before installation and use to ensure proper functionality and to prevent damage to the unit or connected equipment.
The Roline DesignSecure 525 UPS is designed to provide reliable emergency power for workstations and communication technology, protecting against power fluctuations, blackouts, and surges.
2. Sicherheitshinweise
WARNUNG: Die Nichtbeachtung dieser Sicherheitshinweise kann zu Stromschlag, Brand oder schweren Verletzungen führen.
- Öffnen Sie das UPS-Gehäuse nicht.asing. Im Inneren befinden sich keine vom Benutzer wartbaren Teile. Alle Wartungsarbeiten dürfen nur von qualifiziertem Servicepersonal durchgeführt werden.
- Schließen Sie keine Geräte an, die die USV überlasten könnten, wie z. B. Laserdrucker oder Staubsauger.
- Stellen Sie sicher, dass die USV an eine geerdete Steckdose angeschlossen ist.
- Setzen Sie die USV weder Wasser noch übermäßiger Feuchtigkeit aus.
- Position the UPS in a well-ventilated area, away from direct sunlight and heat sources.
- Disconnect the UPS from the power outlet before cleaning. Use a dry cloth for cleaning.
3. Produktüberschreitungview
The Roline DesignSecure 525 UPS provides uninterruptible power and protection for your electronic devices. Key features include:
- Zuverlässige Stromversorgung: Provides emergency power and protection against spikes, voltage variations, blackouts, interference, and overvoltage.
- Verlängerte Akkulaufzeit: Features a battery management system for efficient charging and a digital display for battery status.
- Leistungskapazität: Supports 2000 VA / 1200 W, offering a full power runtime of 2 minutes and 4 minutes at mid-power.
- Built-in AVR: Automatische Lautstärketage Regulation protects against surges and undervoltages, regulating voltage variations via Buck and Boost technology.
- Überwachungssoftware: Includes built-in software for communication between the inverter microprocessor and a PC, compatible with common operating systems.
3.1. Komponenten
Below is an image of the Roline DesignSecure 525 UPS, highlighting its general appearance.
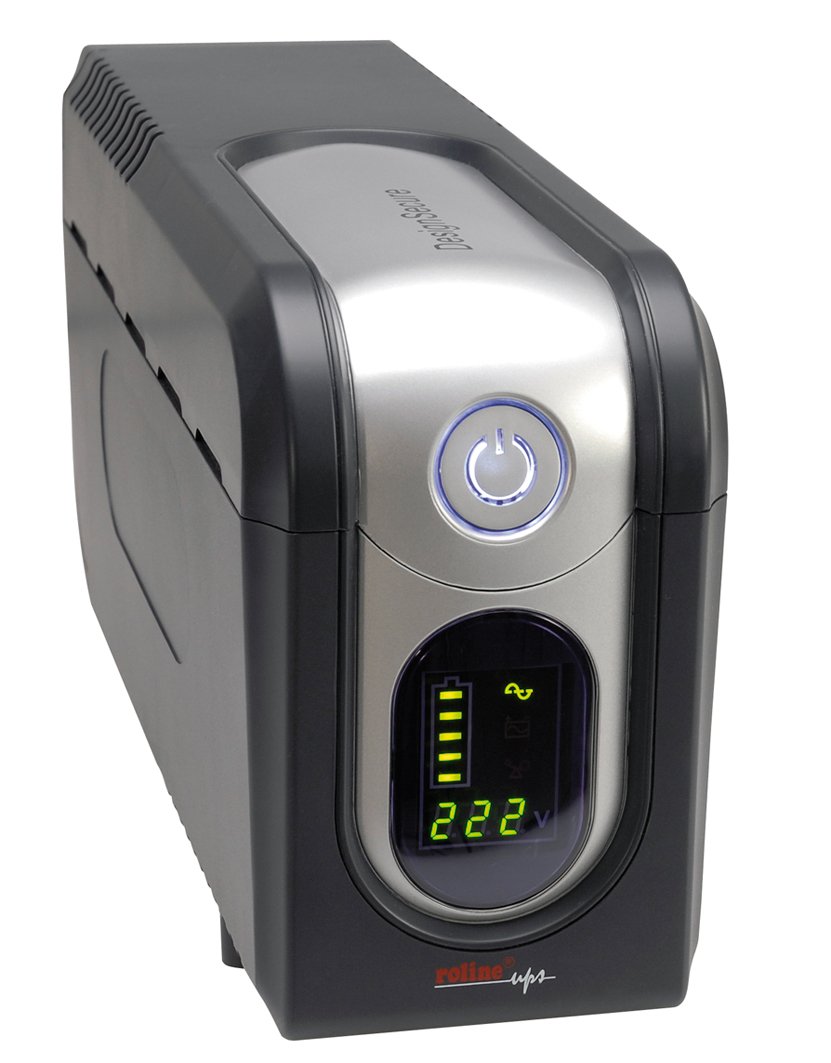
Abbildung 1: Vorderseite view of the Roline DesignSecure 525 UPS. This image shows the main unit, including the display panel and power outlets.
The UPS typically includes:
- Stromeingangsanschluss
- Output Power Outlets (Type B - 3 pin North American)
- Control Panel / LCD Display
- USB-Kommunikationsanschluss
- Telephone/Modem Protection Ports (RJ11)
4. Einrichtung
4.1. Auspacken
Carefully unpack the UPS and inspect it for any shipping damage. Retain the packaging for future transport or storage.
4.2. Platzierung
Place the UPS on a flat, stable surface in a clean, dry, and well-ventilated area. Ensure there is adequate space around the unit for proper airflow. Avoid placing it near heat sources or in direct sunlight.
4.3. An die Stromversorgung anschließen
- Stellen Sie sicher, dass die USV ausgeschaltet ist.
- Connect the UPS power input cable to a grounded Type B (3-pin North American) wall outlet.
- Um eine optimale Akkuleistung zu gewährleisten, sollte die USV vor der ersten Verwendung mindestens 8 Stunden lang aufgeladen werden.
4.4. Geräte anschließen
- Connect your computer, monitor, and other critical devices to the UPS output receptacles.
- For telephone/modem line protection, connect your incoming telephone/modem line to the "IN" port on the UPS, and then connect a cable from the "OUT" port to your telephone/modem device.
- Do not connect surge strips or extension cords to the UPS output.
4.5. Softwareinstallation (optional)
For advanced monitoring and management, install the provided smart monitoring software on your computer. Connect the UPS to your computer using a USB cable. Refer to the software's specific instructions for installation and configuration.
5. Bedienungsanleitung
5.1. Turning On the UPS
Press and hold the power button on the front panel for approximately 2-3 seconds until you hear a beep and the display illuminates. The UPS will perform a self-test and then enter online mode.
5.2. Turning Off the UPS
To turn off the UPS, press and hold the power button for approximately 2-3 seconds until you hear a beep and the display turns off. Ensure all connected devices are properly shut down before turning off the UPS.
5.3. Anzeigeanzeigen
The digital display provides real-time information about the UPS status, including:
- Eingangslautstärketage
- Ausgangsvolumentage
- Akkuladestand
- Laststufe
- Operating Mode (Online, Battery, Bypass)
- Fehlercodes (falls vorhanden)
Refer to the software manual for detailed explanations of all display indicators and error codes.
5.4. Automatische Lautstärketage Verordnung (AVR)
The built-in AVR automatically corrects minor voltage fluctuations without switching to battery power, preserving battery life. If the input voltage goes too high or too low, the AVR will adjust it to a safe level for your connected devices.
5.5. Batteriebetrieb
Im Falle eines Stromausfallstage, the UPS will automatically switch to battery power. An audible alarm will sound, and the display will indicate battery mode. The duration of battery backup depends on the load connected. The UPS will automatically shut down when the battery is depleted to prevent deep discharge.
6. Wartung
6.1. Batteriepflege
- To maintain optimal battery life, ensure the UPS is connected to a power source and charging when not in use.
- Vermeiden Sie häufige tiefe Harnentleerungen.
- If storing the UPS for an extended period, fully charge it every three months to prevent battery degradation.
- Battery replacement should only be performed by qualified personnel.
6.2. Reinigung
Ensure the UPS is turned off and disconnected from the power outlet before cleaning. Use a soft, dry cloth to wipe the exterior. Do not use liquid or aerosol cleaners.
6.3. Umgebungsbedingungen
Maintain the UPS in an environment with stable temperature and humidity. Extreme conditions can shorten battery life and affect performance.
7. Fehlerbehebung
This section provides solutions to common issues you might encounter with your Roline DesignSecure 525 UPS.
| Problem | Mögliche Ursache | Lösung |
|---|---|---|
| Die USV schaltet sich nicht ein. | No input power; Low battery; Power button not pressed long enough. | Check power cord connection; Allow UPS to charge for several hours; Press and hold power button for 2-3 seconds. |
| UPS beeps continuously in online mode. | Overload condition; Internal fault. | Reduce connected load; Disconnect non-essential devices; If problem persists, contact support. |
| Kurze Akkulaufzeit. | Overload; Battery nearing end of life; Battery not fully charged. | Reduce connected load; Allow UPS to charge fully; Consider battery replacement if old. |
| Connected devices not receiving power. | UPS is off; UPS is in fault mode; Output receptacles are not active. | Turn on UPS; Check display for error codes; Ensure devices are connected to battery-backed outlets. |
If the problem persists after attempting these solutions, please contact Roline customer support.
8. Spezifikationen
| Besonderheit | Detail |
|---|---|
| Modellnummer | 19401205 |
| Technische Daten | 4.13 x 6.61 x 13.15 Zoll |
| Artikelgewicht | 12.79 Pfund |
| Ausgangsvolumentage | 120 Volt (Wechselstrom) |
| Netzsteckertyp | Typ B – 3-polig (Nordamerika) |
| Farbe | Schwarz / Silber |
| Hersteller | ROLINE |
| Datum der ersten Verfügbarkeit | 20. August 2012 |
9. Garantie und Support
9.1. Garantieinformationen
Roline products are manufactured to high quality standards. For specific warranty terms and conditions, please refer to the warranty card included with your product or visit the official Roline webBewahren Sie Ihren Kaufbeleg für Garantieansprüche auf.
9.2. Kundendienst
If you require technical assistance or have questions not covered in this manual, please contact Roline customer support. Contact information can typically be found on the Roline webauf der Website oder auf der Produktverpackung.
Bitte halten Sie bei Kontaktaufnahme mit dem Support Ihre Modellnummer (19401205) und das Kaufdatum bereit.


