1. Einführung und Endeview
The AKG P220 is a large-diaphragm true condenser microphone designed for professional studio and stage applications. It delivers a warm and clear sound, suitable for recording lead vocals, acoustic guitars, and brass instruments. Its robust construction and versatile features make it a reliable choice for various audio recording needs.
Key features include a switchable bass-cut filter to eliminate unwanted low-frequency rumble and an attenuation pad for handling high sound pressure levels (up to 155dB SPL), making it ideal for loud sound sources.
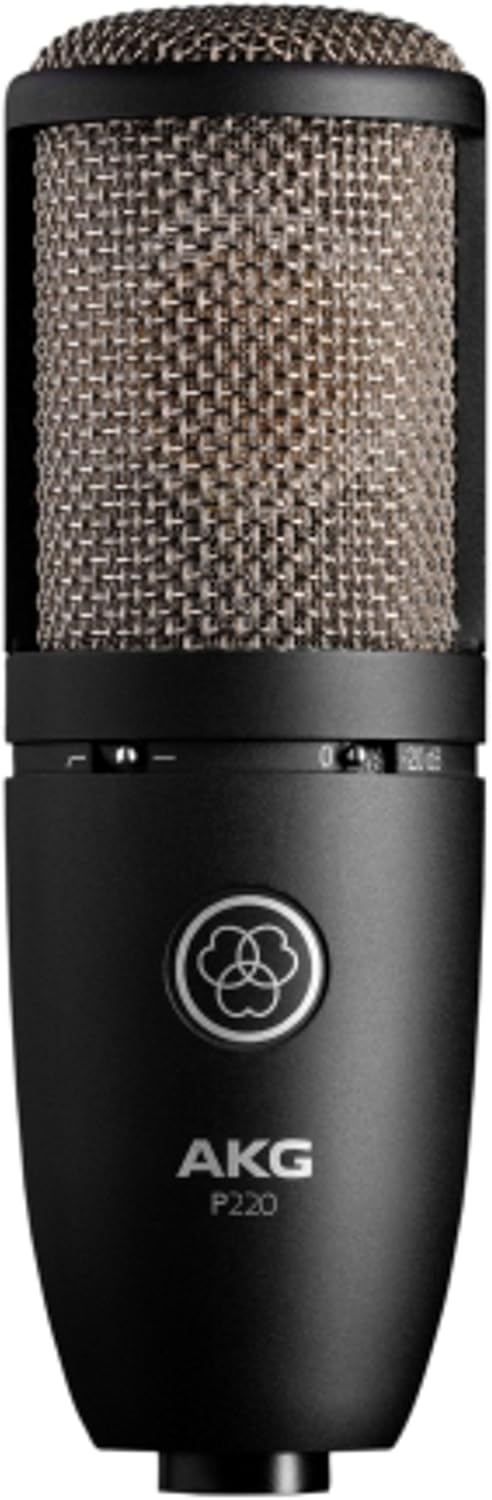
Image: The AKG P220 microphone, showcasing its black metal body and silver grille.
2. Einrichtungsanweisungen
2.1 Auspacken und Prüfen
Carefully remove the microphone and its accessories from the aluminum carrying case. Inspect all components for any signs of damage. The package should include the AKG P220 microphone, a spider-type shock mount, and a spare elastic band for the mount.
2.2 Anbringen der Stoßdämpferhalterung
- Gently insert the microphone into the shock mount. Ensure it is securely seated within the elastic bands to isolate it from vibrations.
- Tighten the screw mechanism on the shock mount to firmly hold the microphone in place.
- Attach the shock mount to a standard microphone stand using the threaded adapter.

Image: The AKG P220 microphone securely mounted in its spider-type shock mount.
2.3 Connecting to Audio Interface/Mixer
The AKG P220 requires an XLR cable and 48V phantom power for operation. It is not a plug-and-play USB microphone.
- Connect one end of a balanced XLR cable to the XLR output connector at the bottom of the microphone.
- Connect the other end of the XLR cable to an input on your audio interface or mixing console.
- Activate the 48V phantom power on your audio interface or mixing console for the connected input channel. The microphone will not function without phantom power.
3. Bedienung des Mikrofons
3.1 Controls on the Microphone
The AKG P220 features two switches on its body:
- Bass-Cut Filter: This switch activates a low-cut filter at 300 Hz. Use it to reduce unwanted low-frequency noise such as rumble, footfall, or air conditioning hum, especially when recording vocals or acoustic instruments.
- Attenuation Pad (-20 dB): This switch engages a -20 dB pre-attenuation pad. Activate this when recording extremely loud sound sources (e.g., drum overheads, loud guitar amplifiers, brass instruments) to prevent input overload and distortion in your audio interface or mixer.
3.2 Microphone Placement and Techniques
Optimal microphone placement is crucial for achieving the best sound quality. Experiment with distances and angles relative to the sound source. The P220 has a cardioid polar pattern, meaning it is most sensitive to sounds coming from the front and rejects sounds from the sides and rear. This helps in isolating the desired sound source and reducing room reflections.
For vocals, position the microphone 6-12 inches from the singer, slightly off-axis to minimize plosives. For acoustic guitars, try pointing it towards the 12th fret for a balanced sound. When miking loud instruments, utilize the attenuation pad and maintain a suitable distance to capture the full dynamic range without distortion.
4. Wartung und Pflege
- Reinigung: Use a soft, dry cloth to clean the microphone body. Avoid using liquid cleaners or solvents, as they can damage the finish or internal components.
- Lagerung: Always store the AKG P220 in its provided aluminum carrying case when not in use. The custom-fit foam interior protects the microphone and shock mount from dust, moisture, and physical damage.
- Handhabung: Condenser microphones are delicate instruments. Avoid dropping or subjecting the microphone to harsh impacts.
- Elastic Bands: The shock mount's elastic bands may wear out over time. Replace them with the provided spare band or genuine AKG replacement parts to maintain effective vibration isolation.
5. Fehlerbehebung
| Problem | Mögliche Ursache | Lösung |
|---|---|---|
| Kein Ton vom Mikrofon | No phantom power (48V) activated. Incorrect XLR cable connection. Faulty cable. | Ensure 48V phantom power is enabled on your audio interface/mixer. Check XLR cable connections at both ends. Try a different XLR cable. |
| Verzerrter Ton | Input overload (signal too hot). Attenuation pad not engaged for loud sources. | Engage the -20 dB attenuation pad for loud sources. Reduce the gain on your audio interface/mixer input. Increase distance from the sound source. |
| Übermäßiges niederfrequentes Rauschen/Grollen | Unwanted low-frequency sounds (e.g., stage rumble, air conditioning). Bass-cut filter not engaged. | Engage the bass-cut filter switch. Ensure the microphone is properly isolated with the shock mount. |
| Microphone picking up vibrations | Shock mount not properly installed or elastic bands are worn. | Ensure the microphone is correctly seated in the shock mount. Replace worn elastic bands. |
6. Technische Daten
| Besonderheit | Spezifikation |
|---|---|
| Marke | AKG |
| Modellname | AKG Pro Audio Perception 220 |
| Mikrofon-Formfaktor | Große Membran |
| Richtcharakteristik | Unidirektional (Niere) |
| Konnektivitätstechnologie | XLR |
| Stromquelle | Phantom power (XLR) |
| Frequenzgang | 20 Hz - 20 kHz |
| Audio Empfindlichkeit | 155 Decibels (SPL) |
| Impedanz | 200 Ohm |
| Signal-Rausch-Verhältnis | 78 dB |
| Artikelgewicht | 1.16 Pfund |
| Produktabmessungen (L x B x H) | 9 x 5.5 x 9.8 Zoll |
| Material | Metall |
| Farbe | Silver Blue |
| Hersteller | Harman Musikgruppe |
7. Lieferumfang
- AKG P220 Condenser Microphone
- Spider-type Shock Mount
- Alukoffer
- Spare Elastic Band for Shock Mount
8. Garantie und Support
For warranty information, technical support, or service inquiries, please refer to the official AKG website or contact your authorized AKG dealer. Keep your proof of purchase for warranty claims.
Besuchen Sie die AKG Store Weitere Produktinformationen und Zubehör finden Sie hier.


