1. Einleitung
Thank you for choosing the Coby SNAPP CAM3002 Mini Camcorder. This compact device is designed for easy video recording and photo capture, offering portability and user-friendly operation. This manual provides detailed instructions to help you set up, operate, and maintain your camcorder effectively.
2. Packungsinhalt
Bitte prüfen Sie das Paket auf folgende Artikel:
- Coby SNAPP CAM3002 Mini Camcorder
- 2 x AA-Alkalibatterien
- TV Connection Cable (RCA/Composite Video Cable)
- Muvee Software (on CD or via download link)
- Benutzerhandbuch (dieses Dokument)
3. Camcorder Overview
Familiarize yourself with the main components of your Coby SNAPP CAM3002 Mini Camcorder:
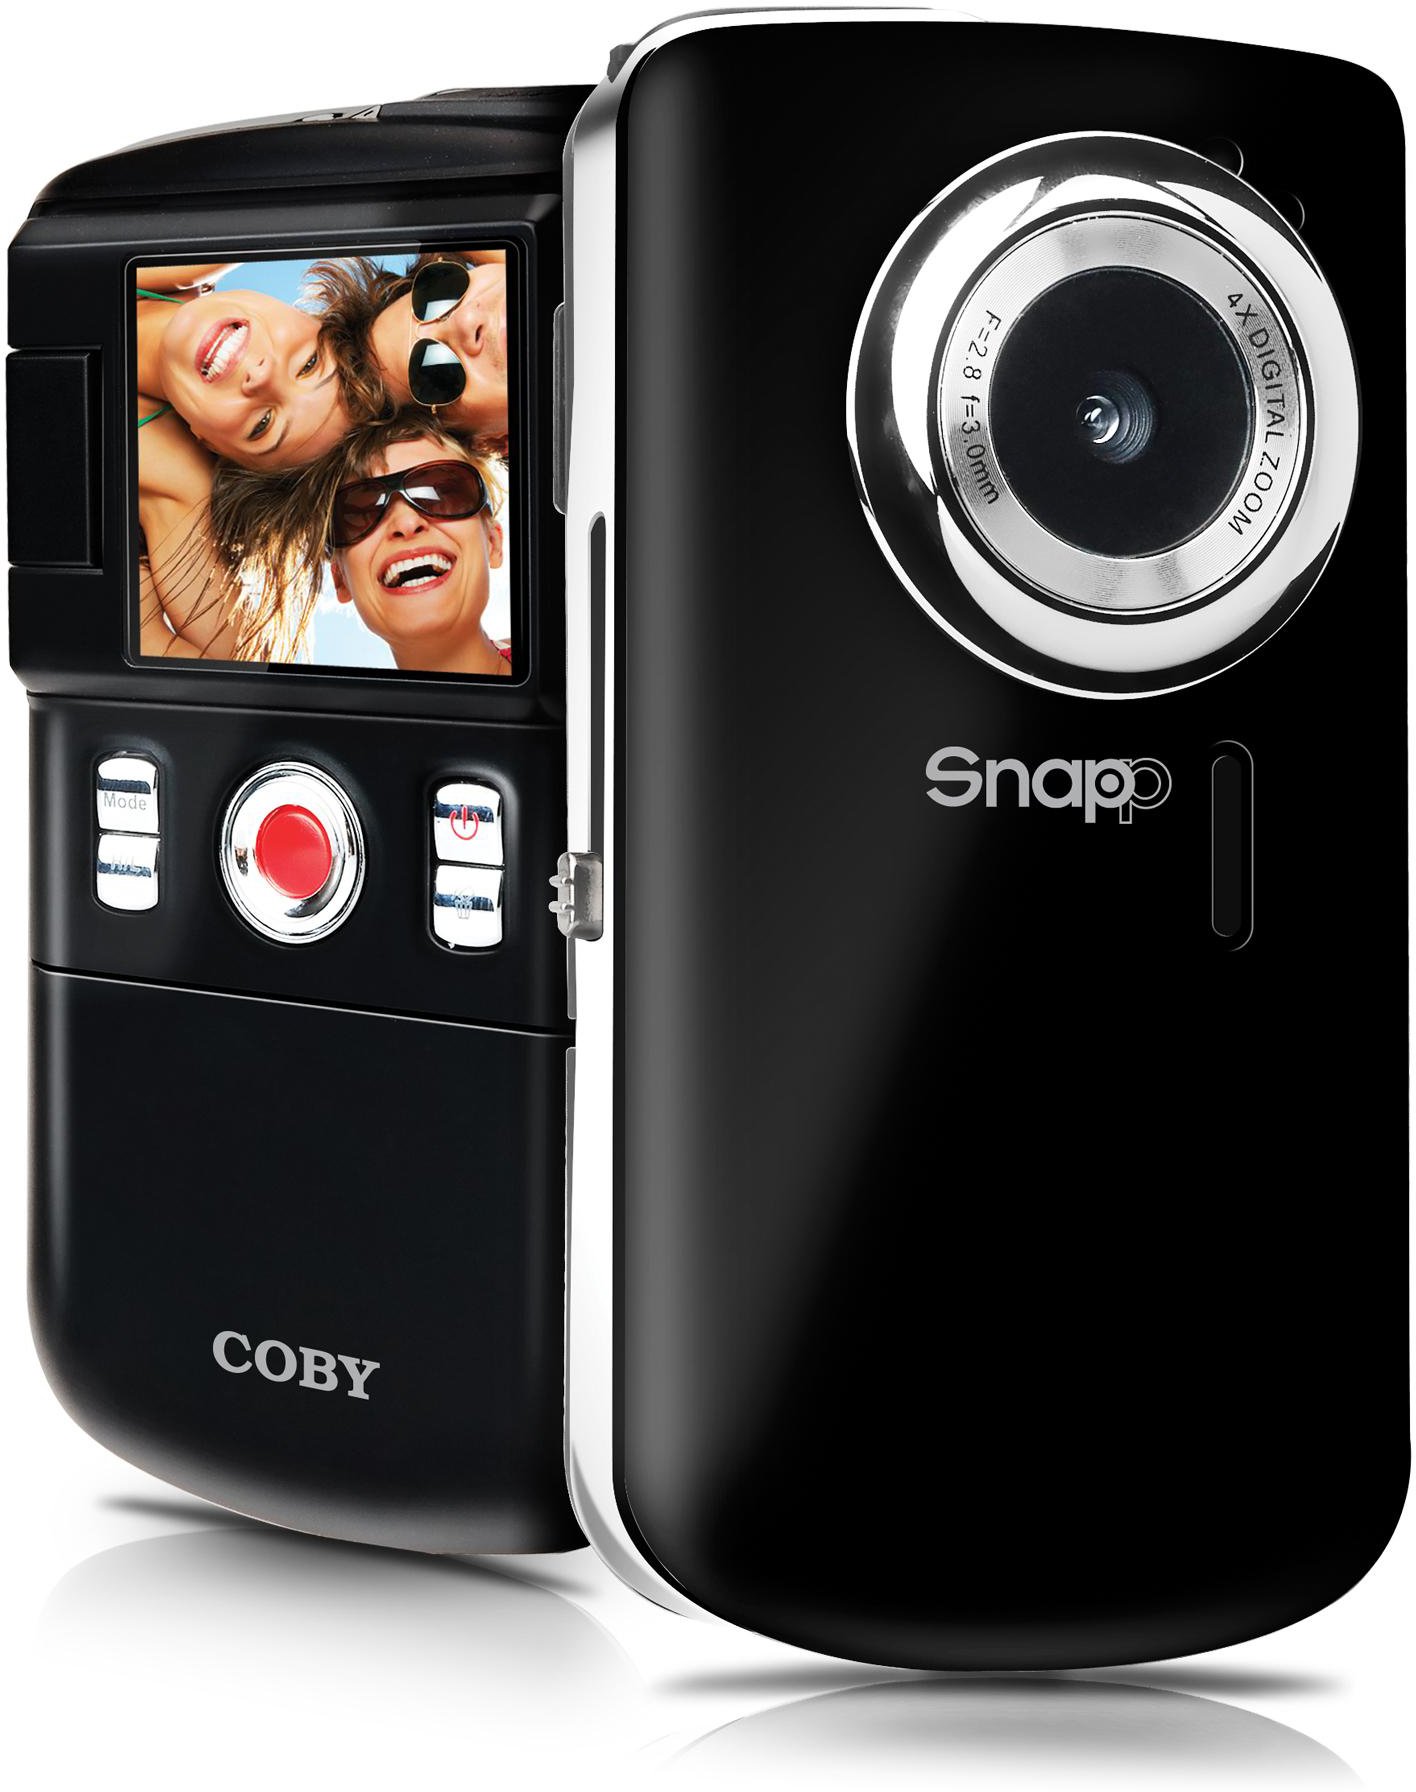
This image displays the front of the Coby SNAPP CAM3002 Mini Camcorder. Visible features include the camera lens, a small microphone opening, and several control buttons on the side, indicating its compact and portable design.
- Kameraobjektiv: Nimmt Videos und Standbilder auf.
- Mikrofon: Zeichnet während der Videoaufnahme Audio auf.
- 1.8-Zoll-LCD-Bildschirm: Zeigt Menüs und Live-Übertragungen an view, and playback. This screen can flip out for self-portraits.
- Bedientasten: For power, mode selection, recording, photo capture, and navigation.
- Batteriefach: Holds 2 AA alkaline batteries.
- SD/SDHC-Kartensteckplatz: For inserting a memory card (up to 16GB).
- Integrated USB Plug: For direct connection to a computer for file transfer and charging (if rechargeable batteries are used).
- TV-Ausgang: For connecting to a television using the included cable.
4. Einrichtung
4.1. Einlegen der Batterien
- Locate the battery compartment cover on the camcorder.
- Schieben oder heben Sie den Deckel an, um ihn zu öffnen.
- Insert two (2) AA alkaline batteries, ensuring correct polarity (+/-) as indicated inside the compartment.
- Schließen Sie den Batteriefachdeckel fest.
4.2. Einlegen einer Speicherkarte
The camcorder requires an SD or SDHC memory card (up to 16GB) to store videos and photos.
- Locate the SD/SDHC card slot on the camcorder.
- Insert the memory card with the metal contacts facing down (or as indicated by a diagram near the slot) until it clicks into place.
- To remove the card, gently push it in until it clicks, then release, and it will eject slightly.
4.3. Ein-/Ausschalten
- To power on, press and hold the Power button until the LCD screen illuminates.
- To power off, press and hold the Power button again until the screen turns off. The camcorder may also power off automatically after a period of inactivity to conserve battery life.
5. Bedienung des Camcorders
5.1. Modusauswahl
Use the Mode button to switch between the following functions:
- Videoaufnahmemodus: For capturing moving images with sound.
- Standbildmodus: For taking single photographs.
- Wiedergabemodus: Für reviewing recorded videos and photos.
5.2. Videoaufnahme
- In den Videoaufnahmemodus wechseln.
- Frame your subject using the 1.8-inch LCD screen. The screen can be flipped out for self-recording.
- Press the Record/Capture button to start recording. A red indicator or timer will appear on the screen.
- Press the Record/Capture button again to stop recording.
5.3. Fotos machen
- Switch to Still Photo Mode.
- Setzen Sie Ihr Motiv mithilfe des LCD-Bildschirms in Szene.
- Press the Record/Capture button to take a photo. The image will be saved to the memory card.
5.4. Wiedergabe
- In den Wiedergabemodus wechseln.
- Verwenden Sie die Navigationsschaltflächen, um durch Ihre aufgezeichneten Videos und Fotos zu blättern.
- Press the Record/Capture button to play a video or view ein Foto im Vollbildmodus.
5.5. Anschluss an einen Fernseher
Du kannst view your recorded content on a larger screen using the included TV connection cable.
- Ensure both the camcorder and the television are powered off.
- Connect one end of the TV connection cable to the TV Out port on the camcorder.
- Connect the other end of the cable to the corresponding video (yellow) and audio (white) input jacks on your television.
- Power on the television and select the correct AV input source.
- Power on the camcorder and switch to Playback Mode to view Ihre Medien.
5.6. Übertragen Files an einen Computer
The camcorder features an integrated USB plug for easy file Übertragung.
- Stellen Sie sicher, dass der Camcorder eingeschaltet ist.
- Extend the integrated USB plug from the camcorder.
- Plug the camcorder directly into an available USB port on your computer (Mac or PC).
- Your computer should recognize the camcorder as a removable storage device. You can then access the files (videos and photos) and copy them to your computer.
5.7. Using Muvee Software
The included Muvee software is designed to help you edit your videos and photos, and facilitate uploading them to online platforms.
- Install the Muvee software on your computer using the provided CD or download link.
- Follow the software's on-screen instructions for editing and sharing your media.
6. Wartung
6.1. Reinigung
- Verwenden Sie ein weiches, trockenes Tuch, um die Außenseite des Camcorders zu reinigen.
- Verwenden Sie für die Linse und den LCD-Bildschirm ein spezielles Linsenreinigungstuch und eine spezielle Reinigungslösung, um Kratzer zu vermeiden.
- Verwenden Sie keine aggressiven Chemikalien oder Scheuermittel.
6.2. Speicherung
- Bei längerer Nichtbenutzung sollten die Batterien entfernt werden, um ein Auslaufen zu verhindern.
- Bewahren Sie den Camcorder an einem kühlen, trockenen Ort auf, fern von direkter Sonneneinstrahlung und extremen Temperaturen.
7. Fehlerbehebung
Sollten Sie Probleme mit Ihrem Camcorder haben, beachten Sie bitte die folgenden häufig auftretenden Probleme und Lösungen:
| Problem | Mögliche Lösung |
|---|---|
| Der Camcorder lässt sich nicht einschalten. | Check if batteries are correctly inserted and fully charged. Replace with fresh AA alkaline batteries if necessary. |
| Schlechte Video- oder Fotoqualität. | Ensure sufficient lighting in the environment. Hold the camcorder steady during recording/capture. Clean the lens if it appears smudged. |
| Übertragung nicht möglich files zum Computer. | Ensure the camcorder is powered on and correctly connected via the integrated USB plug. Try a different USB port on your computer. Verify your computer's operating system recognizes the device. |
| Kurze Akkulaufzeit. | Use fresh, high-quality AA alkaline batteries. Reduce screen brightness if possible (check settings). |
| Speicherkartenfehler. | Ensure the memory card is correctly inserted. Try reformatting the card (this will erase all data). Try a different compatible SD/SDHC card. |
8. Spezifikationen
| Besonderheit | Spezifikation |
|---|---|
| Modellname | CAM3002 |
| Anzeige | 1.8-inch Full-color LCD Electronic Viewfinder (flips out) |
| Videoauflösung | 480p (640x480) |
| Auflösung von Standbildern | 0.3 Megapixel |
| Digital Zoom | 4x |
| Speichermedien | SD/SDHC Memory Card (up to 16GB) |
| Konnektivität | Integrated Hi-speed USB 2.0 plug, TV Out (RCA) |
| Stromquelle | 2 x AA-Alkalibatterien |
| Unterstützt File Formate | Video: MP4, Photo: JPEG |
| Besondere Merkmale | Built-in speaker, Muvee software included |
9. Garantie und Support
Coby products are manufactured to high-quality standards. This product is covered by a limited warranty against defects in materials and workmanship. Please refer to the warranty card included with your purchase for specific terms and conditions.
For technical support or customer service inquiries, please visit the official Coby webBesuchen Sie die Website oder kontaktieren Sie den Kundendienst. Bewahren Sie Ihren Kaufbeleg als Kaufnachweis für Garantieansprüche auf.


