1. Einleitung
This manual provides detailed instructions for the installation, operation, and maintenance of your JVC KDR820BT Wireless Bluetooth Dual USB-CD Receiver. Please read this manual thoroughly before using the unit to ensure proper operation and to prevent damage.
The JVC KDR820BT is designed to provide versatile audio playback and communication features in your vehicle. It includes built-in Bluetooth for hands-free calling and audio streaming, dual USB ports for device connectivity, and CD playback capabilities. The unit also features a customizable display with variable color options.
2. Packungsinhalt
Vergewissern Sie sich vor Beginn der Installation, dass alle Artikel im Paket vorhanden sind:
- JVC KDR820BT Head Unit
- Wireless Remote Control (RM-RK52)
- USB Bluetooth Adapter
- Kabelgebundenes Mikrofon
- Kabelbaum
- Montagezubehör
- Benutzerhandbuch (dieses Dokument)
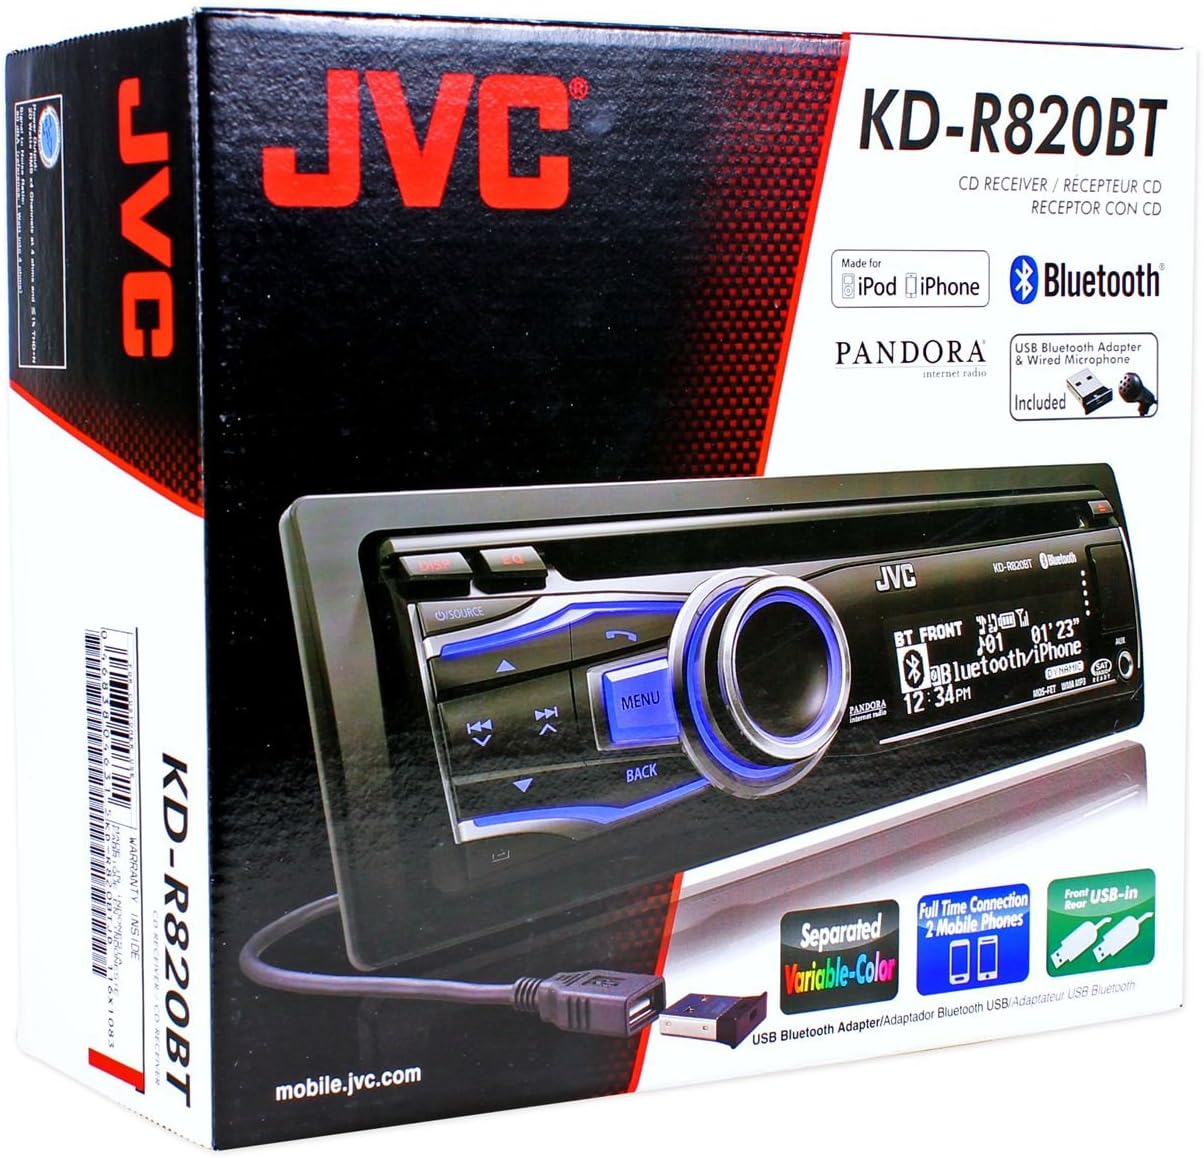
Figure 2.1: JVC KDR820BT Product Packaging. The box illustrates the main unit, remote, USB Bluetooth adapter, and wired microphone.
3. Installation
Eine Installation durch einen Fachmann wird empfohlen. Um elektrische Schäden zu vermeiden, muss die Fahrzeugbatterie vor Beginn der Installation abgeklemmt werden.
3.1 Kabelverbindungen
Connect the wiring harness to the vehicle's electrical system and speakers. Refer to your vehicle's wiring diagram for specific connections.
- Gelber Draht: An eine konstante 12V-Stromversorgung anschließen.
- Roter Draht: Connect to switched 12V accessory power.
- Schwarzes Kabel: An Masse des Fahrzeugchassis anschließen.
- Blau/Weißes Kabel: An eine Stromantenne anschließen oder ampKabel zur Ferneinschaltung des Verstärkers.
- Lautsprecherkabel: An die Fahrzeuglautsprecher anschließen (auf die richtige Polarität achten).
- RCA Pre-out Jacks: Zum Anschluss externer ampVerstärker (Front, Rear, Subwoofer).
- Mikrofoneingang: Connect the supplied wired microphone for hands-free calling.
- USB-Anschlüsse: Front USB for general connectivity, Rear USB for additional devices or the Bluetooth adapter.

Figure 3.1: Rear Panel Connections. This image displays the rear of the receiver with its wiring harness, RCA pre-outs, and antenna input.
3.2 Montage der Einheit
Install the mounting sleeve into the vehicle's dashboard opening. Secure the unit by sliding it into the sleeve until it locks into place. Attach the trim ring.
3.3 Connecting the Bluetooth Adapter
The supplied USB Bluetooth adapter must be connected to one of the USB ports (front or rear) for Bluetooth functionality. For a cleaner installation, the rear USB port is often preferred.
4. Ersteinrichtung
After installation, reconnect the vehicle battery. The unit will power on. Follow these steps for initial configuration:
- Erstes Einschalten: Drücken Sie die QUELLE Taste, um das Gerät einzuschalten.
- Uhreinstellung: Access the system menu to set the current time.
- Audioeinstellungen: Adjust basic audio settings such as bass, treble, balance, and fader.
- Anzeigefarbe: Customize the display and button illumination colors using the variable color settings.
5. Bedienungsanleitung

Abbildung 5.1: Vorderseiteview. This image shows the main controls and display of the JVC KDR820BT.

Figure 5.2: Receiver with Remote Control. The image displays the head unit and the included wireless remote control (RM-RK52).
5.1 Grundlegende Bedienelemente
- Ein-/Ausschalter/Quellentaste: Press to turn on/off or change audio source (FM/AM, CD, USB, Bluetooth Audio, AUX).
- Lautstärkeregler: Rotate to adjust volume. Press to mute/pause audio.
- Menü-Schaltfläche: Access system settings and advanced options.
- Zurück-Schaltfläche: Return to the previous menu or display.
- Skip/Seek Buttons: Navigate tracks, radio stations, or menu options.
5.2 Radiobetrieb (AM/FM)
- Drücken QUELLE to select FM or AM.
- Verwenden Sie die Suchen buttons to find stations automatically.
- Zum manuellen Stimmen die Taste gedrückt halten Suchen Schaltflächen.
- To store a preset, tune to the desired station, then press and hold a preset number button (1-6).
5.3 CD-Wiedergabe
- Legen Sie eine CD in den CD-Schacht ein. Das Gerät schaltet automatisch auf CD-Wiedergabe um und beginnt mit der Wiedergabe.
- Verwenden Sie die Überspringen Tasten zum Wechseln der Titel.
- Drücken Sie die Lautstärkeregler Pause/Wiedergabe.
- Drücken Sie die Auswerfen Taste zum Entfernen der CD.
5.4 USB Device Playback
- Connect a USB device (flash drive, iPod/iPhone, digital audio player) to either the front or rear USB port.
- Drücken QUELLE , um USB auszuwählen.
- Verwenden Sie die Überspringen Schaltflächen zum Navigieren in den Tracks.
- Drücken Sie die Speisekarte button to browse folders and files.
5.5 Bluetooth-Funktionen
Ensure the USB Bluetooth adapter is connected to the unit.
5.5.1 Koppeln eines Bluetooth-Geräts
- Schalten Sie Bluetooth auf Ihrem Mobilgerät ein.
- On the JVC KDR820BT, select the Bluetooth source.
- Suchen nach available devices on your mobile phone. Select "JVC unit" (or similar) from the list.
- Enter the PIN code (usually "0000") if prompted.
- Once paired, the Bluetooth indicator on the receiver will illuminate. The unit supports connecting two phones simultaneously.
5.5.2 Freisprechfunktion
- Einen Anruf tätigen: Use your phone's voice dial feature (if supported) or dial directly from your phone. The audio will transfer to the receiver.
- Anruf annehmen: Drücken Sie die Telefon button on the receiver when an incoming call is detected.
- Anruf beenden: Drücken Sie die Telefon erneut drücken, um den Anruf zu beenden.
- Zugriff auf das Telefonbuch: The unit supports Phone Book Access Profile (PBAP) for transferring contacts.
5.5.3 Bluetooth-Audiostreaming
- Wählen Sie Bluetooth-Audio als Quelle.
- Play audio from your paired mobile device. The receiver will stream the audio wirelessly.
- Verwenden Sie die Überspringen buttons on the receiver to control playback (play/pause, skip track).
- The unit supports Pandora Internet Radio control from an iPhone.
5.6 Toneinstellungen
- 3-Band Parametric iEQ: Access the sound menu to adjust the equalizer settings for customized audio output.
- MOS-FET 50W x 4 AmpReiniger: Provides powerful audio output.
- TI/Burr-Brown 24-bit DAC: Ensures high-quality digital-to-analog audio conversion.
5.7 Anzeigeeinstellungen
- Separated Variable Color: Customize the illumination color of the keys and LCD panel from over 30,000 choices. Access this setting through the system menu.
- Helligkeitsregelung: Adjust display brightness for day and night viewing.
6. Wartung
- Reinigung des Geräts: Verwenden Sie ein weiches, trockenes Tuch, um die Frontplatte abzuwischen. Bei hartnäckigem Schmutz dampBefeuchten Sie das Tuch mit Wasser. Vermeiden Sie scheuernde Reinigungsmittel oder Lösungsmittel.
- Pflegehinweise für CD-Player: Keep the disc slot free of dust and debris. Use only clean, scratch-free CDs.
- Entfernen der Frontplatte: The detachable faceplate can be removed for security. Store it in a protective case.
7. Fehlerbehebung
Review the following common issues and solutions before seeking service.
| Problem | Mögliche Ursache/Lösung |
|---|---|
| Kein Strom | Check power and ground wiring connections. Ensure the vehicle's ignition is on. Check vehicle fuses. |
| Kein Ton | Check speaker wiring. Ensure volume is not muted or too low. Verify the power antenna/remote wire is connected if using an external ampschwerer. |
| Bluetooth echo during calls | Adjust microphone gain settings. Reposition the microphone away from reflective surfaces (e.g., windshield). Reduce the receiver's volume during calls. |
| Bluetooth-Gerät kann nicht gekoppelt werden | Ensure the USB Bluetooth adapter is securely connected. Make sure Bluetooth is enabled on your mobile device and the receiver is in pairing mode. Delete previous pairings from your phone and try again. |
| Das Gerät verliert nach dem Ausschalten die Einstellungen. | The yellow constant 12V power wire may not be connected correctly or is losing power. This can also occur if the vehicle battery is disconnected. |
| Display text is truncated or difficult to read | The display has limited character space. Some long names may be truncated. There is no option to increase scroll speed for folder/file Namen. |
| Buttons or rotary knob are unresponsive | Ensure the faceplate is securely attached. Clean around the buttons to remove any debris. If the issue persists, it may indicate a hardware malfunction. |
8. Spezifikationen
| Besonderheit | Spezifikation |
|---|---|
| Modellnummer | KDR820BT |
| Ausgangsleistung | MOS-FET 50W x 4 (20W RMS x 4) |
| DAC | TI/Burr-Brown 24-bit |
| Equalizer | 3-Band Parametric iEQ |
| Konnektivität | Bluetooth, Dual USB (Front & Rear), AUX Input |
| Bluetooth-Funktionen | Hands-Free Call, Audio Streaming, Phone Book Access Profile, Text Message Receipt Notification, Connects 2 Phones |
| Medienwiedergabe | CD, MP3, WMA, WAV |
| Anzeigetyp | LCD with Separated Variable Color |
| Voramp Bandtage | 2 Volt |
| Gehäusegröße | Voll-DIN |
| Abmessungen (B x H x T) | 7.19 x 2.06 x 6.25 Zoll (ungefähr) |
| Gewicht | 4 Pfund (ungefähr) |
| Unterstützte Internetdienste | Pandora Internet Radio |
| Kontrollmethode | Remote Control, Android (via USB) |
9. Garantie und Support
JVC products are manufactured to high-quality standards. For specific warranty information, please refer to the warranty card included with your product or visit the official JVC webBewahren Sie Ihren Kaufbeleg als Kaufnachweis für Garantieansprüche auf.
For technical support, service, or inquiries regarding your JVC KDR820BT receiver, please contact JVC customer service or visit their official support channels. Contact information can typically be found on the JVC webWebsite oder in der Produktverpackung.


