Einführung
This manual provides essential information for the safe and efficient installation, operation, and maintenance of your BRILLIANT Luca 4-Flame Spot Tube Light. Please read these instructions carefully before installation and retain them for future reference.
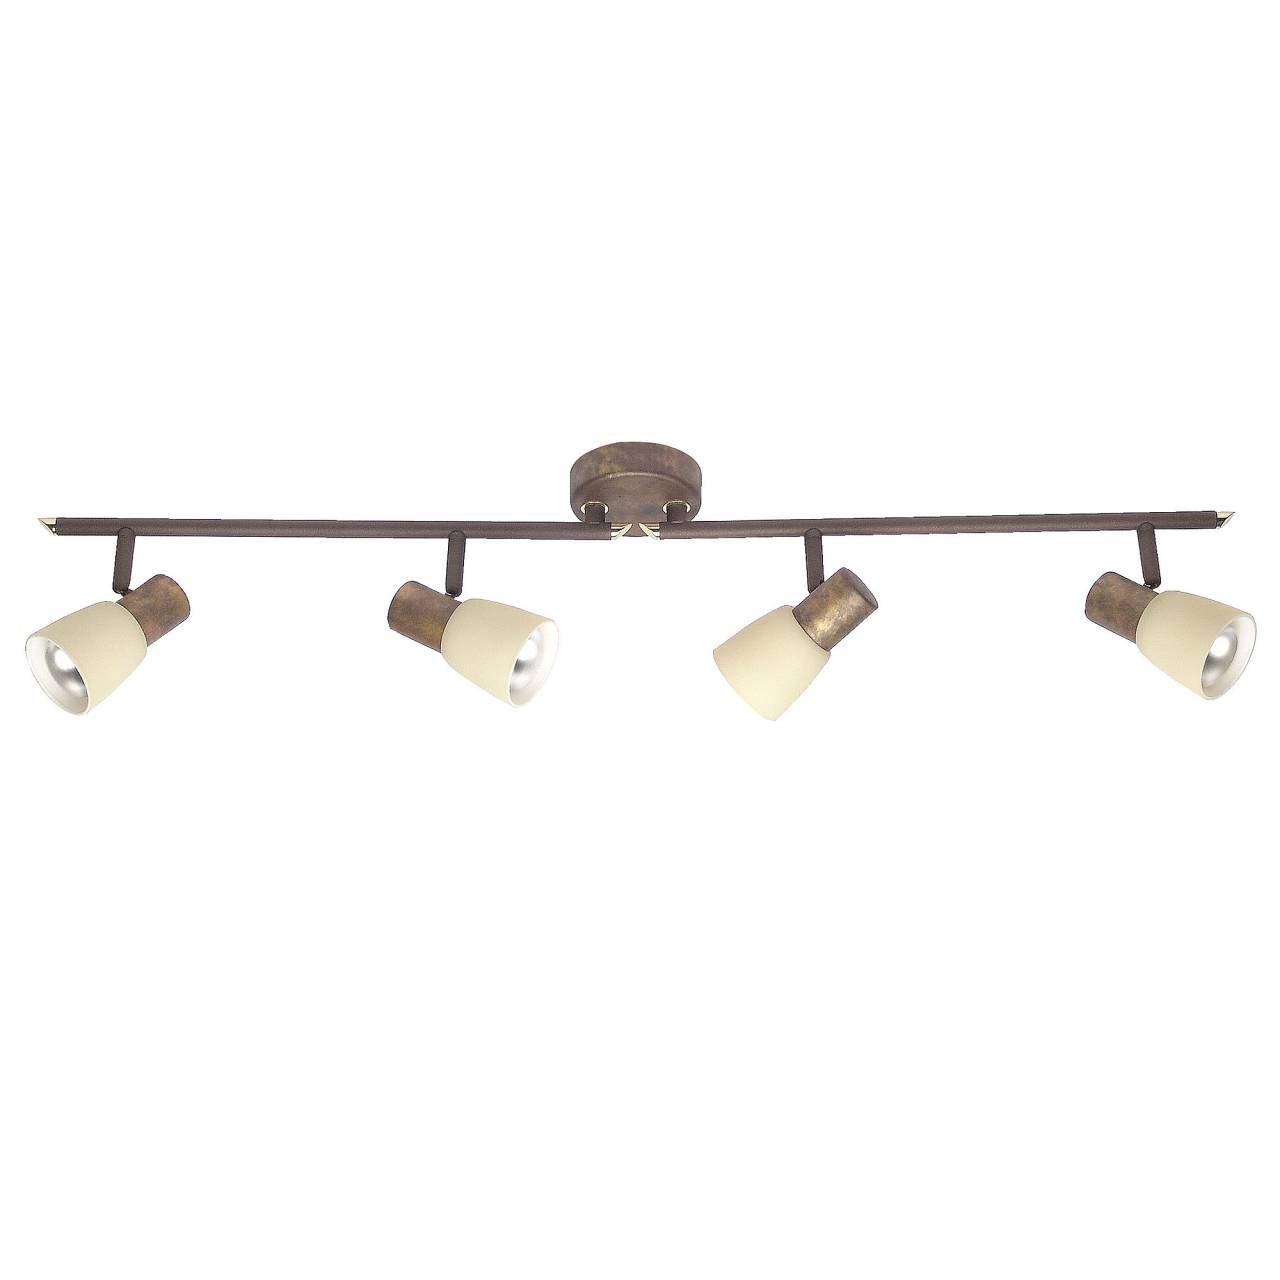
Image 1: The BRILLIANT Luca 4-Flame Spot Tube Light. This image displays the complete light fixture, featuring a long, brown metal bar with four individual spot heads. Each spot head is adjustable and includes a beige glass shade, designed to direct light. The central mounting plate is also visible.
Sicherheitshinweise
- Vor Installationen, Wartungsarbeiten oder dem Austausch von Glühbirnen muss immer die Stromzufuhr an der Hauptsicherung oder dem Leitungsschutzschalter unterbrochen werden.
- Die Installation sollte von einem qualifizierten Elektriker oder einer sachkundigen Person durchgeführt werden.
- Stellen Sie sicher, dass die Montagefläche das Gewicht der Vorrichtung tragen kann.
- Überschreiten Sie nicht die maximale Wassermengetage für die Glühbirnen angegeben (40W pro Glühbirne).
- Dieses Produkt ist ausschließlich für den Innenbereich bestimmt (Schutzart IP20). Es darf keiner Feuchtigkeit oder extremen Temperaturen ausgesetzt werden.
- Allow bulbs to cool before touching or replacing them.
- Verpackungsmaterialien außerhalb der Reichweite von Kindern aufbewahren.
Packungsinhalt
Vergewissern Sie sich vor Beginn der Installation, dass alle Komponenten vorhanden sind:
- 1x BRILLIANT Luca 4-Flame Spot Tube Light fixture
- Mounting material (screws, wall plugs, etc.)
- Bedienungsanleitung
Note: Light bulbs (E14, R50 reflector type, max 40W) are not included and must be purchased separately. LED bulbs are compatible.
Technische Daten
| Marke | Brillant |
| Modellnummer | 35832/56 |
| Abmessungen (L x B x H) | 85 x 23.2 x 23.2 cm |
| Gewicht | 1.22 kg |
| Material | aus Metall, aus Glas |
| Farbe | Brown (fixture), Beige (shade) |
| Anzahl der Glühbirnen | 4 |
| Lampenfassungstyp | E14 |
| Maximal Watttage pro Birne | 40 Watt |
| Bandtage | 240 Volt |
| IP-Schutzart | IP20 (nur Innenbereich) |
| Besondere Merkmale | Dimmable (with appropriate bulbs and external dimmer), Adjustable Spot Heads |
| Installationstyp | Deckenmontage |
Setup und Installation
Wichtig: Before starting installation, ensure the power supply is switched off at the main circuit breaker to prevent electric shock.
- Bereiten Sie die Montagefläche vor: Choose a suitable location on your ceiling or wall. Ensure the surface is clean, dry, and structurally sound to support the light fixture.
- Bohrpunkte markieren: Hold the mounting bracket of the fixture against the desired installation spot. Use a pencil to mark the positions for drilling holes.
- Bohrlöcher: Drill holes at the marked positions using an appropriate drill bit for your ceiling/wall material. Insert the provided wall plugs into the drilled holes.
- Sichere Montagehalterung: Attach the mounting bracket to the ceiling/wall using the provided screws. Ensure it is firmly secured.
- Elektrischer Anschluss: Connect the household electrical wires to the terminal block on the fixture. Follow standard wiring color codes (e.g., Live to Live, Neutral to Neutral, Earth to Earth). Ensure all connections are secure.
- Befestigen Sie die Vorrichtung an der Halterung: Carefully align the light fixture with the secured mounting bracket and attach it using the remaining screws or fastening mechanism.
- Lampen installieren: Insert four E14 R50 reflector bulbs (not included) into the lamp holders. Do not exceed 40 Watts per bulb. LED bulbs are recommended for energy efficiency.
- Strom wiederherstellen: Sobald die Installation abgeschlossen und alle Verbindungen sicher hergestellt sind, schalten Sie die Stromversorgung am Hauptschalter wieder ein.
Ziehen Sie einen qualifizierten Elektriker zu Rate, wenn Sie sich bei irgendeinem Teil des Installationsprozesses unsicher sind.
Bedienungsanleitung
- Ein-/Ausschalten: Bedienen Sie die Lampe mit Ihrem üblichen Wandschalter.
- Einstellen von Spotköpfen: The individual spot heads are pivotable and the arms are rotatable. Gently adjust each spot head and arm to direct the light to your desired area.
- Dimmfunktion: If you are using dimmable E14 bulbs and have an external dimmer switch installed, you can adjust the light intensity by operating the dimmer. Ensure your bulbs are compatible with your dimmer type.
Wartung
- Reinigung: Disconnect power before cleaning. Wipe the fixture with a soft, dry cloth. Do not use abrasive cleaners or solvents, as these can damage the finish.
- Lampenwechsel:
- Ensure the light is switched off and has cooled down completely.
- Carefully unscrew the old E14 bulb from its socket.
- Screw in a new E14 R50 reflector bulb, ensuring it is no more than 40 Watts.
- Stellen Sie die Stromversorgung wieder her und testen Sie das Licht.
- Regelmäßige Kontrollen: Periodically check all connections and mounting screws to ensure they remain tight and secure.
Fehlerbehebung
| Problem | Mögliche Ursache | Lösung |
|---|---|---|
| Licht geht nicht an. |
|
|
| Licht flackert. |
|
|
| Die Dimmfunktion funktioniert nicht. |
|
|
Sollten die Probleme weiterhin bestehen, wenden Sie sich bitte an den Kundendienst oder einen qualifizierten Elektriker.
Garantie und Support
Information regarding warranty and spare parts availability is not provided in the product details. For support, please refer to the retailer or manufacturer's official webWebsite.
Hersteller: Brillant


