Einführung
This manual provides detailed instructions for the safe and proper installation, operation, and maintenance of your Progress Lighting Inspire Collection 9-Light Off-White Linen Shade Traditional Chandelier in Brushed Nickel. Please read all instructions carefully before beginning installation and retain this manual for future reference.
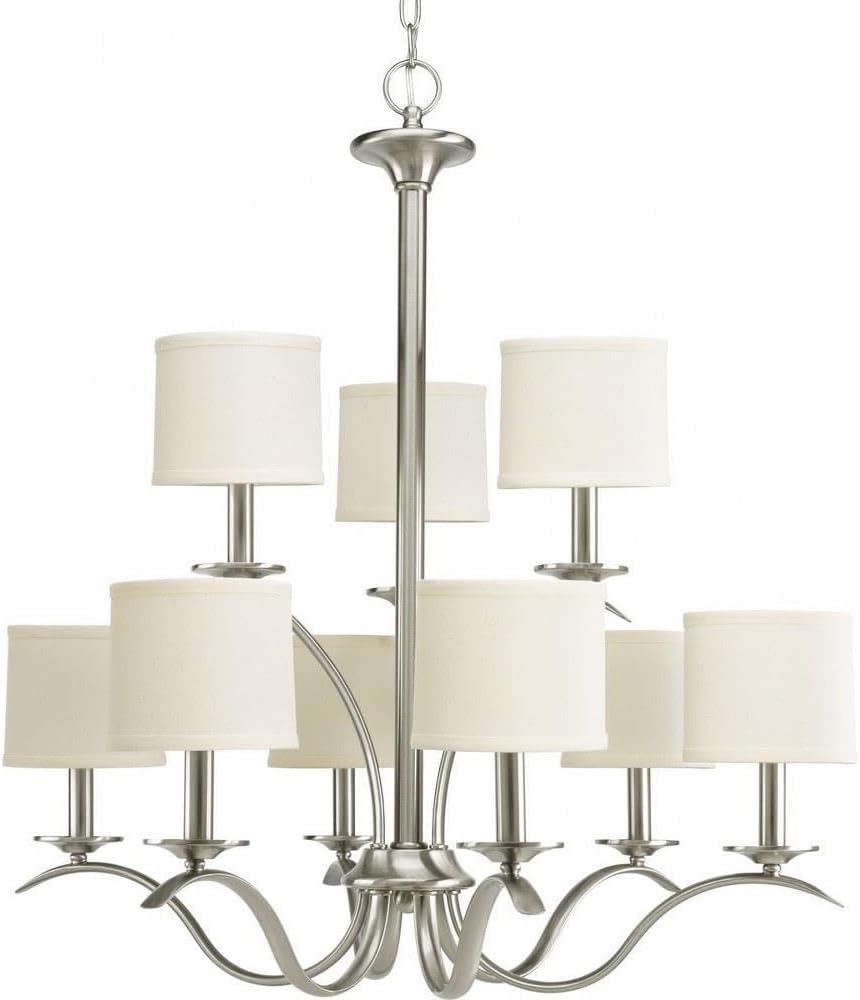
Image: The Inspire Collection 9-Light Chandelier featuring a brushed nickel finish and off-white linen shades.
Sicherheitshinweise
WARNUNG: To reduce the risk of fire, electric shock, or personal injury, always turn off the main power supply at the circuit breaker before installation, removal, or servicing. This product requires professional installation. Always consult a qualified electrician if you are unsure about the installation process.
Warnung zu Proposition 65: Dieses Produkt kann Chemikalien enthalten, von denen bekannt ist, dass sie Krebs und Geburtsfehler oder andere reproduktive Schäden verursachen. Nach der Handhabung Hände waschen.
- Ensure all electrical connections are in accordance with local codes and ordinances.
- Verwenden Sie nur den angegebenen Lampentyp und die angegebene Wattzahl.tage um eine Überhitzung zu vermeiden.
- Do not hang anything from the fixture.
Packungsinhalt
Vergewissern Sie sich vor Beginn der Installation, dass alle Komponenten vorhanden sind:
- Chandelier fixture assembly
- 9 Off-white linen shades
- Ceiling chain (6 feet of 9 gauge chain supplied)
- Elektrische Verkabelung
- Mounting hardware (may require additional screws not included)
- Installationsblatt
Setup und Installation
Professional installation is recommended for this chandelier. Follow these general steps, referring to the included installation sheet for specific details.
1. Bereiten Sie die Installation vor
- Schalten Sie den Strom am Leistungsschalter ab.
- Carefully unpack the fixture and components.
- Determine the desired hanging height. For an 8-foot ceiling, the bottom of the chandelier should be 30-36 inches above a dining table. For higher ceilings, divide the vertical space into thirds and position the chandelier two-thirds of the distance from the floor, ensuring at least 7 feet of clearance from the floor in areas where people walk underneath.
2. Montieren Sie die Leuchte
- Befestigen Sie die Montagehalterung an der Anschlussdose in der Decke.
- Adjust the chain length as needed. The supplied chain is 6 feet long.
- Thread the electrical wires through the chain and canopy.
3. Elektrische Anschlüsse
- Connect the fixture's ground wire to the ground wire from the junction box.
- Connect the fixture's 'white or identified' wire (often with ridges) to the white (neutral) wire from the junction box.
- Connect the fixture's 'plain or black' wire to the black (hot) wire from the junction box.
- Sichern Sie alle Verbindungen mit Drahtmuttern und Isolierband.
4. Endmontage
- Befestigen Sie den Baldachin an der Decke.
- Install 9 candelabra-shaped bulbs (E26 base, maximum 60 watts each). Note: Only candelabra-shaped bulbs can be used with the shades.
- Attach the off-white linen shades to each light socket.
- Stellen Sie die Stromversorgung am Leistungsschalter wieder her.
Visuelle Installationsanleitung
Video: Ein umfassender Überblickview of chandelier installation by Progress Lighting, demonstrating key steps and considerations for proper setup.
Technische Daten

Image: Dimensional drawing of the chandelier, indicating a width of 29.38 inches and a height of 31 inches.
Bedienungsanleitung
Once properly installed, your chandelier can be operated using a standard wall switch. If your electrical setup includes a dimmer switch, ensure it is compatible with incandescent bulbs for optimal performance.
The fixture's switch type is listed as 'Pull Chain' in some specifications, however, the primary control is typically via a wall switch for chandeliers of this design. Please refer to your specific home wiring and switch setup.
Wartung
Reinigung
- Vor der Reinigung immer den Strom abschalten.
- Wischen Sie das Gerät mit einem weichen, trockenen Tuch ab.
- Do not use abrasive cleaners or solvents as they may damage the finish.
- The linen shades can be gently dusted or spot cleaned with a damp mit einem sauberen Tuch abwischen.
Glühlampenwechsel
- Vor dem Austausch der Glühbirnen sicherstellen, dass der Strom abgeschaltet und die Glühbirnen abgekühlt sind.
- Unscrew old bulbs and screw in new E26 candelabra-shaped bulbs.
- Überschreiten Sie nicht die maximale Wassermengetage von 60 Watt pro Birne.
Fehlerbehebung
If your chandelier is not functioning correctly, refer to the following common issues:
- Kein Licht: Check the circuit breaker, ensure bulbs are securely screwed in, and verify all electrical connections are tight.
- Flackernde Lichter: Ensure bulbs are fully tightened. If using a dimmer, confirm it is compatible with the bulb type and that the bulbs are dimmable.
- Loose Fixture: Re-check mounting hardware and ensure it is securely fastened to the ceiling junction box.
Sollten die Probleme weiterhin bestehen, konsultieren Sie einen qualifizierten Elektriker.
Technische Daten
| Marke | Fortschritt Beleuchtung |
| Modellname | Inspirieren |
| Teilenummer | P4638-09 |
| Farbe | Gebürstetes Nickel |
| Material | Legierter Stahl |
| Schirmmaterial | Leinen |
| Stil | Übergangsphase |
| Leuchtenform | Kronleuchter |
| Technische Daten | 29.38 Zoll L x 29.38 Zoll B x 31 Zoll H |
| Artikelgewicht | 15 Pfund |
| Anzahl der Lichtquellen | 9 |
| Lampensockel | E26 |
| Wastage | 60 Watt (pro Glühbirne) |
| Bandtage | 120 Volt |
| Verwendung im Innen- und Außenbereich | Innenbereich |
| Besonderheit | UL-zertifiziert |
Garantieinformationen
This Progress Lighting product is covered by a 1 Jahr eingeschränkte Garantie. This warranty guarantees your complete satisfaction with your purchase and includes professional after-sales customer service support. Please retain your proof of purchase for warranty claims.
Kundenservice
For further assistance, technical support, or warranty inquiries, please visit the official Progress Lighting website or contact their customer service department. Refer to the packaging or the Progress Lighting webWebsite für aktuelle Kontaktinformationen.


