1. Produktüberschreitungview
This manual provides instructions for the safe installation, operation, and maintenance of your Hinkley 3174CM Restoration One Light Wall Sconce. This fixture is designed to provide ambient lighting with a traditional style, featuring a chrome finish and clear glass shade.
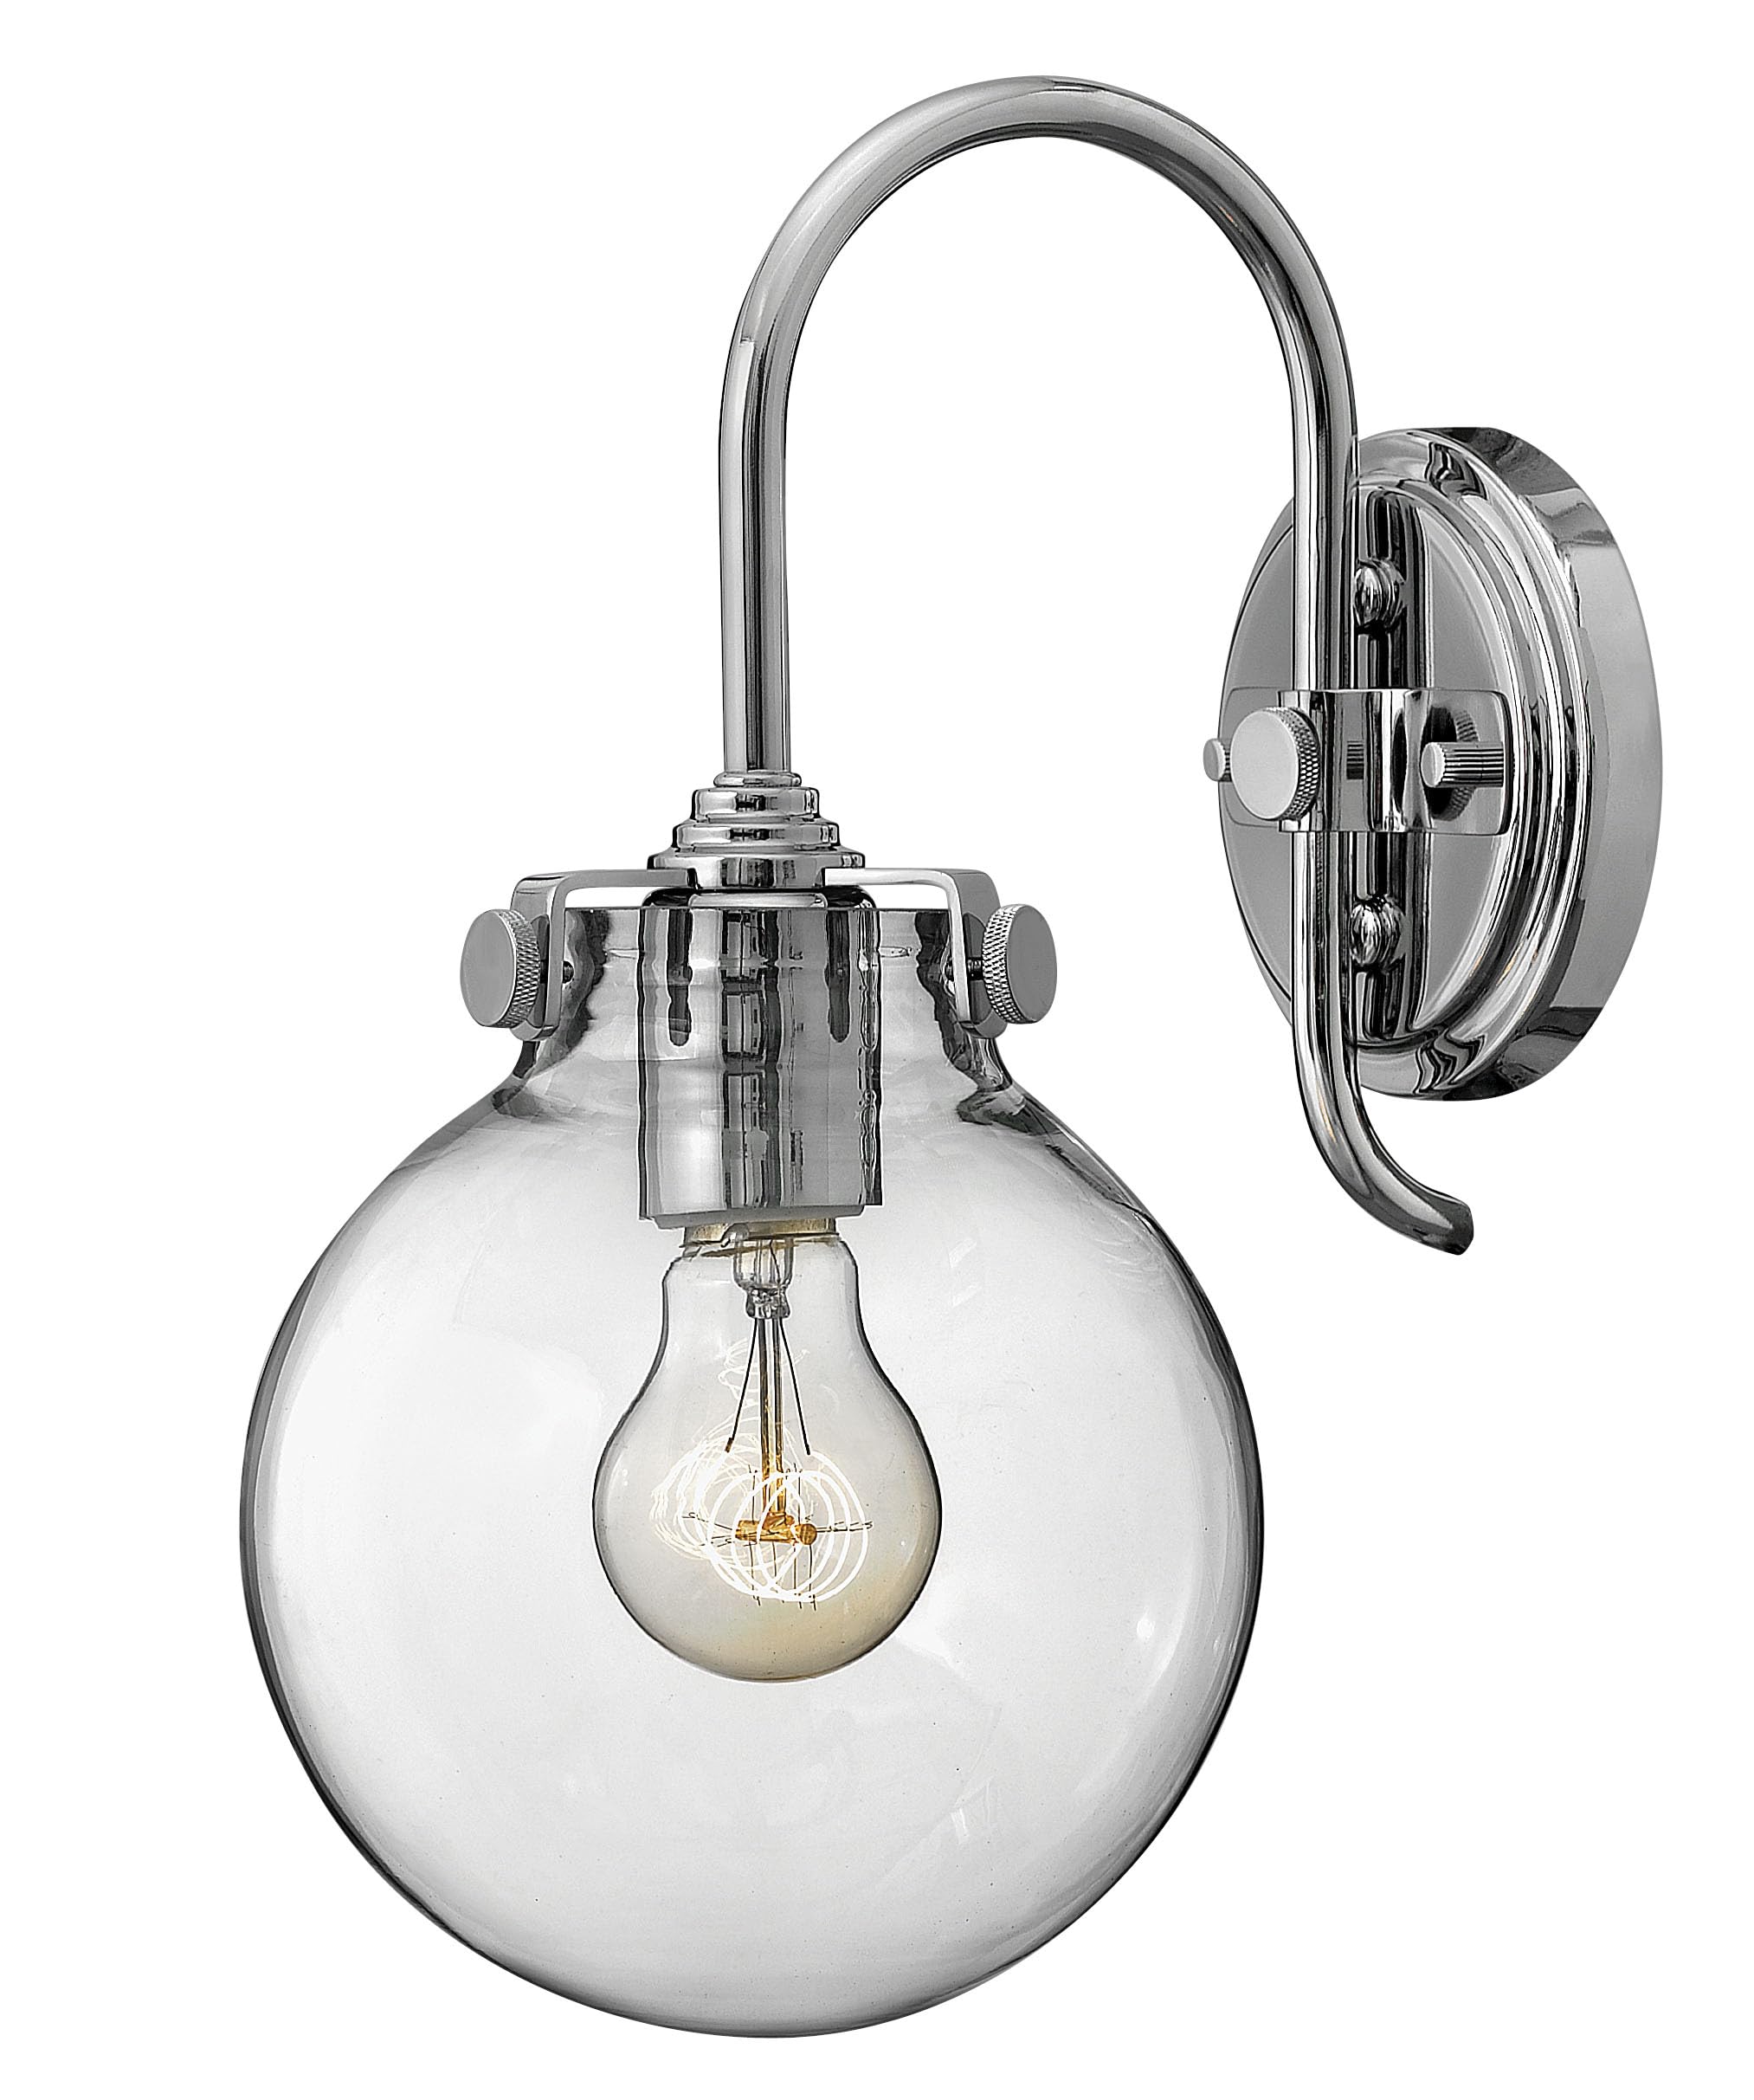
Image: The Hinkley 3174CM Restoration One Light Wall Sconce, showcasing its chrome finish and clear glass shade.
Video: Ein überview of Hinkley Lighting's commitment to quality, style, and design in their lighting products.
2. Wichtige Sicherheitshinweise
Um das Risiko von Bränden, Stromschlägen oder Verletzungen zu verringern, befolgen Sie stets diese grundlegenden Sicherheitsvorkehrungen:
- Lesen Sie alle Anweisungen sorgfältig durch bevor Sie mit der Installation beginnen.
- Strom ausschalten at the main circuit breaker or fuse box before installing or servicing the fixture.
- Wenden Sie sich an einen qualifizierter Elektriker if you are unsure about the installation process.
- Verwenden Sie nur die specified bulb type and wattage. Do not exceed the maximum wattage auf der Vorrichtung angegeben.
- Ensure all electrical connections are secure and correct gemäß den örtlichen Elektrovorschriften.
- Installieren Sie diese Leuchte nicht in feuchten oder trockenen Umgebungen.amp Standorte, es sei denn, sie sind ausdrücklich für solche Umgebungen ausgelegt.
- Keep combustible materials away from the light fixture.
3. Packungsinhalt
Vergewissern Sie sich vor Beginn der Installation, dass alle Komponenten vorhanden sind:
- Wall Sconce Fixture (Model 3174CM)
- Glasschirm
- Montagezubehör-Set (beinhaltet Montageplatte, Schrauben, Drahtverbinder)
- Bedienungsanleitung
4. Spezifikationen
| Marke | Hinkley |
| Modellnummer | 3174 cm |
| Farbe | Chrom |
| Material | Legierter Stahl, Glas |
| Stil | Traditionell |
| Leuchtenform | Leuchter |
| Stromquelle | Festverdrahtet |
| Bandtage | 120 Volt |
| Anzahl der Lichtquellen | 1 |
| Maximal Watttage | 12 Watt (pro Glühbirne) |
| Technische Daten | 6 x 7 x 13.5 Zoll |
| Artikelgewicht | 4 Pfund |
| Lichtquellentyp | LED, Socket (Bulb(s) Not Included) |
5. Installationsanweisungen
This fixture is designed for easy installation, but it is recommended to consult a qualified electrician for proper wiring and safety.
- Strom ausschalten: Before starting, ensure the electrical power to the area where you are installing the fixture is turned off at the circuit breaker or fuse box.
- Montagefläche vorbereiten: Remove the old fixture (if applicable) and ensure the junction box is clean and accessible.
- Montagehalterung anbringen: Befestigen Sie die Montagehalterung mit den im Montagesatz enthaltenen Schrauben an der Anschlussdose. Achten Sie darauf, dass die Halterung fest sitzt.
- Elektrische Verbindungen herstellen: Connect the fixture's wires to the corresponding house wires. Typically, black to black (live), white to white (neutral), and green or bare copper to green or bare copper (ground). Use the provided wire nuts to secure connections.
- Sichere Befestigung: Carefully tuck the wires into the junction box. Align the fixture base with the mounting bracket and secure it with the provided screws.
- Glasschirm installieren: Attach the glass shade to the fixture according to the specific design. Ensure it is securely fastened.
- Glühbirne einbauen: Insert the appropriate bulb (not included) into the socket. Refer to the specifications for maximum wattage.
- Strom wiederherstellen: Sobald die Installation abgeschlossen und alle Komponenten sicher befestigt sind, schalten Sie die Stromversorgung am Sicherungsautomaten wieder ein.
6. Operating Your Wall Sconce
The Hinkley 3174CM Wall Sconce operates via a standard wall switch. Simply toggle the wall switch to turn the light fixture on or off.
7. Pflege und Wartung
Proper care ensures the longevity and appearance of your fixture:
- Reinigung: Clean the fixture with a soft, dry cloth. Do not use abrasive cleaners, solvents, or polishes as they may damage the finish.
- Lampenwechsel: Always turn off the power at the circuit breaker before replacing a bulb. Allow the bulb to cool completely before touching it. Use only bulbs that meet the fixture's specifications.
- Inspektion: Überprüfen Sie die Verkabelung und Anschlüsse regelmäßig auf Verschleiß oder Beschädigungen. Sollten Sie Mängel feststellen, wenden Sie sich an einen qualifizierten Elektriker.
8. Anleitung zur Fehlerbehebung
Falls Ihre Wandleuchte nicht ordnungsgemäß funktioniert, beachten Sie bitte die folgenden häufigen Probleme und Lösungen:
| Problem | Mögliche Ursache | Lösung |
|---|---|---|
| Licht geht nicht an. | Kein Strom am Gerät. | Überprüfen Sie den Leitungsschutzschalter oder die Sicherung. Stellen Sie sicher, dass der Wandschalter auf „EIN“ steht. |
| Lose Kabelverbindungen. | Turn off power at the circuit breaker. Check all wire connections and tighten them securely. | |
| Defekte Glühbirne. | Ersetzen Sie die Glühbirne durch eine neue des richtigen Typs und der richtigen Wattzahl.tage. | |
| Licht flackert. | Lose Glühbirne oder Verkabelung. | Turn off power. Tighten the bulb. Check wire connections. |
| Inkompatibler Dimmerschalter. | Ensure your dimmer switch is compatible with the type of bulb used (e.g., LED compatible dimmer for LED bulbs). |
Sollten diese Schritte das Problem nicht beheben, wenden Sie sich bitte an den Kundendienst oder einen qualifizierten Elektriker.
9. Garantie und Kundendienst
This Hinkley lighting fixture is covered by a manufacturer's warranty. For specific details regarding the warranty period and coverage, please refer to the documentation included with your purchase or visit the official Hinkley webWebsite.
For technical assistance, replacement parts, or any questions not covered in this manual, please contact Hinkley Customer Support:
- WebWebsite: www.hinkley.com
- Telefon: Refer to the Hinkley webWebseite für aktuelle Kontaktnummern.


