1. Einleitung
Thank you for choosing the Arregui Activa Electronic Surface-Mounted Safe. This manual provides essential information for the correct installation, operation, and maintenance of your safe. Please read these instructions carefully before using the product to ensure optimal performance and security.
The Arregui Activa safe is designed to provide secure storage for your valuables, featuring an electronic locking system and a robust construction for surface mounting.
2. Einrichtung
2.1 Auspacken
- Nehmen Sie den Tresor vorsichtig aus seiner Verpackung.
- Check that all components are present: safe unit, emergency keys, instruction manual, and mounting hardware.
- Bewahren Sie die Verpackung für einen späteren Transport oder eine Lagerung auf.
2.2 Einlegen der Batterie
- Suchen Sie das Batteriefach, das sich normalerweise an der Innenseite der Tresortür befindet.
- Öffnen Sie die Batterieabdeckung.
- Insert four (4) AA 1.5V alkaline batteries, ensuring correct polarity (+/-).
- Close the battery cover securely. The safe will emit a beep, indicating successful battery installation.
2.3 Montage des Tresors
The Arregui Activa safe is designed for surface mounting to a wall or floor. Choose a secure and discreet location.
- Position the safe in the desired location and mark the drilling points through the pre-drilled holes in the back or bottom of the safe.
- Drill holes in the wall or floor using an appropriate drill bit for the mounting surface.
- Insert the provided wall anchors (if applicable) into the drilled holes.
- Align the safe with the holes and secure it using the provided screws or bolts. Tighten all fasteners firmly.
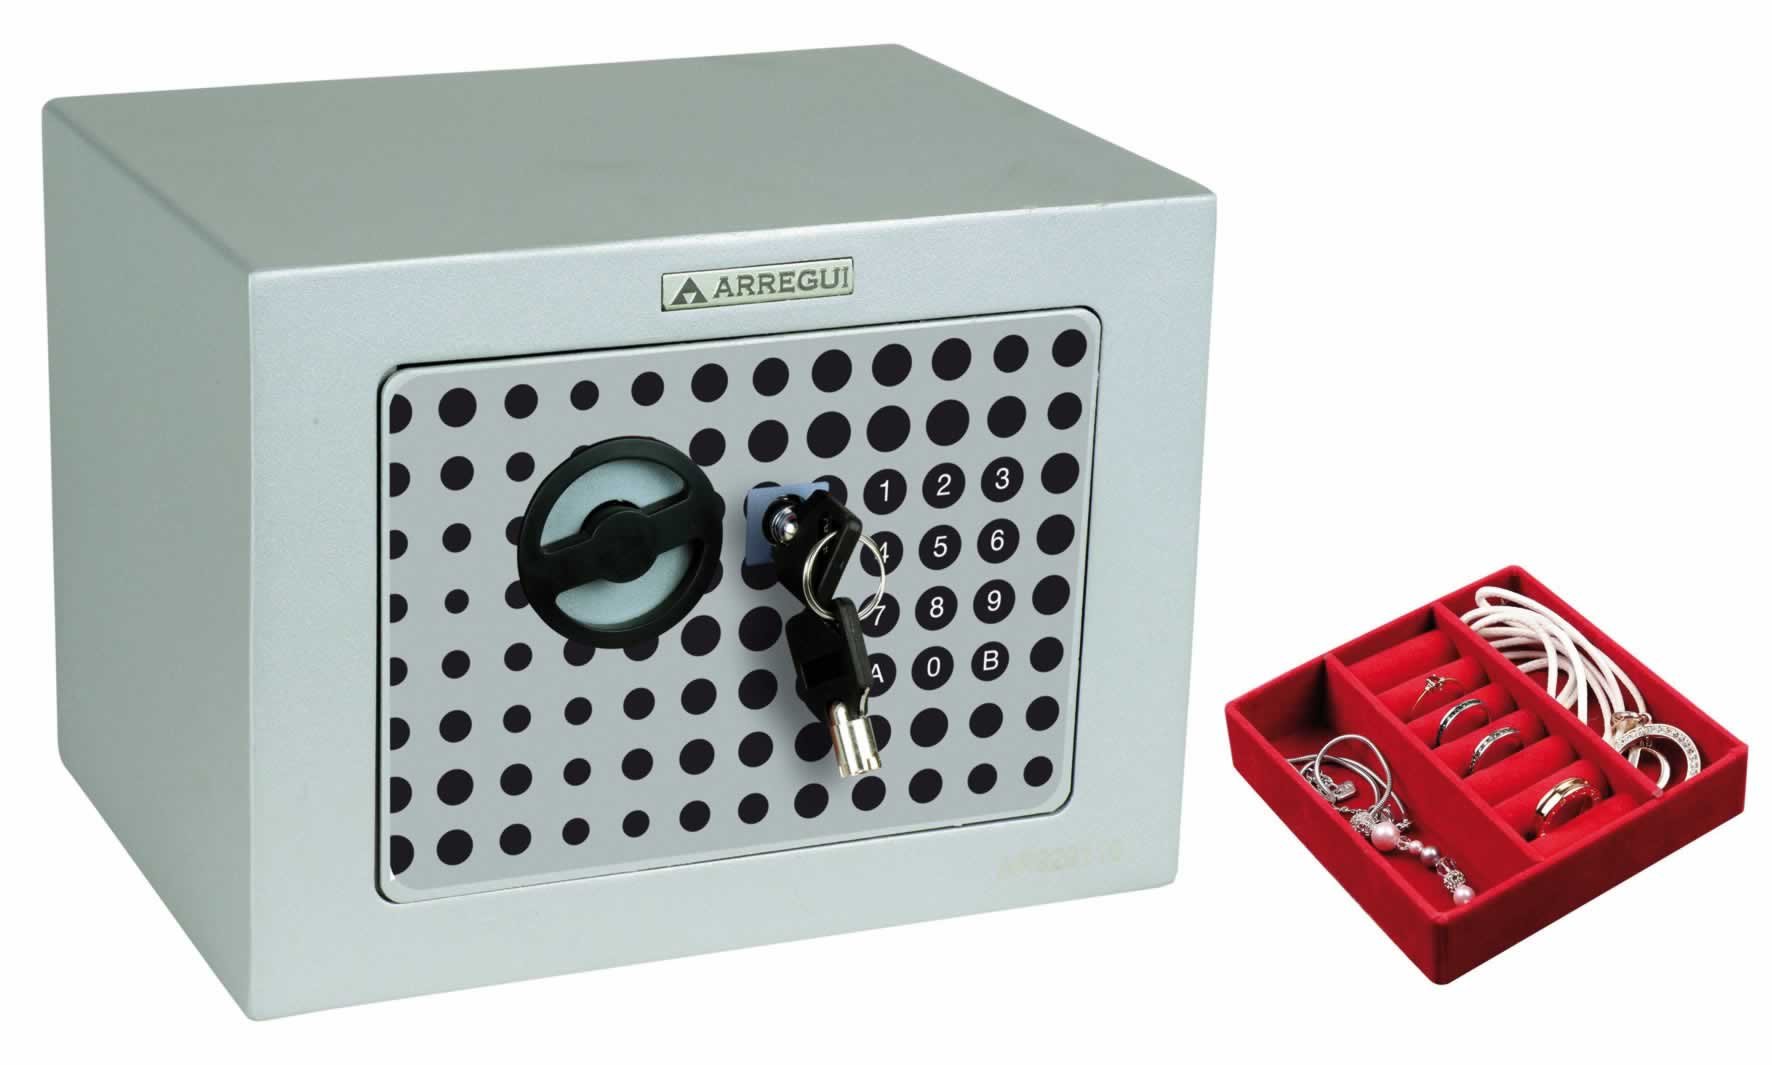
Image 1: Arregui Activa Electronic Safe, illustrating its compact design suitable for surface mounting.
3. Bedienungsanleitung
3.1 Initialisierung des Codes
Bei der ersten Nutzung müssen Sie Ihren persönlichen Zugangscode festlegen.
- With the safe door open, press the red reset button located on the inside of the door (usually near the hinge). The yellow indicator light on the keypad will illuminate.
- Enter a new personal code (3-8 digits) on the keypad.
- Confirm the code by pressing the 'A' or '#' button. The safe will beep, and the yellow light will turn off, indicating the code has been successfully set.
- Testen Sie den neuen Code bei geöffneter Tür, bevor Sie sie schließen.
3.2 Öffnen des Safes
- Enter your personal code on the keypad.
- Press the 'A' or '#' button. The green indicator light will illuminate, and you will hear a click.
- Within 5 seconds, turn the knob or handle clockwise to open the door.
3.3 Schließen des Tresors
- Schließen Sie die Tresortür fest.
- Turn the knob or handle counter-clockwise to engage the locking bolts. The safe is now secured.
3.4 Ändern des Benutzercodes
- Open the safe using your current code.
- Press the red reset button on the inside of the door. The yellow indicator light will illuminate.
- Enter your new personal code (3-8 digits).
- Confirm the new code by pressing the 'A' or '#' button. The safe will beep, and the yellow light will turn off.
- Testen Sie den neuen Code bei geöffneter Tür, bevor Sie sie schließen.
3.5 Emergency Opening (with Key)
In case of battery failure or forgotten code, you can use the emergency key.
- Suchen Sie das Notschlüsselloch, das sich normalerweise hinter einer kleinen Abdeckung auf dem Tastenfeld befindet.
- Nehmen Sie die Abdeckung ab.
- Insert the emergency key and turn it clockwise while simultaneously turning the handle to open the safe.
- Once open, replace the batteries if necessary and reset your code. Keep emergency keys in a secure location away from the safe.
4. Wartung
4.1 Batteriewechsel
When the batteries are low, the red indicator light will flash or the safe will emit a warning sound when you attempt to open it. Replace all four batteries promptly to ensure continued operation.
- Follow the steps in section 2.2 for battery installation.
- Always use new, high-quality alkaline batteries. Do not mix old and new batteries or different battery types.
4.2 Reinigung
- Reinigen Sie die Außenseite des Tresors mit einem weichen, fusselfreien Tuch.amp Tuch.
- Do not use abrasive cleaners or solvents, as these can damage the finish or electronic components.
5. Fehlerbehebung
| Problem | Mögliche Ursache | Lösung |
|---|---|---|
| Der Tresor lässt sich nicht mit dem Code öffnen. | Incorrect code entered; Low batteries; Keypad malfunction. | Re-enter code carefully; Replace batteries (Section 4.1); Use emergency key (Section 3.5). |
| Die Tastatur reagiert nicht. | Leere Batterien; Wackelkontakt der Batterie. | Replace batteries (Section 4.1); Ensure batteries are correctly inserted. |
| Red light flashes or beeps continuously. | Warnung bei niedrigem Batteriestand. | Replace batteries immediately (Section 4.1). |
| Tür schließt nicht richtig. | Blockierung; Fehlausrichtung. | Check for items blocking the door or bolts; Ensure safe is mounted level. |
6. Spezifikationen
| Modellnummer: | 1832D80 |
| Außenmaße (HxBxT): | 230 x 170 x 170 mm |
| Verriegelungsmechanismus: | Electronic keypad with emergency key override |
| Energiequelle: | 4 x AA 1.5 V Batterien |
| Montageart: | Surface-mounted (wall or floor) |
7. Garantieinformationen
Arregui products are manufactured to high-quality standards and are guaranteed against manufacturing defects for a period specified by local consumer protection laws from the date of purchase. This warranty does not cover damage caused by improper installation, misuse, unauthorized modifications, or normal wear and tear. Please retain your proof of purchase for warranty claims.
8. Unterstützung
For technical assistance, spare parts, or warranty inquiries, please contact your retailer or the Arregui customer service department. Refer to the contact information provided with your purchase documentation or visit the official Arregui webWebsite für Supportdetails.
WebWebsite: www.arregui.es


