1. Einleitung
The NETGEAR WiFi Mesh Range Extender EX6150 is designed to boost your existing home network by increasing WiFi range and speed. It delivers AC1200 dual-band WiFi, providing speeds up to 1200Mbps. This extender is compatible with any wireless router, gateway, or cable modem with WiFi, ensuring broad usability. It helps eliminate WiFi dead zones, providing reliable connectivity for up to 20 devices across an area of up to 1200 square feet, making it ideal for HD video streaming and online gaming in remote areas of your home.
2. Lieferumfang
- WiFi Mesh Extender (EX6150-100NAS)
- Kurzanleitung
3. Produktüberschreitungview
The NETGEAR EX6150 is a compact, wall-plug design WiFi range extender. It features external antennas for improved performance and a wired Ethernet port for connecting devices directly. The device utilizes dual-band technology (2.4 GHz and 5 GHz) to provide stable and fast connections.
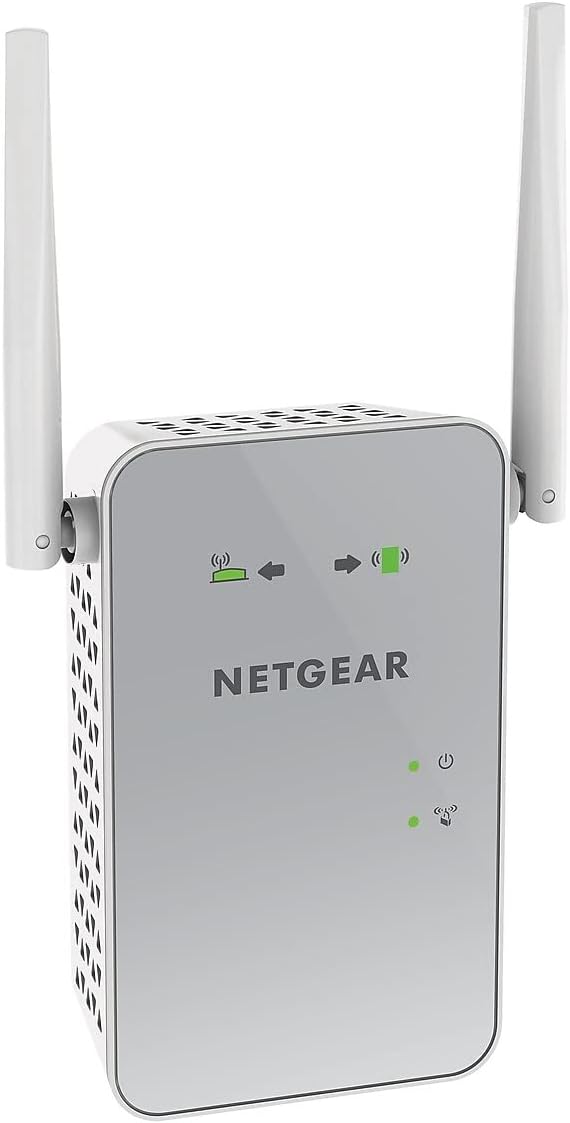
Abbildung 1: Front view of the NETGEAR EX6150 WiFi Mesh Range Extender, showing the NETGEAR logo and LED indicators.
Hauptmerkmale:
- Erweiterte drahtlose Abdeckung: Adds WiFi range coverage up to 1200 square feet.
- Connects Multiple Devices: Supports connection for up to 20 devices such as laptops, smartphones, speakers, IP cameras, tablets, and IoT devices.
- Nahtloses Smart Roaming: Uses your existing network SSID name, ensuring you remain connected as you move around your home or office.
- AC1200 WLAN-Geschwindigkeit: Provides up to 1200Mbps performance using dual-band and patented FastLane technology for demanding HD streaming and online gaming.
- Universelle Kompatibilität: Funktioniert mit jedem WLAN-Router, Gateway oder Kabelmodem mit WLAN-Funktion.
- Kabelgebundener Ethernet-Anschluss: Allows direct connection of game consoles, streaming players, or other wired devices into the one Gigabit port for maximum speed.
4. Einrichtung
Setting up your NETGEAR WiFi Mesh Range Extender EX6150 is a straightforward process. Follow these steps for a quick and efficient installation.
4.1. Erstplatzierung
For the initial setup, plug the extender into an electrical outlet in the same room as your WiFi router. This ensures a strong connection during the configuration process.

Abbildung 2: Seite view of the NETGEAR EX6150, highlighting the Ethernet port and WPS button.
4.2. WPS-Einrichtung (Empfohlen)
The easiest way to set up your extender is using Wi-Fi Protected Setup (WPS).
- Plug the extender into an electrical outlet near your WiFi router.
- Wait for the Power LED on the extender to light up green.
- Drücken Sie die WPS-Taste am Extender. Die WPS-LED beginnt zu blinken.
- Drücken Sie innerhalb von zwei Minuten die WPS-Taste an Ihrem WLAN-Router.
- Wait for the WPS LED on the extender to light up solid green. This indicates a successful connection.
- If your router supports 5GHz, repeat steps 3-5 to extend the 5GHz band.
4.3. Optimale Platzierung
After initial setup, unplug the extender and move it to a new location that is about halfway between your router and the area with a poor WiFi signal. The extender must be within range of your existing WiFi router network.
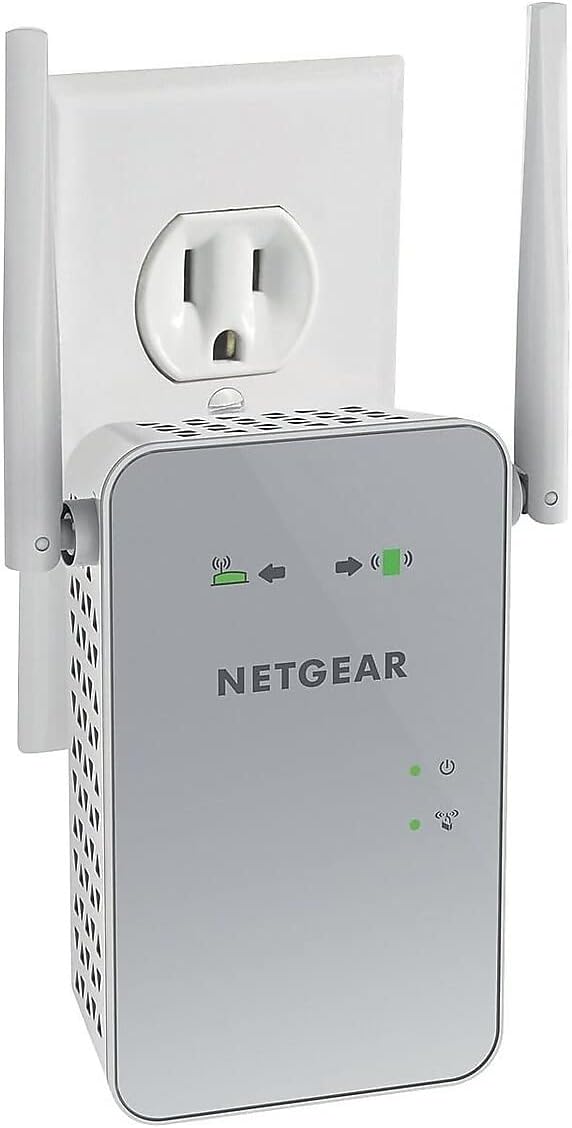
Abbildung 3: The NETGEAR EX6150 plugged into a standard electrical outlet.
Plug the extender into an electrical outlet and wait for the Power LED to light up green. Use the Router Link LED on the extender to help you choose a location where the extender-to-router connection is optimal:
- Einfarbig Grün/Bernstein: You have found a good location for the extender.
- Rot: Plug the extender into an outlet closer to the router and try again.

Abbildung 4: Zurück view of the NETGEAR EX6150, showing the product label with default login information and various ports/buttons.
4.4. Verbinden Ihrer Geräte
Once the extender is optimally placed, connect your client devices (laptops, smartphones, etc.) to the new extended WiFi network. The extender uses your existing WiFi name and adds "_2GEXT" for the 2.4GHz band or "_5GEXT" for the 5GHz band at the end. Use the same WiFi password as your main router.
Video 1: This video demonstrates how to set up NETGEAR Wall Plug WiFi Range Extenders, including unboxing, initial placement, WPS setup, optimal placement, and connecting client devices. (Source: NETGEAR)
5. Bedienung Ihres Extenders
Once set up, your extender operates automatically to provide extended WiFi coverage. You can manage advanced settings through the extender's web Benutzeroberfläche durch Navigation zu www.mywifiext.net in einem web browser while connected to the extender's network. Default login credentials are often found on the product label (see Figure 4).
Erweiterte Funktionen:
- WiFi Coverage Control: Adjust the range of your WiFi.
- Access Scheduling: Set schedules for your WiFi to turn on/off.
- FastLane-Technologie: Optimize performance for specific tasks like streaming or gaming.
- Zugangspunktmodus: Use the extender as a WiFi access point by connecting it to your router via an Ethernet cable.
6. Wartung
To ensure optimal performance and longevity of your NETGEAR EX6150, consider the following maintenance tips:
- Bewahren Sie das Gerät an einem gut belüfteten Ort auf, um eine Überhitzung zu vermeiden.
- Vermeiden Sie es, den Extender in der Nähe von großen Metallgegenständen, Betonwänden oder anderen elektronischen Geräten aufzustellen, die Störungen verursachen könnten.
- Periodically check for firmware updates through the extender's web interface to ensure you have the latest features and security enhancements.
- Clean the device gently with a dry, soft cloth. Do not use liquid cleaners.
7. Fehlerbehebung
If you encounter issues with your extender, try the following common troubleshooting steps:
- Keine Internetverbindung: Ensure the Router Link LED is solid green or amber. If red, move the extender closer to your main router.
- Langsame Geschwindigkeiten: Verify the extender's placement. It should be roughly halfway between your router and your devices. Consider using FastLane technology if available in the settings.
- Verbindung zum erweiterten Netzwerk nicht möglich: Double-check the WiFi password. It should be the same as your main router's password. Ensure you are selecting the correct extended network name (e.g., MyNetworkName_2GEXT).
- Intermittierende Verbindung: Try restarting both your main router and the extender. Ensure there are no physical obstructions or sources of interference.
- Werkseinstellungen zurückgesetzt: If all else fails, perform a factory reset by pressing and holding the reset button (usually a small pinhole) for about 7-10 seconds. You will then need to set up the extender again.
8. Spezifikationen
| Besonderheit | Detail |
|---|---|
| Kabelloser Typ | 802.11a/b/g/n/ac |
| Marke | NETGEAR |
| Artikelmodellnummer | EX6150-100 NAS |
| Betriebssystemkompatibilität | PC; Mac |
| Artikelgewicht | 13.6 Unzen |
| Produktabmessungen (L x B x H) | 4.8 x 2.91 x 1.5 Zoll |
| Farbe | Weiß |
| Bandtage | 100-240 Volt |
| Datenübertragungsrate | 1200 Megabit pro Sekunde |
| Frequenzbandklasse | Dualband |
9. Garantie und Support
For warranty information, technical support, and product registration, please refer to the official NETGEAR website or the documentation included in your product packaging. You can also visit the NETGEAR Store auf Amazon für zusätzliche Ressourcen.


