1. Einleitung
The iFixit Mako Driver Kit is a comprehensive 64-piece precision bit set designed for repairing small electronics and devices. This kit provides a wide array of specialized bits, a high-quality driver, and essential accessories to facilitate precise and efficient repairs.
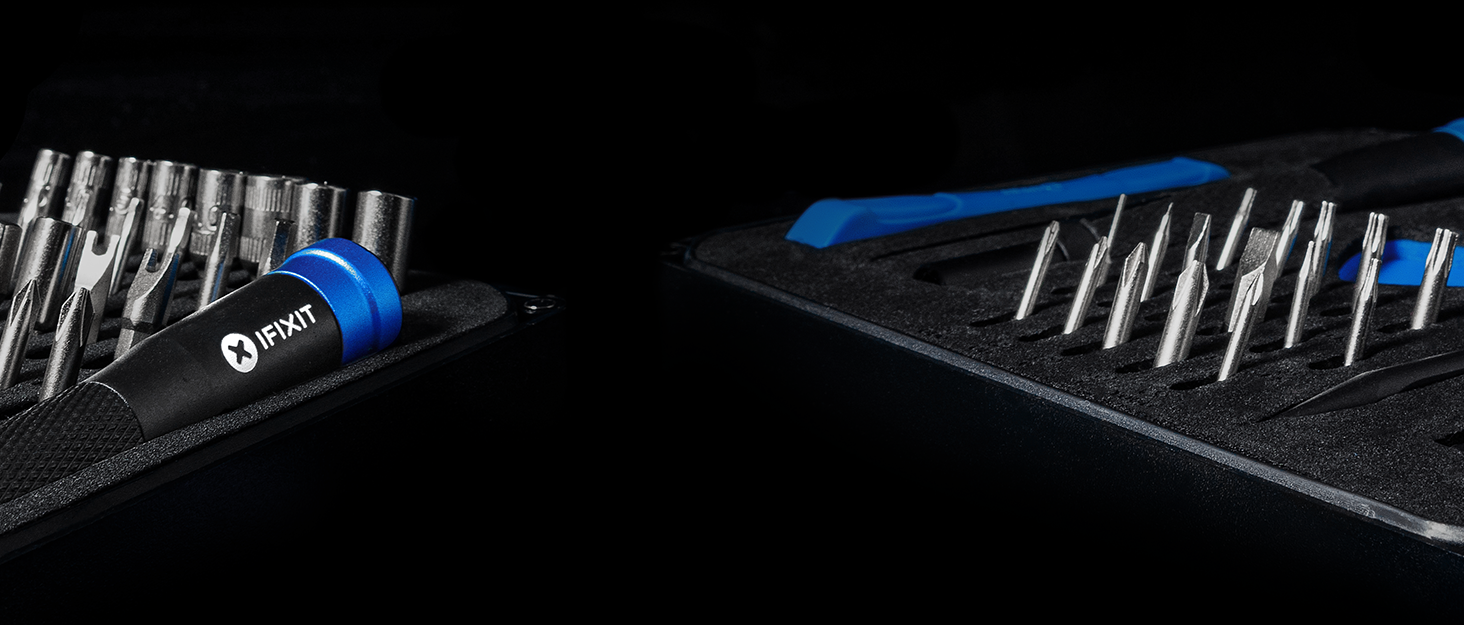
Image: The iFixit Mako Driver Kit, highlighting its versatility for various electronic devices.
2. Produktkomponenten
The iFixit Mako Driver Kit includes the following components:
- 64 Präzisionsbits: A wide selection of 4 mm S2 steel bits, including Phillips, Flathead, Torx, Torx Security, Pentalobe, JIS, Hex, Tri-point, Nut Driver, Square, Gamebit, Spanner, Triangle, SIM Eject, Oval, Magnetic Pickup, and Standoff bits.
- 4 mm Aluminum Screwdriver Handle: A premium driver with a magnetic socket, knurled grip for enhanced control, and a swivel top for comfortable, continuous rotation.
- Flexible Extension: A flexible shaft extension to reach screws in tight or awkward spaces.
- Magnetgehäuse: A durable, hard plastic case with a magnetic closure and an engineered foam insert that securely holds all components. The lid also functions as a sorting tray for screws and small parts.

Image: The iFixit Mako Driver Kit with all 64 bits, driver, and flexible extension clearly displayed in their organized foam slots.
3. Hauptmerkmale
- Feinmechanik: All bits are precisely machined from S2 steel to ensure a secure fit and prevent stripping of fasteners.
- Ergonomic Driver: The anodized aluminum driver features a knurled grip for comfortable handling and a swivel top for easy, one-handed screw turning.
- Magnetische Spitzen: All bits are magnetized to securely hold screws, preventing loss during assembly or disassembly.
- Flexible Extension: The included flexible extension allows access to screws in hard-to-reach areas, enhancing the kit's versatility.
- Organisierte Lagerung: The magnetic case and custom-fit foam insert keep all bits and tools neatly organized and secure, even when inverted. The case lid doubles as a sorting tray for small components.

Image: Thoughtfully designed driver with magnetic bit holder, ergonomic grip, and swivel top.

Image: The case lid serving as a convenient sorting tray for small components.
4. Bedienungsanleitung
4.1. Inserting and Removing Bits
- Select the appropriate bit for your fastener from the organized foam insert.
- Gently push the bit into the magnetic socket of the 4 mm screwdriver handle until it is securely seated.
- To remove a bit, pull it firmly from the magnetic socket.
4.2. Using the Flexible Extension
- Insert a selected bit into the end of the flexible extension.
- Insert the other end of the flexible extension into the 4 mm screwdriver handle.
- The flexible extension allows you to maneuver the bit around obstacles and access fasteners at various angles. Maintain a firm grip on the extension's outer sheath while turning the driver.

Image: Demonstrating the flexible extension for accessing hard-to-reach screws.
4.3. Organizing Screws and Small Parts
The lid of the magnetic case features a grid pattern that can be used as a sorting tray. As you remove screws or small components during a repair, place them in separate compartments on the lid to keep them organized and prevent loss. This helps in reassembly by maintaining the order of removal.

Image: Using the iFixit Mako Driver Kit for precision repair on a tablet, with screws organized in the case lid.
5. Anwendungen
The iFixit Mako Driver Kit is suitable for a wide range of electronic repair tasks, including but not limited to:
- Laptops und Desktop-Computer
- Smartphones and Tablets (e.g., iPhone, Android devices)
- Gaming Consoles (e.g., PS5, Nintendo Switch)
- Drones and Cameras
- Smart Home Geräte
- Other small electronic devices requiring precision fasteners.

Image: Visual representation of devices compatible with the Mako Driver Kit.
6. Spezifikationen
| Marke | iFixit |
| Modellnummer | IF145-299-4 |
| Stückzahl | 67 (64 bits, 1 driver, 1 flexible extension, 1 case) |
| Bitmaterial | S2 Stahl |
| Griffmaterial | Eloxiertes Aluminium |
| Gehäusematerial | ABS Plastic, EVA Foam |
| Artikelgewicht | 13.8 Unzen |
| Artikellänge | 7 Inches (case dimension) |
| Inklusive Kopfformen | Phillips, Flathead, Torx, Torx Security, Pentalobe, JIS, Hex, Tri-point, Nut Driver, Square, Gamebit, Spanner, Triangle, SIM Eject, Oval, Magnetic Pickup, Standoff |

Image: Detailed list of all bit types included in the kit.
7. Wartung
To ensure the longevity and optimal performance of your iFixit Mako Driver Kit, follow these maintenance guidelines:
- Reinigung: Wipe down the driver handle and bits with a clean, dry cloth after each use to remove any dirt, oil, or debris. Avoid using harsh chemicals or abrasive materials.
- Lagerung: Always return bits and tools to their designated slots in the magnetic case. Ensure the case is closed securely to prevent loss and protect components from dust and damage. Store the kit in a dry environment.
- Inspektion: Periodically inspect bits for signs of wear, such as rounding or chipping. Replace worn bits to prevent damage to fasteners.
8. Fehlerbehebung
If you encounter issues while using your iFixit Mako Driver Kit, consider the following:
- Bit Slipping/Stripping: Ensure you are using the correct bit size and type for the fastener. Apply firm, consistent pressure while turning. If the bit is worn, replace it.
- Verlorene Schrauben: Utilize the magnetic tips of the bits and the magnetic pickup feature (if applicable) to retrieve small screws. The grid on the case lid can help prevent screws from rolling away during disassembly.
- Schwierigkeiten beim Erreichen der Schrauben: Use the flexible extension for fasteners in confined or awkward locations.
9. Garantie und Support
The iFixit Mako Driver Kit is backed by iFixit's Lifetime Warranty. This warranty covers the anodized aluminum magnetic bit driver and S2 Steel 4 mm bits for life. If any component breaks, iFixit will replace it. For warranty claims or technical support, please refer to the official iFixit webWebsite oder wenden Sie sich an den Kundendienst.


