1. Einleitung
This manual provides essential information for the safe and effective operation, maintenance, and troubleshooting of your Einhell TE-CD 18/2 Li Cordless Drill Power X-Change Kit. Please read this manual thoroughly before using the product and keep it for future reference.
The Einhell TE-CD 18/2 Li is a powerful, robust, and versatile cordless drill designed for demanding screwing and drilling tasks in various materials. It is part of the Einhell Power X-Change family, ensuring compatibility with other Power X-Change batteries and chargers.

Image 1.1: Einhell TE-CD 18/2 Li Cordless Drill Kit components.
2. Sicherheitshinweise
Always observe the following safety precautions to prevent electric shock, injury, and fire:
- Tragen Sie geeignete persönliche Schutzausrüstung (PSA) wie Schutzbrille, Gehörschutz und Handschuhe.
- Stellen Sie sicher, dass der Arbeitsbereich gut beleuchtet und frei von Hindernissen ist.
- Halten Sie Kinder und Unbeteiligte fern, während Sie das Werkzeug bedienen.
- Betreiben Sie Elektrowerkzeuge nicht in explosionsgefährdeten Bereichen, in denen sich beispielsweise brennbare Flüssigkeiten, Gase oder Staub befinden.
- Vor jeglichen Einstellungen, dem Wechseln von Zubehörteilen oder dem Verstauen des Werkzeugs muss immer der Akku abgeklemmt werden.
- Use only Einhell Power X-Change batteries and chargers with this tool.
- Das Werkzeug und der Akku dürfen keinem Regen oder Nässe ausgesetzt werden.
- Vermeiden Sie ein versehentliches Starten. Stellen Sie sicher, dass der Schalter ausgeschaltet ist, bevor Sie den Akku einsetzen.
3. Packungsinhalt
The Einhell TE-CD 18/2 Li Cordless Drill Power X-Change Kit typically includes the following items:
- 1 x Einhell TE-CD 18/2 Li Cordless Drill-Driver
- 2 x 1.5 Ah Power X-Change Lithium-Ion Batteries
- 1 x Power X-Change Fast Charger
- 1 x Gürtelhaken
- 1 x Kunststoff-Tragetasche
Please check that all items are present and undamaged upon unpacking. If any items are missing or damaged, contact your retailer.
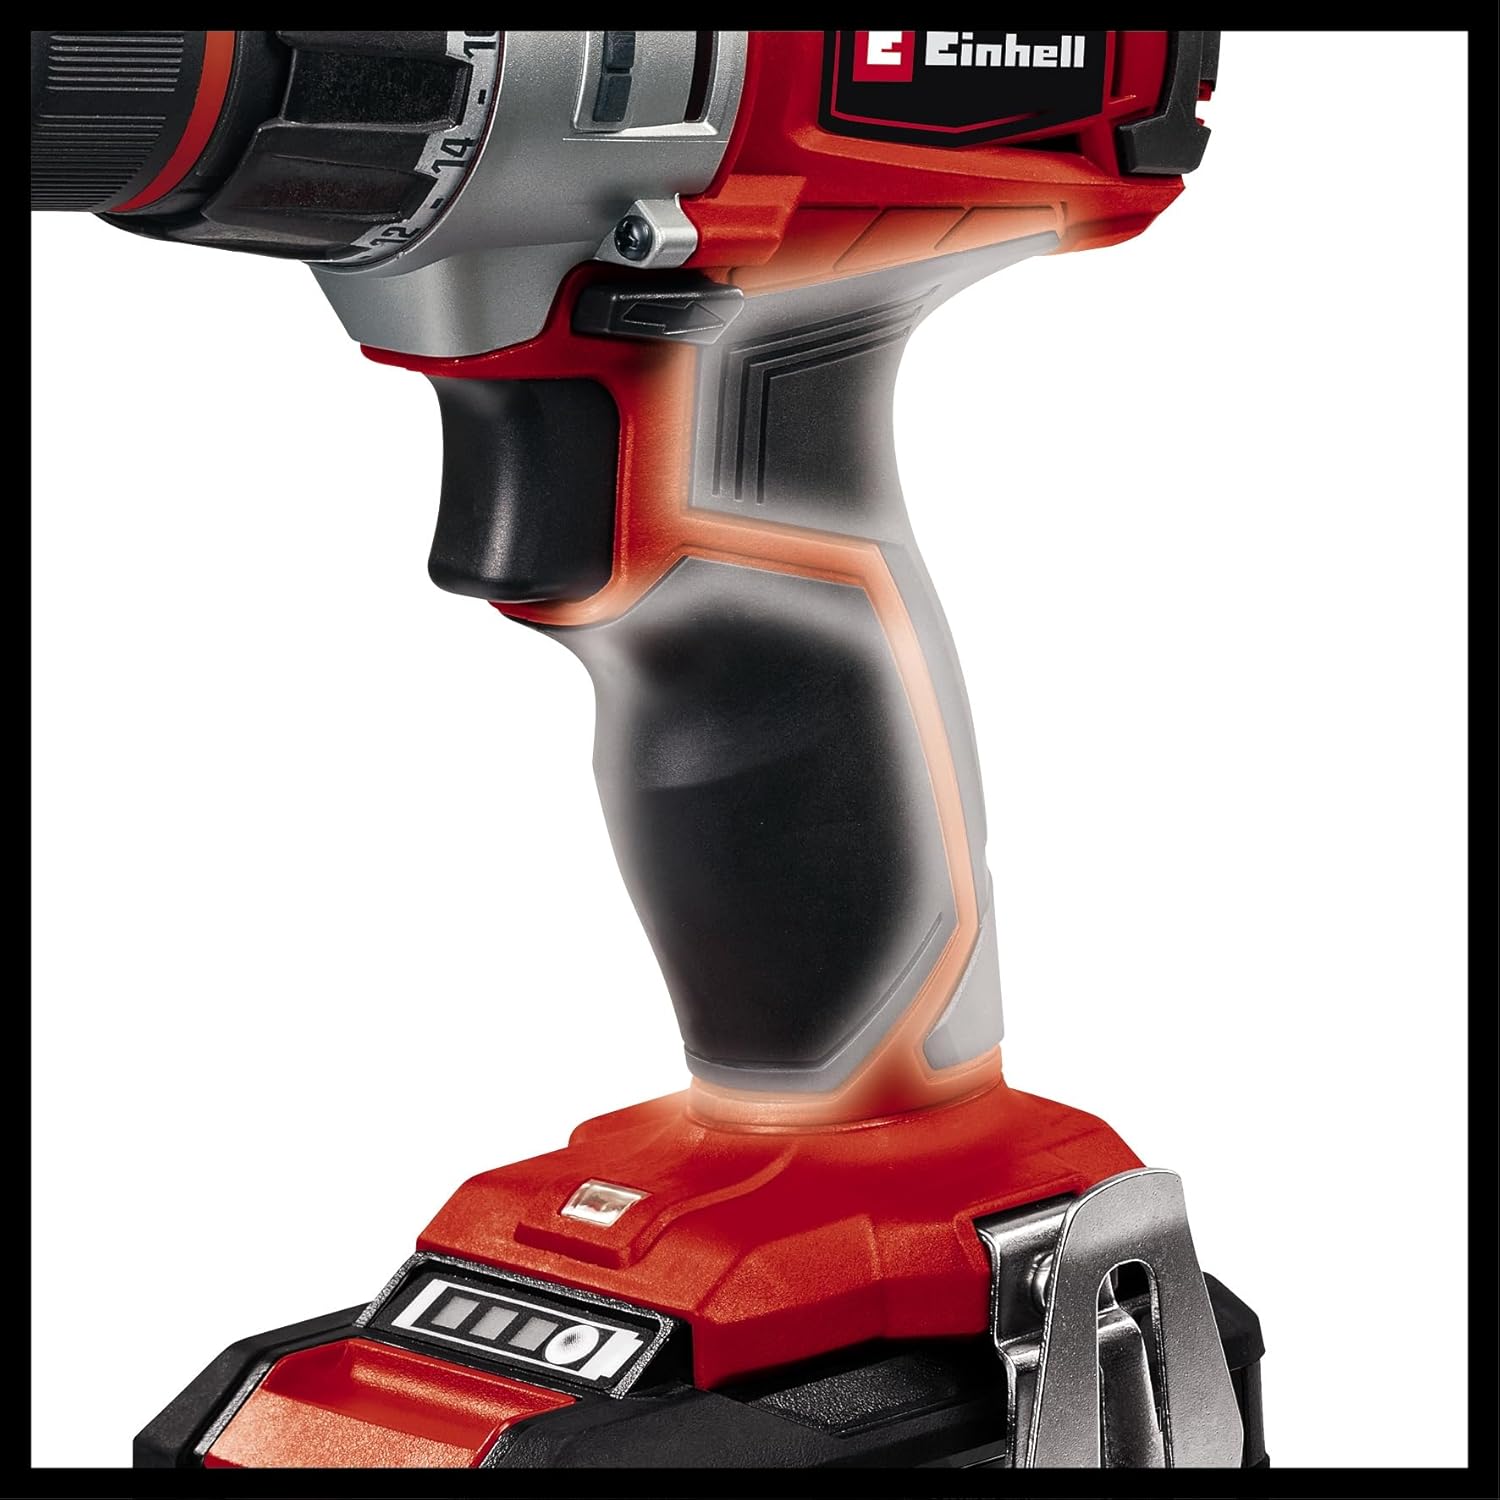
Image 3.1: All components included in the kit.
4. Einrichtung
4.1 Laden des Akkus
Before first use, fully charge the battery pack. The charger is designed for Einhell Power X-Change batteries only.
- Setzen Sie den Akku in das Ladegerät ein. Achten Sie darauf, dass er hörbar einrastet.
- Plug the charger into a suitable power outlet (120V AC, 60Hz).
- The charging indicator light on the charger will show the charging status. Refer to the charger's specific manual for detailed light indications.
- Sobald der Akku vollständig geladen ist, trennen Sie das Ladegerät von der Steckdose und entnehmen Sie den Akku.
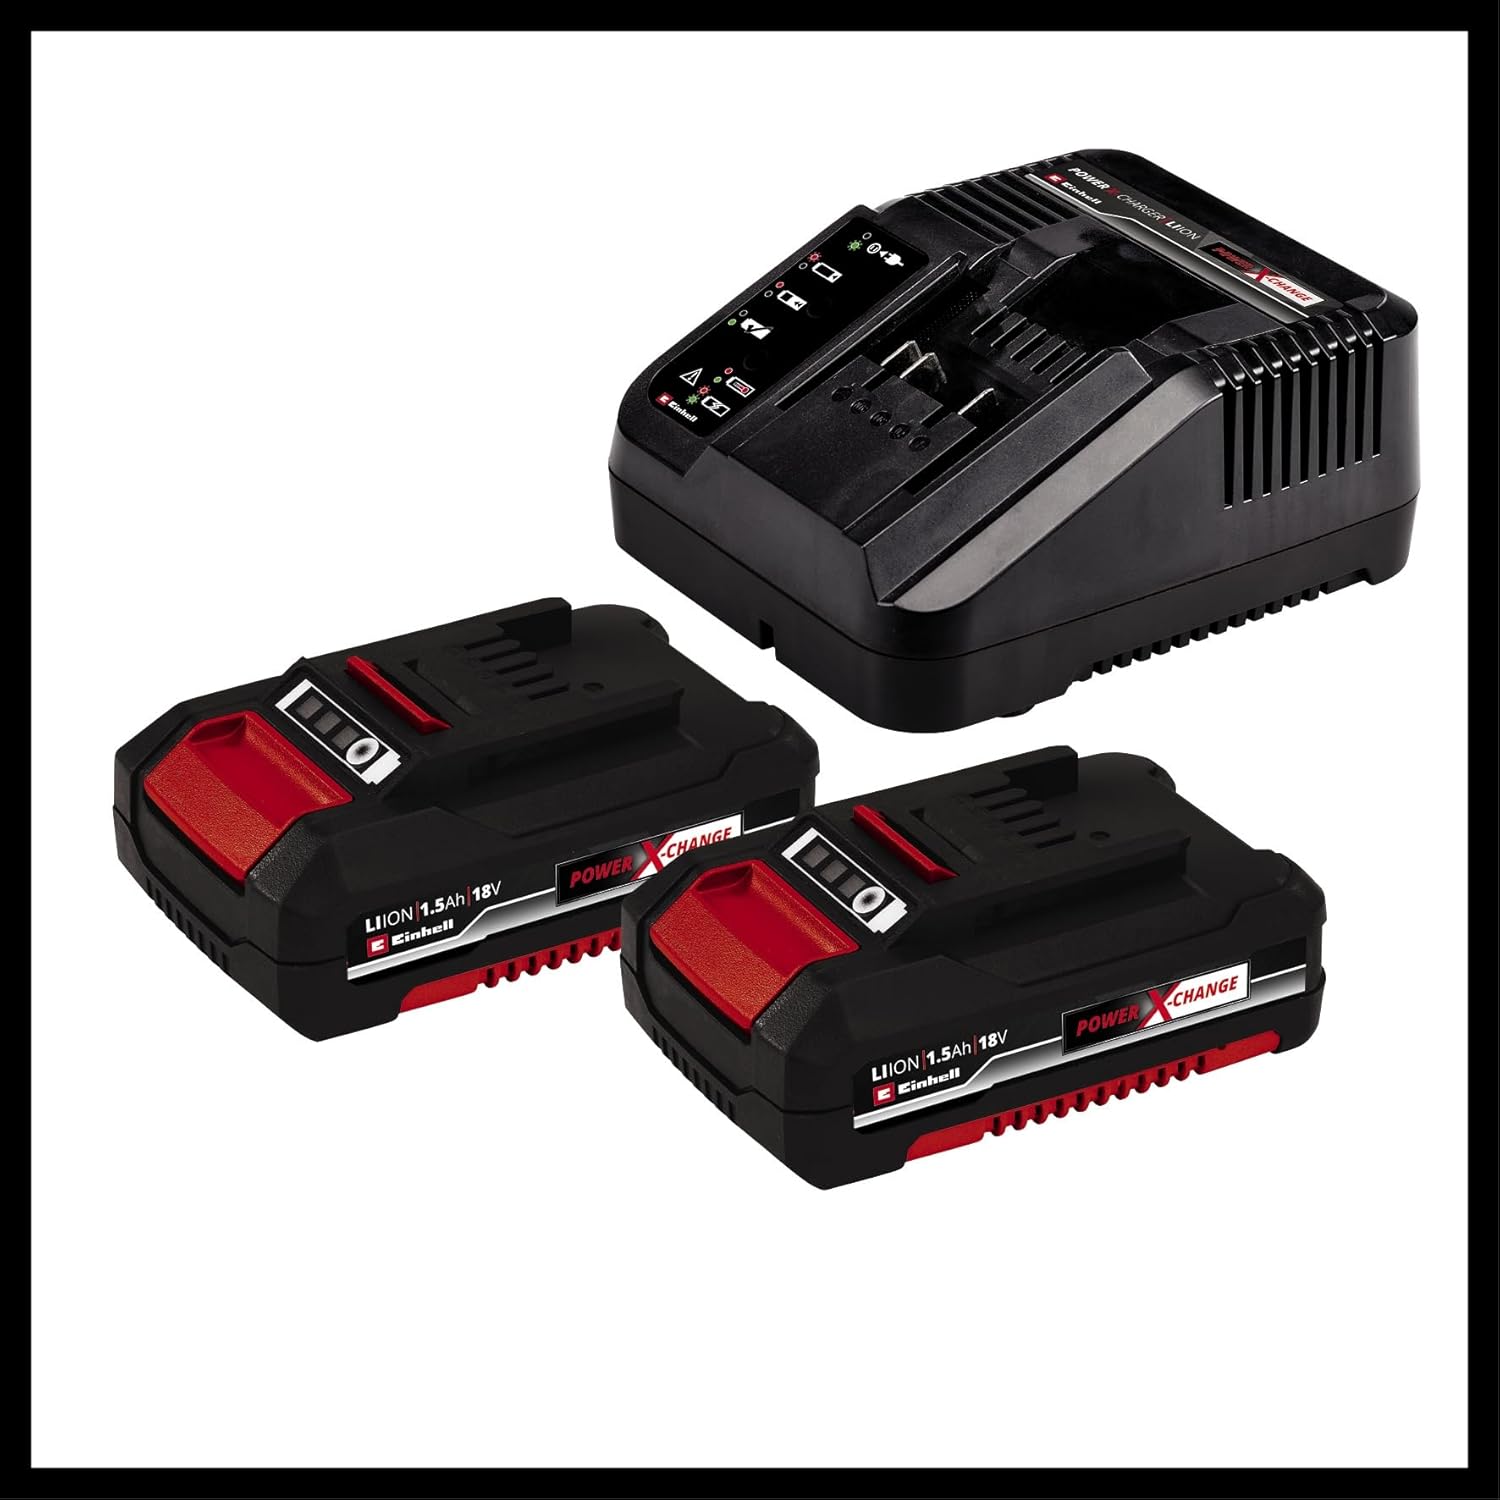
Image 4.1: Einhell Power X-Change batteries and charger.
4.2 Installieren des Akkupacks
So installieren Sie den Akku:
- Richten Sie den Akku an der Akkuöffnung an der Unterseite des Bohrmaschinengriffs aus.
- Schieben Sie den Akku in den Anschluss, bis er hörbar einrastet.
To remove the battery pack, press the release button(s) on the sides of the battery and slide it out.
4.3 Attaching/Changing Drill Bits
The drill features a quick-change chuck for easy bit changes.
- Stellen Sie aus Sicherheitsgründen sicher, dass die Bohrmaschine ausgeschaltet und der Akku entfernt ist.
- Drehen Sie das Spannfutter gegen den Uhrzeigersinn, um die Backen zu öffnen.
- Setzen Sie den Bohrer oder Schraubendreherbit vollständig in das Bohrfutter ein.
- Drehen Sie das Bohrfutter im Uhrzeigersinn, um die Backen fest um den Bohrer zu fixieren. Ziehen Sie es handfest an.
5. Bedienung der Bohrmaschine
5.1 Ein-/Ausschalten
The drill is activated by pressing the trigger switch. The speed is variable depending on how far the trigger is pressed.
- To start: Press the trigger switch.
- To stop: Release the trigger switch. The quick-stop function will rapidly halt the chuck rotation.

Image 5.1: Proper use of the cordless drill.
5.2 Vorwärts-/Rückwärtsdrehung
Ein oberhalb des Abzugs angebrachter Schiebeschalter steuert die Drehrichtung:
- Slide left for forward rotation (for drilling and tightening screws).
- Slide right for reverse rotation (for loosening screws).
- Center position locks the trigger for safety during transport or bit changes.
5.3 Speed Settings (2-Speed Gearbox)
The drill features a 2-speed gearbox for optimal performance in different applications:
- Gang 1 (Niedrige Geschwindigkeit, hohes Drehmoment): Ideal for heavy-duty screwing and drilling large holes in tough materials.
- Gang 2 (Hohe Geschwindigkeit, Geringeres Drehmoment): Suitable for fast drilling in wood, plastic, and light metals, and for smaller screws.
To change gears, slide the gear selector switch on top of the drill. Ensure the drill is stopped before changing gears to prevent damage.

Image 5.2: Key features: High Power, Drill/Screw, 2 Gears.
5.4 Torque Adjustment (Clutch Setting)
The torque adjustment ring allows you to set the desired torque for screwing applications. This prevents over-tightening screws and damaging the workpiece or screw head.
- Rotate the torque adjustment ring to select a setting from 1 to 21. Lower numbers provide less torque, higher numbers provide more.
- Der Bohrsymbol setting bypasses the clutch for maximum torque, suitable for drilling.
- Start with a lower torque setting and increase it as needed until the screw is driven flush without stripping.
5.5 LED-Arbeitsleuchte
The integrated LED work light illuminates the work area when the trigger is pressed, improving visibility in dimly lit spaces.

Image 5.3: LED work light and battery charge indicator.
5.6 Ergonomic Design and Belt Clip
The drill features an ergonomic soft grip handle for comfortable and secure handling during extended use. A convenient belt clip allows for easy carrying and quick access while working.
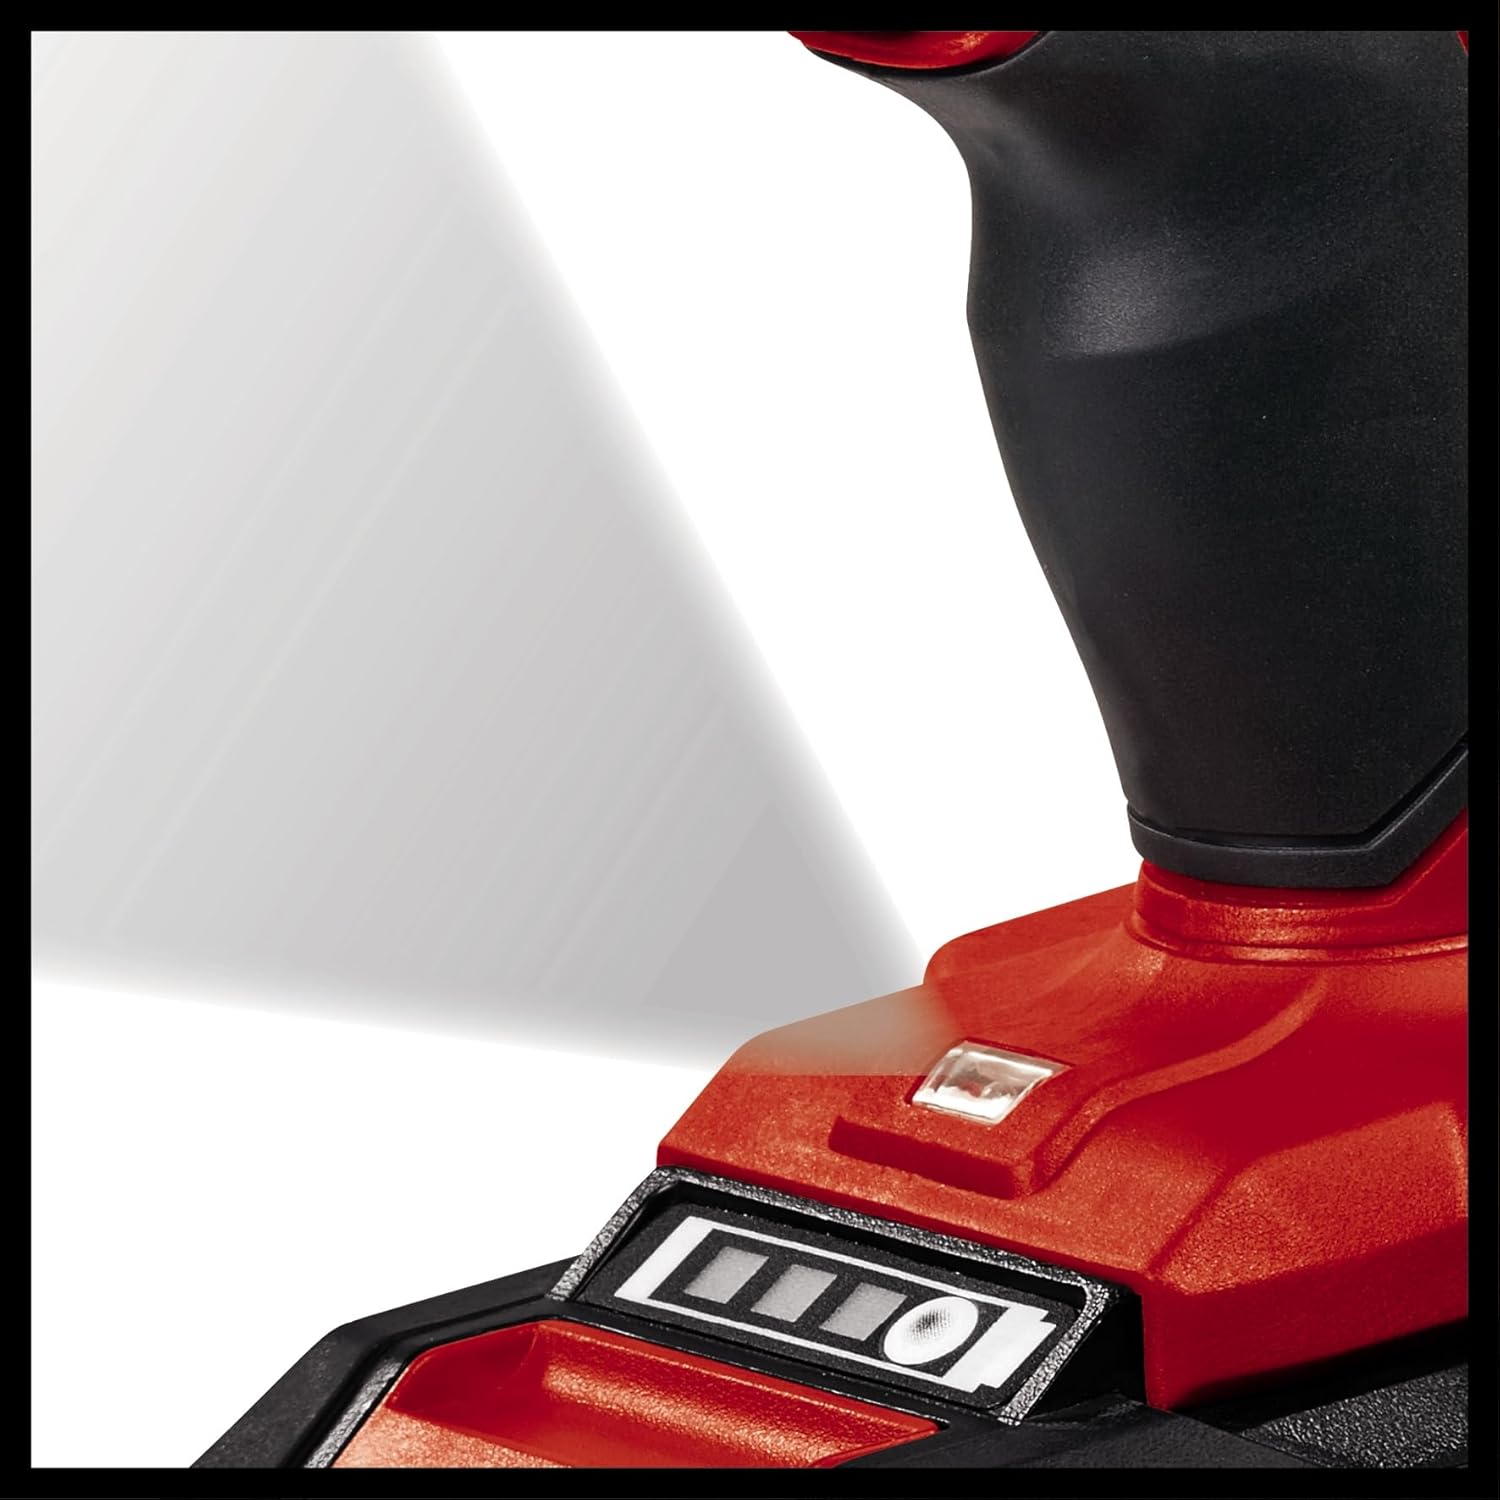
Image 5.4: Ergonomic soft grip handle for comfortable use.
6. Wartung
Regelmäßige Wartung gewährleistet die Langlebigkeit und optimale Leistung Ihrer Bohrmaschine.
- Reinigung: Keep the ventilation openings clean and free from dust. Use a soft, damp Reinigen Sie das Werkzeug mit einem Tuch. Verwenden Sie keine scharfen Chemikalien oder Scheuermittel.
- Lagerung: Store the drill, batteries, and charger in a dry, cool place, away from direct sunlight and moisture. Use the provided carrying case for protection.
- Batteriepflege: Store batteries at room temperature and partially charged (around 50%) if storing for extended periods. Do not store fully discharged batteries.
- Inspektion: Periodically inspect the chuck, power cord (of the charger), and housing for any signs of damage. Do not use the tool if any part is damaged.
7. Fehlerbehebung
| Problem | Mögliche Ursache | Lösung |
|---|---|---|
| Der Bohrer startet nicht. | Batterie nicht richtig eingesetzt oder entladen. Abzugssperre aktiviert. | Ensure battery is fully inserted and charged. Disengage the forward/reverse switch from the center (locked) position. |
| Reduzierte Leistung oder Geschwindigkeit. | Batterie schwach. Überlastung. | Recharge battery. Reduce pressure on the tool or use a lower gear setting. |
| Chuck hält das Gebiss nicht richtig fest. | Das Bohrfutter ist nicht ausreichend festgezogen. Der Schaft des Bohrers ist verschmutzt oder beschädigt. | Re-tighten chuck firmly. Clean or replace the bit. |
| Überhitzung. | Kontinuierliche intensive Nutzung. Blockierte Belüftung. | Werkzeug abkühlen lassen. Lüftungsöffnungen von Verstopfungen befreien. |
8. Spezifikationen
| Besonderheit | Spezifikation |
|---|---|
| Modell | TE-CD 18/2 Li (4513830) |
| Bandtage | 18 V |
| Akku-Typ | Lithium-Ion (Power X-Change) |
| Batteriekapazität | 1.5 Ah (2 Stück enthalten) |
| Leerlaufdrehzahl (Gang 1) | 0-350 U/min |
| Leerlaufdrehzahl (Gang 2) | 0-1250 U/min |
| Max. Drehmoment | 44 Nm |
| Drehmomenteinstellungen | 21 + Drill |
| Spannfuttertyp | Schlüsselloses Spannfutter |
| Produktabmessungen (L x B x H) | 12.99" x 3.94" x 13.11" (ca.) |
| Artikelgewicht | 8.38 Pfund (ca.) |

Image 8.1: Internal gear mechanism for powerful performance.
9. Garantie und Support
Einhell products are manufactured to high quality standards and are subject to strict quality controls. This product is covered by a manufacturer's warranty. Please refer to the warranty card included with your product for specific terms and conditions, including warranty period and coverage details.
For technical support, spare parts, or warranty claims, please contact Einhell customer service. Contact information can typically be found on the Einhell official webauf der Website oder auf der Garantiekarte.
You can also visit the official Einhell webWebsite für weitere Informationen und Produktregistrierung: www.einhell.com


