1. Einleitung
Vielen Dank für Ihren Einkauf.asing the Vivitar 4-Device Jumbo Universal Remote Control. This remote is designed to simplify your home entertainment experience by controlling up to four different audio/video devices from a single unit. It is compatible with most major brands of televisions, Blu-Ray players, DVD players, VCRs, cable boxes, satellite receivers, and home theater systems. Please read this manual thoroughly to ensure proper setup and operation.
2. Einrichtung
2.1 Einlegen der Batterie
The Vivitar Jumbo Universal Remote requires two (2) AAA batteries (not included).
- Suchen Sie die Batteriefachabdeckung auf der Rückseite der Fernbedienung.
- Drücken Sie auf die Lasche und schieben Sie die Abdeckung ab.
- Legen Sie zwei neue AAA-Batterien ein und achten Sie darauf, dass die positiven (+) und negativen (-) Anschlüsse mit den Abbildungen im Batteriefach übereinstimmen.
- Schieben Sie den Batteriefachdeckel wieder an seinen Platz, bis er sicher einrastet.
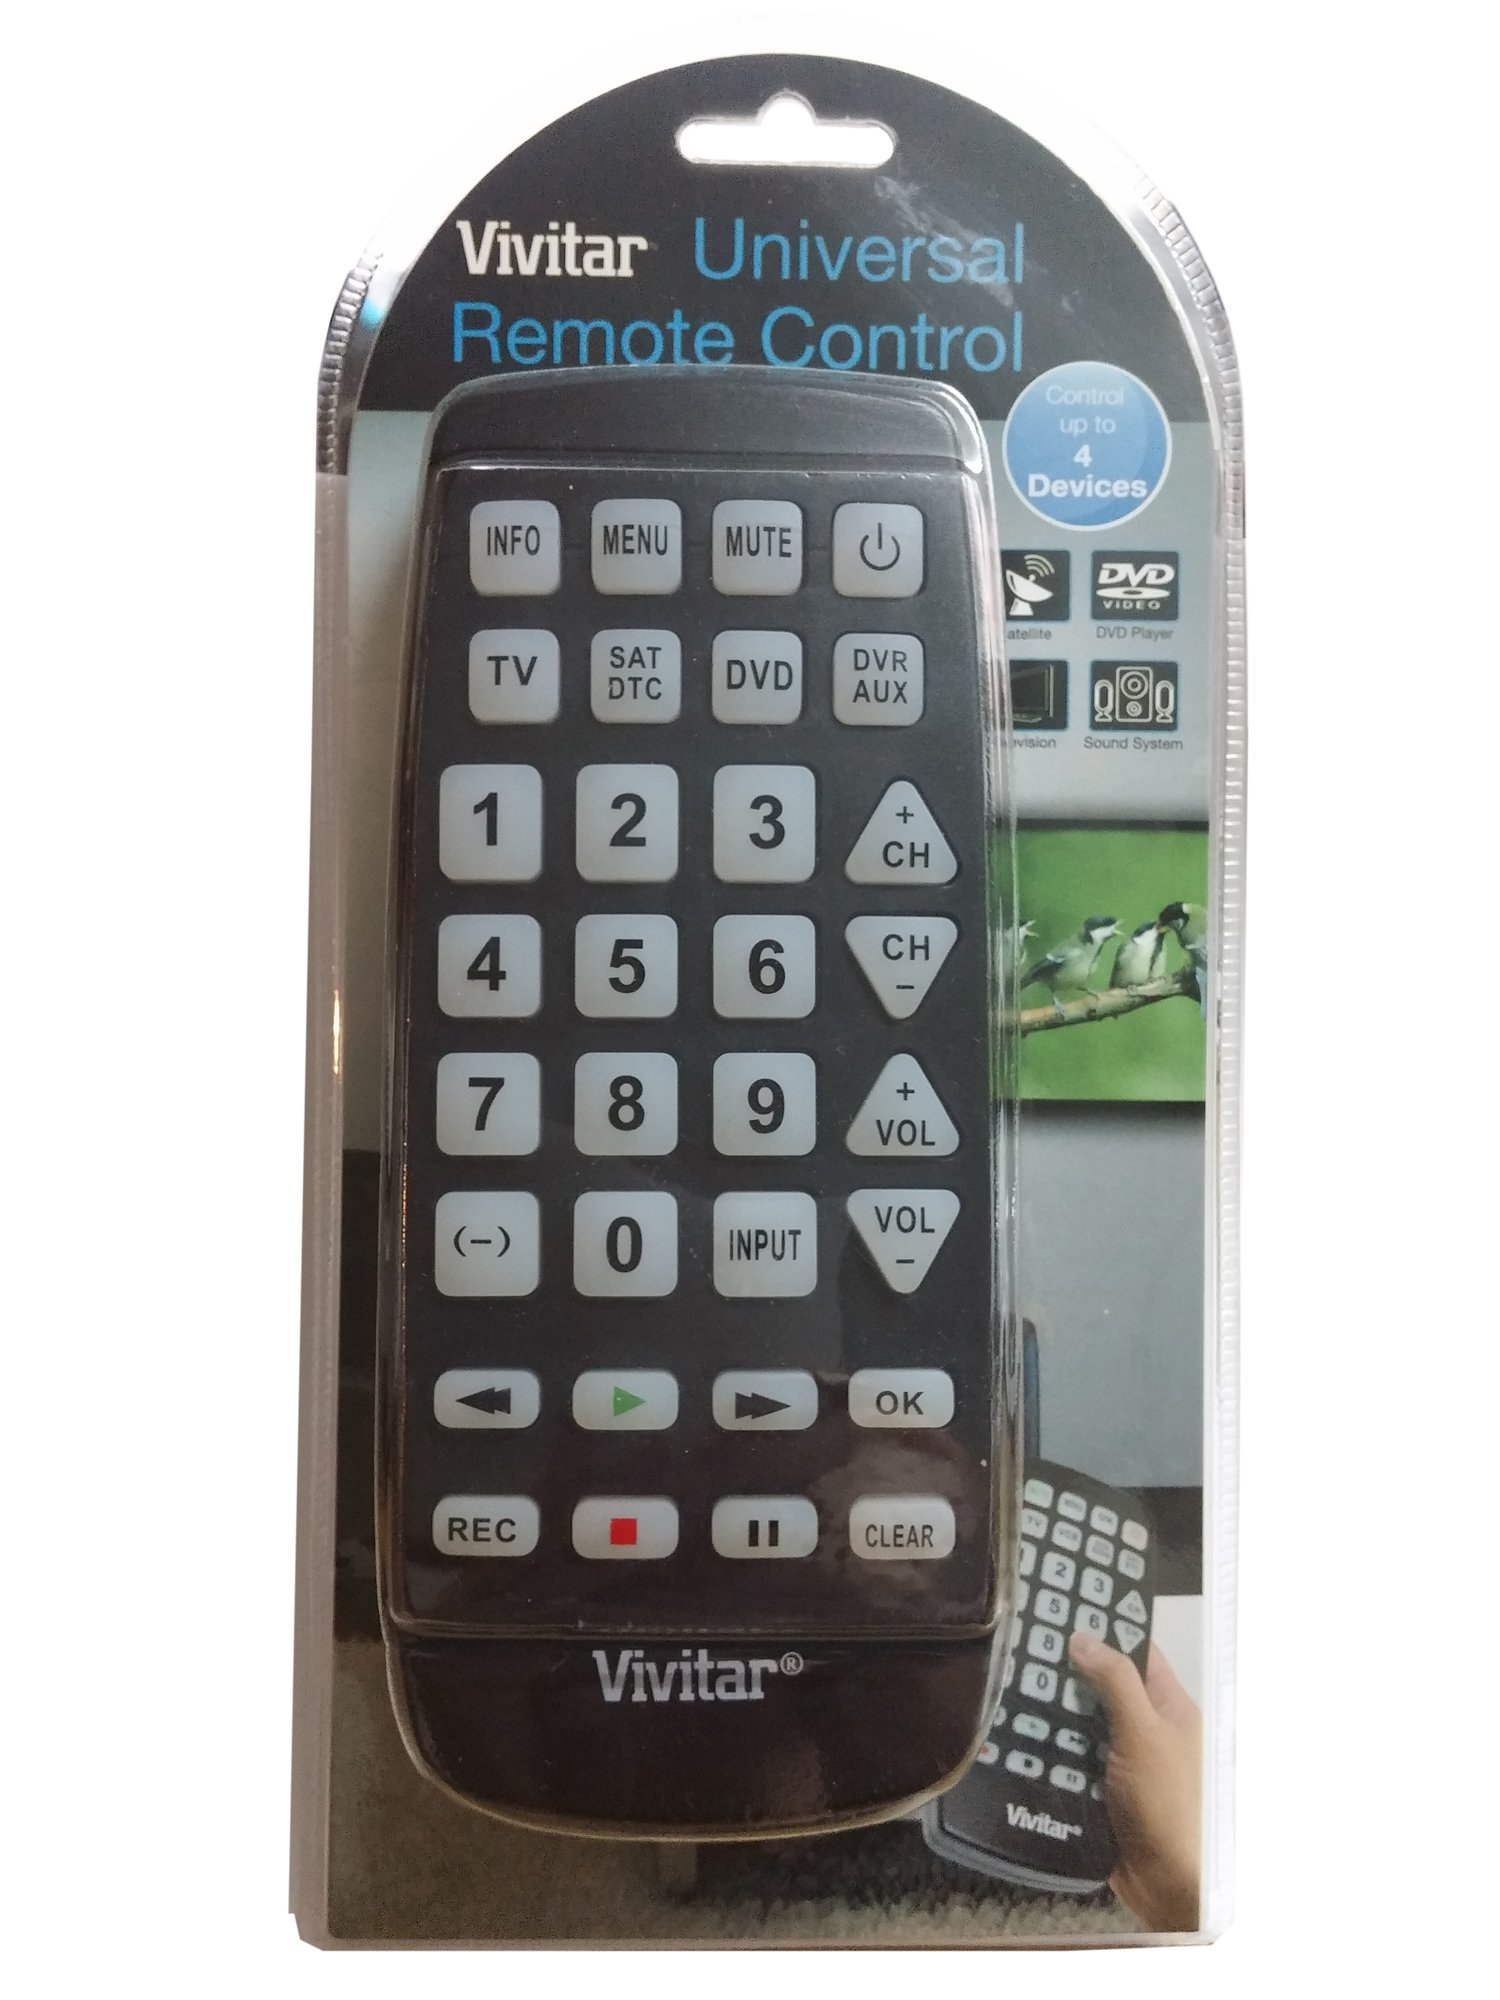
Bild: Vorderseite view of the Vivitar 4-Device Jumbo Universal Remote Control, showing its large buttons and ergonomic design. The battery compartment is located on the rear.
2.2 Programming Your Remote (Code Entry Method)
To program the remote for your specific device, you will need to enter a 3-digit code corresponding to your device's brand. A list of common codes is usually provided in a separate code booklet (not included in this digital manual).
- Schalten Sie das Gerät ein, das Sie steuern möchten (z. B. Fernseher, DVD-Player).
- Halten Sie die SATZ button on the remote until the red indicator light illuminates.
- Halten Sie SATZ, press the desired device button (e.g., TV, DVD, CBL) once. The red indicator light will blink once and then remain lit.
- Lassen Sie den SATZ Taste.
- Enter the 3-digit code for your device brand using the number buttons. After entering the third digit, the red indicator light should turn off.
- Testen Sie die Fernbedienung, indem Sie die Taste drücken. LEISTUNG button. If the device turns off, the code was accepted. If not, repeat the process with the next code listed for your brand.
Notiz: If your device does not respond after trying all codes for its brand, proceed to the Auto Code Search method.
2.3 Automatische Codesuche
If you cannot find a working code for your device, the remote can search for it automatically.
- Schalten Sie das Gerät ein, das Sie steuern möchten.
- Halten Sie die SATZ Drücken Sie die Taste so lange, bis die rote Kontrollleuchte aufleuchtet.
- Halten Sie SATZ, press the desired device button (e.g., TV, DVD, CBL) once. The red indicator light will blink once and then remain lit.
- Lassen Sie den SATZ Taste.
- Richten Sie die Fernbedienung auf das Gerät und drücken Sie wiederholt die Taste LEISTUNG Taste (oder CH+ for TV/VCR, SPIELEN for DVD/VCR) slowly, pausing briefly after each press. The remote is sending different codes with each press.
- As soon as your device turns off (or performs the desired function), immediately press the SATZ button once to save the code. The red indicator light will turn off.
- Test the remote's functions (Volume, Channel, Playback) to ensure all controls work correctly. If not, repeat the auto code search.
3. Bedienung Ihrer Fernbedienung
Once programmed, operating your Vivitar Jumbo Universal Remote is straightforward.
3.1 Geräteauswahl
To control a specific device, press the corresponding device button at the top of the remote (TV, DVD, CBL, AUX). The remote will then send commands only to the selected device.
3.2 Grundfunktionen
- LEISTUNG: Schaltet das ausgewählte Gerät ein oder aus.
- VOL+/VOL-: Increases or decreases the volume of the selected device.
- CH+/CH-: Changes the channel up or down on the selected device.
- STUMM: Schaltet den Ton stumm oder hebt die Stummschaltung auf.
- ZAHLTASTEN (0-9): Used for direct channel entry or code programming.
- PLAY/PAUSE/STOP/REW/FF: Controls playback functions for DVD, Blu-Ray, or VCR devices.
- SPEISEKARTE: Öffnet das Menü des ausgewählten Geräts.
- FÜHRUNG: Displays the program guide (for Cable/Satellite boxes).
- EINGABEQUELLE: Changes the input source on your TV.
4. Wartung
4.1 Reinigung
Um Ihre Fernbedienung zu reinigen, verwenden Sie ein weiches, leicht feuchtes Tuch.amp cloth. Do not use abrasive cleaners, solvents, or harsh chemicals, as these can damage the remote's finish or internal components. Ensure no liquid enters the remote.
4.2 Batteriewechsel
Replace batteries when the remote's performance degrades or the indicator light fails to illuminate. Always replace both batteries at the same time with new AAA batteries. Do not mix old and new batteries, or different types of batteries. Remove batteries if the remote will not be used for an extended period to prevent leakage.
4.3 Speicherung
Bewahren Sie die Fernbedienung an einem kühlen, trockenen Ort fern von direkter Sonneneinstrahlung und extremen Temperaturen auf.
5. Fehlerbehebung
5.1 Fernbedienung funktioniert nicht
- Batterien prüfen: Stellen Sie sicher, dass die Batterien korrekt mit der richtigen Polarität (+/-) eingelegt und nicht leer sind. Ersetzen Sie sie gegebenenfalls durch neue AAA-Batterien.
- Sichtlinie: Make sure there is a clear line of sight between the remote and the device you are trying to control. Obstructions can block the infrared signal.
- Geräteauswahl: Confirm you have pressed the correct device button (TV, DVD, CBL, AUX) for the device you intend to control.
5.2 Device Not Responding to Commands
- Falscher Code: The remote may be programmed with an incorrect code. Try reprogramming the remote using a different code from the code list for your device's brand, or use the Auto Code Search method.
- Gerätekompatibilität: While this remote is universal, some older or very new devices may not be compatible.
5.3 Indicator Light Not Illuminating
- This usually indicates dead or incorrectly inserted batteries. Replace batteries and check polarity.
5.4 Resetting the Remote
If you encounter persistent issues, you can try resetting the remote to its factory default settings. Remove the batteries, wait for 30 seconds, then reinsert them. You will need to reprogram all your devices after a reset.
6. Spezifikationen
| Modellnummer: | 4330255290 |
| Marke: | Vivitar |
| Produktabmessungen: | 11.3 x 1.8 x 5.6 Zoll |
| Artikelgewicht: | 13.1 Unzen |
| Akku-Typ: | 2 x AAA (nicht enthalten) |
| Anzahl der Geräte: | 4 (TV, DVD, Cable/Satellite, AUX) |
| Besonderheit: | Universelle Kompatibilität |
| Controller-Typ: | Tastensteuerung |
7. Garantie und Support
7.1 Eingeschränkte Garantie
Vivitar warrants this product against defects in materials and workmanship for a period of one (1) year from the original date of purchase. This warranty does not cover damage caused by misuse, abuse, accident, unauthorized modification, or normal wear and tear. Proof of purchase is required for all warranty claims.
7.2 Kundendienst
For technical assistance, troubleshooting, or warranty inquiries, please contact Vivitar Customer Support. Refer to the Vivitar official webAuf dieser Website finden Sie die aktuellsten Kontaktinformationen, einschließlich Telefonnummern und E-Mail-Adressen.


