Einführung
Thank you for choosing the Coby Retro LCD Alarm Clock, model CBC-52-WHT. This user manual provides essential information for setting up, operating, and maintaining your new alarm clock. Designed for clear and precise visibility, this clock features a sleek 3.5" LCD screen that displays time, date, and indoor temperature.
Hauptmerkmale:
- Perpetual Calendar Display: Always know the current date.
- On-The-Hour Chime: Optional audible chime for every hour.
- LCD Time and Temperature Display: Clear digital readout of time and indoor temperature.
- Alarm & 10 Minute Snooze Function: Reliable alarm with a convenient snooze option.
- Batteriebetrieben: Portable design, requires 2 AAA batteries (not included).
Packungsinhalt
Bitte überprüfen Sie das Paket sorgfältig, um sicherzustellen, dass alle Artikel vorhanden und in einwandfreiem Zustand sind.
- 1 x Coby Retro LCD Alarm Clock (CBC-52-WHT)
- 1 x Benutzerhandbuch (dieses Dokument)
Hinweis: Für den Betrieb werden 2 AAA-Batterien benötigt, die nicht im Lieferumfang enthalten sind.
Produkt überview und Kontrollen

Abbildung 1: Front view of the Coby Retro LCD Alarm Clock, highlighting the digital display and control buttons.
Anzeigeelemente:
- Zeitanzeige: Shows current time (AM/PM indicator).
- Alarmzeitanzeige: Zeigt die eingestellte Weckzeit an.
- Monats-/Datumsanzeige: Zeigt den aktuellen Monat und Tag an.
- Temperaturanzeige: Shows indoor temperature in Celsius or Fahrenheit.
- Alarmsymbol: Indicates when the alarm is active.
- Chime Icon: Indicates when the hourlDas Y-Glockenspiel ist aktiv.
Control Buttons (Front Panel):
- ZEITEINSTELLUNG: Used to enter time/date setting mode.
- NIEDER: Decreases values during setting, or navigates options.
- UP/°C/°F: Increases values during setting, navigates options, or switches temperature unit.
- WECKER GESTELLT: Dient zum Aufrufen des Alarmeinstellungsmodus.
- ALARM EIN/AUS: Schaltet die Alarmfunktion ein oder aus.
Oberer Knopf:
- SCHLAFEN/LICHT: Activates snooze during an alarm, or temporarily illuminates the display backlight.
Aufstellen
1. Einlegen der Batterie
- Suchen Sie den Batteriefachdeckel auf der Rückseite des Weckers.
- Schieben Sie den Deckel nach unten, um ihn zu öffnen.
- Insert two (2) new AAA batteries, ensuring the correct polarity (+ and -) as indicated inside the compartment.
- Setzen Sie die Abdeckung des Batteriefachs wieder ein, indem Sie sie so weit hineinschieben, bis sie einrastet.
Note: The clock will power on automatically once batteries are inserted. The display may show default values or "12:00 AM".
Bedienungsanleitung
1. Uhrzeit und Datum einstellen
- Halten Sie die ZEITEINSTELLUNG button for approximately 3 seconds until the hour digits begin to flash.
- Verwenden Sie die UP/°C/°F or RUNTER Tasten zum Einstellen der Stunde. Beachten Sie die AM/PM-Anzeige.
- Drücken ZEITEINSTELLUNG Um erneut auf die Minuteneinstellung zu wechseln. UP/°C/°F or RUNTER um die Minuten einzustellen.
- Drücken ZEITEINSTELLUNG again to move to the year setting. Adjust with UP/°C/°F or RUNTER.
- Drücken ZEITEINSTELLUNG again to move to the month setting. Adjust with UP/°C/°F or RUNTER.
- Drücken ZEITEINSTELLUNG again to move to the date setting. Adjust with UP/°C/°F or RUNTER.
- Drücken ZEITEINSTELLUNG one last time to exit the setting mode. The display will stop flashing.
2. Einstellen des Alarms
- Halten Sie die WECKER GESTELLT button for approximately 3 seconds until the alarm hour digits begin to flash.
- Verwenden Sie die UP/°C/°F or RUNTER buttons to adjust the alarm hour. Observe the AM/PM indicator for the alarm.
- Drücken WECKER GESTELLT again to move to the alarm minute setting. Use UP/°C/°F or RUNTER die Alarmminuten einstellen.
- Drücken WECKER GESTELLT one last time to exit the alarm setting mode. The alarm time will stop flashing.
3. Aktivieren/Deaktivieren des Alarms
- Den Alarm einschalten ON: Drücken Sie die ALARM EIN / AUS button once. An alarm icon (bell symbol) will appear on the display, indicating the alarm is active.
- Den Alarm einschalten AUS: Drücken Sie die ALARM EIN / AUS button again. The alarm icon will disappear from the display.
4. Schlummerfunktion
- Wenn der Alarm ertönt, drücken Sie die große Taste. SNOOZE / LICHT button on top of the clock. The alarm will temporarily stop and sound again after approximately 10 minutes.
- To cancel the snooze and turn off the alarm completely, press any other button on the front panel (e.g., ALARM EIN / AUS).
5. Displaybeleuchtung
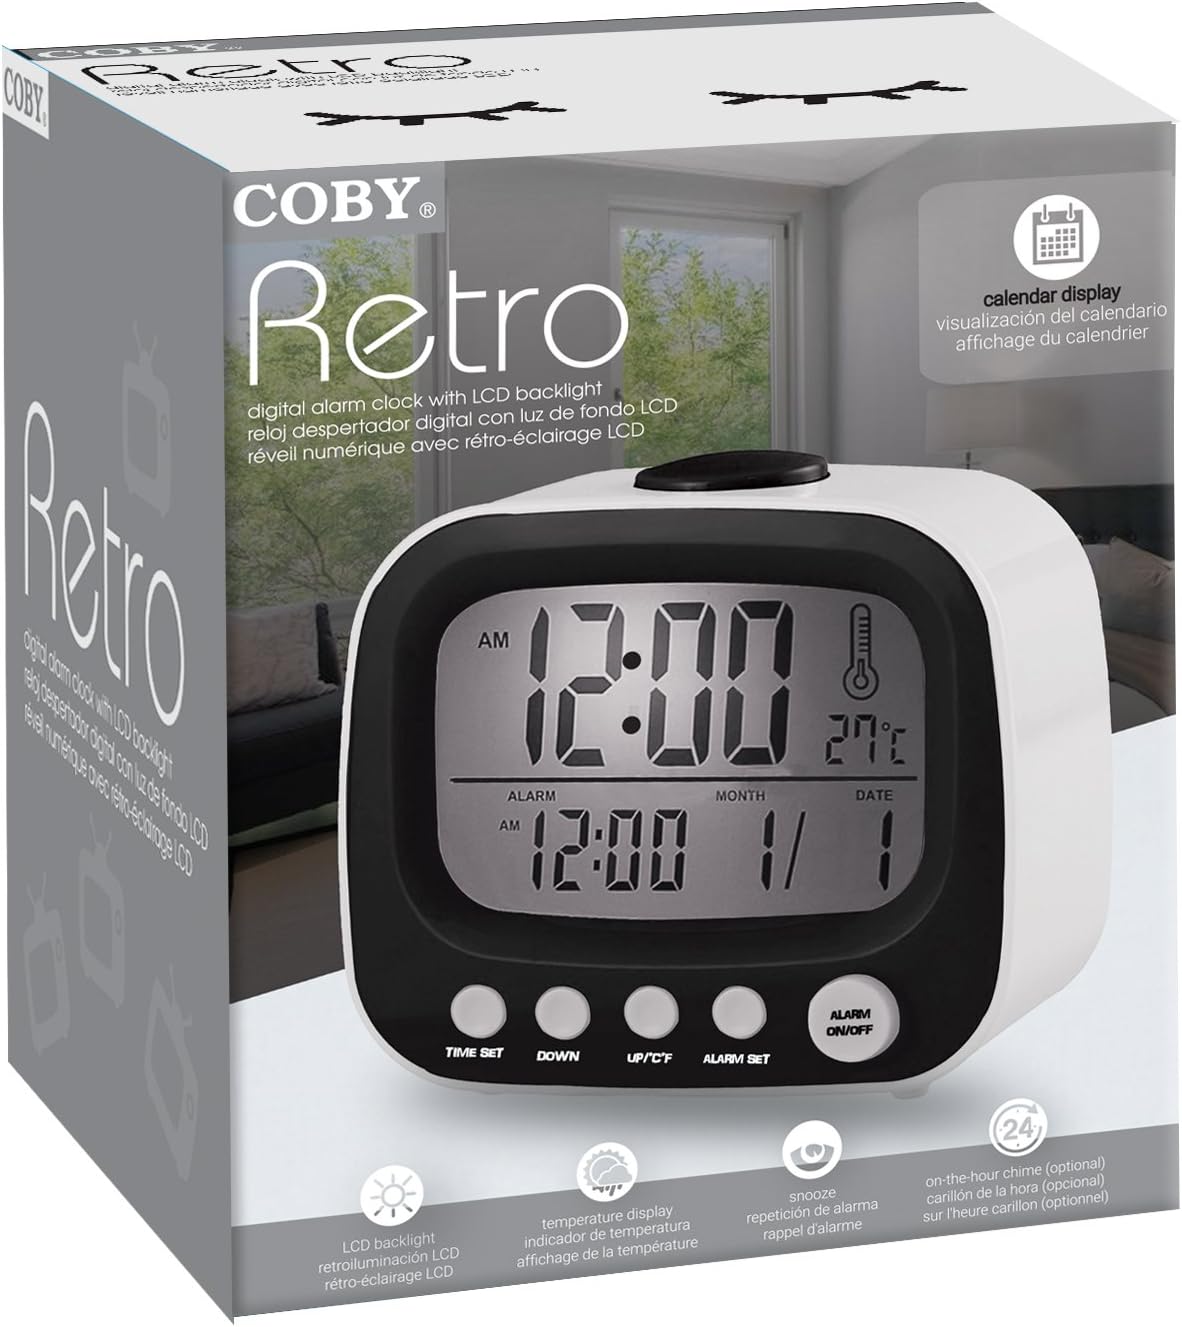
Abbildung 2: The Coby Retro LCD Alarm Clock with its backlight activated, providing visibility in low-light conditions.
- To temporarily illuminate the display, press the large SNOOZE / LICHT button on top of the clock. The backlight will stay on for a few seconds.
6. Umstellung der Temperatureinheit (°C/°F)
- Drücken Sie im normalen Zeitanzeigemodus die Taste UP/°C/°F button once to toggle between Celsius (°C) and Fahrenheit (°F) temperature readings.
7. On-The-Hour Chime
This model features an optional on-the-hour chime. The method to activate/deactivate this feature is typically integrated with the time setting or a dedicated button. If a chime icon is visible on the display, it indicates the chime is active. Consult the quick start guide if provided, or experiment with pressing the UP/°C/°F or RUNTER buttons in normal mode to see if a chime icon appears/disappears.
Wartung
Reinigung:
- Wischen Sie die Oberfläche der Uhr mit einem weichen, trockenen Tuch ab.
- Verwenden Sie keine Scheuermittel, Wachse oder Lösungsmittel, da diese die Oberfläche beschädigen können.
- Avoid exposing the clock to excessive moisture or submerging it in water.
Batteriewechsel:
- When the display becomes dim or the clock functions erratically, it's time to replace the batteries.
- Follow the "Battery Installation" steps in the Setup section to replace the two AAA batteries.
- Always use new batteries of the same type.
- Entsorgen Sie alte Batterien ordnungsgemäß entsprechend den örtlichen Vorschriften.
Fehlerbehebung
| Problem | Mögliche Ursache | Lösung |
|---|---|---|
| Das Display ist leer oder dunkel. | Batterien sind leer oder falsch eingelegt. | Ersetzen Sie die Batterien durch neue und achten Sie dabei auf die richtige Polarität. |
| Der Alarm ertönt nicht. | Alarm function is not activated, or alarm time is incorrect. | Ensure the alarm icon is visible on the display. Re-check alarm time setting. |
| Datum/Uhrzeit sind falsch. | Time/Date was not set correctly or batteries were removed. | Befolgen Sie die Anweisungen unter „Datum und Uhrzeit einstellen“, um die Einstellungen zurückzusetzen. |
| Die Temperaturanzeige scheint ungenau zu sein. | Die Uhr befindet sich in der Nähe einer Wärmequelle oder einer Lüftungsöffnung. | Bringen Sie die Uhr an einen Ort mit stabiler Umgebungstemperatur. |
Technische Daten
| Marke: | Coby |
| Modellnummer: | CBC-52-WHT |
| Farbe: | Weiß |
| Anzeigetyp: | Digital LCD |
| Energiequelle: | 2 x AAA-Batterien (nicht enthalten) |
| Produktabmessungen: | 20.32 x 7.62 x 10.16 cm (8 x 3 x 4 Zoll) |
| Artikelgewicht: | 249.47 g (0.55 Pfund) |
| Besondere Merkmale: | Alarm, Calendar Display, Snooze, Temperature Display, On-The-Hour Chime |
| Hersteller: | Summit Electronics, US |
Garantie und Support
Coby products are designed for reliability and performance. For information regarding warranty coverage, technical support, or service inquiries, please refer to the warranty card included with your purchase or visit the official Coby webBitte bewahren Sie Ihren Kaufbeleg für Garantieansprüche auf.
For further assistance, you may contact Coby customer support through their official channels. Always provide your product model number (CBC-52-WHT) when seeking support.


