1. Einleitung
Thank you for choosing the Superfish Smart Timer. This digital timer is designed to automate the on/off cycles of your aquarium lighting and other electrical devices, providing a consistent and stable environment for your aquatic life. Please read this manual carefully before use to ensure proper operation and safety.
2. Sicherheitshinweise
- Always disconnect the timer from the power supply before handling or performing any maintenance.
- This device is designed for indoor use only. Do not expose it to water splashes or high humidity.
- Ensure your hands are dry when plugging in or unplugging the timer.
- Do not exceed the maximum load capacity specified for this timer.
- Außerhalb der Reichweite von Kindern aufbewahren.
- If the timer appears damaged, do not use it. Contact customer support.
- Do not attempt to open or repair the timer yourself. This will void the warranty.
3. Produktüberschreitungview
The Superfish Smart Timer is a compact digital timer featuring a clear display and intuitive buttons for programming. It allows for precise control over the power supply to connected devices.
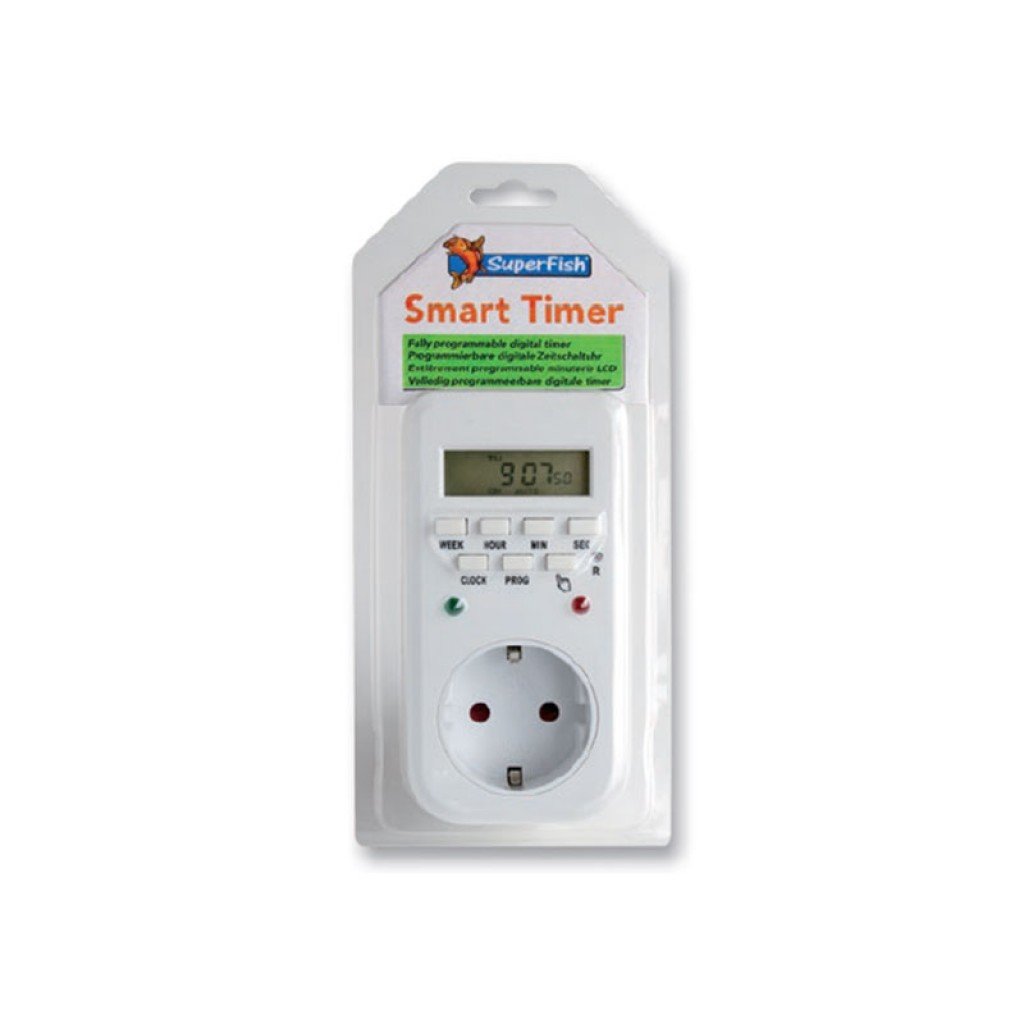
Image 1: Superfish Smart Timer. This image shows the front of the Superfish Smart Timer, highlighting its digital display and control buttons. The timer is designed for easy programming and monitoring of connected devices.
Zu den wichtigsten Komponenten gehören typischerweise:
- Digitaler Bildschirm: Zeigt die aktuelle Uhrzeit, den Programmstatus und die Einstellungen an.
- Bedientasten: For setting time, programs, and manual override.
- Steckdose: Where you connect your appliance.
- Netzstecker: To connect the timer to a wall socket.
4. Einrichtung
- Erstgebühr (falls zutreffend): If your timer has a built-in battery for memory backup, plug it into a wall socket for at least 30 minutes before first use to charge the internal battery.
- Alle Einstellungen löschen: Press the "R" (Reset) button with a pointed object (e.g., a pen tip) to clear all previous settings. The display will show "00:00".
- Aktuelle Uhrzeit einstellen:
- Press the "CLOCK" button and hold it.
- While holding "CLOCK", press "WEEK" to set the day of the week.
- While holding "CLOCK", press "HOUR" to set the hour.
- While holding "CLOCK", press "MINUTE" to set the minute.
- Release the "CLOCK" button. The current time is now set.
- Gerät anschließen: Plug the appliance you wish to control (e.g., aquarium light) into the outlet on the Superfish Smart Timer.
- Plug Timer into Wall Socket: Insert the Superfish Smart Timer's plug into a standard wall socket.
5. Betrieb
5.1 Programmierung von Ein-/Ausschaltzyklen
The Smart Timer allows you to set multiple ON/OFF programs. Follow these steps to program your desired cycles:
- Press the "PROG" button once. The display will show "1 ON".
- Press "WEEK" to select the day(s) for this program (e.g., MO, TU, WE, TH, FR, SA, SU, or combinations like MO-FR, SA-SU, MO-SU).
- Press "HOUR" to set the desired ON hour.
- Press "MINUTE" to set the desired ON minute.
- Press "PROG" again. The display will show "1 OFF".
- Wiederholen Sie die Schritte 2-4, um die gewünschte Abschaltzeit für das erste Programm einzustellen.
- Continue pressing "PROG" to cycle through "2 ON", "2 OFF", and so on, up to the maximum number of programs supported by your timer.
- Nachdem Sie alle gewünschten Programme eingestellt haben, drücken Sie die Taste „CLOCK“, um zur Anzeige der aktuellen Uhrzeit zurückzukehren.
5.2 Manuelle Übersteuerung
The "MANUAL" button allows you to override the programmed settings temporarily:
- Press "MANUAL" repeatedly to cycle through modes:
- AUF: The connected appliance will remain ON continuously, ignoring programs.
- AUS: The connected appliance will remain OFF continuously, ignoring programs.
- WAGEN: Der Timer arbeitet gemäß den programmierten Ein-/Ausschaltzyklen. Dies ist der Standardbetriebsmodus.
- Always ensure the timer is set to "AUTO" for automatic operation.
5.3 Random Function (if available)
Some models may include a "RANDOM" function, which can slightly vary the ON/OFF times to simulate a more natural environment or deter intruders. Consult your specific model's features for activation.
6. Wartung
- Reinigung: Disconnect the timer from the power supply. Wipe the exterior with a soft, dry cloth. Do not use abrasive cleaners or immerse the timer in water.
- Lagerung: Wenn Sie den Timer über einen längeren Zeitraum lagern, stellen Sie sicher, dass er sauber und trocken ist. Bewahren Sie ihn an einem kühlen, trockenen Ort ohne direkte Sonneneinstrahlung auf.
- Batterie-Backup: The internal battery (if present) is designed for memory backup. If the display becomes dim or resets frequently after power outages, the internal battery may need recharging by keeping the timer plugged in for several hours.
7. Fehlerbehebung
| Problem | Mögliche Ursache | Lösung |
|---|---|---|
| Die Timeranzeige ist leer. | Keine Stromversorgung. | Check if the timer is properly plugged into a live wall socket. Check the wall socket with another appliance. |
| Das Gerät schaltet sich nicht wie programmiert ein/aus. | Incorrect program settings; Timer in Manual ON/OFF mode; Appliance not working. | Review program settings carefully. Ensure the timer is in "AUTO" mode. Test the appliance by plugging it directly into a wall socket. |
| Time or programs reset after power outage. | Internal backup battery low or not charged. | Keep the timer plugged into a live socket for at least 4 hours to fully charge the internal battery. |
| Tasten reagieren nicht. | Vorübergehender Softwarefehler. | Perform a full reset using the "R" button. Re-program all settings. |
8. Spezifikationen
- Modell: SF-SMARTIMER
- ASIN: B01CZTS47E
- Artikelgewicht: 349.27 g
- Erforderliche Batterien: No (internal backup battery for memory, not user-replaceable)
- Montage erforderlich: NEIN
- Herstellerreferenz: SF-SMARTIMER
- Frühestmöglicher Termin: 2. Dezember 2022
- Software-Updates garantiert bis: Unbekannt
- Vom Hersteller nicht weitergeführt: NEIN
- Note: Specific electrical ratings (Voltage, Max Load) are typically printed on the device itself. Always adhere to these ratings.
9. Garantie und Support
Superfish products are manufactured to high-quality standards. For warranty information, please refer to the documentation provided with your purchase or visit the official Superfish webBewahren Sie Ihren Kaufbeleg für Garantieansprüche auf.
For technical support or further assistance, please contact your retailer or the Superfish customer service department. Contact details can usually be found on the product packaging or the official Superfish webWebsite.
WebWebsite: www.superfish.com (Hinweis: Dies ist ein Platzhalter. URLBitte überprüfen Sie die tatsächliche offizielle Angabe. website for Superfish.)


