1. Einleitung
This manual provides essential information for the safe installation, operation, and maintenance of your Ducasa Ducaverre White 1200W Glass Radiant Panel Heater. Please read these instructions carefully before use and retain them for future reference.
1.1 Sicherheitshinweise
- Elektrische Sicherheit: Always ensure the heater is connected to a properly grounded electrical outlet. Do not operate with a damaged cord or plug.
- Platzierung: Maintain a safe distance from flammable materials (curtains, furniture) as indicated in the installation section. Do not cover the heater.
- Wassereinwirkung: Do not install the heater near water sources (bathrooms, laundry rooms) unless specifically rated for such environments. Avoid direct water spray.
- Kinder und schutzbedürftige Personen: Dieses Gerät kann von Kindern ab 8 Jahren und von Personen mit eingeschränkten physischen, sensorischen oder geistigen Fähigkeiten oder mangelnder Erfahrung und Kenntnissen verwendet werden, wenn sie beaufsichtigt werden oder Anweisungen zur sicheren Verwendung des Geräts erhalten haben und die damit verbundenen Gefahren verstehen. Kinder dürfen nicht mit dem Gerät spielen. Reinigung und Benutzerwartung dürfen nicht von Kindern ohne Aufsicht durchgeführt werden.
- Wartung: Vor der Reinigung oder Durchführung von Wartungsarbeiten die Stromzufuhr unterbrechen.
1.2 Packungsinhalt
Prüfen Sie, ob alle Komponenten in der Verpackung vorhanden sind:
- Ducasa Ducaverre 1200W Glass Radiant Panel Heater
- Wandhalterung(en)
- Befestigungsschrauben und Dübel
- Benutzerhandbuch (dieses Dokument)
2. Einrichtung und Installation
Proper installation is crucial for the safe and efficient operation of your heater. If you are unsure about any step, consult a qualified electrician.
2.1 Wandmontage
The Ducasa Ducaverre heater is designed for wall mounting. Choose a suitable location away from direct drafts, windows, and areas where it might be accidentally covered. Ensure there is sufficient clearance around the heater as specified in the diagram below.
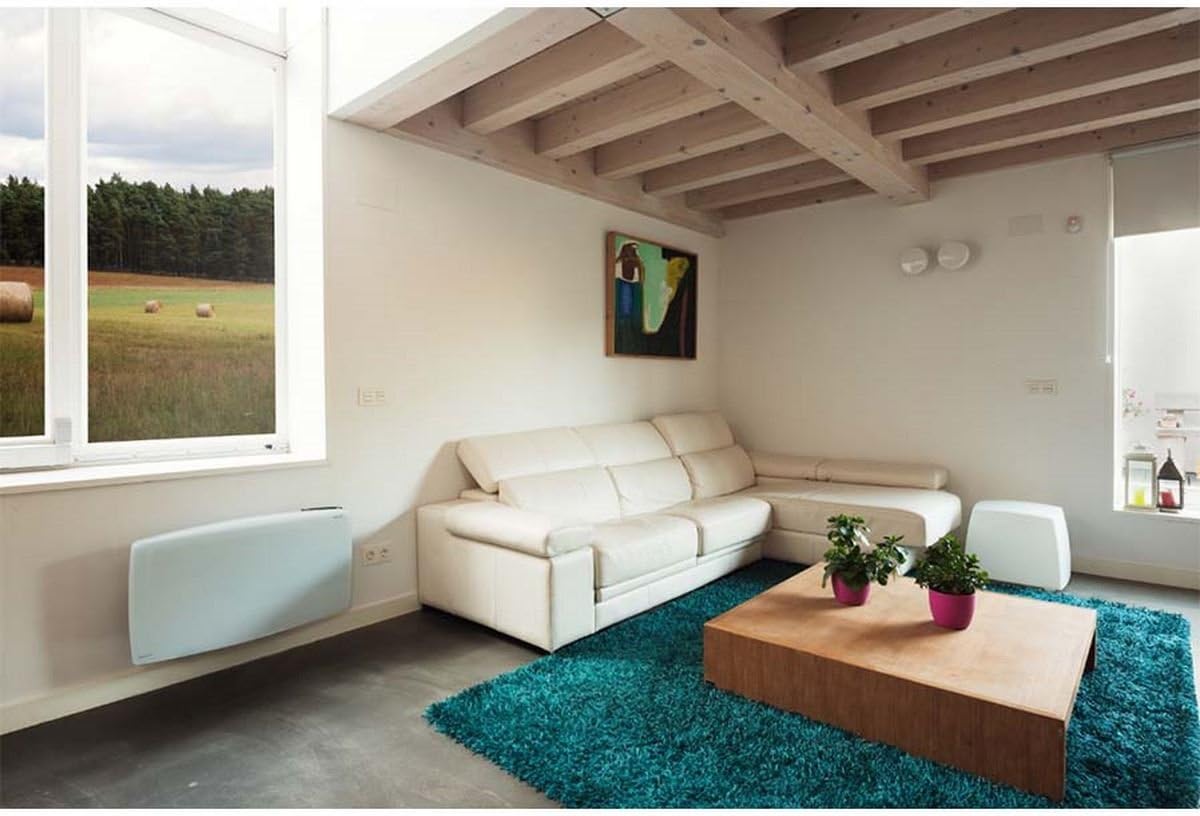
Bild 1: Ducasa Ducaverre 1200W Glass Radiant Panel Heater mounted on a wall in a modern living room setting. The heater is white and rectangular, positioned low on the wall, illustrating a typical installation scenario.
- Markierung: Hold the mounting bracket against the wall at the desired height. Use a pencil to mark the drilling points.
- Bohren: Bohren Sie an den markierten Stellen mit einem für Ihre Wandart geeigneten Bohrer Löcher. Setzen Sie die Dübel ein.
- Halterung anbringen: Befestigen Sie die Montagehalterung mit den mitgelieferten Schrauben an der Wand. Achten Sie darauf, dass sie waagerecht und fest sitzt.
- Heizgerät montieren: Carefully lift the heater and hook it onto the mounting bracket. Ensure it clicks securely into place. Some models may require additional screws to fix the heater to the bracket from below.
2.2 Elektrischer Anschluss
Once mounted, connect the heater to a standard electrical outlet. Ensure the outlet is easily accessible and rated for the heater's power consumption (1200W). Do not use extension cords or multi-plugs unless absolutely necessary and only if they are rated for the heater's power.
3. Bedienungsanleitung
Your Ducasa Ducaverre heater features an intuitive control panel for setting temperature and operating modes.

Bild 2: Eine Nahaufnahme view of the black control panel located on the top right side of the white Ducasa Ducaverre heater. The panel features a digital display and several buttons labeled 'OK', '+', '-', 'MODE', and 'PROG', indicating user interface for settings and programming.
3.1 Bedienfeld vorbeiview
- Digitaler Bildschirm: Shows current temperature, set temperature, and operating mode.
- MODE-Taste: Cycles through operating modes (Comfort, Eco, Frost Protection, Program).
- '+' / '-' Schaltflächen: Temperatureinstellungen anpassen oder Menüoptionen auswählen.
- OK-Taste: Bestätigt die Auswahl.
- PROG-Taste: Accesses programming functions.
3.2 Uhrzeit und Wochentag einstellen
Before using programmed modes, set the current time and day:
- Halten Sie die MODUS button until the time setting appears.
- Verwenden '+' or '-' Um die Stunde einzustellen, drücken Sie dann OK.
- Wiederholen Sie dies für Minuten und Wochentage.
3.3-Betriebsmodi
- Komfortmodus (C): Maintains your desired set temperature. Use '+' or '-' um die Temperatur einzustellen.
- Eco Mode (E): Maintains a temperature typically 3-4°C lower than the Comfort setting, saving energy.
- Frost Protection Mode (F): Hält eine Mindesttemperatur (z. B. 7 °C) aufrecht, um ein Einfrieren zu verhindern.
- Program Mode (P): Folgt einem voreingestellten wöchentlichen Heizplan.
3.4 Programming a Weekly Schedule
To set a custom heating schedule:
- Drücken Sie die PROG button. The display will show the current day and a time segment.
- Verwenden MODUS to select the desired operating mode (Comfort, Eco, Frost Protection) for that specific hour.
- Verwenden '+' to advance to the next hour or '-' um zurückzugehen.
- Repeat for all 24 hours of the day.
- Drücken PROG again to move to the next day.
- Once all days are programmed, press OK , um zu speichern und zu beenden.
4. Wartung
Regelmäßige Reinigung gewährleistet optimale Leistung und verlängert die Lebensdauer Ihres Heizgeräts.
4.1 Reinigung
- Stromversorgung trennen: Always unplug the heater from the electrical outlet before cleaning.
- Exterieur: Wischen Sie die Glasscheibe und die Außenflächen mit einem weichen, fusselfreien Tuch ab.amp Mit einem Tuch abwischen. Verwenden Sie keine Scheuermittel, Lösungsmittel oder aggressive Chemikalien, da diese die Oberfläche beschädigen können.
- Staub: Use a soft brush or vacuum cleaner with a brush attachment to remove dust from air inlets and outlets.
- Trocknen: Stellen Sie sicher, dass das Heizgerät vollständig trocken ist, bevor Sie es wieder anschließen.
4.2 Speicherung
If storing the heater for an extended period, ensure it is clean and dry. Store it in its original packaging or a protective cover in a cool, dry place, away from direct sunlight and extreme temperatures.
5. Fehlerbehebung
Sollten Sie Probleme mit Ihrer Heizung haben, beachten Sie bitte die folgenden häufigen Probleme und Lösungen:
- Heizung schaltet sich nicht ein:
- Prüfen Sie, ob das Netzkabel fest in einer funktionierenden Steckdose eingesteckt ist.
- Prüfen Sie, ob der Schutzschalter ausgelöst hat.
- Ensure the heater is not in standby mode.
- Heater is on but not heating:
- Check the set temperature; it might be lower than the ambient room temperature.
- Ensure the heater is not in Frost Protection mode if you expect higher heat output.
- Verify that no objects are obstructing the air vents.
- Ungewöhnliche Geräusche:
- Minor expansion/contraction noises are normal during heating and cooling cycles.
- If noises are loud or persistent, disconnect power and contact support.
- Fehlercodes: If an error code appears on the display, note the code and consult the manufacturer's support or a qualified technician.
If the problem persists after attempting these solutions, disconnect the heater from the power supply and contact customer support.
6. Spezifikationen
- Modell: Ducasa Ducaverre 1200W
- Typ: Glass Radiant Panel Heater
- Leistungsabgabe: 1200 W
- Bandtage: 230 V ~ 50 Hz (europäischer Standard)
- Material: Frontplatte aus Glas
- Installation: Wandmontage
- Abmessungen: Siehe Produktverpackung oder Herstellerangaben. webWebsite für genaue Messungen.
- ASIN: B01HZMXDAY

Bild 3: A full, slightly angled view of the Ducasa Ducaverre 1200W Glass Radiant Panel Heater. The heater is white with a sleek glass surface, and the 'ducasa' brand name is visible on the top right, along with the small digital control panel.
7. Garantie und Support
Your Ducasa Ducaverre heater is covered by a manufacturer's warranty. Please refer to the warranty card included with your purchase or visit the official Ducasa webDetaillierte Geschäftsbedingungen finden Sie auf der Website.
For technical assistance, spare parts, or warranty claims, please contact Ducasa customer support through their official channels. Have your product model and ASIN (B01HZMXDAY) ready when contacting support.


