1. Einleitung
This manual provides essential information for the safe and efficient operation of your Atomos Sumo 19 HDR High Bright Monitor. Please read this manual thoroughly before using the device to ensure proper setup, operation, and maintenance. Retain this manual for future reference.
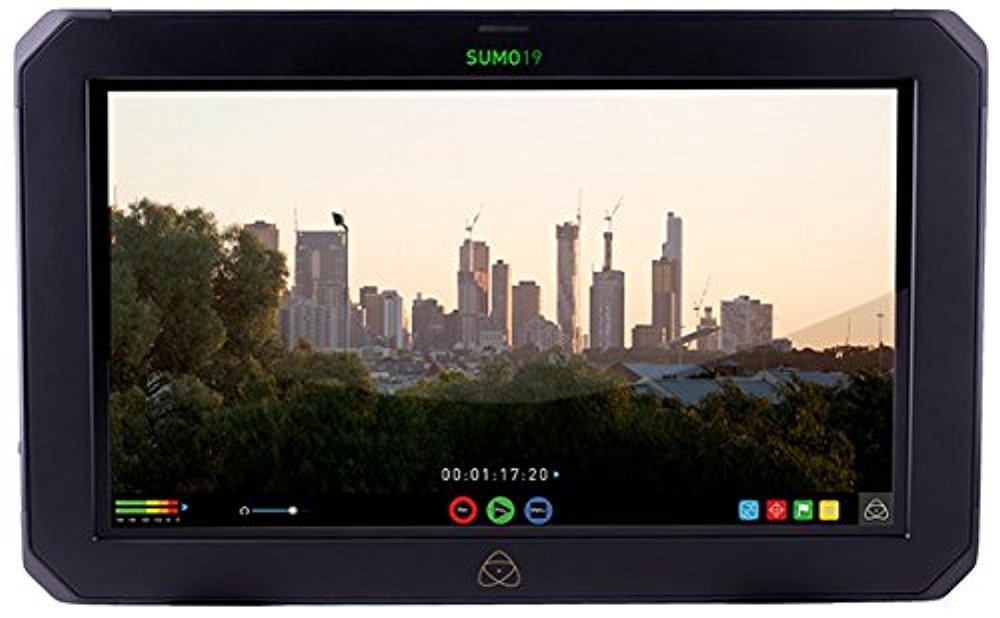
Abbildung 1.1: Front view of the Atomos Sumo 19 HDR High Bright Monitor, showcasing its large display and robust casing.
2. Sicherheitshinweise
Beachten Sie die folgenden Sicherheitsvorkehrungen, um Schäden am Gerät zu vermeiden und die Sicherheit des Benutzers zu gewährleisten:
- Energiequelle: Verwenden Sie ausschließlich das angegebene Netzteil. Falsche Lautstärke.tage kann das Gerät beschädigen.
- Belüftung: Do not block ventilation openings. Ensure adequate airflow to prevent overheating.
- Wasser und Feuchtigkeit: Das Gerät vor Wasser, Regen und hoher Luftfeuchtigkeit schützen. Nicht mit nassen Händen bedienen.
- Auswirkungen: Lassen Sie das Gerät nicht fallen und setzen Sie es keinen starken Stößen aus.
- Reinigung: Vor der Reinigung die Stromzufuhr unterbrechen. Ein weiches, trockenes Tuch verwenden. Keine flüssigen oder Aerosolreiniger verwenden.
- Wartung: Versuchen Sie nicht, das Gerät selbst zu warten. Überlassen Sie alle Wartungsarbeiten qualifiziertem Personal.
- Warnung zu Proposition 65: Dieses Produkt kann Chemikalien enthalten, von denen bekannt ist, dass sie Krebs, Geburtsfehler oder andere reproduktive Schäden verursachen.
3. Einrichtung
3.1. Packungsinhalt
Überprüfen Sie, ob alle Artikel im Paket vorhanden sind:
- Atomos Sumo 19 HDR High Bright Monitor
- Netzteil
- Kurzanleitung
- SSD/HDD Caddy (for recording media)
3.2. Montage des Monitors
The Sumo 19 can be mounted using standard VESA mounts or a dedicated C-stand mounting bracket (sold separately). Ensure the mounting solution is robust enough to support the monitor's weight (approximately 11.99 pounds).
- Attach the appropriate mounting plate to the rear of the monitor using the provided screws.
- Secure the monitor to your desired stand or rig.
Abbildung 3.1: Illustration of the rear panel with VESA mounting points. Ensure secure attachment to a compatible mount.
3.3. Stromversorgung anschließen
Connect the AC power adapter to the DC input port on the monitor and then to a suitable power outlet.
- Locate the DC input port on the side or rear of the monitor.
- Plug the power adapter into the monitor, then into a wall socket.
3.4. Anschließen der Videoeingänge
The Sumo 19 accepts video signals via HDMI or SDI. It features dual 12/6/3G-SDI inputs and HDMI input.
- HDMI: Connect an HDMI cable from your source device to the HDMI input port on the monitor.
- SDI: Connect SDI cables from your source devices to the SDI input ports. The monitor supports up to 4Kp60 or HDp240 over SDI.
Abbildung 3.2: Diagram illustrating the location of HDMI and SDI input/output ports for video signal connection.
3.5. Inserting Recording Media
To enable recording, insert a compatible SSD or HDD into the provided caddy, then slide the caddy into the monitor's media slot.
- Open the SSD/HDD caddy and securely place your recording media inside.
- Slide the loaded caddy into the designated slot on the monitor until it clicks into place.
4. Bedienung des Monitors
4.1. Ein-/Ausschalten
Press and hold the power button located on the monitor's frame until the screen illuminates or shuts down.
4.2. Navigation auf der Benutzeroberfläche
The Sumo 19 features a touchscreen interface for menu navigation and control.
- Klopfen: Select an option or activate a function.
- Wischen: Navigate through menus or adjust parameters.
- Pinch-to-Zoom: (If supported) Magnify parts of the image.
Abbildung 4.1: Example of the touchscreen user interface, showing main menu options and monitoring tools.
4.3. Eingabeauswahl
To switch between connected video sources:
- Tap the 'Input' icon on the screen.
- Select the desired HDMI or SDI input from the list.
4.4. HDR and SDR Monitoring
The Sumo 19 supports both HDR (High Dynamic Range) and SDR (Standard Dynamic Range) monitoring. It provides real-time exposure tools for Log footage.
- Access the 'Display' settings from the main menu.
- Select 'HDR' or 'SDR' mode based on your workflow.
- Adjust HDR settings such as brightness and contrast as needed.
4.5. Loading Custom LUTs
You can load custom Look Up Tables (LUTs) onto the Sumo 19 via the HDD/SSD slot to preview different looks on set.
- Speichern Sie Ihre .cube-LUT files to the root directory of your recording media (SSD/HDD).
- Insert the media into the monitor.
- Navigate to the 'LUT' section in the monitor's menu.
- Select 'Load LUT' and choose your desired LUT from the list.
4.6. Aufnahmefunktionen
The Sumo 19 is capable of recording video directly to SSD/HDD media.
- Ensure recording media is properly inserted and formatted.
- Select your desired recording codec and resolution in the 'Record' menu.
- Press the 'Record' button on the touchscreen to start and stop recording.
5. Wartung
5.1. Monitor reinigen
Um optimale Leistung und ein ansprechendes Erscheinungsbild zu gewährleisten:
- Always power off and disconnect the monitor from power before cleaning.
- Verwenden Sie ein weiches, fusselfreies Tuch, um Bildschirm und Gehäuse vorsichtig abzuwischen.
- Bei hartnäckigen Flecken leicht dampBefeuchten Sie das Tuch mit Wasser. Vermeiden Sie aggressive Chemikalien oder scheuernde Materialien.
5.2. Firmware-Updates
Atomos periodically releases firmware updates to improve performance and add features. Check the official Atomos website for the latest firmware for your Sumo 19.
- Herunterladen der Firmware file to a formatted SSD/HDD.
- Insert the media into the monitor.
- Navigate to the 'Settings' menu and select 'Firmware Update'.
- Follow the on-screen instructions to complete the update. Do not power off the monitor during this process.
5.3. Speicherung
When not in use, store the monitor in a cool, dry place, protected from dust and extreme temperatures. Use a protective case for transport.
6. Fehlerbehebung
If you encounter issues with your Atomos Sumo 19, refer to the following common problems and solutions:
| Problem | Mögliche Ursache | Lösung |
|---|---|---|
| Der Monitor lässt sich nicht einschalten. | Kein Strom, defektes Netzteil, lose Verbindung. | Check power cable connections. Ensure power adapter is functional and plugged into a live outlet. |
| No video signal displayed. | Incorrect input selected, faulty cable, source device off/incorrect output. | Verify correct input is selected on the monitor. Check video cables for damage and ensure they are securely connected. Confirm source device is outputting a signal. |
| Der Bildschirm ist zu dunkel oder zu hell. | Display settings are incorrect. | Adjust brightness, contrast, and HDR/SDR settings in the 'Display' menu. |
| Recording not starting. | No media, unformatted media, media full, incorrect recording settings. | Ensure SSD/HDD is inserted, formatted, and has sufficient space. Check recording codec and resolution settings. |
If the problem persists, please contact Atomos customer support.
7. Spezifikationen
| Besonderheit | Detail |
|---|---|
| Modellnummer | ATOMSUMO19 |
| Anzeigegröße | 19 Zoll |
| Auflösung | 1920 x 1200 |
| Seitenverhältnis | 16:9 native |
| Helligkeit | 1200 nit (High Bright) |
| Farbtiefe | 10-bit HDR |
| Videoeingänge | HDMI, Dual 12/6/3G-SDI |
| Max Input Resolution/Framerate | 4Kp60 (HDMI/SDI), HDp240 (SDI) |
| Aufnahmemedien | SSD/HDD via caddy |
| Technische Daten | 14.96 x 12.99 x 19.84 Zoll |
| Artikelgewicht | 11.99 Pfund |
| Hersteller | Atomos |
8. Garantieinformationen
The Atomos Sumo 19 HDR High Bright Monitor comes with a 1 Jahr eingeschränkte Herstellergarantie. This warranty covers defects in materials and workmanship under normal use. For full terms and conditions, please refer to the warranty card included with your product or visit the official Atomos webWebsite.
Bewahren Sie Ihren Kaufbeleg für Garantieansprüche auf.
9. Kundendienst
For technical assistance, product inquiries, or warranty claims, please visit the official Atomos support webWebsite:
You may also find FAQs, firmware downloads, and additional resources on their webWebsite.