1. Einleitung
The Melnor 73280 Digital 4-Zone Electronic Water Hose Timer provides flexible and efficient control over your outdoor watering needs. Designed for durability and ease of use, this timer allows you to customize watering schedules for up to four independent zones, ensuring optimal hydration for different areas of your garden or lawn.
Hauptmerkmale:
- Flexible Programmierung: Set up to 4 watering cycles per day, each with its own start time and duration, on specific days of the week.
- 4 unabhängige Zonen: Control watering for up to four separate areas, each with unique scheduling.
- Großes Digitaldisplay: A 25% larger rectangular screen provides clear information for easy setup and programming.
- Manuelle Bewässerung: Easily activate any zone for immediate watering without affecting programmed schedules.
- Regenverzögerungsfunktion: Pause watering for up to 7 days to conserve water during rainy periods. The program resumes automatically after the delay.
- Geringer Batterieverbrauch: A new set of AA alkaline batteries (not included) can last up to 6 months. Watering programs are retained during battery changes.
Video 1: Melnor 73280 Product Overview. This video provides a brief visual introduction to the Melnor 73280 Digital 4-Zone Electronic Water Hose Timer, highlighting its main features and design.
2. Einrichtung
2.1. Einlegen der Batterie
- Suchen Sie das Batteriefach auf der Rückseite des Timers.
- Slide the battery tray out.
- Insert two (2) new AA alkaline batteries (not included), ensuring correct polarity (+/-).
- Slide the battery tray back into the timer until it clicks securely.
2.2. Attaching the Timer to Your Faucet
- Stellen Sie sicher, dass Ihr Außenwasserhahn abgedreht ist.
- Thread the timer's brass inlet connector onto your faucet. Hand-tighten firmly to prevent leaks.
- Attach your garden hoses to the desired zone outlets (1-4) at the bottom of the timer.
- Slowly turn on your outdoor faucet. The timer is designed to withstand water pressure, but sudden surges should be avoided.
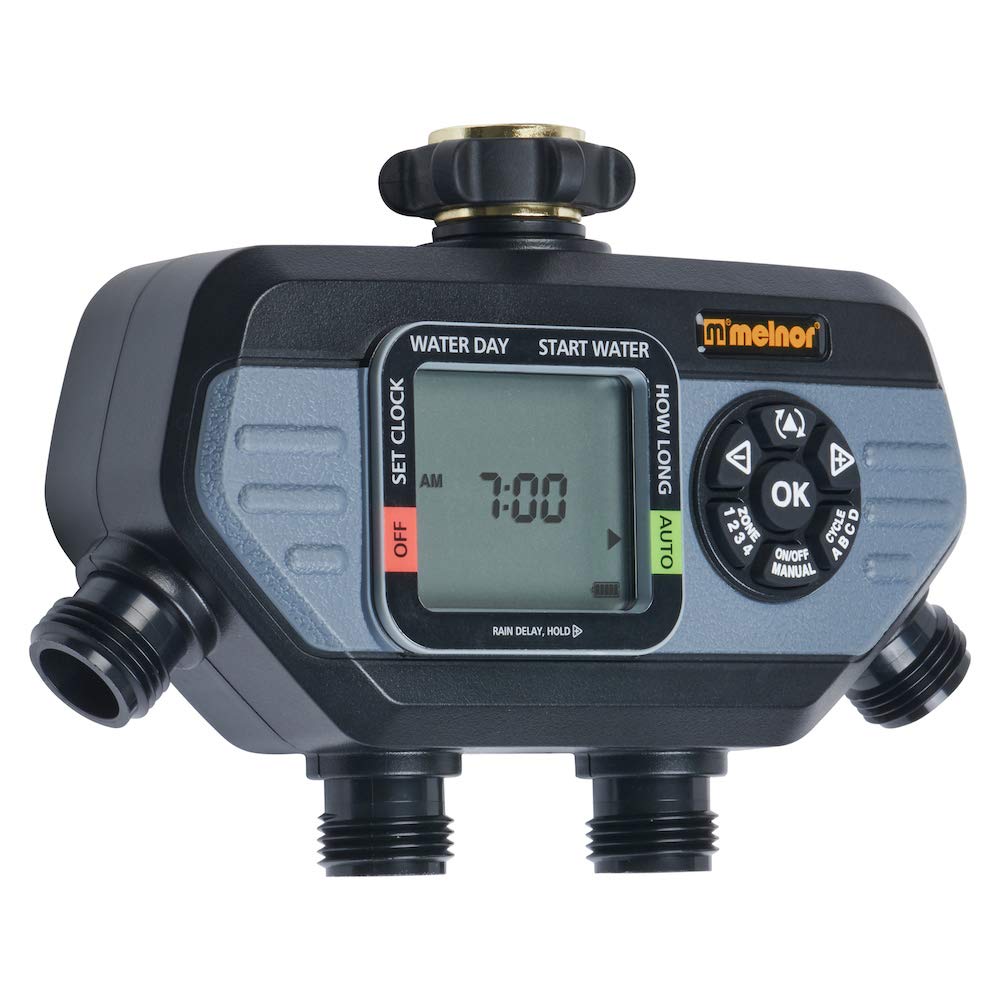
Image 1: The Melnor 73280 timer securely attached to an outdoor faucet, demonstrating the connection points for multiple hoses.
2.3. Initial Time and Day Setting
- Turn the dial to "SET CLOCK".
- Use the arrow buttons to adjust the current time (AM/PM). Press "OK" to confirm.
- Use the arrow buttons to select the current day of the week. Press "OK" to confirm.
- Turn the dial back to "AUTO" to save settings and return to automatic operation.
3. Bedienung
3.1. Programming Watering Cycles
- Turn the dial to "START TIME".
- Use the "ZONE" button to select the zone (1-4) you wish to program.
- Use the arrow buttons to set the desired start time for the first cycle. Press "OK" to confirm.
- Turn the dial to "HOW LONG". Use the arrow buttons to set the watering duration for the selected zone. Press "OK" to confirm.
- Turn the dial to "HOW OFTEN". Use the arrow buttons to set the frequency (e.g., every day, every other day, specific days). Press "OK" to confirm.
- Repeat steps for additional cycles (up to 4 per zone) or other zones as needed.
- Turn the dial back to "AUTO" to activate your programmed schedules.
3.2. Manuelle Bewässerung
To manually water a zone without affecting your programmed schedule:
- Ensure the dial is set to "AUTO".
- Drücken Sie die Taste „MANUAL“.
- Use the "ZONE" button to select the desired zone (1-4).
- Use the arrow buttons to set the desired manual watering duration. Press "OK" to start watering.
- To stop manual watering, press "MANUAL" again or turn the dial to "OFF" and then back to "AUTO".
3.3. Regenverzögerungsfunktion
To temporarily pause your watering schedule due to rain:
- Ensure the dial is set to "AUTO".
- Press and hold the "DELAY +" button for 3-5 seconds.
- Use the arrow buttons to select the desired delay duration (e.g., 24 hours, 48 hours, up to 7 days). Press "OK" to confirm.
- Der Timer nimmt nach Ablauf der gewählten Verzögerungszeit automatisch seinen programmierten Zeitplan wieder auf.
- To cancel the rain delay early, press and hold "DELAY +" again until the delay is cleared.
4. Wartung
4.1. Batteriewechsel
The timer will display a low battery indicator when replacement is needed. Programs are retained during battery changes.
- Slide out the battery tray from the back of the timer.
- Remove old batteries and insert two (2) new AA alkaline batteries, observing polarity.
- Reinsert the battery tray securely.
4.2. Filtersiebreinigung
Periodically check and clean the filter screen located in the brass inlet to prevent debris from affecting water flow and timer operation.
- Turn off the outdoor faucet and disconnect the timer.
- Carefully remove the filter screen from the brass inlet.
- Rinse the screen under running water to remove any accumulated debris.
- Reinsert the clean filter screen and reattach the timer to the faucet.
5. Fehlerbehebung
| Problem | Mögliche Ursache | Lösung |
|---|---|---|
| Bewässerungstimer funktioniert nicht / Kein Wasserdurchfluss |
|
|
| Water flowing when off / Valve stuck open |
|
|
| Water leaking from faucet connection |
|
|
| Water leaking from zone outlets |
|
|
| Timer reagiert nicht |
|
|
Video 2: Melnor HydroLogic 2-Zone Digital Water Timer 73100. While this video features a 2-zone model, it demonstrates similar programming and operational principles that can be applied to the 4-zone timer.
6. Spezifikationen
- Modellnummer: 73280
- Marke: Melnor
- Farbe: Schwarz/Grau
- Material: Plastik
- Produktabmessungen: 5.7"T x 8.26"B x 2.67"H
- Artikelgewicht: 1.06 Pfund
- Anzahl Zonen: 4
- Energiequelle: 2 x AA-Alkalibatterien (nicht im Lieferumfang enthalten)
- UPC: 042206732804
7. Garantie und Support
The Melnor 73280 Digital 4-Zone Electronic Water Hose Timer is backed by a Melnor 7-Year Limited Warranty. Melnor stands behind its products and values your experience. For any questions, feedback, or support needs, please refer to the contact information provided in your product packaging or visit the official Melnor webWebsite.
Wichtige Informationen: Dieses Produkt kann Sie Chemikalien wie Styrol aussetzen, das im US-Bundesstaat Kalifornien als krebserregend gilt. Weitere Informationen finden Sie unter www.P65Warnings.ca.gov. For outdoor use only.


