1. Einleitung
This manual provides essential information for the safe and efficient operation of your InFocus IN112XV Presentation Projector. The IN112XV is designed for business presentations and educational use, offering a long lamp life, high brightness, and clear image quality.
- Erweiterte Lamp Leben: Enjoy over 15,000 hours of viewing.
- Hohe Helligkeit: 3800 lumens for clear images in various lighting conditions.
- Kontrastverhältnis: 26000:1 for distinct whites and blacks.
- Flexibel Viewing: Projects images from 28 inches to 300 inches diagonally.
- Konnektivität: Features HDMI input and SVGA (800 x 600) resolution.
2. Packungsinhalt
Bitte überprüfen Sie, ob alle unten aufgeführten Artikel in Ihrem Paket enthalten sind:
- InFocus IN112XV Projector
- Netzkabel
- Fernbedienung
- VGA-Kabel
- Dokumentation (dieses Handbuch und weitere Anleitungen)
3. Produktüberschreitungview
Familiarize yourself with the components and controls of your InFocus IN112XV projector.
3.1-Vorderseite View
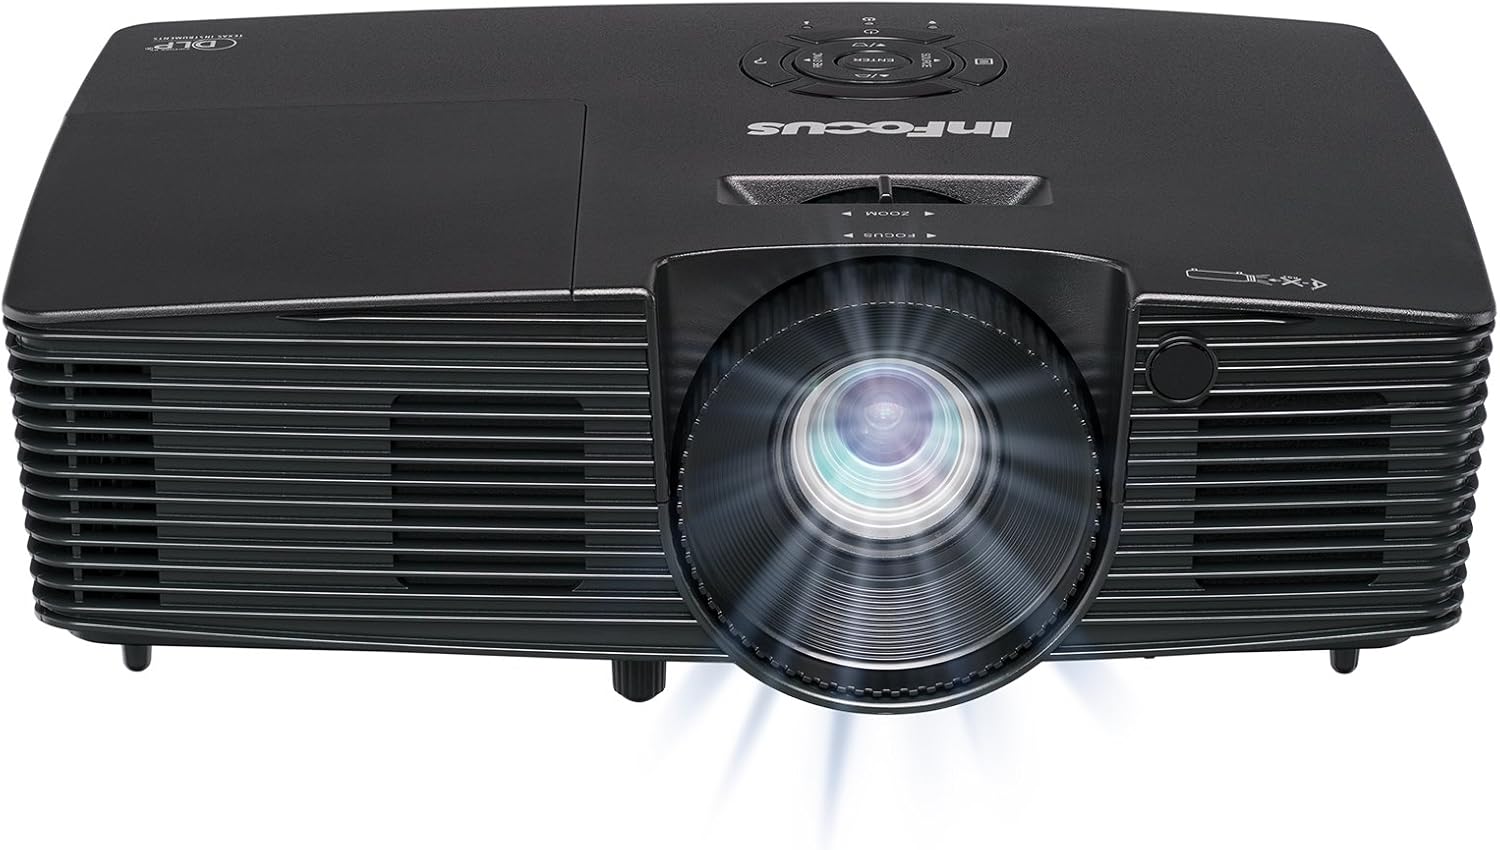
Bild 3.1: Front view of the InFocus IN112XV projector. This image highlights the main projection lens and the front ventilation grilles.
3.2 Nach oben View und Systemsteuerung

Bild 3.2: Spitze view of the InFocus IN112XV projector. The control panel is visible on the right, featuring buttons for power, source selection, menu navigation, keystone adjustment, and volume. The focus and zoom adjustment rings are located around the lens.
The control panel on the top of the projector allows for basic operation without the remote. Key buttons include:
- Leistung: Schaltet den Projektor ein oder aus.
- Quelle: Durchläuft die verfügbaren Eingangsquellen.
- Speisekarte: Öffnet das On-Screen-Display-Menü (OSD-Menü).
- Eingeben: Bestätigt die Auswahl im OSD-Menü.
- Pfeiltasten: Navigieren Sie durch die Menüoptionen und passen Sie die Einstellungen an.
- Re-Sync: Synchronizes the image.
3.3 Rückseite View und Anschlüsse

Bild 3.3: Hinteren view of the InFocus IN112XV projector. This image displays the available connection ports, including Video In, S-Video In, Computer In (VGA), HDMI, and the power input.
Die Rückseite bietet verschiedene Anschlüsse zum Verbinden externer Geräte:
- Video-In: For composite video sources.
- S-Video-Eingang: For S-Video sources.
- Computer In (VGA): For connecting to computers via VGA cable.
- HDMI: For digital video and audio sources.
- Service: For service and maintenance purposes.
- Leistungsaufnahme: Connects the power cord to an electrical outlet.
3.4-Fernbedienung

Bild 3.4: Remote control for the InFocus IN112XV projector. The remote provides full control over the projector's functions, including power, source selection, menu navigation, keystone correction, and volume.
The remote control offers convenient access to all projector functions. Ensure batteries are correctly installed.
4. Einrichtung
4.1 Platzierung
Position the projector on a stable, flat surface or mount it securely. Ensure there is adequate space around the projector for ventilation.
4.2 Stromanschluss
- Schließen Sie das Netzkabel an den Stromeingang des Projektors an.
- Stecken Sie das andere Ende des Netzkabels in eine geerdete Steckdose.
4.3 Anschließen von Eingangsquellen
The projector supports various input sources. Choose the appropriate cable for your device:
- HDMI: Connect an HDMI cable from your source device (e.g., laptop, media player) to the projector's HDMI port.
- VGA (Computereingang): Connect a VGA cable from your computer to the projector's Computer In port. This is a plug-and-play connection.
- Video In / S-Video In: Use composite video or S-Video cables for older video sources.
- Mobile Geräte: To connect an iPad or smartphone, a LightCast Key (sold separately) is required.
5. Bedienungsanleitung
5.1 Ein-/Ausschalten
- So schalten Sie das Gerät ein: Drücken Sie die Leistung button on the projector's control panel or the remote control. The power indicator light will change.
- So schalten Sie das Gerät aus: Drücken Sie die Leistung button again. A confirmation message may appear. Press again to confirm shutdown. Allow the projector to cool down before unplugging.
5.2 Auswahl einer Eingangsquelle
After connecting your source device, select the correct input:
- Drücken Sie die Quelle button on the projector's control panel or the remote control to cycle through available inputs (HDMI, VGA, Video, S-Video).
- Alternatively, use the dedicated input buttons (HDMI, VGA, Video) on the remote control.
5.3 Fokus und Zoom einstellen
For a clear and appropriately sized image, adjust the lens rings:

Bild 5.1: Manual Focus Adjustment. This image illustrates the effect of adjusting the focus ring, transforming a blurry projection into a clear and sharp image.
- Fokus: Drehen Sie den Fokus ring on the projector lens until the image appears sharp and clear.
- Zoom: Drehen Sie den Zoom ring on the projector lens to adjust the size of the projected image.
5.4 Trapezkorrektur
If the projected image appears trapezoidal (wider at the top or bottom), use keystone correction to square it:
- Drücken Sie die Schlussstein+ or Keystone- buttons on the remote control to adjust the image geometry.
5.5 Menünavigation
Access the On-Screen Display (OSD) menu for advanced settings:
- Drücken Sie die Speisekarte button on the remote or control panel.
- Verwenden Sie die Pfeiltasten, um durch die Menüoptionen zu navigieren.
- Drücken Eingeben eine Option auswählen oder eine Einstellung bestätigen.
- Drücken Speisekarte Um das OSD erneut zu verlassen.
6. Wartung
6.1 Literamp Leben
Der Projektor lamp has an estimated life of over 15,000 hours. When the lamp reaches the end of its life, the projector may display a warning message or the image brightness may significantly decrease. Refer to the full service manual for lamp replacement procedures if necessary.
6.2 Reinigung
- Projektor Casing: Verwenden Sie ein weiches, trockenes Tuch, um die Außenseite des Projektors abzuwischen. Verwenden Sie keine Scheuermittel oder Lösungsmittel.
- Linse: Reinigen Sie die Linse vorsichtig mit einem Linsenreinigungstuch und einer speziellen Linsenreinigungslösung. Vermeiden Sie es, die Linsenoberfläche mit den Fingern zu berühren.
- Belüftungsöffnungen: Periodically check and clean the ventilation openings to ensure proper airflow and prevent overheating. Use a soft brush or compressed air to remove dust.
7. Fehlerbehebung
In diesem Abschnitt werden häufig auftretende Probleme behandelt, die bei Ihrem Projektor auftreten können.
| Problem | Mögliche Ursache | Lösung |
|---|---|---|
| Kein Bild angezeigt |
|
|
| Bild ist verschwommen |
|
|
| Das Bild ist trapezförmig |
|
|
| Projector runs hot or smells of burning plastic |
|
|
| Kein Ton |
|
|
Wichtiger Hinweis: This projector is not recommended for high-definition movie viewing. While it can accept a 1080p input signal, it projects at its native SVGA (800 x 600) resolution.
8. Spezifikationen
| Besonderheit | Detail |
|---|---|
| Modellnummer | IN112XV |
| Display-Technologie | DLP |
| Native Auflösung | SVGA (800x600) |
| Helligkeit | 3800 Lumen |
| Kontrastverhältnis | 26000:1 |
| Lamp Leben | Bis zu 15,000 Stunden |
| Konnektivität | HDMI, VGA (Computer In), Video In, S-Video In |
| Besonderheit | 3D-fähig |
| Empfohlene Verwendung | Wirtschaft, Bildung |
| Technische Daten | 8.8 x 12.4 x 4 Zoll |
| Artikelgewicht | 5.5 Pfund |
9. Garantie und Support
9.1 Garantieinformationen
The InFocus IN112XV projector is backed by a 2 Jahr GarantieDiese Garantie deckt Material- und Verarbeitungsfehler bei normalem Gebrauch ab. Bitte bewahren Sie Ihren Kaufbeleg für Garantieansprüche auf.
9.2 Kundendienst
For technical assistance, troubleshooting beyond this manual, or warranty service, please contact InFocus customer support. Contact information can typically be found on the official InFocus webauf der Website oder in der Ihrem Produkt beiliegenden Dokumentation.


