1. Einleitung
The GameMax Expedition is a compact Micro ATX PC gaming case designed for efficient cooling and component compatibility. This manual provides instructions for the proper installation, operation, and maintenance of your PC case.

Figure 1.1: GameMax Expedition MATX PC Gaming Case, White.
2. Sicherheitshinweise
- Vor Installation oder Wartung müssen alle Komponenten stets stromlos geschaltet werden.
- Tragen Sie ein antistatisches Armband, um Schäden an Komponenten durch elektrostatische Entladung (ESD) zu vermeiden.
- Be cautious of sharp edges inside the chassis.
- Kleinteile und Schrauben von Kindern fernhalten.
- Ensure proper ventilation around the case during operation.
3. Packungsinhalt
Überprüfen Sie, ob alle Artikel im Paket vorhanden sind:
- GameMax Expedition MATX PC Gaming Case
- Accessory box (screws, standoffs, cable ties)
- 1 x 120mm Blue LED Fan (pre-installed at rear)
- Benutzerhandbuch (dieses Dokument)
4. Produktmerkmale
- Micro Gaming Chassis: Compact design optimized for gaming components.
- E/A-Anschlüsse: 1 x USB 3.0, 2 x USB 2.0, and HD Audio ports located on the top panel.
- Kühlung: Includes 1 x 120mm Blue LED fan. Supports additional fans for enhanced airflow.
- Seitenfenster: Full side window panel allows visibility of internal components.
- Magnetic Dust Filter: Removable dust filter on the top panel for easy cleaning and improved system longevity.
- GPU-Halterung: Integrated bracket provides support for graphics cards, preventing sag and accommodating larger cards.
5. Komponente überview
5.1 Extern Views

Figure 5.1: Front panel design with air intake and included 120mm fan illustration.

Figure 5.2: Top I/O panel featuring USB 3.0, USB 2.0, and audio ports.
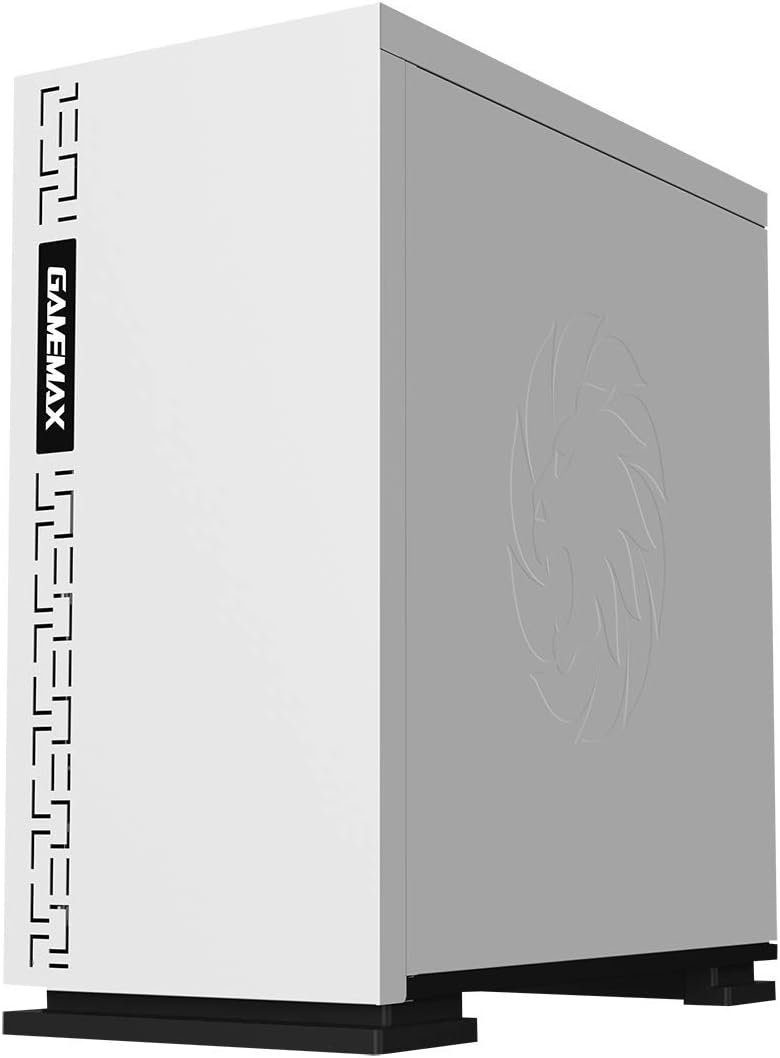
Abbildung 5.3: Oben view showing the magnetic dust filter for fan ventilation.
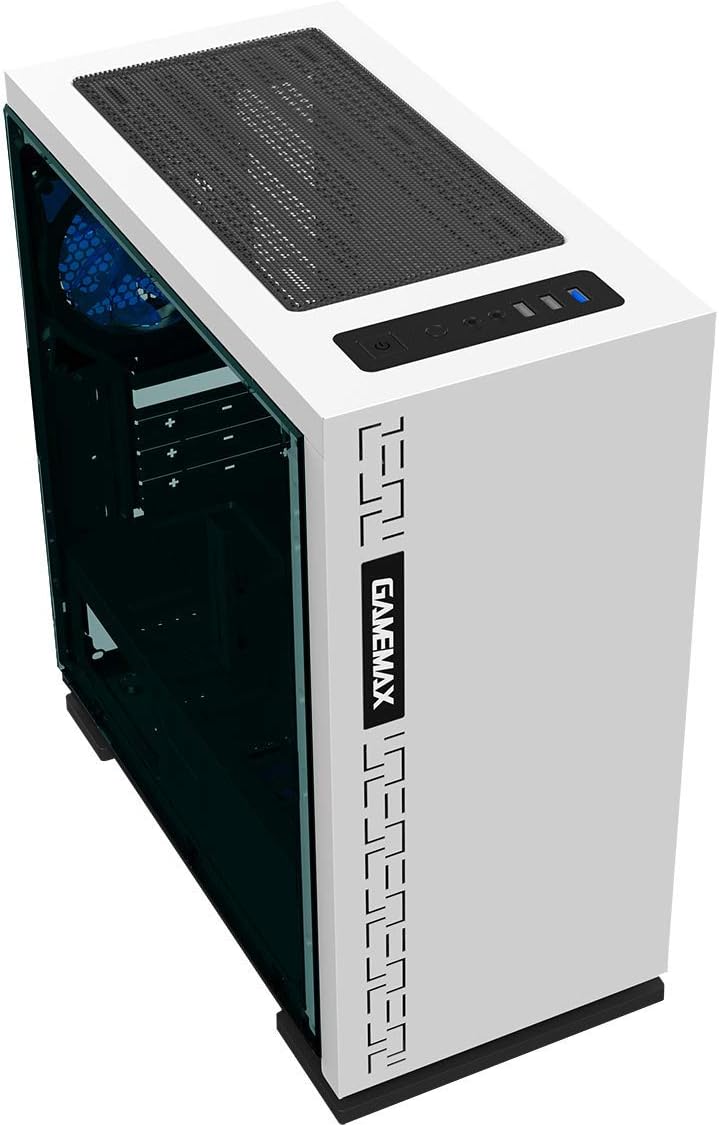
Abbildung 5.4: Rückseite view displaying expansion slots and the pre-installed 120mm fan.
5.2 Interne Aufteilung

Abbildung 5.5: Intern view with the side panel removed, showing the motherboard tray and cable routing options.

Figure 5.6: Illustration of fan and radiator mounting points within the chassis.

Figure 5.7: Drive bay locations supporting 2.5" and 3.5" storage devices.
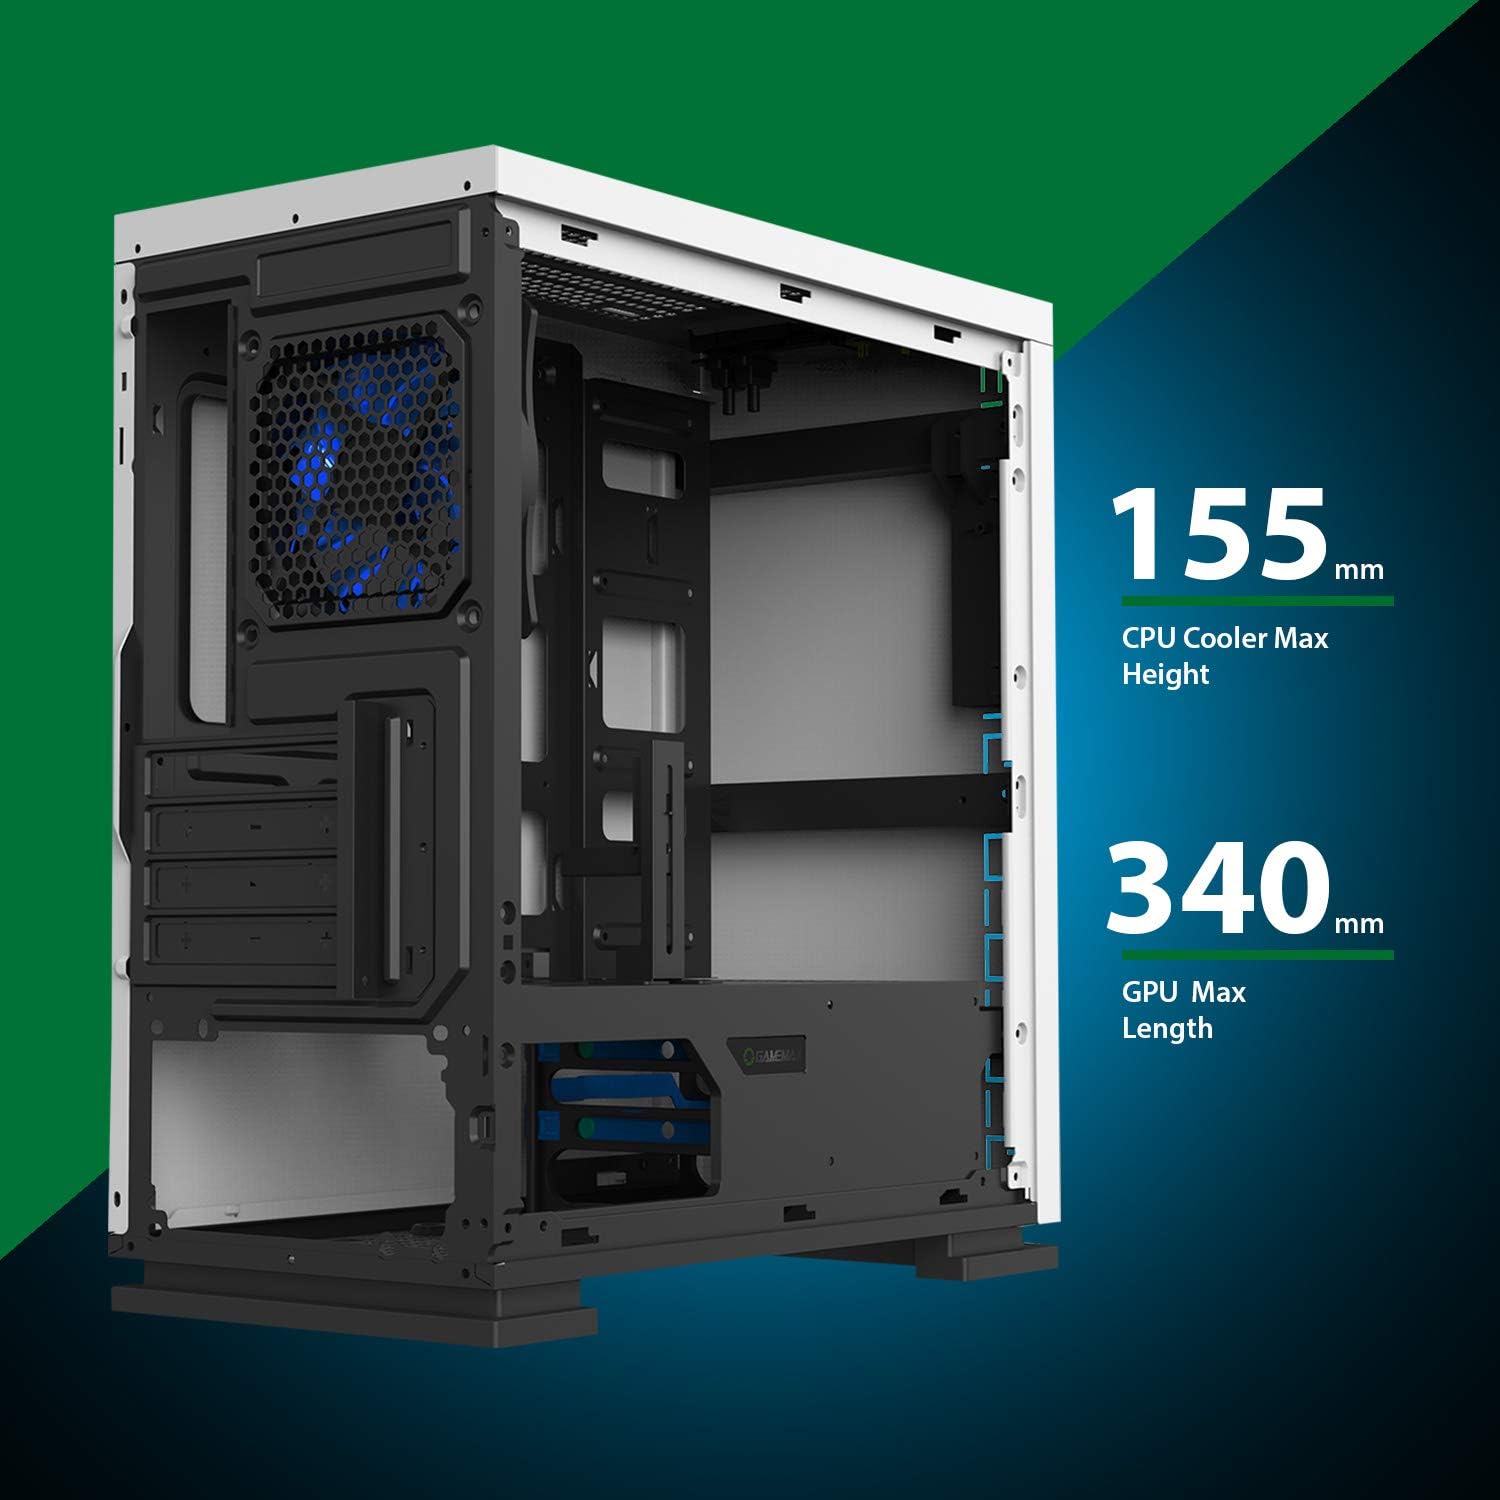
Figure 5.8: Maximum clearance for CPU coolers (155mm) and GPUs (340mm).
6. Einrichtung und Installation
6.1 Vorbereitung
- Unpack the chassis and remove all packaging materials.
- Remove the side panels by unscrewing the thumbscrews at the rear.
- Gather necessary tools: Phillips head screwdriver, cable ties.
6.2 Motherboard-Installation
- Install the I/O shield into the rear opening of the chassis.
- Align the motherboard with the pre-installed standoffs. Ensure the standoffs match your Micro ATX motherboard's mounting holes.
- Befestigen Sie das Motherboard mit den mitgelieferten Schrauben.
6.3 Installation der Stromversorgung
- Place the power supply unit (PSU) into the dedicated compartment at the bottom rear of the case.
- Align the PSU with the screw holes on the rear of the chassis.
- Befestigen Sie das Netzteil mit den mitgelieferten Schrauben.
6.4 Installation des Speicherlaufwerks
- 2.5" Drives: Mount 2.5" SSDs/HDDs to the dedicated mounting points on the motherboard tray or within the drive cage using the provided screws.
- 3.5" Drives: Installieren Sie 3.5-Zoll-Festplatten in den Laufwerkskäfig unterhalb der Netzteilabdeckung. Schieben Sie die Festplatte in den Einschub und verriegeln Sie sie.
6.5 Installation der Erweiterungskarte (GPU)
- Remove the necessary expansion slot covers from the rear of the chassis.
- Insert your graphics card or other expansion card into the appropriate PCIe slot on the motherboard.
- Befestigen Sie die Karte mit einer Schraube.
- Utilize the adjustable GPU bracket to provide additional support for heavier graphics cards.
6.6 Lüfter- und Kühlungsinstallation
- The case comes with one 120mm Blue LED fan pre-installed at the rear.
- Additional 120mm fans can be installed at the top and front positions as needed.
- Ensure fans are oriented correctly for optimal airflow (intake or exhaust).
6.7 Front Panel Connector Installation
Connect the front panel cables (USB 3.0, USB 2.0, HD Audio, Power SW, Reset SW, Power LED, HDD LED) to their corresponding headers on your motherboard. Refer to your motherboard manual for exact pin layouts.
7. Betrieb
Once all components are installed and cables are connected, replace the side panels. Connect your monitor, keyboard, mouse, and power cable. Press the power button on the top panel to start your system. The pre-installed LED fan will illuminate upon power-on.
8. Wartung
- Reinigung des Staubfilters: Regularly remove and clean the magnetic dust filter located on the top panel to maintain optimal airflow and prevent dust buildup inside the case.
- Allgemeine Reinigung: Verwenden Sie ein weiches,amp cloth to clean the exterior surfaces of the case. Avoid abrasive cleaners.
- Innenreinigung von Staub: Periodically use compressed air to clear dust from internal components and fans. Ensure the system is powered off and unplugged before performing internal cleaning.
9. Fehlerbehebung
- System schaltet sich nicht ein: Check all power connections, including the PSU to the wall outlet, PSU to motherboard, and front panel power switch cable to the motherboard.
- Lüfter drehen sich nicht: Verify fan cables are securely connected to the motherboard or fan controller.
- USB-Anschlüsse funktionieren nicht: Ensure the front panel USB cables are correctly connected to the motherboard's USB headers.
- Keine Anzeigeausgabe: Confirm the graphics card is properly seated and connected to power, and the monitor cable is connected to the graphics card, not the motherboard's integrated graphics port (unless using integrated graphics).
10. Spezifikationen
| Besonderheit | Spezifikation |
|---|---|
| Modellname | GMX EXPEDITION |
| Marke | GAMEMAX |
| Gehäusetyp | Micro Tower (MATX) |
| Motherboard-Kompatibilität | Micro ATX |
| Farbe | Expedition White |
| Material | Polycarbonat (PC) |
| Produktabmessungen (L x B x H) | 14.96 x 7.4 x 13.78 Zoll (380 x 188 x 350 mm) |
| Artikelgewicht | 8.58 Pfund (3.9 kg) |
| USB 3.0-Anschlüsse | 1 |
| USB 2.0-Anschlüsse | 2 |
| Kühlmethode | Luft, Wasser |
| Inklusive Lüfter | 1 x 120mm Blue LED (Rear) |
| Maximale Höhe des CPU-Kühlers | 155 mm |
| Maximale GPU-Länge | 340 mm |
11. Garantie und Support
For warranty information and technical support, please visit the official GameMax webBesuchen Sie unsere Website oder wenden Sie sich an Ihren Händler vor Ort.
Offiziell WebWebsite: gamemaxpc.com


