Einführung
The DigiTech Multi-Function LCD Wall Clock (Model XC0225) is a versatile device designed to provide convenient time display along with additional environmental information. This clock features a large LCD screen displaying time, date, day of the week, indoor temperature, and humidity. It also includes alarm and snooze functions, making it suitable for various settings, whether mounted on a wall or placed on a desktop.
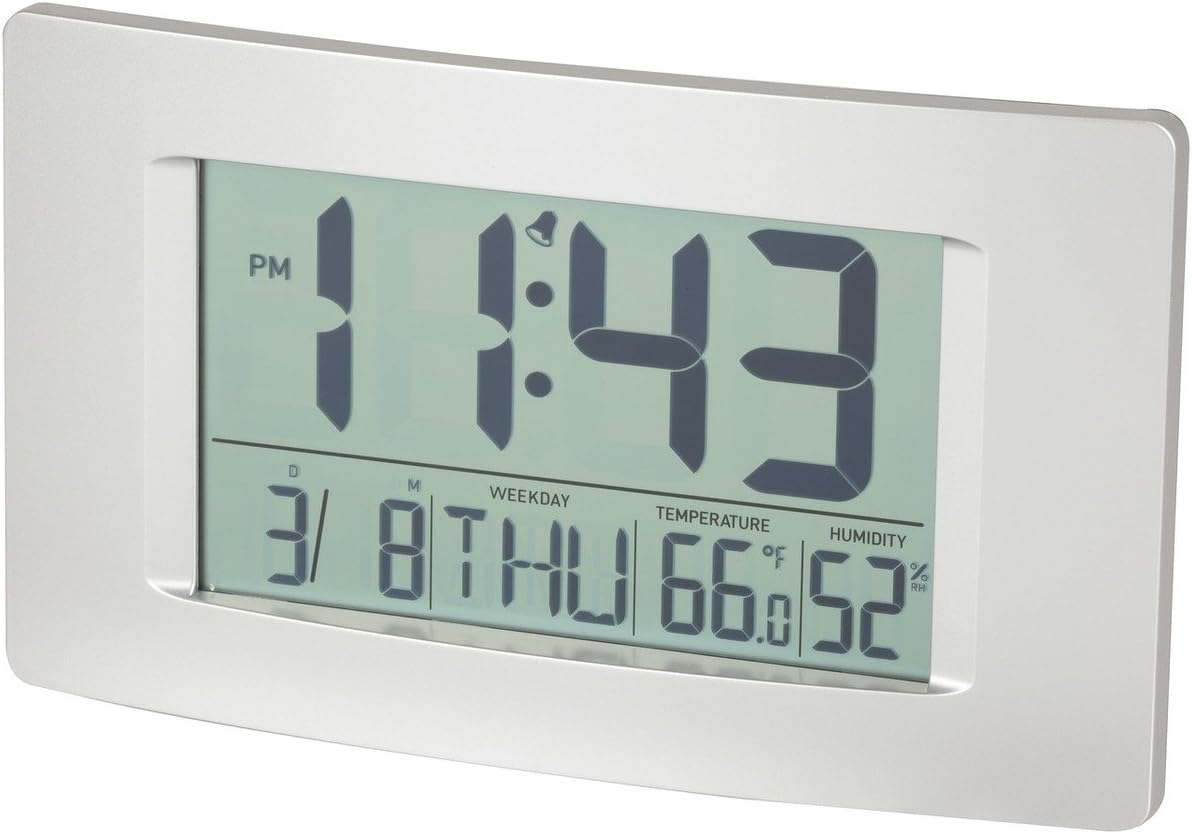
Abbildung 1: Vorderseite view of the Multi-Function LCD Wall Clock.
Packungsinhalt
- DigiTech Multi-Function LCD Wall Clock (Model XC0225)
- Benutzerhandbuch (dieses Dokument)
Notiz: Für den Betrieb werden 3 AA-Batterien benötigt, die nicht im Lieferumfang enthalten sind.

Figure 2: Product packaging illustrating the clock and its features.
Aufstellen
1. Einlegen der Batterie
- Suchen Sie das Batteriefach auf der Rückseite der Uhr.
- Öffnen Sie die Abdeckung des Batteriefachs.
- Insert 3 x AA batteries, ensuring correct polarity (+ and -) as indicated inside the compartment.
- Schließen Sie den Batteriefachdeckel fest.
2. Erstes Einschalten
Upon battery installation, the clock will power on automatically and display default settings. You may need to adjust the time, date, and other settings as described in the "Operating Instructions" section.
3. Montagemöglichkeiten
- Desktop-Platzierung: Utilize the integrated stand on the back of the clock to place it on any flat surface.
- Wandmontage: Use the integrated hang-hole on the back of the clock to mount it securely on a wall using a suitable screw or hook (not included).
Bedienungsanleitung
The clock features several buttons on the back for setting and adjusting functions. Refer to the labels next to each button for their specific functions (e.g., MODE, UP, DOWN, ALARM, SNOOZE/LIGHT).
1. Uhrzeit und Datum einstellen
- Drücken Sie die MODUS Drücken Sie die Taste wiederholt, bis die Zeitanzeige zu blinken beginnt.
- Verwenden Sie die UP or RUNTER Tasten zum Einstellen der Stunde.
- Drücken MODUS again to move to minutes, then use UP or RUNTER anpassen.
- Drücken Sie weiter MODUS um die Einstellungen für Jahr, Monat und Tag durchzulaufen und jede einzelne anzupassen mit UP or RUNTER.
- Drücken MODUS Ein letztes Mal, um den Einstellungsmodus zu verlassen.
2. Alarm einstellen
- Drücken Sie die ALARM Einmaliges Drücken zeigt die aktuelle Alarmzeit an.
- Halten Sie die ALARM Drücken Sie die Taste, bis die Alarmstunde zu blinken beginnt.
- Verwenden Sie die UP or RUNTER Tasten, um die Weckstunde einzustellen.
- Drücken ALARM again to move to alarm minutes, then use UP or RUNTER anpassen.
- Drücken ALARM Ein letztes Mal zur Bestätigung und zum Verlassen des Alarmeinstellungsmodus.
- Zum Aktivieren/Deaktivieren des Alarms drücken Sie die Taste ALARM button briefly when not in setting mode. An alarm icon will appear/disappear on the display.
3. Schlummerfunktion
Wenn der Alarm ertönt, drücken Sie die SNOOZE / LICHT button to activate the snooze function. The alarm will temporarily stop and sound again after the set snooze interval (1-60 minutes, adjustable in settings).
4. Auswahl der Temperatureinheit (°C/°F)
Drücken Sie kurz die UP button (or a dedicated °C/°F button if present) to toggle between Celsius (°C) and Fahrenheit (°F) temperature display.
5. 12/24-Stunden-Format
Drücken Sie kurz die RUNTER button (or a dedicated 12/24H button if present) to switch between 12-hour and 24-hour time formats.
Wartung
1. Reinigung
- Wischen Sie die Oberfläche der Uhr mit einem weichen, trockenen Tuch ab.
- Verwenden Sie keine Scheuermittel, Lösungsmittel oder chemische Sprays, da diese das Display oder die Elektronik beschädigen können.asing.
2. Batteriewechsel
When the display becomes dim or functions become erratic, it is time to replace the batteries. Follow the "Battery Installation" steps in the Setup section to replace the 3 x AA batteries. Always replace all batteries at the same time with new ones.
Fehlerbehebung
| Problem | Mögliche Ursache | Lösung |
|---|---|---|
| Das Display ist leer oder dunkel. | Die Batterien sind leer oder falsch eingelegt. | Replace batteries with new 3 x AA batteries, ensuring correct polarity. |
| Datum/Uhrzeit sind falsch. | Not set correctly after battery installation or power interruption. | Befolgen Sie die Anweisungen unter „Datum und Uhrzeit einstellen“, um die Einstellungen zurückzusetzen. |
| Der Alarm ertönt nicht. | Alarm is not activated or alarm time is incorrect. | Ensure the alarm icon is displayed. Verify the alarm time setting. |
| Die Messwerte für Temperatur und Luftfeuchtigkeit scheinen ungenau zu sein. | Clock placed near heat sources, vents, or in direct sunlight. | Relocate the clock to an area with stable ambient temperature and humidity. Allow time for readings to stabilize. |
Technische Daten
| Besonderheit | Detail |
|---|---|
| Modell | XC0225 |
| Anzeigetyp | Digital LCD |
| LCD-Größe | 194 mm (B) x 110 mm (H) |
| Funktionen | Time, Date, Day of Week, Alarm, Snooze, Indoor Temperature, Indoor Humidity |
| Zeitformat | 12 Hour / 24 Hour selectable |
| Temperaturbereich | -9.9 °C bis +50 °C (14.1 °F bis 122.0 °F) |
| Feuchtigkeitsbereich | 20 % bis 95 % relative Luftfeuchtigkeit (RH) |
| Schlummerdauer | 1 - 60 minutes (adjustable) |
| Stromquelle | 3 x AA-Batterien (nicht im Lieferumfang enthalten) |
| Dimensions (Overall, W x H x D) | 306 mm x 176 mm x 36 mm (ca.) |
| Gewicht | 540g (without batteries) / 660g (shipping weight) |
| Montageoptionen | Integrated Stand, Wall Hang-hole |

Figure 3: Main display area dimensions of the clock for reference.
Garantie und Support
This DigiTech product comes with a 1 Jahr Garantie ab Kaufdatum. Diese Garantie deckt Material- und Verarbeitungsfehler bei normalem Gebrauch ab.
For technical support, warranty claims, or further assistance, please contact your retailer or the DigiTech customer service department. Please have your model number (XC0225) and proof of purchase ready when contacting support.


