1. Einleitung
Vielen Dank für Ihren Einkauf.asing the CAIWEI A8AB-NEW Video Projector. This manual provides essential information for the safe and efficient operation of your device. Please read it thoroughly before use and retain it for future reference.
2. Sicherheitshinweise
- Schauen Sie nicht direkt in die Projektorlinse, wenn der lamp ist eingeschaltet.
- Sorgen Sie für eine ausreichende Belüftung rund um den Projektor, um eine Überhitzung zu vermeiden.
- Setzen Sie den Projektor weder Regen noch Feuchtigkeit aus.
- Verwenden Sie ausschließlich das mit dem Projektor gelieferte Netzteil.
- Halten Sie den Projektor von brennbaren Materialien fern.
- Bei Gewittern oder längerer Nichtbenutzung sollte der Projektor vom Stromnetz getrennt werden.
- Versuchen Sie nicht, den Projektor selbst zu reparieren. Überlassen Sie alle Wartungsarbeiten qualifiziertem Fachpersonal.
3. Packungsinhalt
Bitte überprüfen Sie beim Auspacken, ob alle Artikel vorhanden sind:
- CAIWEI A8AB-NEW Video Projector
- Stromkabel
- Fernbedienung
- HDMI-Kabel
- VGA-Kabel
- AV-Kabel
- Bedienungsanleitung
4. Produktüberschreitungview
Machen Sie sich mit den Komponenten des Projektors vertraut:
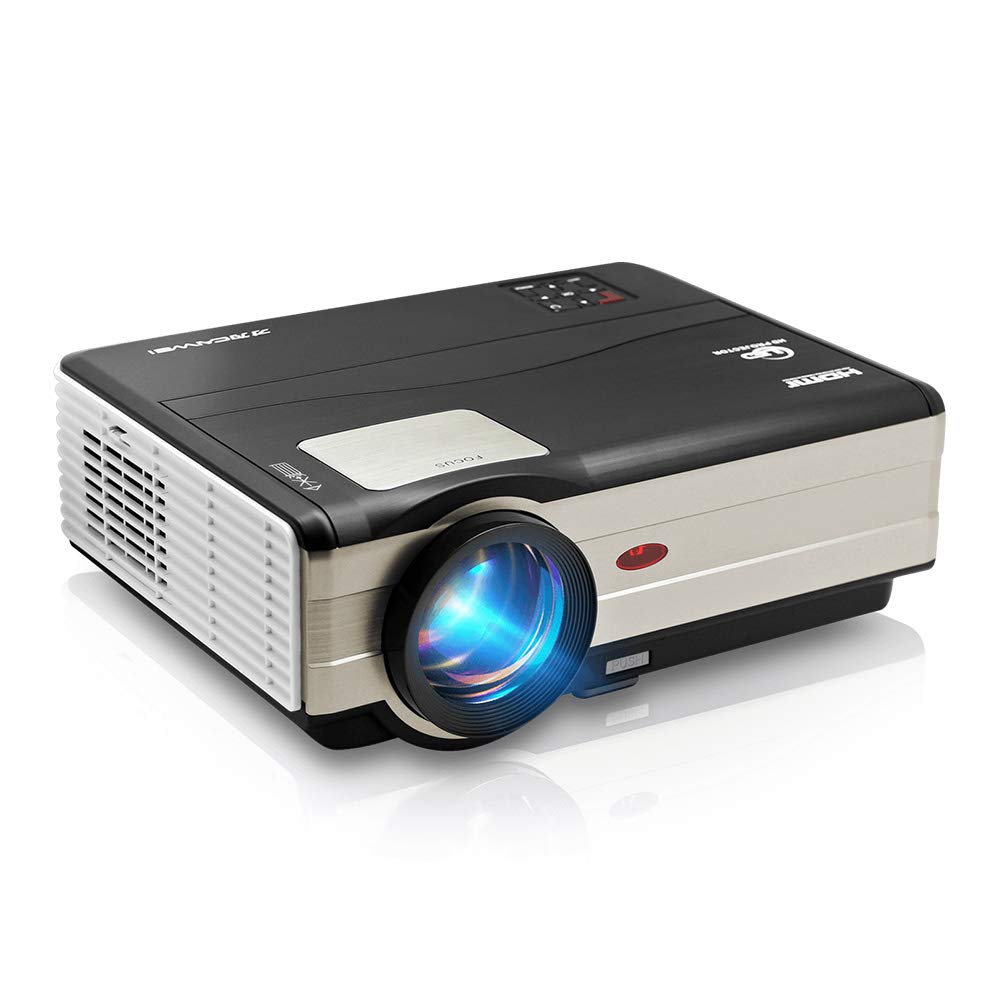
Abbildung 1: Front view of the CAIWEI A8AB-NEW Video Projector, showing the lens and ventilation.
Vorderseite
- Projektionsobjektiv: Gibt das Bild aus.
- Fokusring: Passt die Bildschärfe an.
- Trapezkorrektur: Korrigiert trapezförmige Bildverzerrungen.
Rückseite
- Stromanschluss: Wird an das Stromkabel angeschlossen.
- HDMI-Anschlüsse (x2): Connects to HDMI-enabled devices (e.g., Blu-ray player, game console).
- USB-Anschlüsse (x2): Connects to USB storage devices or other USB peripherals.
- VGA-Anschluss: Connects to computers or laptops with VGA output.
- AV-Anschluss: Connects to older devices using composite video and stereo audio.
- Audioausgang (3.5 mm): Anschlussmöglichkeit für externe Lautsprecher oder Kopfhörer.
5. Einrichtung
5.1 Platzierung
Place the projector on a stable, flat surface or mount it to a ceiling. Ensure the projector is perpendicular to the projection screen or wall. The optimal projection distance varies, but generally, a larger distance yields a larger image.
5.2 Stromanschluss
- Schließen Sie das Netzkabel an den Stromanschluss des Projektors an.
- Stecken Sie das andere Ende des Netzkabels in eine Steckdose.
- Die Betriebskontrollleuchte leuchtet auf.
5.3 Anschließen von Eingabegeräten
Der Projektor unterstützt verschiedene Eingangsquellen:
- HDMI: Connect an HDMI cable from your device (e.g., laptop, game console, streaming stick) to one of the projector's HDMI ports.
- USB: Stecken Sie einen USB-Stick in einen USB-Anschluss, um Medien abzuspielen. files direkt.
- VGA: Verbinden Sie Ihren Computer mit einem VGA-Kabel mit dem VGA-Anschluss des Projektors.
- EIN V: Use the provided AV cable to connect to devices with composite video output.
- Drahtlos (WLAN): For screen mirroring from smartphones or tablets, navigate to the 'Wireless Display' or 'Screen Mirroring' option in the projector's menu and follow the on-screen instructions. Ensure your device and the projector are on the same Wi-Fi network.
- Bluetooth: To connect external Bluetooth speakers, go to the Bluetooth settings in the projector's menu, enable Bluetooth, and pair with your desired audio device.
5.4 Fokus- und Trapezkorrektur
- Schalten Sie den Projektor ein und zeigen Sie ein Bild an.
- Drehen Sie den Fokusring on the lens until the image appears sharp and clear.
- If the image is trapezoidal (wider at the top or bottom), adjust the Keystone-Korrektur dial or setting until the image is rectangular.
6. Bedienungsanleitung
6.1 Ein-/Ausschalten
- Einschalten: Drücken Sie die Ein/Aus-Taste am Projektor oder auf der Fernbedienung.
- Ausschalten: Drücken Sie den Netzschalter erneut. Bestätigen Sie das Herunterfahren, falls Sie dazu aufgefordert werden.
6.2 Menünavigation
Use the navigation buttons (Up, Down, Left, Right, OK) on the projector or remote control to browse the on-screen menu. The 'Menu' button typically opens the main settings, and 'Exit' or 'Back' closes sub-menus.
6.3 Auswahl der Eingangsquelle
Press the 'Source' or 'Input' button on the remote control or projector. A list of available input sources (HDMI1, HDMI2, USB1, USB2, VGA, AV, Wireless Display) will appear. Select the desired source using the navigation buttons and press 'OK'.
6.4 Audioeinstellungen
Access the audio settings through the main menu to adjust volume, select audio output (internal speaker, external via 3.5mm jack, or Bluetooth), and modify sound modes.
6.5 Wireless/Bluetooth Connection
Refer to section 5.3 for detailed instructions on connecting via Wi-Fi for screen mirroring or Bluetooth for audio output.
7. Wartung
7.1 Reinigung der Linse
Use a soft, lint-free cloth specifically designed for optical lenses. Gently wipe the lens surface. Avoid using abrasive cleaners or excessive force, which can scratch the lens.
7.2 Cleaning the Air Filter/Vents
Regularly check the air intake and exhaust vents for dust accumulation. Use a soft brush or a can of compressed air to gently clean the vents. This helps maintain proper airflow and prevents overheating.
7.3 Speicherung
When not in use, store the projector in a cool, dry, and dust-free environment. Use the original packaging or a protective case to prevent damage.
8. Fehlerbehebung
| Problem | Mögliche Ursache | Lösung |
|---|---|---|
| Kein Bild auf dem Bildschirm | Keine Stromversorgung angeschlossen; Falsche Eingangsquelle; Gerät nicht eingeschaltet. | Überprüfen Sie das Netzkabel; Wählen Sie die richtige Eingangsquelle; Stellen Sie sicher, dass das angeschlossene Gerät eingeschaltet ist. |
| Bild ist verschwommen | Fokus nicht eingestellt; Projektor zu weit/nah. | Stellen Sie den Fokusring ein; Positionieren Sie den Projektor neu. |
| Das Bild ist trapezförmig | Keystone nicht eingestellt. | Passen Sie die Trapezkorrektur an. |
| Kein Ton | Volume too low; Muted; Incorrect audio output; Cable issue. | Increase volume; Unmute; Check audio settings; Verify cable connections. |
| Fernbedienung funktioniert nicht | Batteries dead; Obstruction; Out of range. | Replace batteries; Remove obstructions; Ensure line of sight to IR receiver. |
| Überhitzungswarnung | Blocked vents; Poor ventilation. | Clear vents; Ensure adequate space around projector. |
9. Spezifikationen
- Modell: A8AB-NEW
- Marke: CAIWEI
- Bildschirmauflösung: 1280 x 800
- Konnektivitätstechnologie: Bluetooth, HDMI, USB, VGA, Wireless
- Besondere Merkmale: Integriertes WLAN, tragbar, kabellos
- Empfohlene Verwendung: Gaming, Heimkino
- Artikelgewicht: 6.1 Pfund
- Produktabmessungen: 11.2 x 14.7 x 5 Zoll
10. Garantie und Support
CAIWEI products are designed for reliability and performance. For specific warranty details, please refer to the warranty card included with your purchase or contact CAIWEI customer support. If you encounter any issues not covered in this manual, please reach out to our support team for assistance.
Kundendienst: Bitte besuchen Sie die offizielle CAIWEI-Website. website or contact your retailer for support information.


