1. Einleitung
This manual provides detailed instructions for the safe and efficient installation, operation, and maintenance of your Progress Lighting Beam LED Bath Vanity Light. Please read all instructions carefully before beginning installation and retain this manual for future reference.
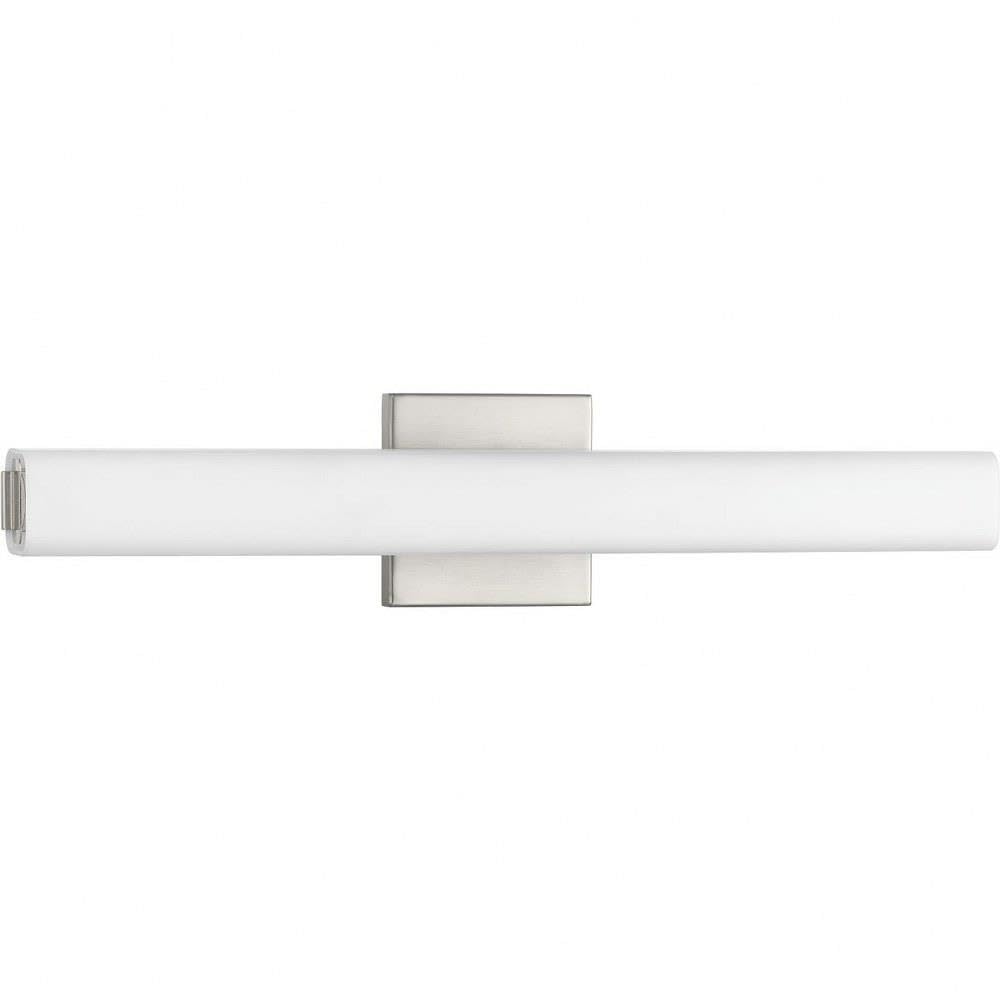
Image 1.1: The Beam LED Bath Vanity Light, featuring a brushed nickel finish and etched opal glass diffuser.
The Beam LED Bath Vanity Light features a squared, tubular opal glass diffuser paired with a modern metal canopy. It incorporates an integrated LED light source designed for energy efficiency and long-lasting performance. This fixture is suitable for both residential and commercial applications and can be installed horizontally or vertically.
2. Einrichtung und Installation
2.1 Sicherheitshinweise
- Always turn off the main power supply at the circuit breaker before installing or servicing the fixture.
- Wenn Sie mit Elektroinstallationen nicht vertraut sind, wenden Sie sich an einen qualifizierten Elektriker.
- Stellen Sie sicher, dass alle elektrischen Anschlüsse den örtlichen Vorschriften und Verordnungen entsprechen.
- This fixture is designed for indoor, wall-mount installation.
- Bitte informieren Sie sich vor dem Kauf über die geltenden Gesetze in Ihrer Region.asing und die Installation dieses Produkts.
2.2 Enthaltene Komponenten
Your package should contain the Beam LED Vanity Light fixture and a detailed installation sheet. Please verify all parts are present before proceeding.
2.3 Installationsschritte (Allgemein)
- Bereiten Sie den Installationsbereich vor: Turn off power at the circuit breaker. Remove any existing fixture.
- Mount the Mounting Plate: Secure the mounting plate to the junction box in the wall using the provided screws.
- Elektrische Verbindungen herstellen: Connect the fixture's wires to the household electrical wires according to the installation sheet. Typically, black to black (live), white to white (neutral), and green/bare copper to green/bare copper (ground).
- Sichern Sie die Vorrichtung: Attach the fixture body to the mounting plate, ensuring all wires are tucked safely inside the junction box.
- Install Glass Diffuser: Carefully place the etched opal glass diffuser onto the fixture.
- Strom wiederherstellen: Turn on the power at the circuit breaker and test the light.
2.4 Sizing and Placement Guidelines
For optimal lighting, consider the following guidelines for vanity light placement:

Image 2.1: Dimensional drawing of the Beam LED Vanity Light, showing its length of 22.25 inches, width of 3 inches, and height of 4.75 inches.
- The vanity light should be approximately 3/4 the width of your mirror, and never longer than the mirror itself.
- For double sinks or wider countertops, consider a larger fixture or multiple fixtures for adequate illumination.
- Mount the fixture above the bathroom mirror, ideally between 75 to 80 inches from the floor.
- If using wall sconces on either side of the mirror, place them at eye level (about 65 inches from the floor) and 2-3 inches from the mirror's edge, approximately 28-30 inches apart.
Video 2.2: Official video from Progress Lighting providing sizing and placement guidelines for bathroom lighting, including vanity lights and wall sconces.
3. Bedienungsanleitung
The Beam LED Vanity Light is designed for simple operation. Once properly installed and connected to a power source, it can be controlled via a standard wall switch or a compatible remote control system, as indicated by its 'Dimmable' and 'Remote Control' features.
- Ein-/Ausschalten: Zum Ein- und Ausschalten des Lichts verwenden Sie den an der Leuchte angebrachten Wandschalter.
- Dimmfunktion: This fixture is dimmable. If connected to a compatible dimmer switch, you can adjust the light intensity to your preference. Ensure your dimmer switch is rated for LED lighting.
- Fernbedienung: If a remote control system is installed and paired with the fixture, use the remote to control power and dimming functions.
4. Wartung
Regular maintenance will help preserve the appearance and functionality of your Beam LED Vanity Light.
- Reinigung: To clean the fixture, ensure the power is off. Wipe the metal surfaces with a soft, dry cloth. For the glass diffuser, use a soft cloth dampened with a mild, non-abrasive cleaner. Avoid harsh chemicals or abrasive materials that could damage the finish or glass.
- LED Lichtquelle: The integrated LED light source is designed for long life and is not user-replaceable. Do not attempt to disassemble the LED module.
- Inspektion: Überprüfen Sie regelmäßig, ob Verbindungen locker sind oder ob Verschleißerscheinungen vorliegen. Sollten Sie Probleme feststellen, schalten Sie die Stromzufuhr ab und wenden Sie sich an einen qualifizierten Elektriker.
5. Fehlerbehebung
If your Beam LED Vanity Light is not functioning correctly, refer to the following common issues and solutions:
| Problem | Mögliche Ursache | Lösung |
|---|---|---|
| Licht geht nicht an | Kein Strom am Gerät Wackelkontakt Fehlerhafter Schalter | Prüfen Sie den Sicherungsautomaten und den Wandschalter. Stellen Sie sicher, dass der Strom eingeschaltet ist. Schalten Sie die Stromzufuhr ab und überprüfen Sie alle Kabelverbindungen. Testen Sie den Schalter mit einem anderen Gerät oder tauschen Sie ihn aus, falls er defekt ist. |
| Das Licht flackert oder dimmt unregelmäßig. | Inkompatibler Dimmerschalter Wackelkontakt | Ensure the dimmer switch is LED compatible. Replace if necessary. Schalten Sie die Stromzufuhr ab und überprüfen Sie alle Kabelverbindungen. |
| Licht ist nicht so hell wie erwartet | Dimmereinstellung zu niedrig Dust or debris on diffuser | Stellen Sie den Dimmer auf maximale Helligkeit. Clean the glass diffuser as per maintenance instructions. |
Sollten diese Schritte das Problem nicht beheben, wenden Sie sich bitte an den Kundendienst.
6. Spezifikationen
| Besonderheit | Detail |
|---|---|
| Marke | Fortschritt Beleuchtung |
| Modellname | Strahl-LED |
| Teilenummer | P300182-009-30 |
| Farbe | Nickel (gebürstete Oberfläche) |
| Schattenfarbe | Etched Opal |
| Material | Legierter Stahl, Glas |
| Stil | Modern |
| Leuchtenform | Eitelkeit |
| Technische Daten | 22.25 Zoll L x 3 Zoll B x 4.75 Zoll H |
| Installationstyp | Wandhalterung |
| Besonderheit | Dimmbar |
| Kontrollmethode | Fernbedienung |
| Lichtquellentyp | Integrierte LED |
| Anzahl der Lichtquellen | 1 |
| Bandtage | 120 Volt |
| Lichtfarbe | Warmweiß |
| Farbtemperatur | 3000 Kelvin |
| Artikelgewicht | 2.19 Pfund |
| Wastage | 35 Watt |
| Helligkeit | 2223 Lumen |
| Effizienz | 62.1 Lum/Watt |
| Montage erforderlich | Ja |
| Wasserbeständigkeit | Wasserfest |
7. Garantieinformationen
Progress Lighting offers a 5 Jahr eingeschränkte Garantie on this product. This warranty guarantees your complete satisfaction with your purchase and includes professional after-sales customer service support. For detailed terms and conditions, please refer to the warranty documentation included with your product or contact customer support.
8. Kundendienst
For further assistance, technical support, or warranty claims, please visit the official Progress Lighting store or contact their customer service.
Video 8.1: A collective video from Progress Lighting showcasing their commitment to quality, design, and ease of installation for their lighting fixtures.


