Sicherheitshinweise
Read and understand all instructions before beginning installation. Failure to follow these instructions could result in electric shock, fire, or serious personal injury.
- Stellen Sie sicher, dass der Aufstellungsort statisch tragfähig ist und das Gewicht des Ventilators (ca. 21 lbs) tragen kann.
- Alle Verkabelungen müssen den nationalen und lokalen Elektrovorschriften entsprechen. Wenn Sie mit Verkabelungen nicht vertraut sind, wenden Sie sich bitte an einen qualifizierten Elektriker.
- Vor Beginn der Installation oder der Durchführung von Wartungsarbeiten muss die Stromzufuhr am Sicherungsautomaten bzw. Sicherungskasten unterbrochen werden.
- Betreiben Sie den Ventilator nicht, wenn die Flügel oder das Gehäuse beschädigt sind.
- Halten Sie einen Mindestabstand von 7 Fuß (ca. 2,13 m) zwischen Boden und Unterkante der Lüfterflügel ein.
- Dieser Ventilator ist nur für die Verwendung in Innenräumen konzipiert.
Setup und Installation
This section guides you through the assembly and installation process of your Hunter ceiling fan.
1. Auspacken und Inspektion
Carefully remove all components from the packaging. Inspect all parts for any damage. Do not discard packaging materials until assembly is complete and the fan is operating correctly.
2. Montage des Lüfters
The fan uses a standard profile mounting with included 3-inch and 2-inch downrods. Choose the appropriate downrod length for your ceiling height. Ensure the electrical box is securely mounted and capable of supporting the fan.

Image: Hunter 46-inch ceiling fan installed in a living space, demonstrating typical mounting.
- Befestigen Sie die Montagehalterung an der Deckenanschlussdose.
- Feed electrical wires through the downrod and canopy.
- Befestigen Sie die Verlängerungsstange am Motorgehäuse.
- Lift the fan assembly and hang it on the mounting bracket.
3. Elektrische Anschlüsse
Ensure power is OFF at the circuit breaker before making any electrical connections. Connect the fan's wires to the household wiring according to the wiring diagram provided in the full installation guide (not included here). This fan operates on 120 Volts AC.
4. Anbringen der Lüfterflügel
The fan includes 5 reversible Medium Density Fiberboard (MDF) blades with Warm Grey Oak and Greyed Walnut finishes. Choose your preferred finish before attaching the blades.

Bild: Nahaufnahme view of the fan's motor housing with the Hunter logo and a blade arm attached, showing the connection point.
- Attach each blade to a blade arm using the provided screws.
- Secure the blade arms to the motor housing.

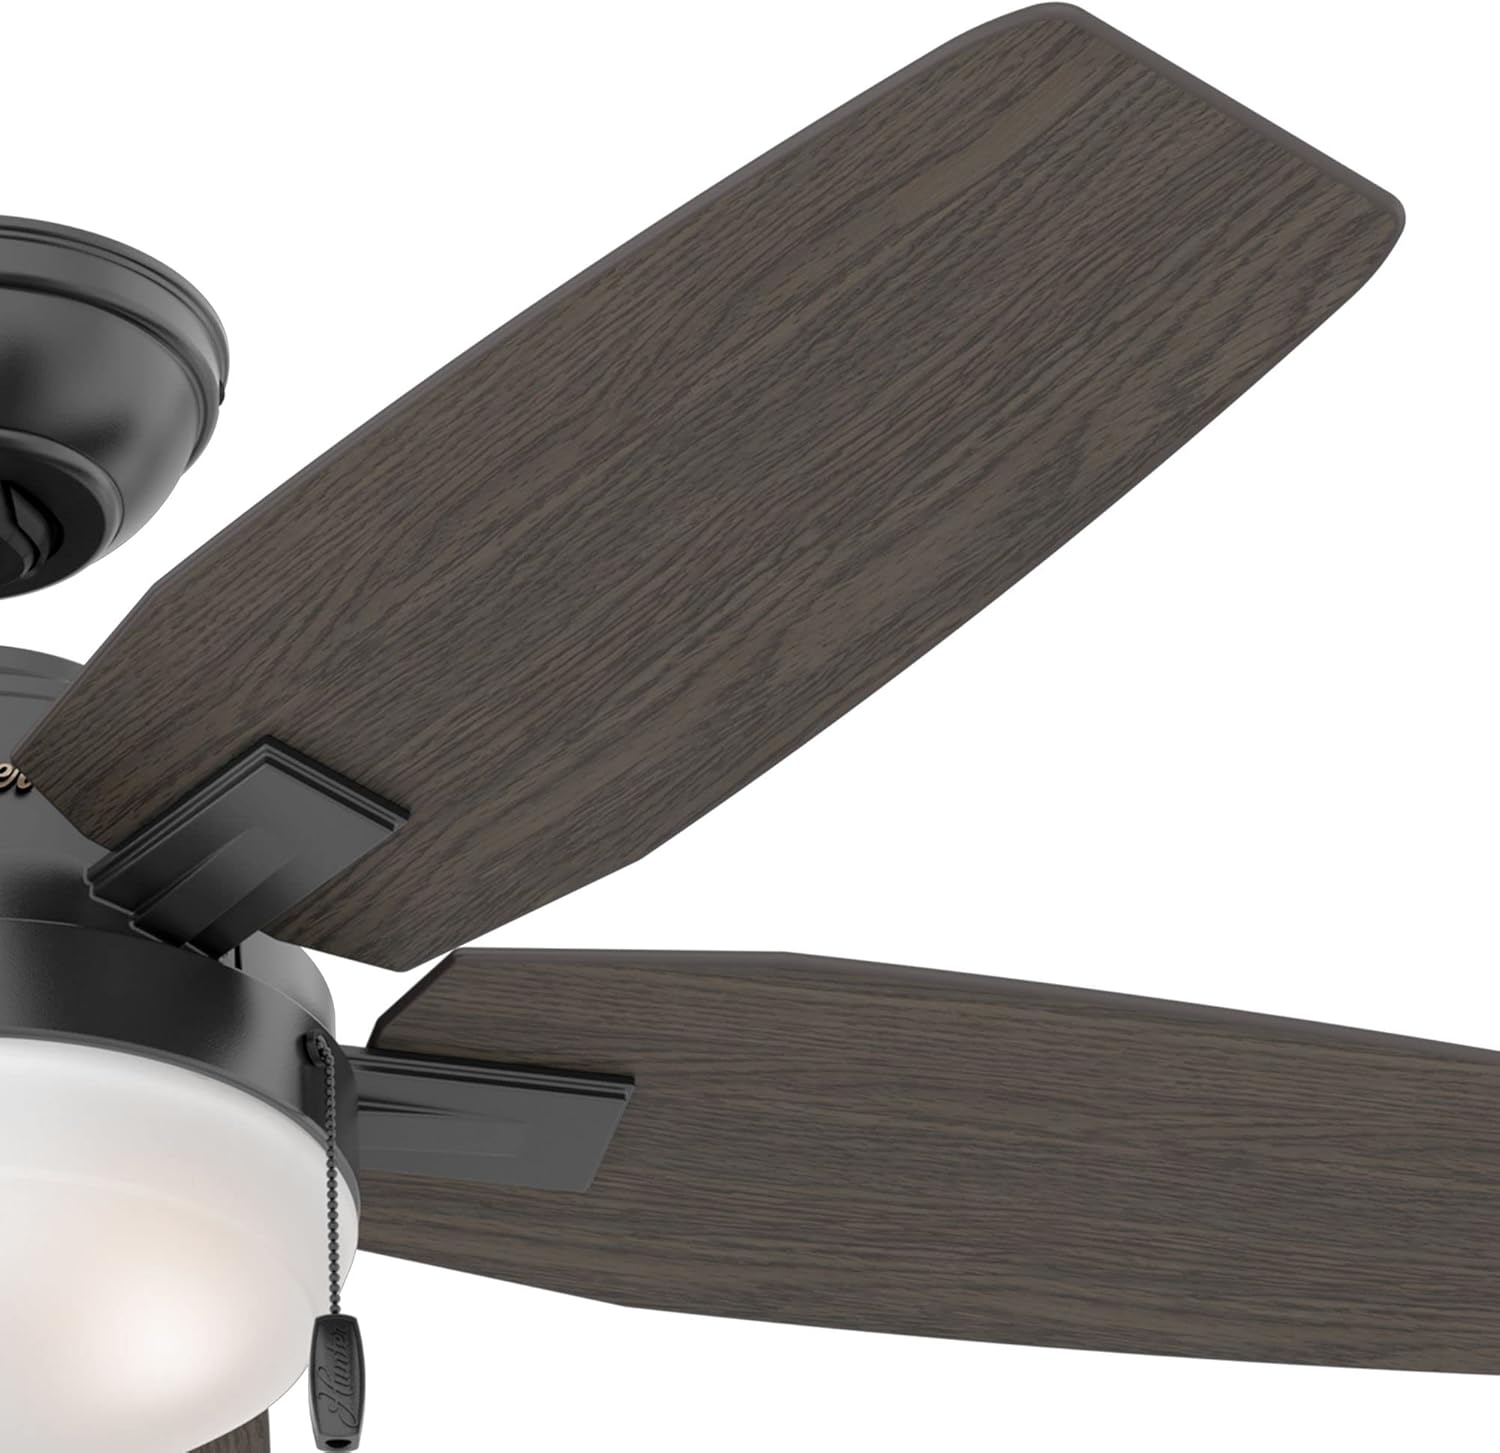
Image: Left shows the Warm Grey Oak side of a fan blade. Right shows the Greyed Walnut side of a fan blade, demonstrating the reversible design.
5. Installation des Beleuchtungssatzes
The fan includes an integrated light kit with premium painted cased white glass shading and two 9-watt energy-efficient, dimmable LED bulbs (E26/A19 base).

Image: Close-up of the fan's light kit, showing the frosted white glass shade and the two pull chains for fan speed and light control.
- Verbinden Sie die Kabel des Beleuchtungssets mit den Kabeln des Lüftermotors.
- Secure the light kit assembly to the fan motor housing.
- Install the LED bulbs into the sockets.
- Attach the glass shade to the light kit.
Bedienungsanleitung
Your Hunter ceiling fan is controlled by pull chains for both fan speed and light operation.
Lüfterdrehzahlregelung
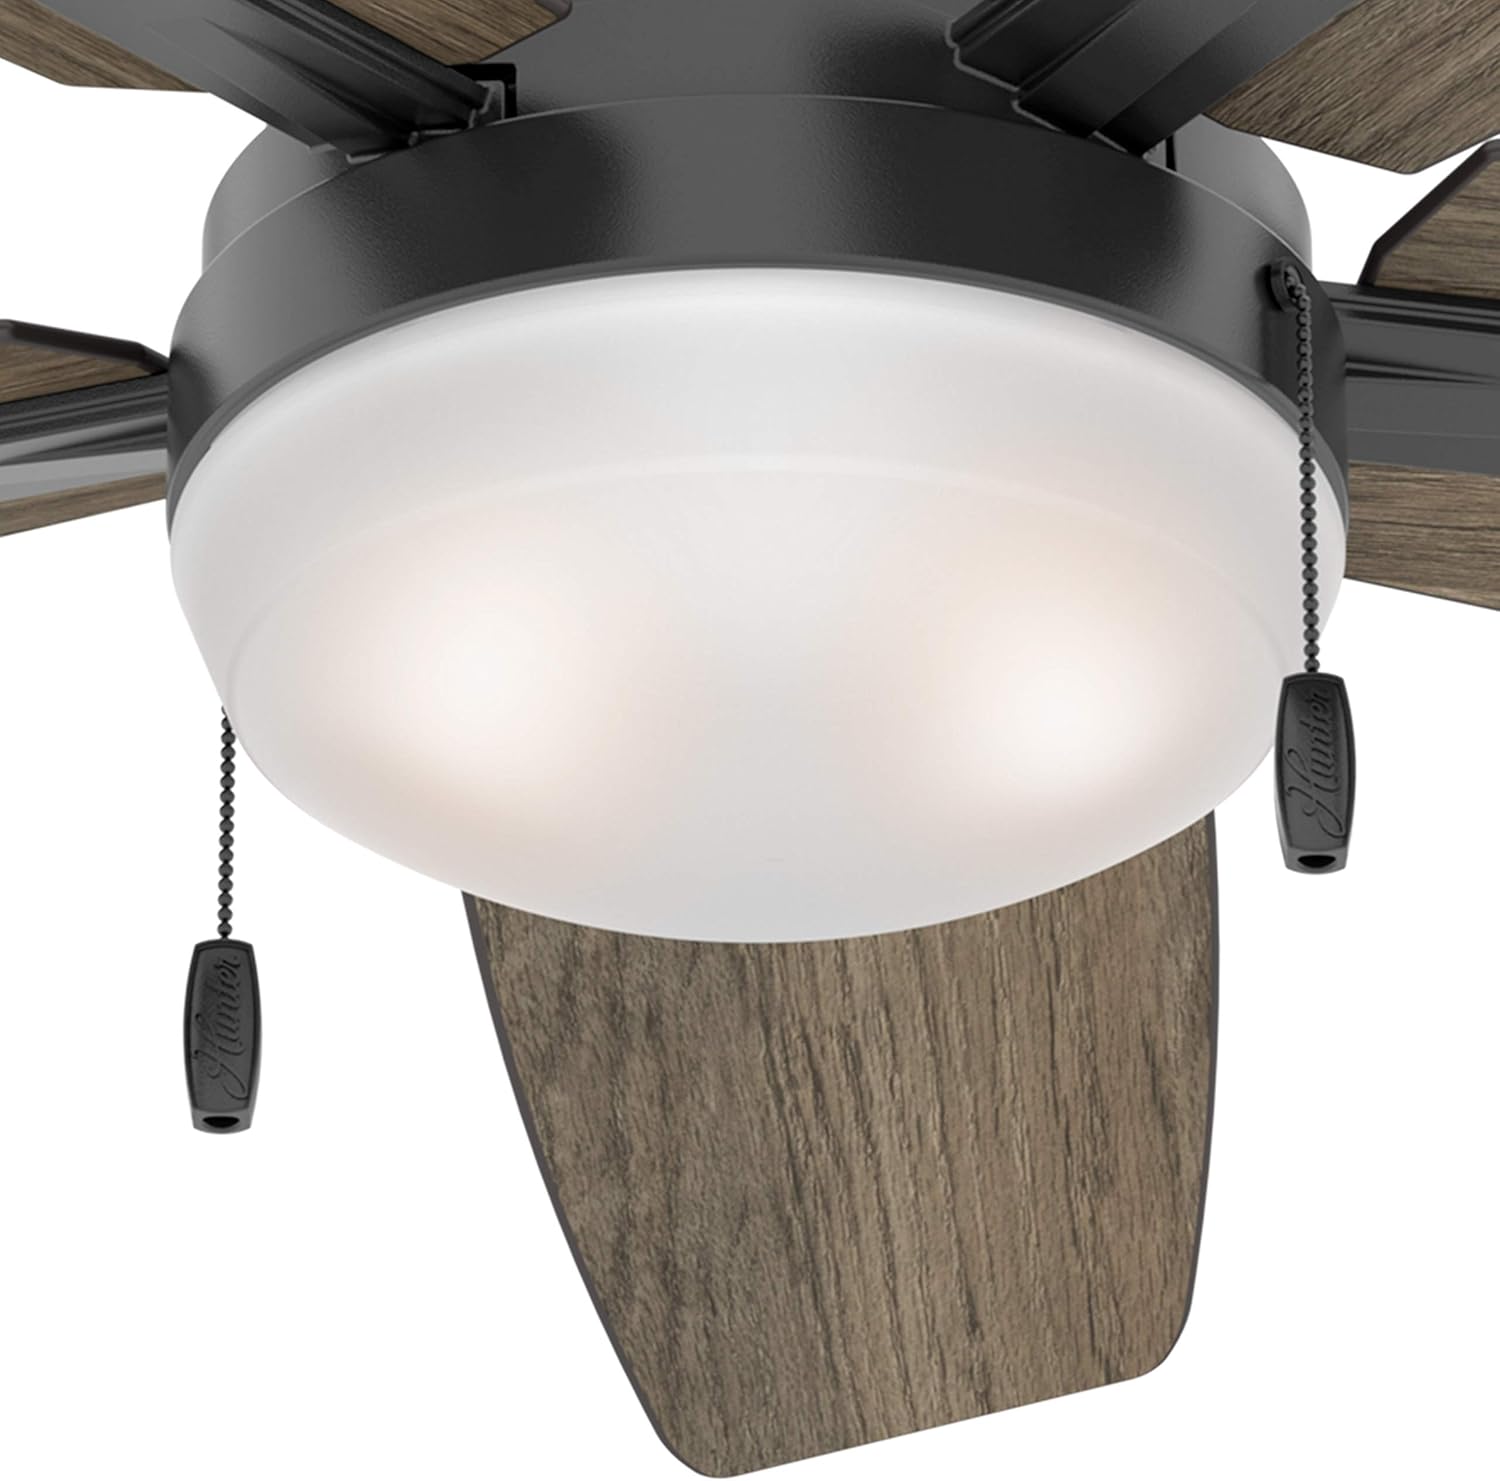
Bild: Detailliert view of the fan's light kit, highlighting the two pull chains. One chain controls the fan speed, and the other controls the light.
- Locate the pull chain designated for fan speed (often marked with a fan icon or a shorter chain).
- Ziehen Sie einmal an der Kette, um die Höchstgeschwindigkeit zu erreichen.
- Ziehen Sie die Kette ein zweites Mal, um die mittlere Geschwindigkeit zu erreichen.
- Ziehen Sie die Kette ein drittes Mal, um auf niedrige Geschwindigkeit zu kommen.
- Ziehen Sie ein viertes Mal an der Kette, um den Ventilator auszuschalten.
Lichtsteuerung
- Locate the pull chain designated for light control (often marked with a light bulb icon or a longer chain).
- Pull the chain once to turn the light ON.
- Pull the chain a second time to turn the light OFF.
- To dim the light, pull and hold the light chain. Release when the desired brightness is reached.
Reversible Blade Operation (Seasonal Use)
Your fan features reversible blades and a reversible motor for year-round comfort. A switch on the fan motor housing allows you to change the direction of blade rotation.
- Sommerbetrieb: Stellen Sie den Schalter so ein, dass sich die Flügel gegen den Uhrzeigersinn drehen. Dadurch entsteht ein nach unten gerichteter Luftstrom, der einen Kühleffekt erzeugt.
- Winterbetrieb: Set the switch to make the blades rotate clockwise. This creates an upward airflow, recirculating warm air from the ceiling without creating a direct draft.
- Schalten Sie den Ventilator immer aus und warten Sie, bis die Rotorblätter vollständig zum Stillstand gekommen sind, bevor Sie den Richtungsschalter betätigen.
Wartung
Regelmäßige Wartung gewährleistet die Langlebigkeit und optimale Leistung Ihres Deckenventilators.
- Reinigung: Reinigen Sie die Lüfterflügel und das Motorgehäuse regelmäßig mit einem weichen, feuchten Tuch.amp Mit einem Tuch abwischen. Verwenden Sie keine Scheuermittel oder Lösungsmittel, da diese die Oberfläche beschädigen können.
- Befestigungsschrauben: Check all screws on the fan blades, blade arms, and mounting hardware at least twice a year. Tighten any loose screws to prevent wobbling and noise.
- Glühbirnenwechsel: If a light bulb needs replacement, ensure the power is off. Use only 9-watt LED bulbs with an E26/A19 base, or equivalent.
- Keine Schmierung erforderlich: Der Lüftermotor ist dauergeschmiert und benötigt kein Öl.
Fehlerbehebung
If you experience issues with your fan, refer to the following common problems and solutions before contacting support.
Lüfter startet nicht
- Überprüfen Sie die Leistung: Ensure the circuit breaker is ON and the wall switch (if applicable) is ON.
- Kabelverbindungen: Prüfen Sie, ob alle elektrischen Verbindungen sicher und gemäß der Installationsanleitung korrekt verdrahtet sind.
- Zugkette: Ensure the fan pull chain has been pulled to an ON position.
Lüfter wackelt
- Klingenschrauben: Check that all blade screws are tightened securely.
- Blade Arms: Ensure blade arms are securely attached to the motor.
- Montage: Verify the mounting bracket and downrod are securely fastened to the ceiling and electrical box.
- Blattbalance: Uneven blade weight can cause wobbling. Use a balancing kit (often sold separately) if necessary.
Licht funktioniert nicht
- Installation der Glühbirne: Achten Sie darauf, dass die Glühbirnen fest eingeschraubt sind.
- Bulb Functionality: Test bulbs in a known working fixture or replace with new ones.
- Verdrahtung: Überprüfen Sie die Verkabelung des Beleuchtungssets.
- Zugkette: Ensure the light pull chain is in the ON position.
Lauter Betrieb
- Lose Schrauben: Tighten all screws on the fan.
- Montage: Ensure the fan is securely mounted and not touching any part of the ceiling.
- Glasschirm: Check if the glass shade is securely fastened and not rattling.
- Klingenabstand: Ensure blades are not hitting anything.
Technische Daten

Image: Energy Guide label showing estimated yearly energy cost ($10) and airflow (3,133 Cubic Feet Per Minute) for the fan.
| Marke | Jäger |
| Modellnummer | CC5C95C84 |
| Technische Daten | 46 Zoll L x 46 Zoll B x 14.51 Zoll H |
| Artikelgewicht | 21.05 Pfund |
| Farbe | Mattschwarz |
| Material | Metal (Housing), MDF (Blades), Glass (Shade) |
| Anzahl der Klingen | 5 (Reversible: Warm Grey Oak / Greyed Walnut) |
| Lichtquellentyp | Integrierte LED |
| Glühbirnen enthalten | 2 x 9 Watt, Dimmable LED (E26/A19 base) |
| Helligkeit | 800 Lumen (Maximale Lichtleistung) |
| Kontrollmethode | Zugkettensteuerung |
| Lüftergeschwindigkeiten | 3 |
| Montagetyp | Verlängerungsstangenhalterung (3"- und 2"-Verlängerungsstangen im Lieferumfang enthalten) |
| Verwendung im Innen- und Außenbereich | Nur für den Innenbereich |
| Bandtage | 120 Volt |
| Luftstromkapazität | 2635 Kubikfuß pro Minute |
| Effizienz | Energy Efficient, ETL Certified |
Garantie und Support
For specific warranty information regarding your Hunter ceiling fan, please refer to the documentation included with your purchase or visit the official Hunter Fan Company webWebsite.
If you require technical assistance or have questions not covered in this manual, please contact Hunter Customer Support:
- Hunter Fan Company Official WebWebsite: www.hunterfan.com
- Kundendienst: Weitere Informationen finden Sie im webWebseite mit den aktuellen Kontaktmöglichkeiten (Telefon, E-Mail, Chat).
Please have your model number (CC5C95C84) and date of purchase available when contacting support.


