Einführung
The Lloyd's LC-1212 Universal Smart IR Remote Control is designed to transform your traditional infrared-controlled devices into smart, connected appliances. This device allows you to control various home electronics such as televisions, air conditioners, fans, and set-top boxes directly from your smartphone or through voice commands using virtual assistants like Amazon Alexa and Google Assistant. It integrates seamlessly into your smart home ecosystem, offering convenience and enhanced control over your entertainment and climate systems.
Packungsinhalt
Bitte überprüfen Sie, ob alle Artikel im Paket vorhanden sind:
- 1 x Lloyd's LC-1212 Smart IR Remote Control Unit
- 1 x USB-Netzkabel
- 1 x Benutzerhandbuch (dieses Dokument)
Produkt überview
The Lloyd's LC-1212 is a compact and discreet device designed to blend into your home environment while providing powerful infrared control capabilities.

Abbildung 1: Lloyd's LC-1212 Smart IR Remote Control and its packaging. The device is a small, black, square unit with a power cable, shown next to its white and grey retail box.
The device features a minimalist design, typically with a power input port and an indicator light. Its primary function is to receive commands via Wi-Fi from your smartphone or voice assistant and then emit the corresponding infrared signals to control your appliances.

Abbildung 2: Illustration of a smartphone controlling various IR devices (decoder, TV, air conditioner, fan, DVD player) through the smart infrared remote. The remote is centrally placed in a living room, emitting signals to different appliances.
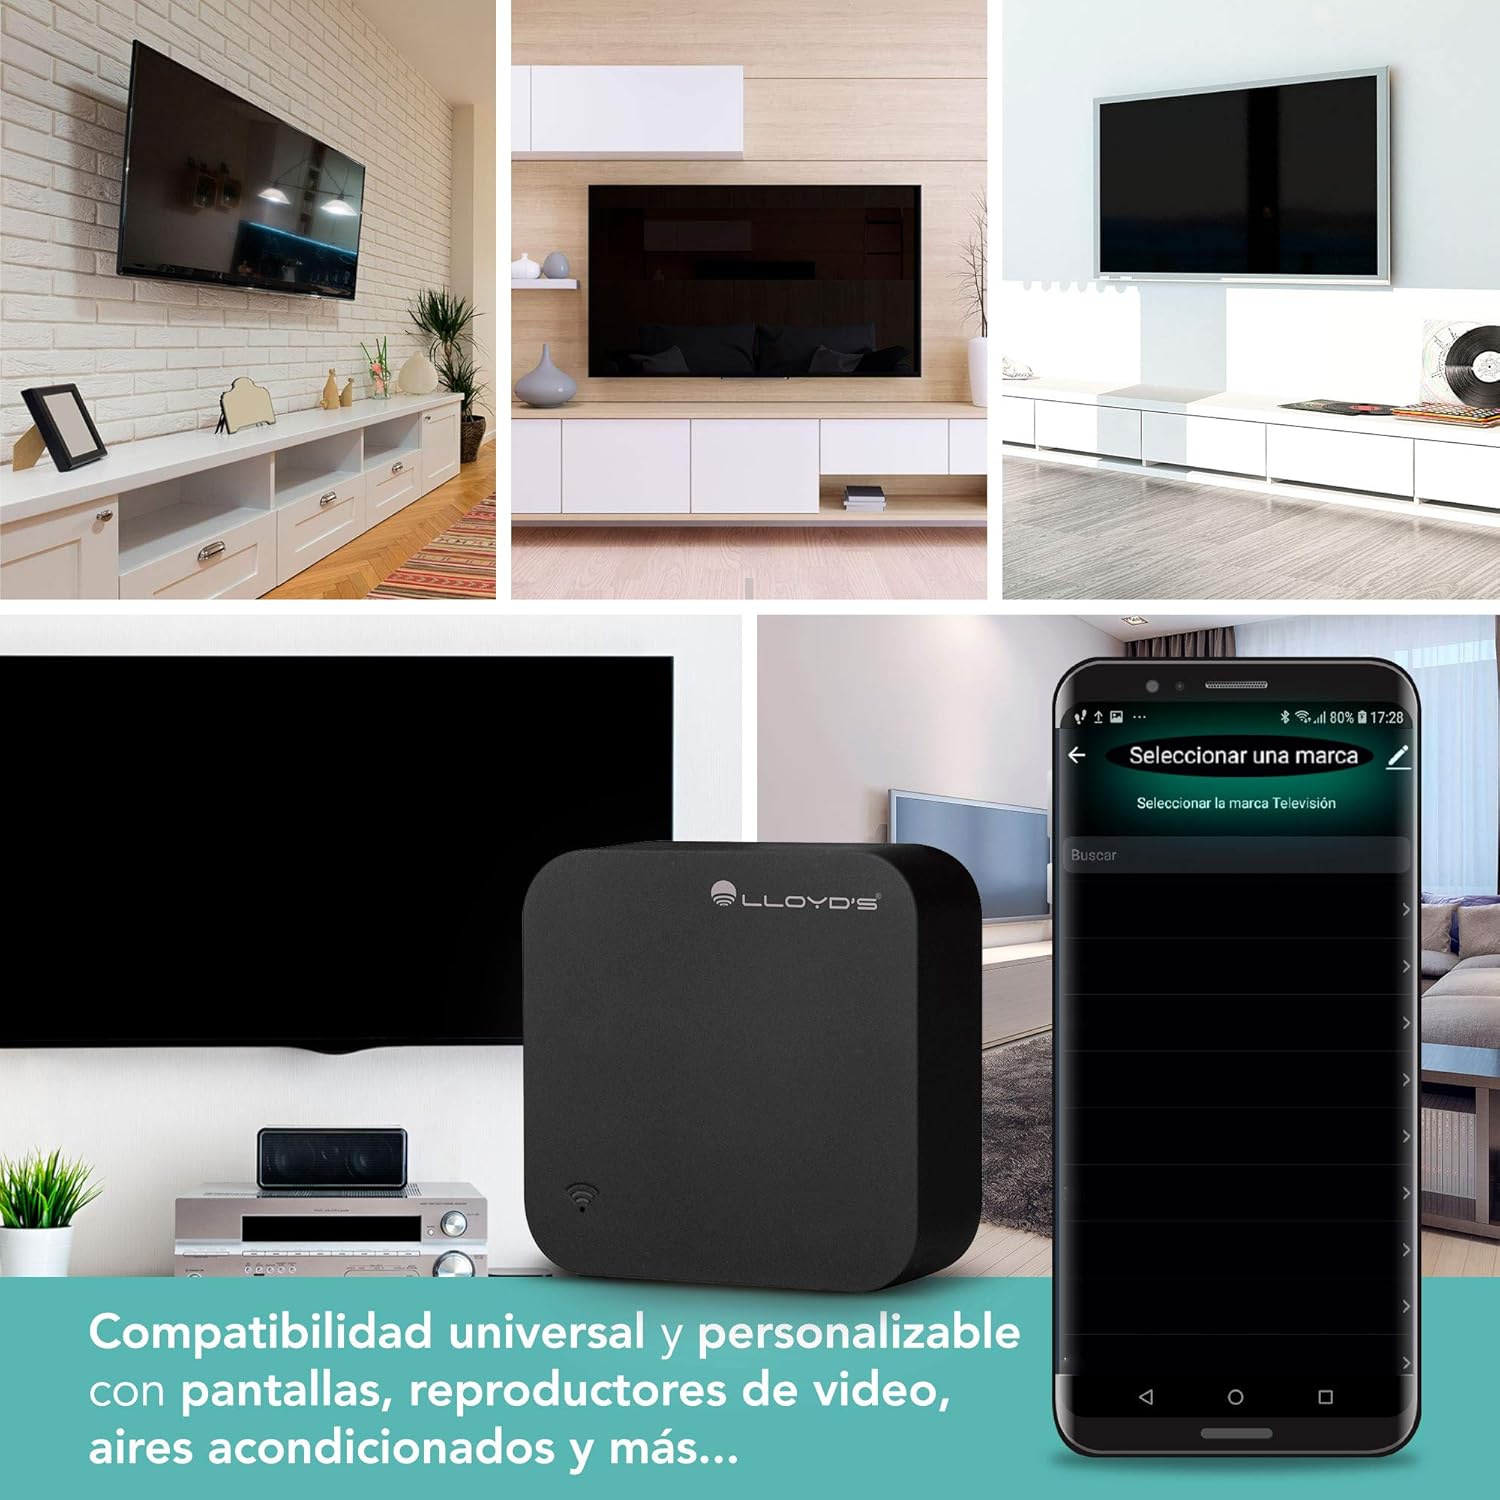
Abbildung 3: Demonstrates the universal compatibility of the smart IR remote with various screens, video players, and air conditioners. The image shows different setups of TVs and the remote's interface for selecting device brands.
Aufstellen
1. Einschalten des Geräts
- Connect the provided USB power cable to the micro-USB port on the LC-1212 device.
- Plug the other end of the USB cable into a standard 5V USB power adapter (not included) or a compatible USB port.
- The indicator light on the device will illuminate, indicating it is powered on.
2. App-Installation
The Lloyd's LC-1212 operates with the Smart Life or Tuya Smart application. These apps are available for both iOS and Android devices.
- Laden Sie die App „Smart Life“ oder „Tuya Smart“ aus dem Apple App Store (für iOS) oder dem Google Play Store (für Android) herunter.
- Registrieren Sie ein neues Konto oder melden Sie sich an, falls Sie bereits eines besitzen.
3. Device Pairing with the App
- Ensure your smartphone is connected to a 2.4 GHz Wi-Fi network. The LC-1212 does not support 5 GHz Wi-Fi.
- Öffnen Sie die Smart Life/Tuya Smart App.
- Tap the "Add Device" or "+" icon in the top right corner.
- Select "Universal Remote Control" or "IR Remote Control" from the device list under "Electrical" or "Others".
- Follow the on-screen instructions to put the LC-1212 into pairing mode (usually by pressing and holding a button on the device or power cycling it until the indicator light blinks rapidly).
- Geben Sie Ihr WLAN-Netzwerkpasswort ein, wenn Sie dazu aufgefordert werden.
- Warten Sie, bis das Gerät verbunden ist. Sobald die Verbindung hergestellt ist, können Sie das Gerät zur besseren Identifizierung umbenennen.
4. Adding Infrared Controlled Devices
After successfully pairing the LC-1212, you can add your IR-controlled appliances:
- In the app, select your newly added LC-1212 device.
- Tippen Sie auf „Fernbedienung hinzufügen“ oder eine ähnliche Option.
- Choose the type of device you want to control (e.g., TV, Air Conditioner, Fan, Set-top Box).
- The app will guide you through two main methods for adding devices:
- Auto-Match (Recommended): The app will provide a list of brands. Select your device's brand and test the pre-programmed remote codes. If a code works, confirm it.
- DIY (Do It Yourself) / Learning Mode: If your brand is not listed or auto-match fails, you can teach the LC-1212 commands from your original remote. Point your original remote at the LC-1212 and press the desired button (e.g., Power On). The LC-1212 will learn and store this command. Repeat for all necessary functions.
- Once added, you can test and customize the controls within the app.
Bedienung des Geräts
1. Smartphone Control
After adding your devices, you can control them directly from the Smart Life/Tuya Smart app from anywhere with an internet connection.
- Open the app and select the specific device you wish to control (e.g., "Living Room TV").
- The app will display a virtual remote interface with buttons corresponding to the functions of your device.
- Tap the desired button to send the IR command. Ensure the LC-1212 has a clear line of sight to the device you are controlling.
2. Voice Control with Alexa and Google Assistant
Integrate your LC-1212 with Amazon Alexa or Google Assistant for hands-free control.

Abbildung 4: Demonstrates voice control capabilities, showing a user commanding an air conditioner to 20°C and a TV to turn off using virtual assistants.
- Link the Smart Life/Tuya Smart Skill/Service:
- Öffne die Alexa-App oder die Google Home-App.
- Navigieren Sie zu „Skills & Spiele“ (Alexa) oder „Funktioniert mit Google“ (Google Home).
- Suchen nach "Smart Life" oder "Tuya Smart" und aktivieren Sie die Funktion/den Dienst.
- Link your Smart Life/Tuya Smart account by entering your credentials.
- Geräte entdecken: Once linked, ask Alexa ("Alexa, discover my devices") or Google Assistant ("Hey Google, sync my devices") to find the devices you've added to the Smart Life/Tuya Smart app.
- Sprachbefehle: Sie können Ihre Geräte jetzt per Sprachbefehl steuern. Beispiel:amples:
- "Alexa, turn on the Living Room TV."
- "Hey Google, stell die Klimaanlage auf 22 Grad ein."
- "Alexa, schalte den Ventilator aus."
3. Creating Automation Routines
Leverage the automation features within the Smart Life/Tuya Smart app to create custom routines and scenes.
- Go to the "Smart" or "Automation" section in the app.
- You can set up routines based on time, device status, or other smart home triggers (e.g., "At 9:00 PM, turn on the TV and change to Channel 5").
- Integrate with other smart devices: For example, if you have a smart door sensor, you can set a routine to turn on the air conditioner when the door opens.
Wartung
To ensure optimal performance and longevity of your Lloyd's LC-1212 Smart IR Remote Control, follow these simple maintenance guidelines:
- Reinigung: Wischen Sie das Gerät mit einem weichen, trockenen Tuch ab. Verwenden Sie keine flüssigen Reinigungsmittel oder Scheuermittel.
- Platzierung: Place the device in a central location within the room, ensuring a clear line of sight to all IR-controlled appliances. Avoid placing it behind obstacles or in direct sunlight.
- Stromversorgung: Use a stable 5V power supply. Avoid frequent power interruptions.
- Umfeld: Keep the device away from extreme temperatures, high humidity, and water.
Fehlerbehebung
If you encounter issues with your Lloyd's LC-1212, refer to the following common problems and solutions:
| Problem | Mögliche Ursache/Lösung |
|---|---|
| Gerät stellt keine Verbindung zum WLAN her. |
|
| IR commands not working or inconsistent. |
|
| Voice commands (Alexa/Google Assistant) not working. |
|
| App interface for AC control is confusing. |
|
Technische Daten
| Besonderheit | Detail |
|---|---|
| Marke | Lloyd's |
| Modellnummer | LC-1212 |
| Abmessungen (L x B x H) | 1.78 x 4.98 x 4.98 cm |
| Gewicht | 45 g |
| Leistungsaufnahme | 5 V Gleichstrom |
| Wastage | 5 Watt |
| Konnektivität | Wi-Fi (nur 2.4 GHz) |
| Infrarotabstand | ≤ 8 Meter |
| Kompatible Geräte | iOS / Android smartphones |
| Material | ABS |
| Besondere Merkmale | Universal IR control, Voice control (Alexa, Google Assistant), Automation routines |
Garantie und Support
The Lloyd's LC-1212 Smart IR Remote Control comes with a 1 Jahr Garantie from the date of purchase. This product holds NOM certification, ensuring compliance with Mexican standards.
For technical support or warranty claims, please contact Lloyd's customer service. Technical support is offered from Mexico.
Bitte bewahren Sie Ihren Kaufbeleg für Garantiezwecke auf.