1. Einleitung
This manual provides comprehensive instructions for the installation, use, and maintenance of your BoxWave ClearTouch Anti-Glare Screen Protector, designed specifically for the AKASO DL9 Mirror Dash Cam. This screen protector is engineered to reduce glare, resist fingerprints, and protect your device's screen from scratches, ensuring optimal visibility and longevity.

Image 1.1: AKASO DL9 Mirror Dash Cam with the ClearTouch Anti-Glare Screen Protector installed.
2. Packungsinhalt
Bitte überprüfen Sie, ob alle unten aufgeführten Artikel in Ihrem Paket enthalten sind:
- Two (2) BoxWave ClearTouch Anti-Glare Screen Protectors
- Ein (1) Mikrofasertuch
- One (1) Applicator Card (Squeegee)
- Ein (1) Staubentfernungsaufkleber

Image 2.1: Contents of the BoxWave ClearTouch Anti-Glare Screen Protector package.
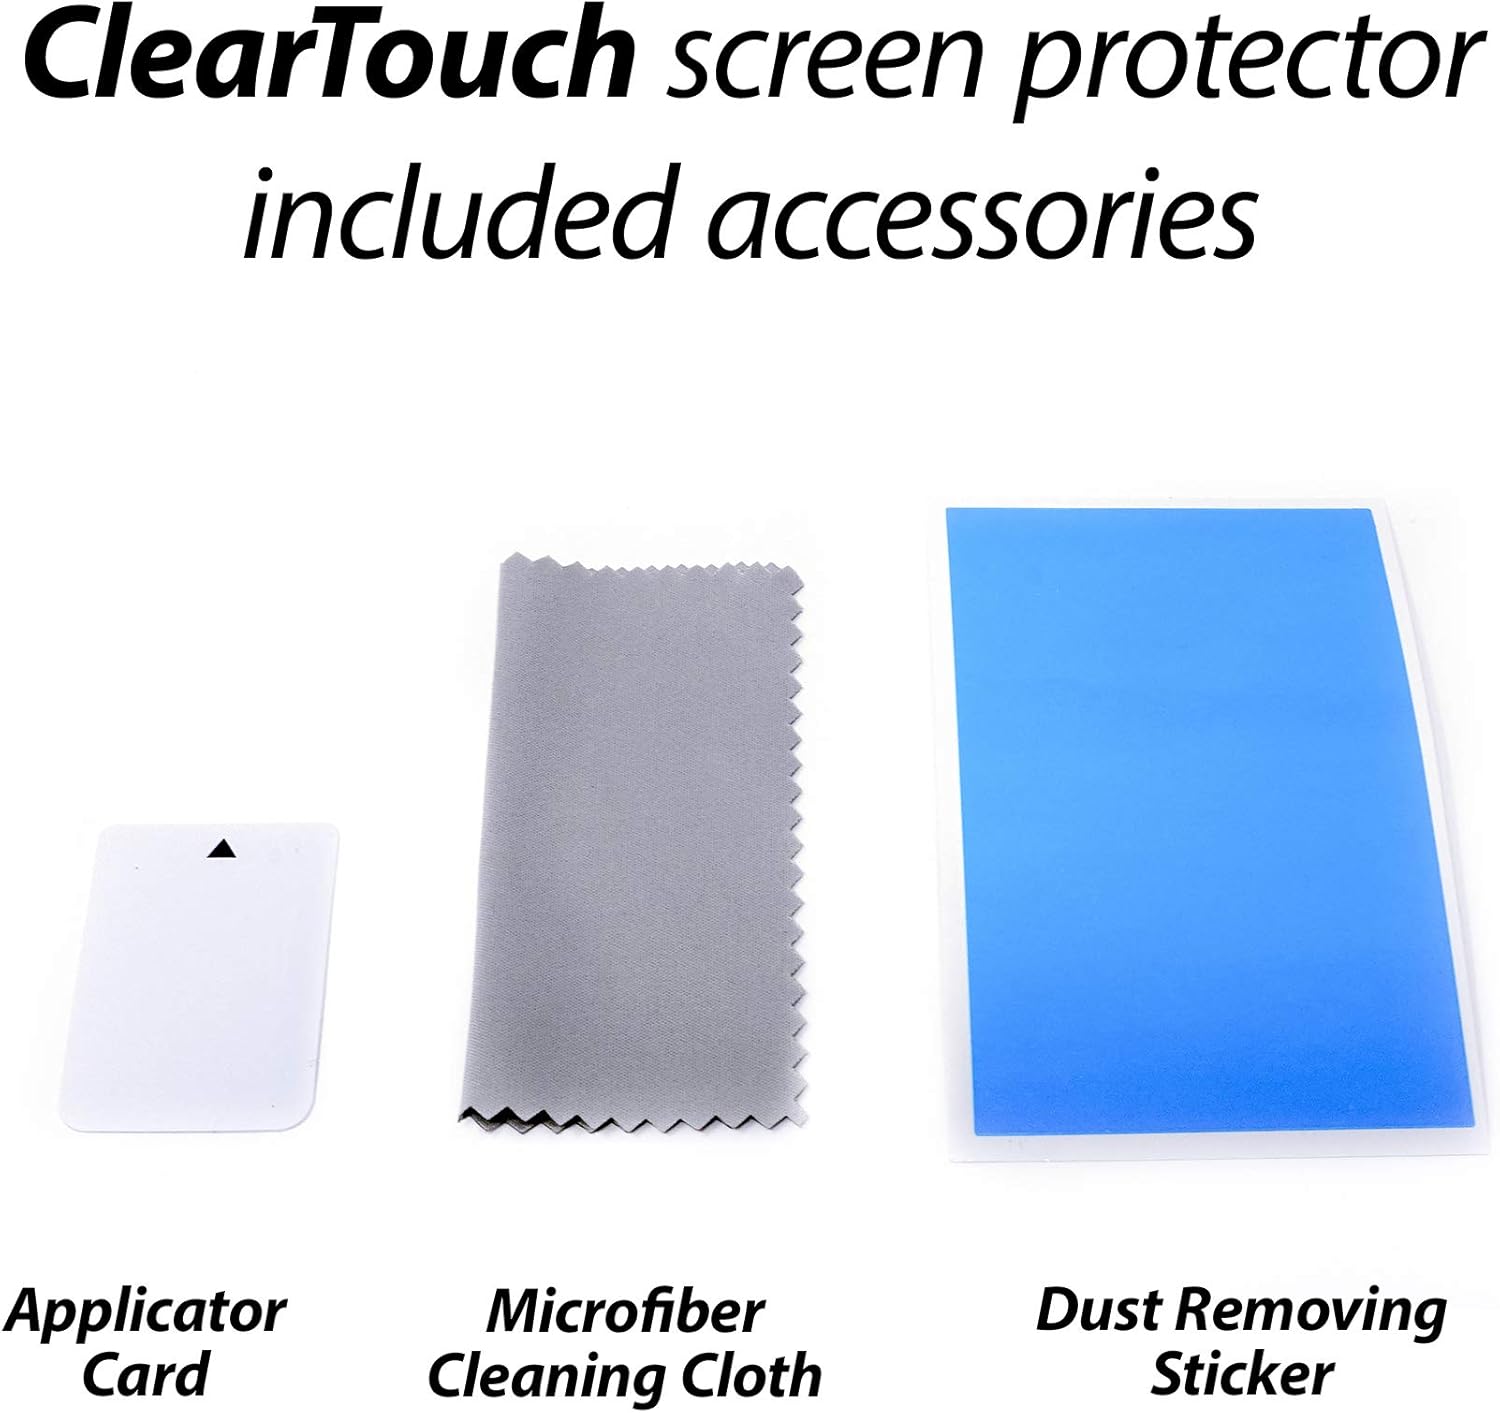
Abbildung 2.2: Detailansicht view of the included installation accessories.
3. Einrichtung und Installation
Befolgen Sie diese Schritte sorgfältig, um eine optimale Anbringung der Displayschutzfolie zu gewährleisten:
- Reinigen Sie den Bildschirm: Use the microfiber cleaning cloth to thoroughly clean the surface of your AKASO DL9 Mirror Dash Cam screen. Ensure all dust, smudges, and fingerprints are removed. For stubborn marks, a small amount of screen cleaner (not included) can be used with the cloth.
- Staub entfernen: Verwenden Sie den Staubentfernungsaufkleber, um verbliebene Staubpartikel vom Bildschirm zu entfernen. Tupfen Sie den Aufkleber vorsichtig über die Bildschirmoberfläche.
- Peel Layer 1: Ziehen Sie vorsichtig einen kleinen Teil der mit „Schicht 1“ gekennzeichneten Schutzfolie von einem Ende der Displayschutzfolie ab. Vermeiden Sie es, die Klebeseite zu berühren.
- Ausrichten und anwenden: Align the exposed adhesive edge of the screen protector with one edge of your dash cam screen. Once aligned, slowly and steadily lower the rest of the screen protector onto the screen, peeling off 'Layer 1' as you go.
- Blasen glätten: Use the applicator card (squeegee) to gently push out any air bubbles towards the edges of the screen. Start from the center and work your way outwards.
- Ebene 2 entfernen: Once the screen protector is fully applied and free of major bubbles, carefully peel off the top protective film labeled 'Layer 2'.
- Endkontrolle: Perform a final check for any remaining small bubbles or dust. Minor bubbles often disappear within 24-48 hours.

Image 3.1: The screen protector is precision-cut for a perfect fit on your device.
4. Betriebsfunktionen
The BoxWave ClearTouch Anti-Glare Screen Protector enhances your AKASO DL9 Mirror Dash Cam experience through several key features:
- Entspiegelte Oberfläche: The matte finish disperses light, significantly reducing reflections and glare from sunlight or interior lighting. This improves screen visibility and reduces eye strain, especially during bright conditions.
- Anti-Fingerprint Properties: The specialized surface repels oils and smudges, keeping your screen cleaner for longer and maintaining a clear view.
- Kratzschutz: Provides a durable barrier against scratches, scuffs, and minor impacts, preserving the original screen of your dash cam.
- Sanfte Berührungsreaktion: Engineered to maintain the original touch sensitivity of your device, ensuring seamless interaction.

Image 4.1: Anti-Glare technology reduces distracting reflections.

Image 4.2: Oleophobic layer resists smudges and fingerprints.
5. Wartung
Um die Klarheit und Wirksamkeit Ihrer Displayschutzfolie zu erhalten:
- Reinigung: Use the provided microfiber cleaning cloth to gently wipe the screen protector. For more thorough cleaning, lightly dampBefeuchten Sie das Tuch mit Wasser oder einem für Bildschirme geeigneten Reinigungsmittel. Vermeiden Sie aggressive Chemikalien oder Scheuermittel.
- Vermeiden Sie scharfe Gegenstände: Obwohl der Schutz kratzfest ist, können extremer Druck oder scharfe Gegenstände ihn dennoch beschädigen.
- Wiederverwendbarkeit: The ClearTouch screen protector is designed to be reusable. If removed carefully, it can be reapplied. Ensure the adhesive side remains clean during removal and reapplication.
6. Fehlerbehebung
Häufige Probleme und ihre Lösungen:
- Blasen nach der Installation:
- Kleine Blasen: Many small bubbles will dissipate naturally within 24-48 hours.
- Große Blasen: Gently lift the nearest edge of the screen protector and reapply, using the applicator card to push the air out as you lay it back down.
- Staubschutz:
- Carefully lift the edge of the screen protector near the dust particle. Use the dust removing sticker to gently dab and lift the dust from the adhesive side of the protector or the screen. Reapply the protector.
- Schutzfolie klebt nicht:
- Ensure the screen was thoroughly cleaned and free of oils or residues before application. If the adhesive side has become contaminated, clean it gently with a lint-free cloth and water, allow to air dry completely, then reapply.
7. Spezifikationen
| Besonderheit | Beschreibung |
|---|---|
| Produktname | ClearTouch Anti-Glare Screen Protector |
| Marke | BoxWave |
| Kompatibilität | AKASO DL9 Spiegel Dashcam |
| Material | Polyethylenterephthalat (PET) |
| Ausführung | Matt |
| Besondere Merkmale | Anti-Glare, Anti-Fingerprint, Scratch Resistant |
| Anzahl der Artikel | 2 (Zweierpackung) |
8. Garantie und Support
For warranty information, technical support, or any questions regarding your BoxWave ClearTouch Anti-Glare Screen Protector, please contact BoxWave customer service directly. Refer to the product packaging or the official BoxWave webWebsite für Kontaktdaten.


