1. Einleitung
Thank you for choosing the Vacmaster Orson Lite 24V Max Cordless Vacuum Cleaner. This manual provides essential information for the safe and efficient use, maintenance, and troubleshooting of your new appliance. Please read these instructions carefully before use and retain them for future reference.
Wichtige Sicherheitshinweise
- Always ensure the vacuum is switched off and unplugged before cleaning or performing maintenance.
- Do not use the vacuum cleaner to pick up water or wet materials.
- Halten Sie Haare, lose Kleidung, Finger und alle Körperteile von Öffnungen und beweglichen Teilen fern.
- Nicht ohne eingesetzten Staubbehälter und Filter verwenden.
- Store the vacuum in a dry, indoor area.
2. Packungsinhalt
Carefully unpack your Vacmaster Orson Lite and check that all items are present and in good condition. If any items are missing or damaged, please contact customer support.
- Hauptstaubsaugereinheit (mit integriertem Akku)
- Verlängerungsstab
- Powered Floor Head
- 2-in-1 Crevice Tool and Dusting Brush
- Wall Mount / Charging Dock
- Charging Adapter (UK)
- 2 Washable HEPA 13 Filters
- Bedienungsanleitung

Bild: Überview of the Vacmaster Orson Lite cordless vacuum cleaner and its included accessories, such as the main unit, extension wand, floor head, and various attachments.
3. Montage
Follow these steps to assemble your Vacmaster Orson Lite vacuum cleaner.
- Bringen Sie den Verlängerungsstab an: Stecken Sie das Verlängerungsrohr in das Hauptgerät des Staubsaugers, bis es hörbar einrastet.
- Schließen Sie den Bodenkopf an: Attach the powered floor head to the other end of the extension wand, ensuring it clicks firmly.
- Wandhalterung installieren: Choose a suitable location near a power outlet. Secure the wall mount/charging dock to the wall using appropriate screws and anchors (not included). Ensure it is mounted at a height that allows the vacuum to hang freely.

Image: The Vacmaster Orson Lite cordless vacuum cleaner securely stored on its wall-mounted charging dock, ready for use.
4. Laden des Akkus
The Vacmaster Orson Lite is powered by a 24V Max lithium-ion battery. For optimal performance, fully charge the battery before first use.
- Ladegerät anschließen: Plug the charging adapter into a wall outlet and connect the other end to the charging port on the wall mount or directly to the vacuum unit.
- Ladeanzeige: The LED battery display on the vacuum will show the charging status. It will illuminate progressively as the battery charges and indicate a full charge when all segments are lit.
- Ladezeit: Eine vollständige Aufladung dauert in der Regel etwa 4-5 Stunden.

Image: Close-up of the Vacmaster Orson Lite's control panel, showing the LED battery display indicating the current charge level.
5. Bedienung
The Vacmaster Orson Lite offers versatile 3-in-1 cleaning for various surfaces.
Ein-/Ausschalten und Geschwindigkeitsauswahl
- Drücken Sie den Ein-/Ausschalter am Griff, um den Staubsauger ein- oder auszuschalten.
- Press the speed selection button to switch between standard and Turbo modes. Turbo mode provides increased suction for stubborn dirt and pet hair, but reduces runtime.
- The LED battery display indicates remaining power during use.
Reinigungsmodi
- Upright Stick Vacuum: For cleaning hard floors and carpets. The powered floor head features LED task lights to illuminate dust and debris.
- Handstaubsauger: Detach the extension wand and floor head to use the main unit as a handheld vacuum for furniture, car interiors, or small spills.
- With 2-in-1 Tool: Attach the crevice tool and dusting brush directly to the main unit or the extension wand for cleaning tight spaces, upholstery, or delicate surfaces.

Image: A user operating the Vacmaster Orson Lite in handheld mode, effectively cleaning stairs with its compact design.
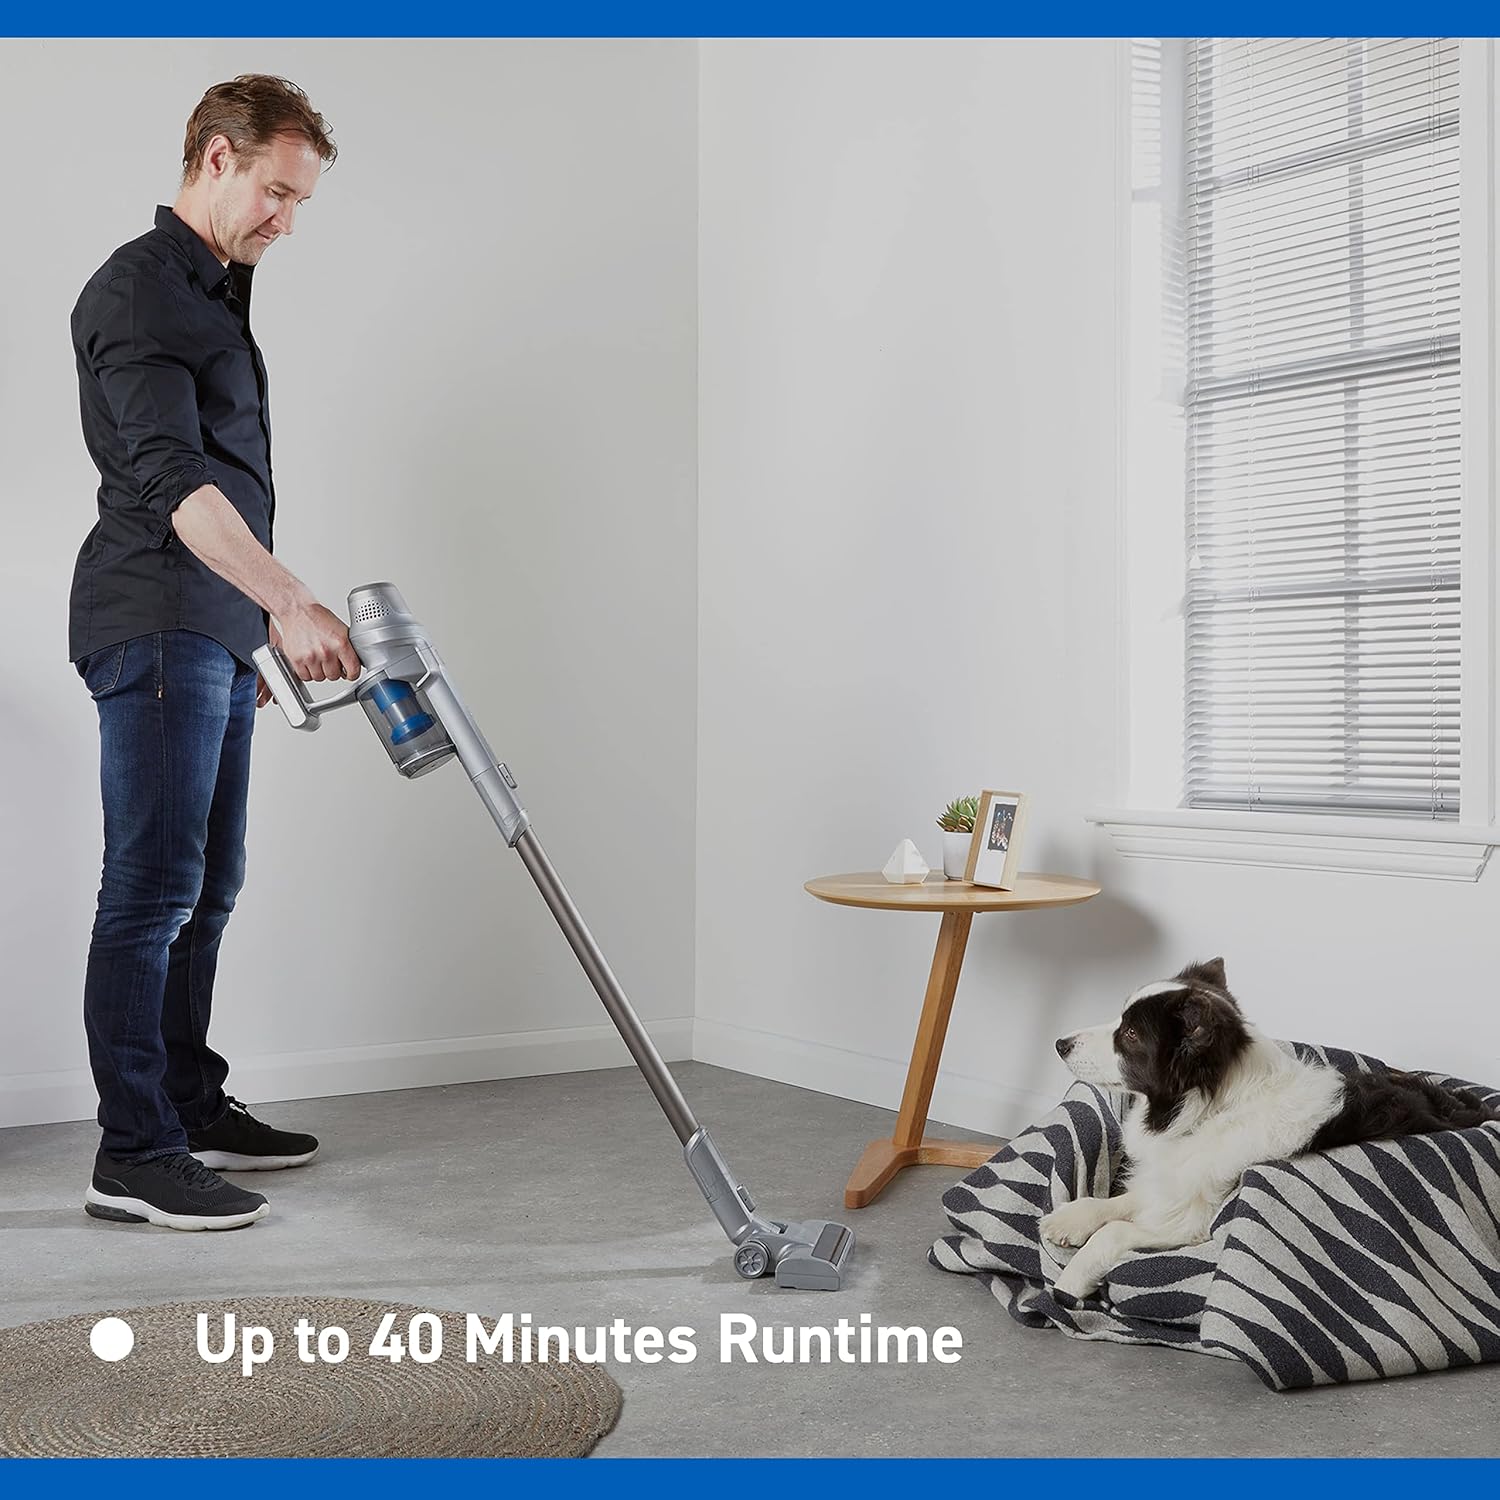
Image: Close-up of the Vacmaster Orson Lite's powered floor head, showcasing its integrated LED task lights illuminating debris on a hard floor.

Image: A man using the lightweight Vacmaster Orson Lite with its extension wand to easily clean dust from a high corner of a room.
6. Wartung
Regular maintenance ensures your Vacmaster Orson Lite operates efficiently and prolongs its lifespan.
Leeren des Staubbehälters
- Stellen Sie sicher, dass der Staubsauger ausgeschaltet ist.
- Press the dust bin release button to detach the dust bin from the main unit.
- Position the dust bin over a trash receptacle and press the bottom release button to open the flap and empty the contents.
- Close the flap and reattach the dust bin to the main unit until it clicks securely.

Image: A hand demonstrating the easy-to-empty dust bin feature of the Vacmaster Orson Lite, showing debris being released into a trash can.
Reinigen der Filter
The Vacmaster Orson Lite includes 2 washable HEPA 13 filters. Clean them regularly to maintain suction power.
- Entfernen Sie den Staubbehälter wie oben beschrieben.
- Die Filterbaugruppe aus dem Staubbehälter drehen und herausziehen.
- Tap the filters gently to remove loose dust. For a deeper clean, rinse the filters under cold running water until the water runs clear.
- Lassen Sie die Filter vor dem Wiedereinbau mindestens 24 Stunden lang vollständig an der Luft trocknen. Verwenden Sie keinen Trockner oder eine andere Wärmequelle.
- Reinsert the dry filters into the dust bin and reattach the dust bin to the vacuum.
Reinigen der Bürstenrolle
Periodically check the brush roll in the powered floor head for tangled hair or debris. Use scissors to cut away any tangled material and remove it by hand.
7. Fehlerbehebung
If you encounter issues with your Vacmaster Orson Lite, refer to the following common problems and solutions.
| Problem | Mögliche Ursache | Lösung |
|---|---|---|
| Vakuum lässt sich nicht einschalten | Batterie ist leer Batterie nicht richtig angeschlossen | Laden Sie den Akku vollständig auf Stellen Sie sicher, dass die Batterie richtig eingelegt ist |
| Saugkraftverlust | Staubbehälter ist voll Filter sind verstopft Verstopfung in Düse, Lanze oder Schlauch | Leeren Sie den Staubbehälter Filter reinigen oder ersetzen Überprüfen und beseitigen Sie eventuelle Blockaden |
| Bürstenrolle dreht sich nicht | Tangled debris Floor head not properly connected | Clean brush roll of hair and debris Ensure floor head is securely attached |
| Kurze Laufzeit | Akku nicht vollständig geladen Using Turbo mode excessively Batterieverschleiß | Laden Sie den Akku vollständig auf Use standard mode for general cleaning Wenden Sie sich an den Kundendienst, wenn die Akkulaufzeit deutlich abnimmt. |
8. Spezifikationen
| Besonderheit | Spezifikation |
|---|---|
| Marke | Vakuummaster |
| Modellnummer | VSE2101EU |
| Produktabmessungen (L x B x H) | 23.5 x 22.5 x 116 cm |
| Artikelgewicht | 2.55 Kilogramm |
| Leistung | 450 Watt |
| Bandtage | 24 Volt |
| Anzahl der Geschwindigkeiten | 2 |
| Schallpegel | 70 Dezibel |
| Laufzeit | Bis zu 40 Minuten |
| Akku-Typ | 1 Lithium-Ionen-Akku (im Lieferumfang enthalten) |
| Besondere Merkmale | Lightweight, Cordless, Bagless |
| Filtertyp | Waschbarer HEPA 13 |
| Hersteller | Cleva |
| Ursprungsland | China |
9. Garantie und Support
Garantieinformationen
The Vacmaster Orson Lite VSE2101EU comes with a 2 Jahr Garantie on spare parts, covering defects in materials and workmanship from the date of purchase. This warranty does not cover damage caused by misuse, neglect, accident, or unauthorized modification. Please retain your proof of purchase for warranty claims.
Kundenservice
For technical assistance, warranty claims, or to order replacement parts, please visit the official Vacmaster webBesuchen Sie die Website oder wenden Sie sich an den Kundendienst. Die Kontaktinformationen finden Sie in der Regel auf der Produktverpackung oder der offiziellen Website der Marke. webWebsite.


