1. Einleitung
This manual provides detailed instructions for the use and maintenance of your GROOVYPETS GPT720 replacement remote controller. This remote is designed to operate with compatible GROOVYPETS dog training collar receivers, offering various training modes to assist in pet behavior modification.
2. Sicherheitshinweise
- Do not allow children to operate the remote controller.
- This device is intended for pet training purposes only. Misuse may result in harm.
- Avoid exposing the remote to extreme temperatures, direct sunlight, or water.
- Ensure the remote is fully charged before initial use to ensure optimal performance.
3. Packungsinhalt
- 1 x GROOVYPETS GPT720 Remote Controller
4. Produktüberschreitungview
The GROOVYPETS GPT720 remote controller features an intuitive design with dedicated buttons for various functions and a clear display for settings. It is designed to control up to three separate receivers (collars) by switching between channels.
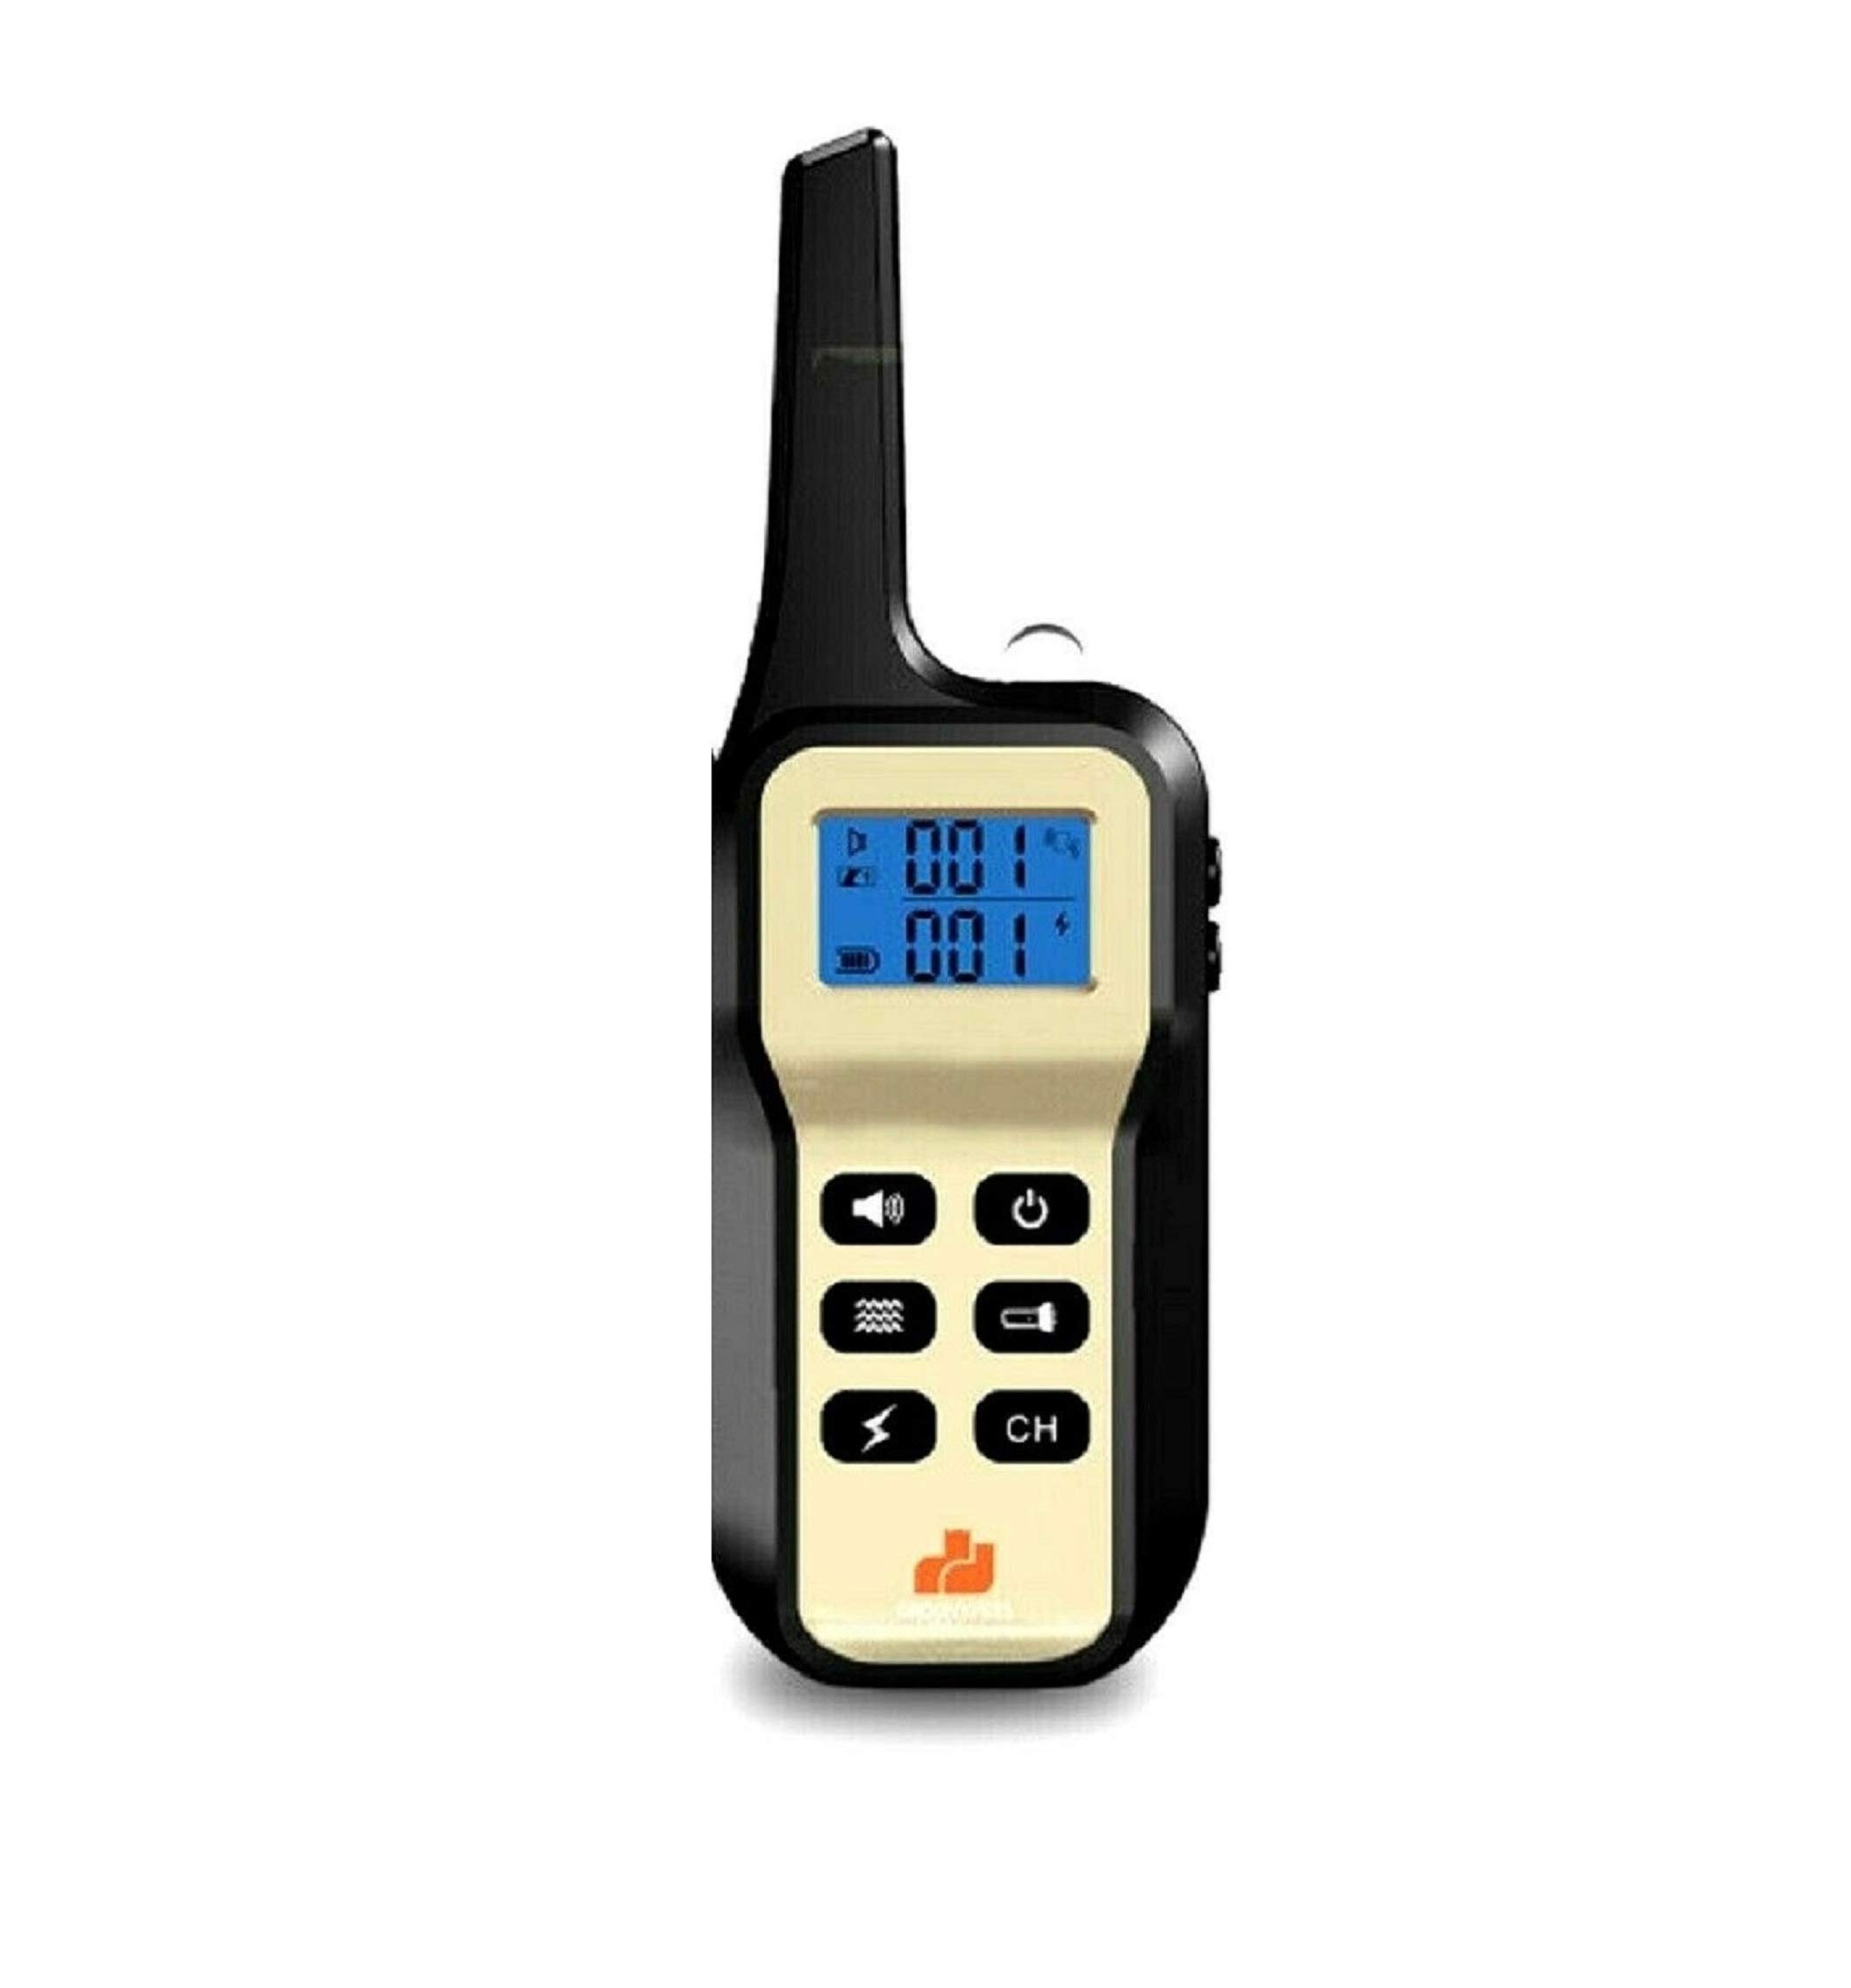
Image: The GROOVYPETS GPT720 Remote Controller, a white and blue handheld device with a screen and multiple function buttons.
5. Einrichtung und Kopplung
5.1 Aufladen der Fernbedienung
Before first use, fully charge the remote controller using the provided charging cable. The display will indicate charging status.
5.2 Pairing with Receivers
The remote controller can be paired with up to three separate receivers (collars). Each receiver must be paired to a different channel (CH1, CH2, CH3).
- Ensure the receiver (collar) is turned off.
- Press the power button on the receiver once to turn it on.
- Immediately press and hold the power button on the receiver again until the indicator light on the receiver flashes rapidly. This indicates it has entered pairing mode.
- On the remote controller, select the desired channel (CH1, CH2, or CH3) using the 'CH' button.
- While the receiver's indicator light is flashing, press any function key (e.g., sound, vibration, or shock button) on the remote controller.
- If pairing is successful, the receiver's indicator light will stop flashing and remain solid, or it will beep to confirm.
- Repeat these steps for additional receivers, ensuring each is paired to a different channel on the remote controller.
Video: This video demonstrates how to pair the remote controller with multiple receivers, showing the process of selecting channels and activating the pairing sequence.
6. Bedienungsanleitung
6.1 Kanalauswahl
Drücken Sie die CH button on the remote to cycle through channels 1, 2, and 3. The selected channel will be displayed on the screen, indicating which receiver the remote is currently controlling.
6.2 Trainingsmodi
The remote offers several training modes:
- Klangmodus: Press the speaker icon button to emit an audible tone from the receiver. This is often used as a warning or positive reinforcement.
- Vibrationsmodus: Press the vibration icon button to deliver a gentle vibration to the receiver. This can be used as a mild correction.
- Static Stimulation (Shock) Mode: Press the lightning bolt icon button to deliver a static stimulation. This mode should be used with caution and at appropriate intensity levels.
- Lichtmodus: Press the light bulb icon button to activate a light on the receiver, useful for locating your pet in low light conditions.
6.3 Intensitätsanpassung
Verwenden Sie die + Und - buttons on the remote to adjust the intensity level of the vibration and static stimulation modes. The current intensity level will be shown on the remote's display. Start with the lowest effective level and increase gradually if necessary.
Video: Dieses Video bietet einen Überblick überview of the Bark Collar with Remote for 3 Dogs, showcasing the remote and its functions in controlling multiple collars.
7. Wartung
- Reinigung: Wipe the remote controller with a soft, damp Tuch. Verwenden Sie keine scharfen Chemikalien oder Scheuermittel.
- Lagerung: Store the remote in a cool, dry place away from direct sunlight and extreme temperatures when not in use.
- Batteriepflege: To prolong battery life, avoid fully discharging the remote's battery frequently. Charge it regularly, even if not in constant use.
8. Fehlerbehebung
- Fernbedienung lässt sich nicht einschalten: Ensure the remote is fully charged. If the issue persists, contact customer support.
- Remote not controlling receiver:
- Verify that the remote and receiver are both powered on.
- Check if the remote is on the correct channel for the receiver you are trying to control.
- Wiederholen Sie den in Abschnitt 5.2 beschriebenen Kopplungsprozess.
- Ensure the remote and receiver are within operational range.
- Kurze Akkulaufzeit: Ensure the remote is fully charged. Battery performance can degrade over time.
9. Spezifikationen
- Modell: GPT720 Remote Controller
- Kompatibilität: Designed for GROOVYPETS dog training collar receivers.
- Kanäle: Supports up to 3 receivers.
- Trainingsmodi: Sound, Vibration, Static Stimulation, Light.
- Batterie: Rechargeable (type not specified, refer to product packaging).
- Reichweite: Operational range may vary based on environmental factors (specific range not provided for remote only).
10. Garantie und Support
For warranty information or technical support, please refer to the original product packaging or contact GROOVYPETS customer service directly. Contact details can typically be found on the manufacturer's webWebsite oder die Produktseite im Einzelhandel.