1. Einleitung
This manual provides detailed instructions for the safe installation, operation, and maintenance of your DEWENWILS HPIP10A Plug-in Pendant Light. Please read this manual thoroughly before use and retain it for future reference.
2. Sicherheitshinweise
Um einen sicheren Betrieb zu gewährleisten, beachten Sie bitte die folgenden Vorsichtsmaßnahmen:
- Vor dem Einsetzen, Reinigen oder Austauschen der Glühbirne muss immer die Stromzufuhr unterbrochen werden.
- Überschreiten Sie nicht die maximale Wassermengetage specified for the bulb type (Incandescent: 60W, LED: 13W, CFL: 13W, Halogen: 43W).
- Ensure the light is securely mounted before use.
- Dieses Produkt ist nur für die Verwendung in Innenräumen bestimmt.
- Keep the cord away from heat sources, sharp edges, and moving parts.
- Betreiben Sie die Lampe nicht mit einem beschädigten Kabel oder Stecker.
3. Packungsinhalt
Überprüfen Sie, ob alle Komponenten in Ihrem Paket vorhanden sind:
- 2 x Plug-in Pendant Lights
- 4 x Deckenhaken
- 4 x Wandanker
- 4 x Kabelclips
- 1 x Benutzerhandbuch (dieses Dokument)

This image illustrates the various parts included in your package, such as the frosted shade, the plug-in cord with an integrated on/off switch, and the necessary hardware for installation like ceiling hooks, wall anchors, and cord clips.
4. Produktmerkmale
- Einstellbare Höhe: Features a 15-foot cord for customizable hanging height.
- Bequemer Schalter: An on/off switch is located 5 feet from the plug for easy access.
- Modernes Design: White frosted plastic shade with an 18 AWG brushed nickel wire and a 9.85-inch diameter.
- Langlebige Konstruktion: Crafted for long-lasting performance.
- Kompatibilität der Glühbirnen: Supports E26 base bulbs including Incandescent (60W max), LED (13W max), CFL (13W max), and Halogen (43W max). Bulb not included.
- Energieeffizient: Designed to maximize energy efficiency.
This diagram provides key measurements of the pendant light, detailing the shade's diameter and height, the total 15-foot cord length, and the convenient placement of the on/off switch 5 feet from the plug.

This image highlights the ergonomic design of the pendant light, showing the on/off switch positioned 5 feet from the plug, allowing for comfortable operation without excessive bending.
5. Einrichtung und Installation
Follow these steps to install your pendant light:
- Bereiten Sie den Bereich vor: Choose a desired location for your pendant light. Ensure the surface is suitable for mounting hooks.
- Deckenhaken installieren: Use the provided ceiling hooks and wall anchors to secure the cord to the ceiling. Determine the desired hanging height and position of the light.
- Kabellänge anpassen: The 15-foot cord allows for flexible height adjustment. Loop or secure excess cord using the provided cord clips to achieve your preferred length and aesthetic.
- Glühbirne einsetzen: Schrauben Sie eine Glühbirne mit E26-Sockel (nicht im Lieferumfang enthalten) in die lamp holder. Refer to Section 4 for compatible bulb types and maximum wattages.
- Einstecken: Insert the plug into a standard 120V wall outlet.

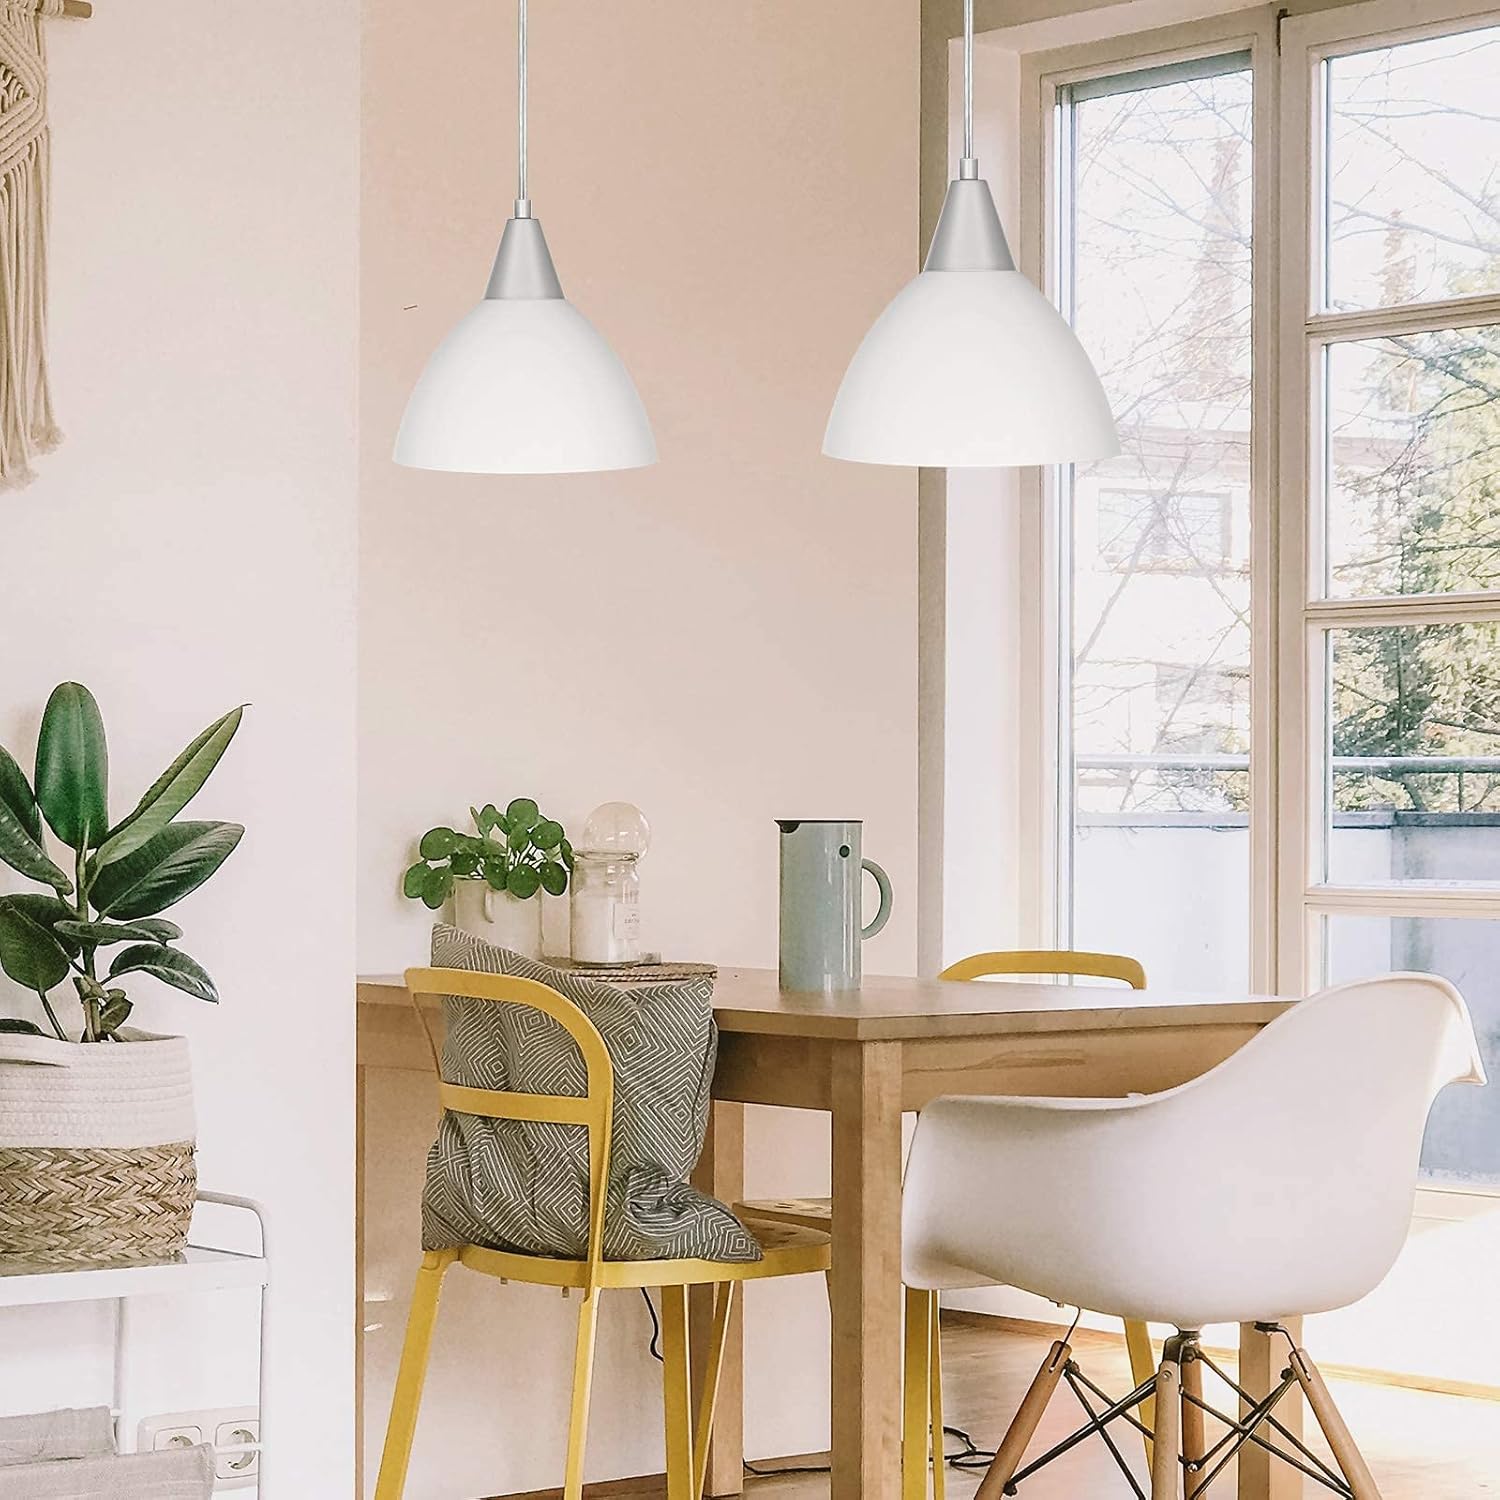
Ein Example of the pendant lights installed in a dining room setting, demonstrating their aesthetic appeal and functional illumination over a table.
6. Bedienung
To operate the pendant light, locate the on/off switch on the cord, approximately 5 feet from the plug. Press the switch to turn the light on or off.

This graphic displays the range of bulb types compatible with the pendant light, such as LED, CFL, Incandescent (up to 60W), and Halogen (up to 43W), emphasizing that the bulb is not included.
7. Wartung
Regular maintenance helps prolong the life of your pendant light:
- Reinigung: Ensure the light is unplugged before cleaning. Wipe the shade and cord with a soft, dry cloth. Do not use abrasive cleaners or solvents.
- Lampenwechsel: Always unplug the light and allow the bulb to cool completely before attempting to replace it. Screw in a new E26 base bulb, ensuring it meets the wattage-Anforderungen.
8. Fehlerbehebung
If you encounter issues with your pendant light, refer to the following common solutions:
- Licht geht nicht an:
- Prüfen Sie, ob der Stecker fest in der Steckdose sitzt.
- Verify that the on/off switch is in the 'on' position.
- Ensure the bulb is correctly screwed in and not burnt out. Replace if necessary.
- Testen Sie die Steckdose mit einem anderen Gerät, um sicherzustellen, dass sie Strom erhält.
- Licht flackert:
- Stellen Sie sicher, dass die Glühbirne fest eingeschraubt ist.
- Um eine defekte Glühbirne auszuschließen, versuchen Sie es mit einer anderen Glühbirne.
9. Spezifikationen
| Besonderheit | Spezifikation |
|---|---|
| Marke | DEWENWILS |
| Modellnummer | HPIP10A |
| Farbe | Weiß |
| Material | Plastik |
| Technische Daten | 9.05 Zoll L x 9.05 Zoll B x 8.66 Zoll H |
| Kabellänge | 15 Fuß |
| Schaltertyp | Push Button (5 feet from plug) |
| Lampensockel | E26 |
| Maximal Watttage (Glühend) | 60 W |
| Maximal Watttage (LED/CFL) | 13 W |
| Maximal Watttage (Halogen) | 43 W |
| Bandtage | 120 Volt |
| Verwendung im Innen- und Außenbereich | Innenbereich |
10. Garantieinformationen
This DEWENWILS product comes with a 1-year warranty from the date of purchase. Please retain your proof of purchase for warranty claims. The warranty covers defects in materials and workmanship under normal use.
11. Kundendienst
For any questions, technical assistance, or warranty inquiries, please contact DEWENWILS customer support through the retailer's platform or the official DEWENWILS website. Please have your model number (HPIP10A) and purchase information ready.


