Einführung
This manual provides essential information for the proper setup, operation, and maintenance of your Corally COR54011 TOROX 185A Brushless 2-6SS Speed Controller. Please read this manual thoroughly before using the product to ensure optimal performance and safety.
The Corally TOROX 185A ESC is designed for high-performance RC applications, offering robust power delivery and advanced programmability for various motor and battery configurations.
Produkt überview
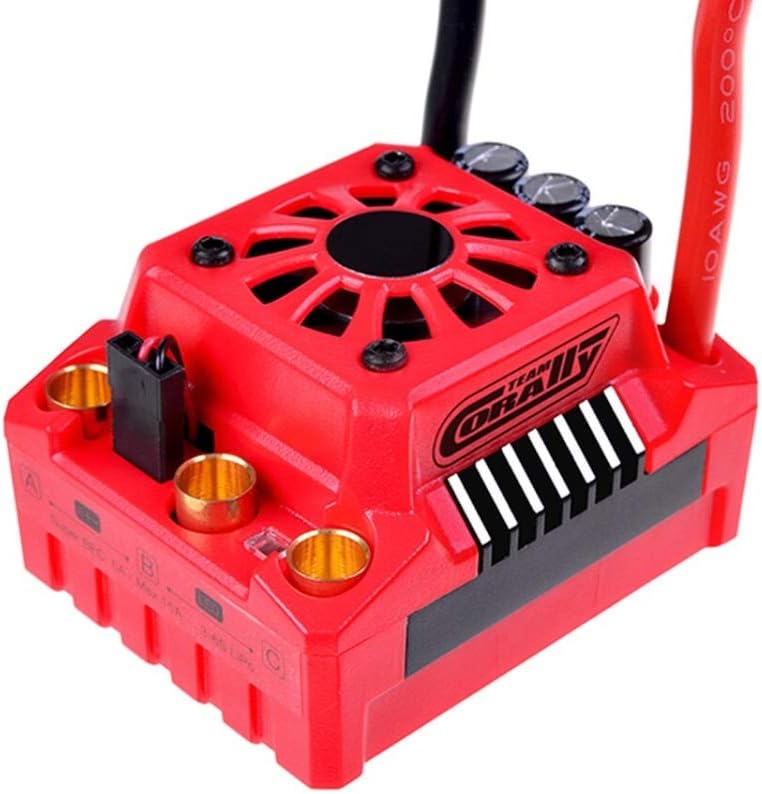
Image: The Corally COR54011 TOROX 185A Brushless Speed Controller, showcasing its red housing, integrated cooling fan, and robust gold-plated motor and battery connectors. The unit features a Team Corally logo on the side.
The TOROX 185A ESC is a powerful electronic speed controller featuring a durable red casing, an integrated cooling fan for thermal management, and multiple connection points for motor and battery. It supports both sensored and sensorless brushless motors (in sensorless mode) and is designed for 1/8th scale RC vehicles.
Sicherheitsvorkehrungen
- Trennen Sie den Akku immer vom Regler, wenn dieser nicht benutzt wird.
- Ensure proper polarity when connecting batteries to avoid damage.
- Um eine Überhitzung zu vermeiden, sollte das Gerät in einem gut belüfteten Bereich betrieben werden.
- Keep away from water unless specifically designed for waterproof operation (this model has water protection).
- Do not attempt to disassemble or modify the ESC.
- Use appropriate motor and battery combinations as specified to prevent overload.
Setup und Installation
1. Montage des Reglers
Securely mount the ESC in your vehicle using double-sided tape or screws, ensuring good airflow around the unit for effective cooling. Avoid mounting near heat sources or in enclosed spaces.
2. Motoranschluss
Connect the three motor wires from your brushless motor to the corresponding gold-plated terminals (A, B, C) on the ESC. Ensure a secure connection. For sensored motors, connect the sensor wire to the sensor port on the ESC and motor.
3. Batterieanschluss
Connect your battery pack to the XT90 connector on the ESC. This ESC supports 2-6S LiPo or 9-18 Cell NiMH batteries. Always double-check polarity before connecting.
4. Empfängeranschluss
Plug the ESC's receiver cable into the throttle channel (usually Channel 2) of your RC receiver. The BEC (Battery Eliminator Circuit) provides power to the receiver and servos.
5. Kalibrierung
Before first use, calibrate the ESC with your radio transmitter. Refer to your transmitter's manual for specific calibration steps. Generally, this involves turning on the transmitter, holding full throttle, turning on the ESC, waiting for beeps, moving to full brake, waiting for beeps, and then returning to neutral.
Bedienungsanleitung
Ein-/Ausschalten
- To power on: Ensure the transmitter is on, then connect the battery to the ESC.
- To power off: Disconnect the battery from the ESC.
ESC programmieren
The TOROX 185A ESC is programmable. An optional Hobbywing LED programming card can be used for easier parameter adjustment. Key programmable parameters include:
- Drosselmodus: Forward/Reverse (with programmable reverse lockout)
- Bremse ziehen: 0-16% adjustment
- Batteriemodus: NiMH/LiPo selection
- LiPo Cut-off Voltage: Programmable to protect LiPo batteries from over-discharge.
- Thermischer Schutz Temperatur: Auf 105 °C oder 125 °C eingestellt.
- BEC Voltage: 6 V oder 7.4 V.
Refer to the specific programming card manual for detailed instructions on how to change these settings.
Wartung
- Reinigung: Regularly clean the ESC and cooling fan to remove dirt and debris. Use a soft brush or compressed air.
- Inspektionen: Überprüfen Sie regelmäßig alle Drähte und Steckverbinder auf Anzeichen von Verschleiß, Beschädigungen oder lockeren Verbindungen.
- Lagerung: Lagern Sie den ESC an einem trockenen, kühlen Ort, geschützt vor direkter Sonneneinstrahlung und extremen Temperaturen.
- Gewässerschutz: While this ESC features water protection, it is not designed for prolonged submersion. Always dry the unit thoroughly after exposure to moisture.
Fehlerbehebung
| Problem | Mögliche Ursache | Lösung |
|---|---|---|
| Der Regler lässt sich nicht einschalten. | Batterie nicht angeschlossen, niedriger Batteriestandtage, fehlerhafte Verbindung. | Check battery connection, charge battery, inspect wires. |
| Motor not responding. | Incorrect calibration, motor wires loose, receiver not connected. | Recalibrate ESC, check motor and receiver connections. |
| Der Regler überhitzt. | Poor ventilation, motor/gear ratio too high, incorrect timing. | Improve airflow, adjust gear ratio, check motor timing. |
| Unregelmäßiger Betrieb. | Radio interference, loose connections, damaged sensor wire. | Check radio system, secure all connections, inspect sensor wire. |
Technische Daten
| Parameter | Wert |
|---|---|
| Modell | COR54011 (C-54011) |
| Max. Dauerstrom | 185 A |
| Max. Burst Current | 950 A |
| Eingangslautstärketage (LiPo) | 2-6S (11.1-22.2 V) |
| Eingangslautstärketage (NiMH) | 9-18 Cell |
| Motor Limit (4S LiPo) | 3000 Kv (5892 size motor) |
| Motor Limit (6S LiPo) | 2400 Kv (5892 size motor) |
| BEC Voltage | 6V / 7.4V (Programmable) |
| BEC-Strom | 0 25-A |
| Programmierbar | Yes (via optional Hobbywing LED card) |
| Thermischer Schutz | 105°C / 125°C (Programmable) |
| Gewässerschutz | Ja |
| Lüfter | 30x30x10 mm |
| Motoranschluss | 6.5 mm female |
| Batterieanschluss | XT90-Anschluss |
| Batteriekabelgröße | 10 AWG |
| Empfohlene Verwendung | 1/8th scale RC vehicles |
| Gewicht | Ca. 250 g (0.55 Pfund) |
Garantie und Support
For warranty information and technical support, please contact Corally customer service or visit their official webBewahren Sie Ihren Kaufbeleg für Garantieansprüche auf.
Hinweis: Die genauen Garantiebedingungen können je nach Region und Händler variieren.


