1. Produktüberschreitungview
The Aigostar Wireless Doorbell system provides a convenient and reliable solution for home entry alerts. It features a self-powered transmitter and a battery-operated receiver, offering a long operating range and multiple customization options.
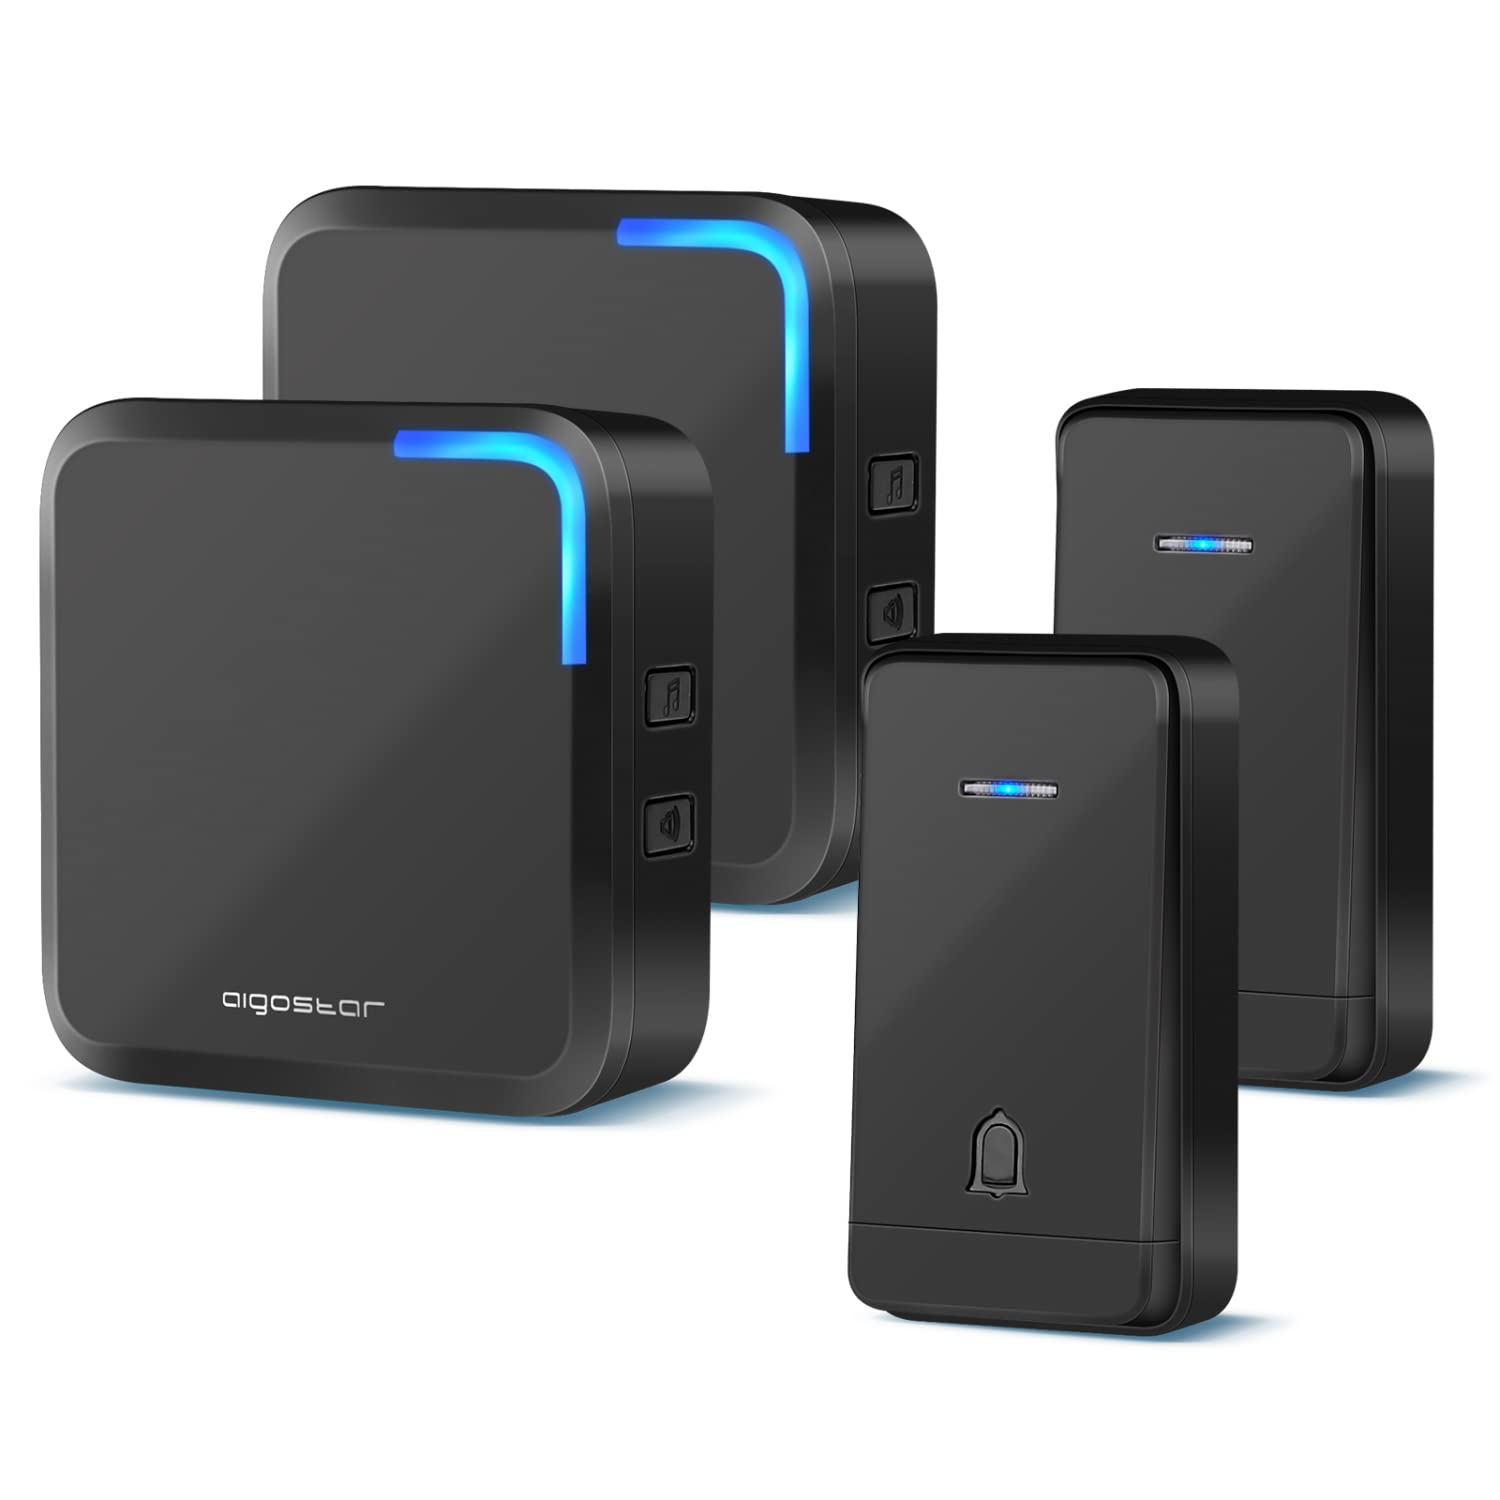
Bild 1: Überview of the Aigostar Wireless Doorbell system, showing the transmitter and receiver units.
Hauptmerkmale:
- Selbstversorgender Sender: No batteries required for the push button, ensuring a long lifespan.
- Wasserdichtes Design: IP44 rated for dust and water resistance, suitable for outdoor use in various weather conditions (-4°F to 140°F).
- Erweiterter Betriebsbereich: Up to 1000ft (300m) in open areas, or 328ft (100m) indoors, allowing coverage throughout your property.
- Anpassbare Glockenspiele: 32 selectable melodies, including traditional 'Ding Dong'.
- Einstellbare Lautstärke: 4 volume levels with a maximum of 110 dB.
- LED-Blitzalarm: Visual indication on the receiver for enhanced notification.
- Speicherfunktion: Die ausgewählten Einstellungen für Klingelton und Lautstärke bleiben auch nach einem Stromausfall erhalten.
2. Packungsinhalt
Bitte überprüfen Sie vor der Installation, ob alle Komponenten im Paket enthalten sind:
- Self-Powered Transmitter(s)
- Battery-Operated Receiver(s)
- Befestigungsschrauben und Anker
- Doppelseitiges Klebeband
- Bedienungsanleitung

Image 2: Contents of the Aigostar Wireless Doorbell package, including transmitters, receivers, and mounting hardware.
3. Einrichtung und Installation
The Aigostar Wireless Doorbell system is designed for easy installation. The transmitter and receiver units are pre-paired at the factory.
3.1 Empfänger-Setup
- Insert 3 AAA batteries (not included) into the battery compartment of the receiver.
- Place the receiver in a central location within your home, ensuring it is within the operating range of the transmitter.
3.2 Installation des Senders
Der Sender kann entweder mit Klebeband oder mit Schrauben befestigt werden.
Method A: Adhesive Tape
- Reinigen Sie die gewünschte Montagefläche gründlich, um sicherzustellen, dass sie trocken und frei von Staub und Fett ist.
- Peel off one side of the double-sided adhesive tape and apply it to the back of the transmitter.
- Peel off the other side of the tape and firmly press the transmitter onto the cleaned surface. Hold for 30 seconds to ensure good adhesion.

Image 3: Step-by-step guide for mounting the transmitter using double-sided adhesive tape.
Method B: Screws
- Verwenden Sie einen Schraubendreher, um die hintere Abdeckung des Senders vorsichtig aufzuhebeln.
- Markieren Sie den gewünschten Montageort an der Wand.
- Drill two holes at the marked positions. Insert the expansion bolts into the holes.
- Align the back cover with the drilled holes and secure it with screws.
- Attach the main body of the transmitter onto the secured back cover.

Image 4: Detailed instructions for mounting the transmitter using screws and anchors.

Image 5: A visual comparison of the two installation methods: adhesive tape and screws.
4. Bedienungsanleitung
4.1 Melodienwechsel
To change the melody, press the 'Music' button on the side of the receiver. Each press will cycle through the 32 available chimes. Stop pressing when you hear your desired melody.

Image 6: The receiver unit, highlighting the buttons for melody selection and volume adjustment.
4.2 Lautstärke anpassen
To adjust the volume, press the 'Volume' button on the side of the receiver. There are 4 volume levels, ranging from 0 dB (mute) to 110 dB. Cycle through the levels until you reach your preferred volume.

Image 7: Visual representation of the 4 adjustable volume levels on the receiver.
4.3 LED Flash Alert
The receiver features an LED light that flashes when the doorbell is pressed, providing a visual alert in addition to the audio chime. This is particularly useful in noisy environments or for individuals with hearing impairments.
Video 1: Demonstrates the self-powered transmitter, wireless range, IP44 waterproofing, 32 chimes, 4 volume levels, and LED flash feature of the Aigostar Wireless Doorbell.
5. Wartung und Pflege
- Reinigung: Reinigen Sie die Türklingeleinheiten mit einem weichen, trockenen Tuch. Verwenden Sie keine Scheuermittel oder Lösungsmittel.
- Batteriewechsel (Empfänger): When the receiver's sound becomes weak or inconsistent, replace the 3 AAA batteries.
- Sender: The transmitter is self-powered and does not require battery replacement.
- Wasserdichtigkeit: The transmitter is IP44 waterproof. While designed for outdoor use, avoid submerging it in water.

Image 8: The IP44 waterproof transmitter shown enduring snow and sun, indicating its suitability for diverse weather conditions.
6. Fehlerbehebung
If you encounter issues with your Aigostar Wireless Doorbell, refer to the following common solutions:
- Kein Ton vom Empfänger:
- Prüfen Sie, ob die Empfängerbatterien richtig eingelegt und nicht leer sind.
- Ensure the volume is not set to 0 dB (mute).
- Verify the transmitter and receiver are within operating range and not obstructed by thick walls or metal objects.
- Die Türklingel klingelt nicht:
- Confirm the transmitter button is being pressed firmly.
- Prüfen Sie den Sender auf eventuelle physische Beschädigungen.
- If the units were moved, they might need to be re-paired (refer to manufacturer's website for specific re-pairing instructions if needed, as this model is typically pre-paired).
- Kurze Reichweite:
- Platzieren Sie den Empfänger an einer zentraleren Stelle.
- Avoid placing units near large metal structures, heavy concrete walls, or other electronic devices that may cause interference.
7. Spezifikationen
| Besonderheit | Spezifikation |
|---|---|
| Modellnummer | B08TGP227L |
| Betriebsbereich | Up to 1000ft (300m) in open area; 328ft (100m) indoors |
| Melodien | 32 auswählbare Glockenspiele |
| Lautstärkepegel | 4 Stufen (0 dB bis 110 dB) |
| Sendeleistung | Selbstversorgend (keine Batterie erforderlich) |
| Empfängerleistung | 3 x AAA-Batterien (nicht im Lieferumfang enthalten) |
| Wasserdichtigkeit | IP44 (Sender) |
| Betriebstemperatur | -4°F bis 140°F (-20°C bis 60°C) |
| Hersteller | Aigostar |
| Artikelgewicht | 14.4 Unzen (Gesamtpackung) |
| Verpackungsabmessungen | 7.8 x 3.78 x 2.83 Zoll |
8. Garantie und Support
Aigostar products are designed for reliability and performance. For warranty information, technical support, or customer service inquiries, please refer to the contact details provided with your purchase or visit the official Aigostar webWebsite.
You can visit the Aigostar Store for more information: Aigostar Store auf Amazon