Einführung
The BoxWave ClearTouch Anti-Glare Screen Protector is designed to protect your device's screen while enhancing visibility and usability. This 2-pack of matte film skins reduces glare, resists fingerprints, and provides a smooth, paper-like surface for improved interaction. This manual provides detailed instructions for installation, usage, and maintenance to ensure optimal performance and longevity of your screen protector.
Produkteigenschaften
- Blendschutztechnologie: Disperses light to reduce reflections and glare, improving screen readability in various lighting conditions, including direct sunlight. Reduces 90% UV rays to protect your eyes.
- Anti-Fingerprint Matte Surface: Provides an ultra-smooth, matte finish that repels smudges, dust, and fingerprints, keeping your screen clean and clear.
- Präzisionsschnitt: Each ClearTouch protector is precisely cut to fit the exact dimensions of your Samsung SHP-DH525 device screen, ensuring full functionality and access to all features.
- Saubere Anwendung: Features a special glueless adhesive that ensures a clean application and leaves no sticky residue upon removal, protecting your device's screen.
- Paper-like Feel: Offers a unique tactile experience that mimics the feel of writing or drawing on paper, enhancing stylus interaction and overall usability.
- Zweierpack: Includes two (2) ClearTouch Anti-Glare screen protectors, providing a spare or allowing for sharing.

Image: Packaging for the BoxWave ClearTouch Anti-Glare Screen Protector, showing the "2 Pack" label and key features like Clarity, Fingerprint Free, Precision, and Reusability.

Image: An infographic highlighting the screen protector's benefits: reduces glare, prevents smudges and fingerprints, includes two protectors, and is designed for a perfect fit.
Einrichtungs- und Installationsanleitung
Eine fachgerechte Installation ist für eine optimale Leistung unerlässlich. Befolgen Sie diese Schritte sorgfältig:
- Bereiten Sie Ihren Arbeitsbereich vor: Wählen Sie eine saubere, staubfreie Umgebung. Waschen Sie Ihre Hände gründlich, um zu vermeiden, dass Öle oder Schmutz auf den Bildschirm gelangen.
- Reinigen Sie den Gerätebildschirm:
- Use the included microfiber cleaning cloth to gently wipe down your device's screen, removing any dust, smudges, or fingerprints.
- If necessary, use a screen cleaning solution (not included) for stubborn marks, then dry thoroughly with the microfiber cloth.
- Remove Dust with Sticker: Use the provided dust-removing sticker to lift any remaining dust particles from the screen. Lightly dab the sticker across the entire screen surface.
- Richten Sie die Displayschutzfolie aus: Carefully peel back a small portion of the protective film (usually labeled "Step 1" or "Back") from one end of the screen protector. Align the exposed edge of the screen protector with the corresponding edge of your device screen. Pay close attention to cutouts for cameras, sensors, or buttons.
- Auftragen und glätten: Slowly peel off the rest of the protective film while simultaneously applying the screen protector to the device screen. Use the included applicator card (or a credit card wrapped in the microfiber cloth) to gently push out air bubbles from the center towards the edges.
- Obere Folie entfernen: Once the screen protector is fully adhered and all major bubbles are removed, carefully peel off the top protective film (usually labeled "Step 2" or "Front").
- Letzter Schliff: Use the microfiber cloth to give the newly installed screen protector a final wipe down. Small bubbles may disappear over 24-48 hours.
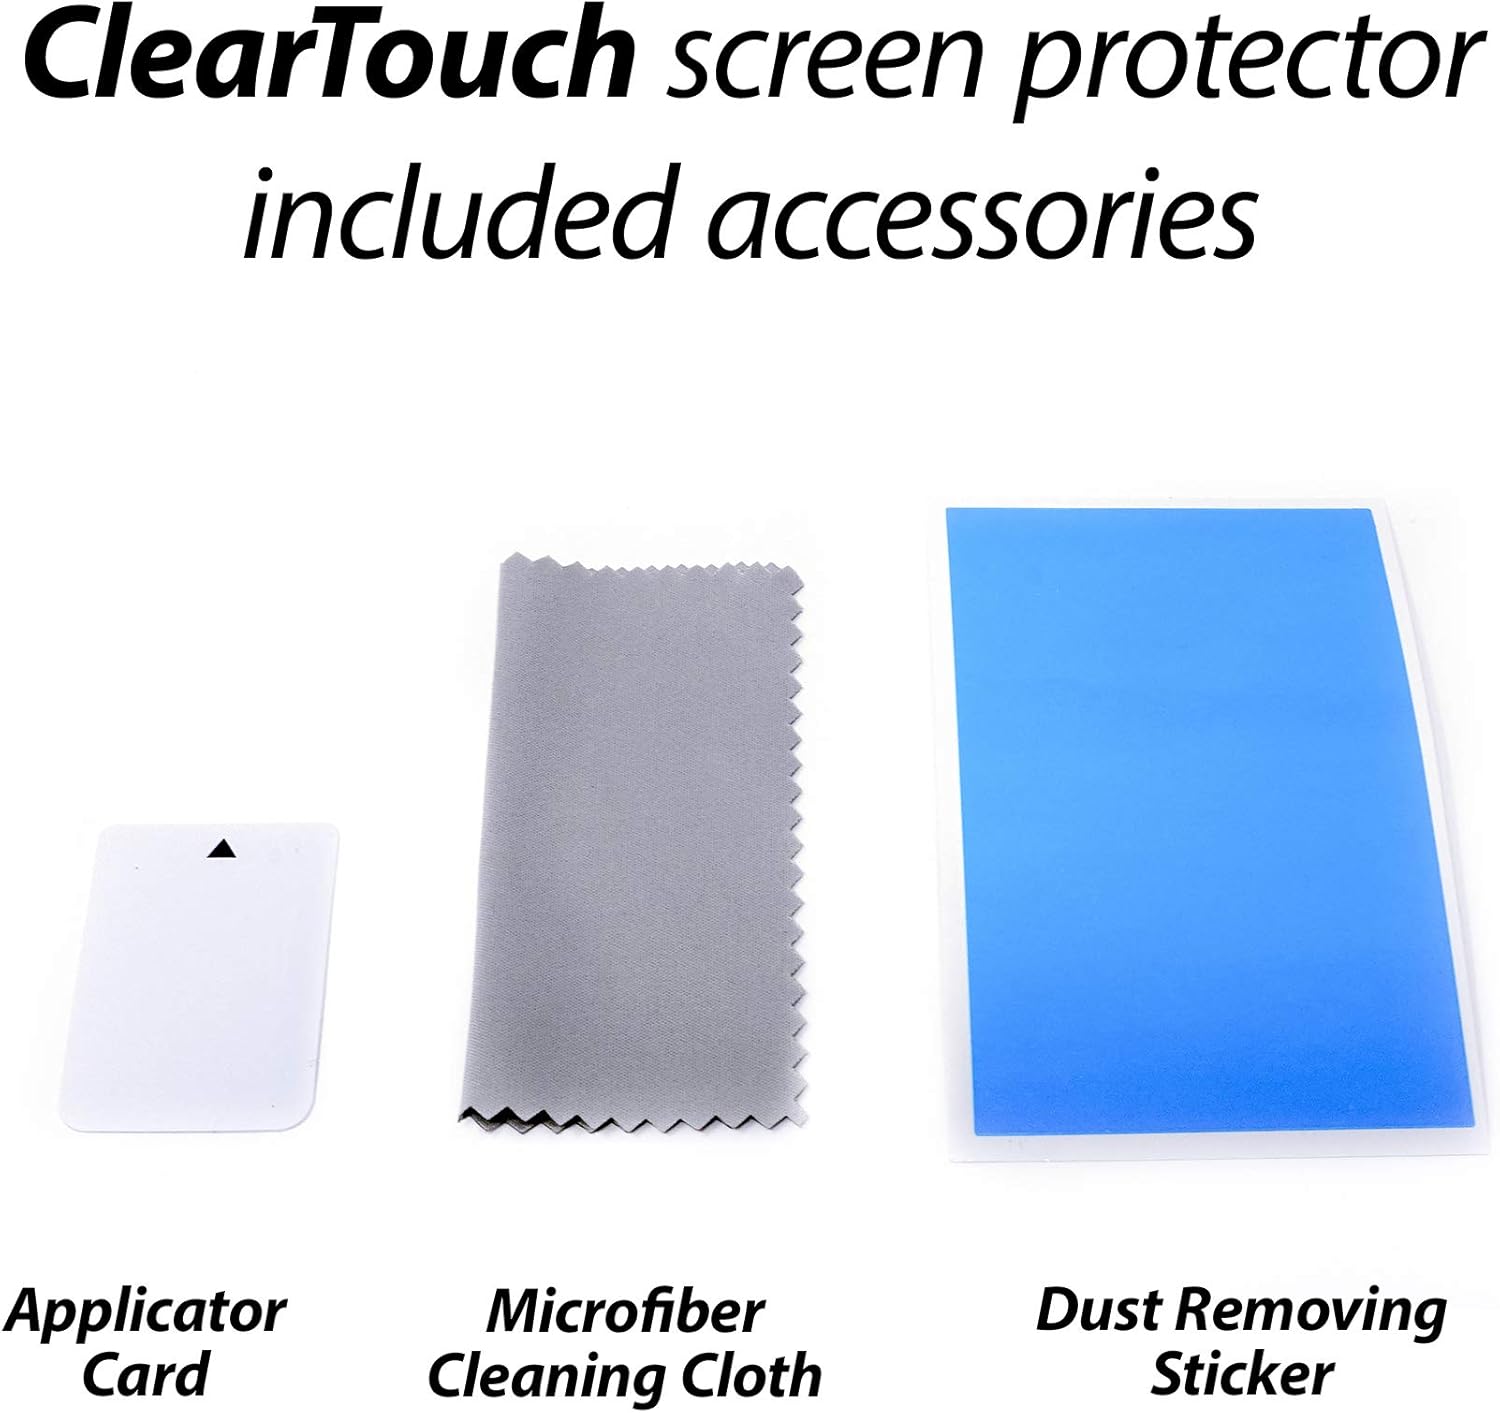
Image: The accessories included with the screen protector: an applicator card, a microfiber cleaning cloth, and a dust removing sticker.

Abbildung: Ein vollständiges view of the BoxWave ClearTouch Anti-Glare Screen Protector 2-pack, showing the two screen protectors, the applicator card, and the microfiber cloth.
Bedienungsanleitung
Once installed, the ClearTouch Anti-Glare screen protector operates seamlessly with your device. No special operating procedures are required beyond normal device usage.
- Berührungsempfindlichkeit: The screen protector is designed to maintain full touch sensitivity and responsiveness of your device's screen.
- Stiftkompatibilität: The matte surface provides an enhanced "paper-like" feel, making it ideal for use with a stylus for writing, drawing, or note-taking.
- Blendungsreduzierung: Experience improved visibility in bright environments due to the anti-glare properties.
- Fingerabdruckresistenz: The oleophobic layer helps to keep your screen cleaner by resisting oil smudges and fingerprints.

Image: A stylus interacting with a tablet screen, illustrating the "paper-like feel" feature for writing and drawing.

Image: A visual comparison demonstrating the anti-smudge properties of the ClearTouch Anti-Glare screen protector versus a standard screen, showing significantly fewer fingerprints on the protected side.
Wartung und Pflege
To maintain the clarity and effectiveness of your BoxWave ClearTouch Anti-Glare Screen Protector, follow these simple care guidelines:
- Reinigung: Use the included microfiber cloth to wipe away dust, smudges, and fingerprints. For more stubborn marks, lightly dampBefeuchten Sie das Tuch mit Wasser oder einem für Bildschirme geeigneten Reinigungsmittel. Vermeiden Sie aggressive Chemikalien oder Scheuermittel.
- Vermeiden Sie scharfe Gegenstände: While the protector offers scratch resistance, avoid contact with sharp objects like keys or knives to prevent damage to the film.
- Wiederverwendbarkeit: The ClearTouch screen protector is designed for reusability. If it needs to be removed for cleaning or repositioning, do so carefully to avoid creasing or damaging the adhesive layer. Store it on its original backing film if not immediately reapplying.
Fehlerbehebung
| Problem | Mögliche Ursache | Lösung |
|---|---|---|
| Blasen unter dem Schutz | Dust particles or trapped air during installation. | Lift the nearest corner of the protector gently and use the applicator card to push the bubble towards the edge. For dust, carefully lift the protector, use a dust-removing sticker to lift the particle, and reapply. Small bubbles may dissipate over 24-48 hours. |
| Schutzfolie haftet nicht richtig | Screen not clean enough, or protector was touched on the adhesive side. | Ensure the screen is thoroughly cleaned before application. If the adhesive side was touched, try cleaning it gently with a lint-free cloth and reapply. If adhesion issues persist, the protector may be compromised. |
| Reduced touch sensitivity | Improper installation or a faulty protector. | Ensure the protector is applied smoothly without air gaps. If the issue persists, try reinstalling with the second protector provided in the pack. |
| Fingerprints still visible | Excessive oil or dirt, or normal wear. | Wipe the screen regularly with the microfiber cloth. While anti-fingerprint, it does not eliminate all smudges, but significantly reduces them. |
Technische Daten
- Produktname: ClearTouch Anti-Glare Screen Protector
- Marke: BoxWave
- Modellkompatibilität: Samsung SHP-DH525
- Material: Polyethylenterephthalat (PET)
- Zieltyp: Matt
- Besondere Merkmale: Anti-Glare, Anti-Fingerprint, Precision Cut, Glueless Adhesive, Reusable
- Packungsinhalt: 2 x ClearTouch Anti-Glare Screen Protectors, 1 x Microfiber Cleaning Cloth, 1 x Applicator Card, 1 x Dust Removing Sticker
- Artikelgewicht: 0.7 Unzen (ungefähr)
- Ursprungsland: China
Garantie und Support
BoxWave products are designed for quality and performance. For specific warranty information, please refer to the packaging or visit the official BoxWave website. If you encounter any issues or have questions regarding your ClearTouch Anti-Glare Screen Protector, please contact BoxWave customer support.
BoxWave-Kundendienst:
- For assistance, please visit the BoxWave webBesuchen Sie die Website oder kontaktieren Sie direkt deren Kundendienstabteilung.
- Please have your product model (SHP-DH525) and purchase details ready when contacting support.


