Einführung
Vielen Dank für Ihren Einkauf.asing the Hinkley Atlantis Extra Large Wall Mount Outdoor Lantern. This manual provides essential information for the safe installation, operation, and maintenance of your new lighting fixture. Please read all instructions carefully before beginning installation and retain this manual for future reference.
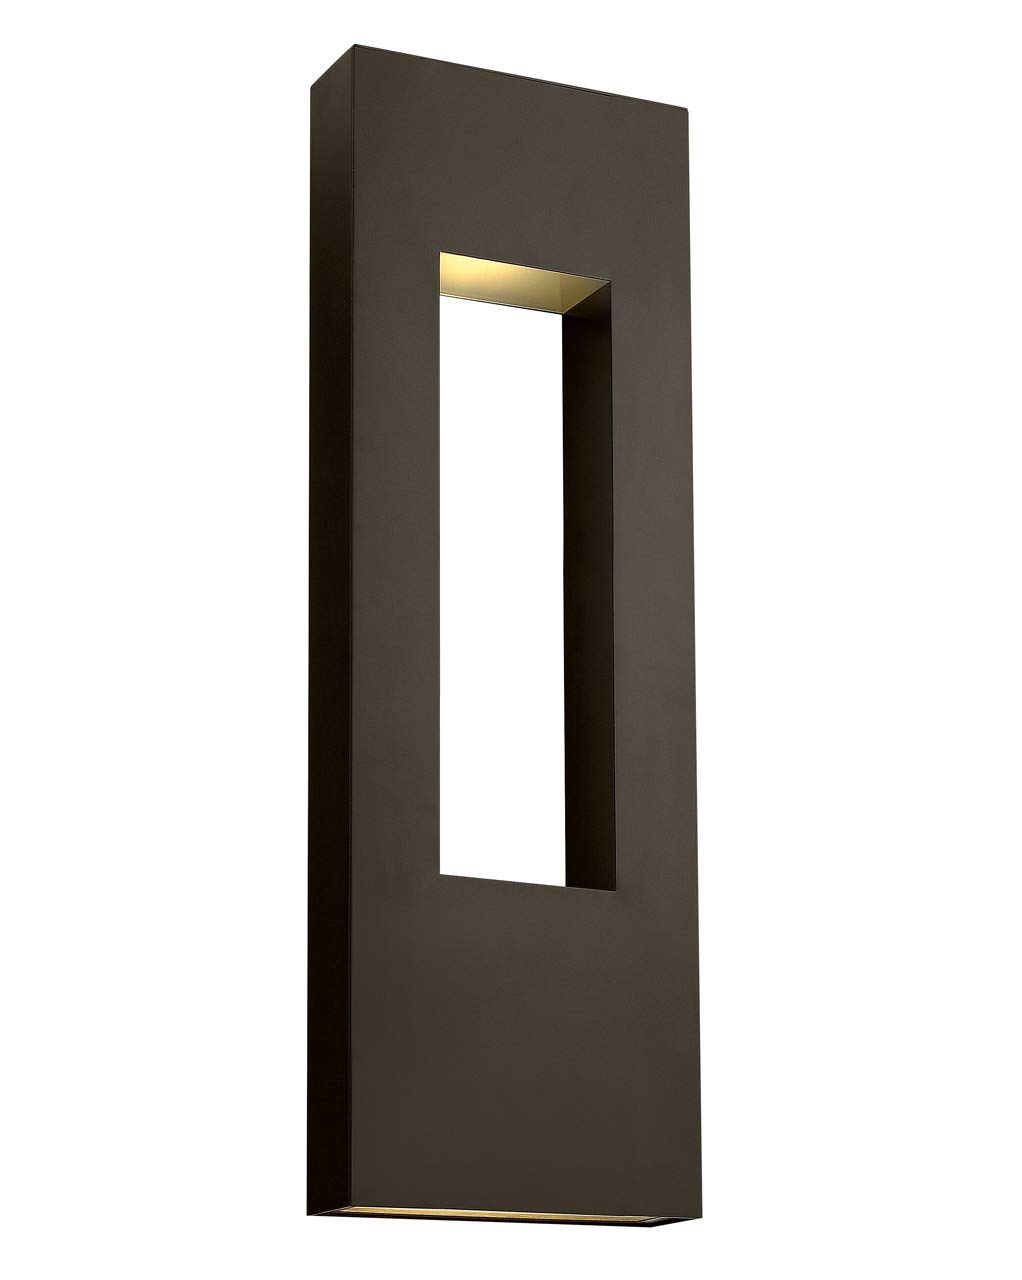
Image: Hinkley Atlantis Extra Large Wall Mount Outdoor Lantern (Model 1639BZ-LL).
Sicherheitshinweise
- WARNUNG: Stromschlaggefahr. Vor Installation oder Wartung die Stromzufuhr am Sicherungskasten oder Leitungsschutzschalter unterbrechen.
- All electrical connections must be in accordance with local codes, ordinances, or the National Electric Code (NEC) and Canadian Electrical Code (CEC). Consult a qualified electrician if you are unfamiliar with proper electrical wiring.
- This fixture is suitable for wet locations. Ensure all connections are properly sealed to prevent water intrusion.
- Do not install any fixture assembly closer than 6 inches from any combustible material.
- Tragen Sie während der Installation stets eine Schutzbrille und geeignete Schutzausrüstung.
- Handle the fixture and glass components with care to avoid breakage.
Packungsinhalt
Vergewissern Sie sich vor Beginn der Installation, dass alle Komponenten vorhanden sind:
- Hinkley Atlantis Extra Large Wall Mount Outdoor Lantern Fixture
- Mounting Hardware Kit (crossbar, mounting screws, wire nuts)
- (3) GU10 LED Bulbs
- Bedienungsanleitung (dieses Dokument)
Setup und Installation
Eine Installation durch einen Fachmann wird empfohlen. Stellen Sie sicher, dass die Stromzufuhr am Sicherungskasten unterbrochen ist, bevor Sie fortfahren.
- Bereiten Sie die Montagefläche vor: Ensure the electrical box is securely mounted and capable of supporting the fixture's weight (16 lbs).
- Montagequerstange anbringen: Secure the mounting crossbar to the electrical box using the provided screws.
- Elektrische Verbindungen herstellen:
- Connect the fixture's Schwarz wire to the supply circuit's Schwarz (heißer) Draht.
- Connect the fixture's Weiß wire to the supply circuit's Weiß (neutral) wire.
- Connect the fixture's Boden wire (bare copper or green) to the supply circuit's Boden wire and to the mounting crossbar.
- Secure all connections with approved wire nuts and wrap with electrical tape for added safety.
- Montieren Sie die Vorrichtung: Carefully align the fixture with the mounting screws on the crossbar. Secure the fixture to the mounting surface using the provided cap nuts or screws.
- Lampen installieren: Insert the three (3) GU10 LED bulbs into their respective sockets. Ensure they are fully seated.
- Strom wiederherstellen: Sobald die Installation abgeschlossen und alle Verbindungen sicher hergestellt sind, schalten Sie die Stromversorgung am Leistungsschalter wieder ein.

Abbildung: Produktabmessungen für die Installationsplanung.


Images: Details of the light openings and etched glass lenses.
Bedienungsanleitung
This fixture is designed for standard wall switch operation. It is also dimmable when used with compatible dimming switches (sold separately).
- Ein-/Ausschalten: Zum Ein- und Ausschalten des Lichts verwenden Sie den an der Leuchte angebrachten Wandschalter.
- Dimmfunktion: If a compatible dimmer switch is installed, adjust the dimmer to control the light intensity. Ensure the GU10 LED bulbs used are dimmable.
Wartung
Regelmäßige Wartung trägt dazu bei, das Aussehen und die Funktionalität Ihrer Leuchte zu erhalten.
- Reinigung: Reinigen Sie die Leuchte mit einem weichen,amp cloth. Do not use abrasive cleaners or solvents, as these may damage the finish or etched glass.
- Lampenwechsel:
- Disconnect power to the fixture at the circuit breaker.
- Die Glühbirnen vor der Handhabung vollständig abkühlen lassen.
- Carefully remove the old GU10 LED bulb by twisting it counter-clockwise.
- Insert a new 6.5W GU10 LED bulb by aligning the pins and twisting clockwise until secure.
- Stellen Sie die Stromversorgung des Geräts wieder her.
- Inspektion: Periodically inspect the wiring and connections for any signs of wear or damage.
Fehlerbehebung
| Problem | Mögliche Ursache | Lösung |
|---|---|---|
| Licht geht nicht an. |
|
|
| Licht flackert. |
|
|
| Wasser in der Armatur. |
|
|
Technische Daten
| Modellnummer | 1639BZ-LL |
| Marke | Hinkley |
| Abmessungen (L x B x H) | 4" x 12" x 36" |
| Gewicht | 16 Pfund |
| Material | Aluminium |
| Beenden | Bronze |
| Lichtquelle | (3) GU10 LED Bulbs (included) |
| Wastage (Gesamt) | 22.5 Watt (3 x 6.5 W) |
| Bandtage | 120 Volt |
| Helligkeit | 1500 Lumen |
| Innen-/Außenbereich | Außenbereich (für Feuchträume geeignet) |
| Besondere Merkmale | Dimmbar, festverdrahtet, wasserbeständig |
| Zertifizierungen | UL & CSA Product Safety Standards |
Offizielles Produktvideo
Video: Ein überview of Hinkley outdoor lighting, showcasing thoughtful design and quality craftsmanship. This video provides a general look at the brand's outdoor lighting philosophy.
Garantie und Support
Hinkley products are manufactured to the highest standards and are backed by a limited warranty. For specific warranty details, please refer to the warranty card included with your purchase or visit the official Hinkley webWebsite.
If you require technical assistance, replacement parts, or have questions regarding your Hinkley Atlantis fixture, please contact Hinkley Customer Support:
- WebWebsite: www.hinkley.com
- Telefon: Refer to the Hinkley webWebseite für aktuelle Kontaktnummern.
- E-Mail: Refer to the Hinkley webWebsite für die aktuelle Kontakt-E-Mail-Adresse.
Please have your model number (1639BZ-LL) and purchase date available when contacting support.


