Einführung
This manual provides comprehensive instructions for the safe and effective use of your Geemarc LH10 Sound Amplifier. The LH10 is designed to enhance sound for individuals with hearing difficulties, featuring adjustable tone and volume controls for a personalized listening experience. Please read this manual thoroughly before operating the device and retain it for future reference.
For digital hearing aid users, it is important to ensure your hearing aids are programmed for use with the "T" setting to utilize the full capabilities of the LH10.
Produkt überview
Bestandteile umfaßten
- LH10 Personal Listener Unit
- Bud type headset
- USB lead for charging (power adapter not supplied)
- Bedienungsanleitung (dieses Dokument)
- 24-month guarantee card with Helpline number
Gerätelayout und Bedienelemente

Figure 1: LH10 Sound Amplifier with Earbuds. This image displays the main LH10 unit in grey/black, connected to the included bud-type headset. The device features visible controls for volume and tone, along with indicator lights.

Figure 2: LH10 Top View. A closer look at the top surface of the LH10 amplifier, highlighting the power button, battery indicator, and the rotary dial for volume adjustment. The integrated microphone is also visible at the top.
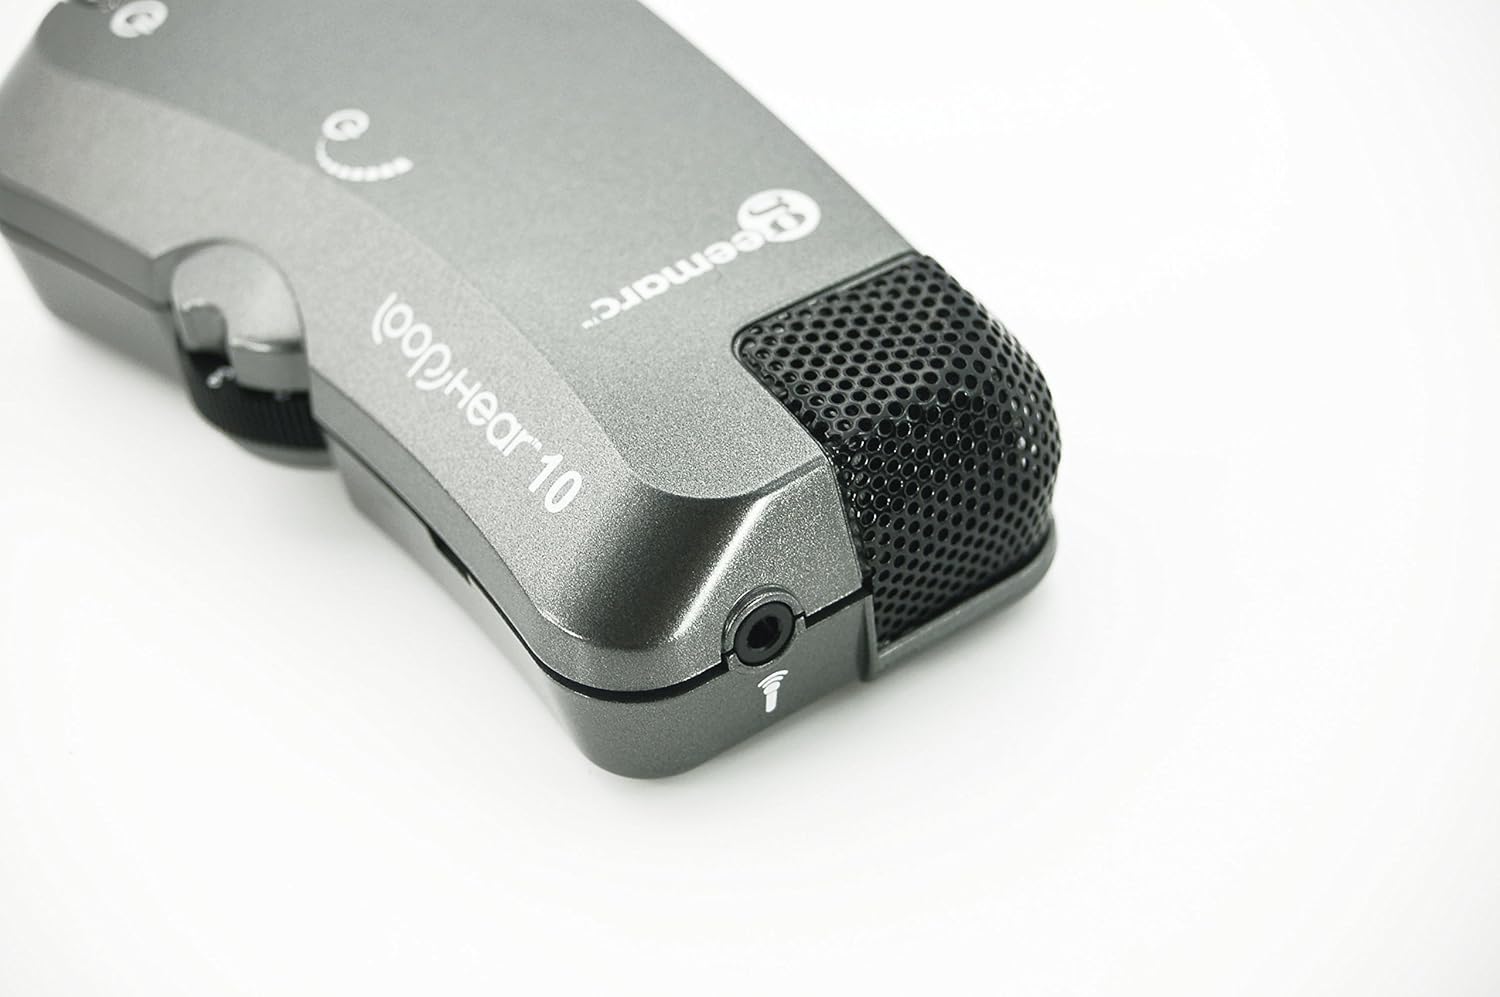
Figure 3: LH10 Headset Port and Microphone. Dieses Bild liefert eine detaillierte Ansicht. view of the 3.5mm headset jack and the built-in microphone located on the device.

Figure 4: LH10 in Use. This image demonstrates the compact size and portability of the LH10, shown clipped to a person's belt, indicating its suitability for on-the-go use.
The LH10 features a compact design with clearly marked controls. On the main body, you will find the power button, a battery charge indicator, and a volume control dial. The device also includes a dedicated port for connecting the headset and an integrated microphone for capturing sound.
Aufstellen
1. Einbau und Aufladen der Batterie

Figure 5: LH10 Battery Compartment. The underside of the LH10 unit with the battery cover removed, revealing the rechargeable Lithium Ion battery and its connection.
- Locate the battery compartment on the back of the LH10 unit.
- Öffnen Sie die Batterieabdeckung.
- Insert the provided Lithium Ion battery, ensuring correct polarity as indicated inside the compartment.
- Schließen Sie die Batterieabdeckung fest.
- Connect the supplied USB charging lead to the LH10 unit's charging port.
- Connect the other end of the USB lead to a standard USB power adapter (not supplied) or a computer USB port.
- The battery charge indicator light will illuminate during charging and change color or turn off when fully charged.
- Laden Sie das Gerät vor der ersten Benutzung vollständig auf.
2. Headset anschließen
- Insert the 3.5mm jack of the bud-type headset firmly into the headset port on the LH10 unit.
- Stellen Sie sicher, dass die Verbindung sicher ist, um Audiounterbrechungen zu vermeiden.
Bedienungsanleitung
Ein-/Ausschalten
- To power on the LH10, press and hold the power button until the indicator light illuminates.
- Zum Ausschalten den Netzschalter erneut gedrückt halten, bis die Kontrollleuchte erlischt.
Anpassen der Lautstärke
- Rotate the volume control dial located on the side of the unit to increase or decrease the sound level.
- Beginnen Sie mit einer niedrigen Lautstärke und erhöhen Sie diese schrittweise auf einen angenehmen Hörpegel.
Anpassen des Tons
- The LH10 features a tone control to adjust the frequency response for clearer sound.
- Experiment with the tone control to find the setting that best suits your hearing needs and the environment.
Using with Hearing Aids (T-Setting)
- If you use digital hearing aids, ensure they are programmed to the "T" (Telecoil) setting.
- This allows the LH10 to transmit audio directly to your hearing aids, providing a clearer and more direct sound experience, especially in environments with background noise.
Wartung
Reinigung
- Wipe the LH10 unit with a soft, dry cloth.
- Verwenden Sie keine flüssigen Reinigungsmittel oder Scheuermittel, da diese das Gerät beschädigen können.
- Regularly clean the earbuds with a damp cloth and ensure they are dry before use.
Batteriepflege
- Um die Lebensdauer des Akkus zu verlängern, vermeiden Sie häufiges vollständiges Entladen des Akkus.
- Laden Sie das Gerät regelmäßig auf, auch wenn es nicht ständig benutzt wird.
- If storing the device for an extended period, ensure the battery is partially charged (around 50%) and recharge every few months.
Lagerung
- Store the LH10 in a cool, dry place, away from direct sunlight and extreme temperatures.
- Keep the device away from dust and moisture.
Fehlerbehebung
| Problem | Mögliche Ursache | Lösung |
|---|---|---|
| Kein Ton aus dem Headset |
|
|
| Der Ton ist verzerrt oder unklar |
|
|
| Gerät lädt nicht |
|
|
Technische Daten
| Modellname | LH10 |
| Artikelmodellnummer | LH10_ANT_I |
| Marke | Geemarc |
| Technische Daten | 3.94 x 2.17 x 1.18 Zoll |
| Artikelgewicht | 2.46 Unzen |
| Akku-Typ | 1 Lithium-Ionen-Akku erforderlich |
| Konnektivitätstechnologie | Verdrahtet |
| Besondere Merkmale | Batterieladeanzeige |
| Farbe | Grau/Schwarz |
| Material | Silikonkunststoff |
| Hersteller | Geemarc Telecom |
Garantie und Support
Your Geemarc LH10 Sound AmpDer lifier verfügt über eine 24 Monate Garantie from the date of purchase. Please refer to the guarantee card included in the box for full terms and conditions.
For technical assistance, troubleshooting beyond this manual, or warranty claims, please contact Geemarc customer support. The helpline number is provided on your guarantee card.
You can also visit the official Geemarc webWebsite für weitere Ressourcen und Supportinformationen.


