Einführung
Thank you for choosing the Voluas Automatic Pet Feeder. This device is designed to provide convenient and reliable feeding for your cats and dogs, ensuring they receive their meals on schedule with precise portion control. Please read this manual thoroughly before use to ensure proper operation and maintenance.
Sicherheitshinweise
- Verwenden Sie immer das mitgelieferte Netzteil.
- Keep the feeder indoors and away from direct sunlight or moisture.
- Do not immerse the base unit in water. Only removable parts are washable.
- Stellen Sie sicher, dass der Futterautomat auf einer stabilen, ebenen Fläche steht.
- Keep out of reach of small children and pets when not in use or during cleaning.
- Use only dry pet food with kibble sizes between 2-10mm to prevent clogging. Do not use wet food or kibble larger than 10mm.

Packungsinhalt
- Voluas Automatic Pet Feeder Main Unit
- Futternapf aus Edelstahl
- Netzteil
- USB-Kabel
- Trockenmittelbeutel (vorinstalliert oder separat)
- Benutzerhandbuch (dieses Dokument)
Produkt überview
Familiarize yourself with the components of your Voluas Automatic Pet Feeder:


Aufstellen
1. Stromversorgung
The Voluas Automatic Pet Feeder offers dual power options:
- Kabelverbindung: Connect the USB cable to the feeder and the power adapter, then plug it into a wall outlet.
- Batterieleistung: For portability or as a backup during power outages, insert 3 D-cell batteries (not included) into the battery compartment at the bottom of the unit.


2. Montage
- Stellen Sie das Hauptgerät auf eine ebene, stabile Oberfläche.
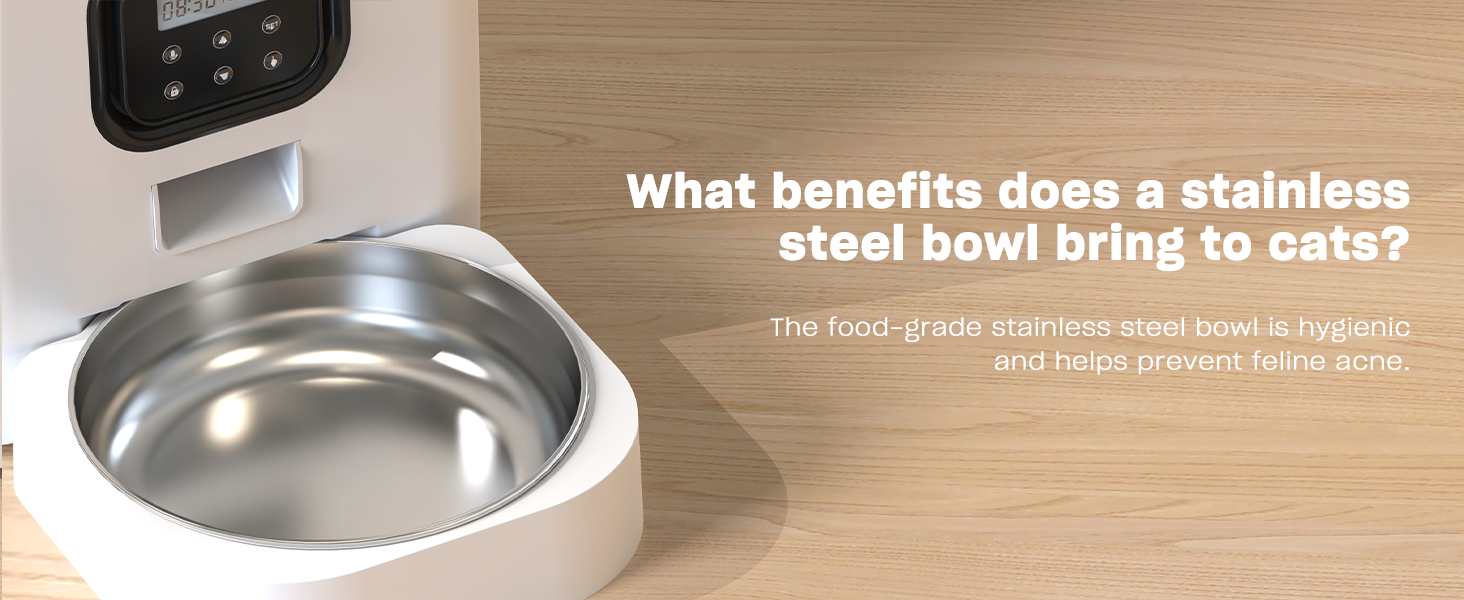
- Insert the stainless steel bowl into the designated slot at the front of the feeder.
- Fill the food tank with dry pet food. Ensure the kibble size is between 2-10mm.
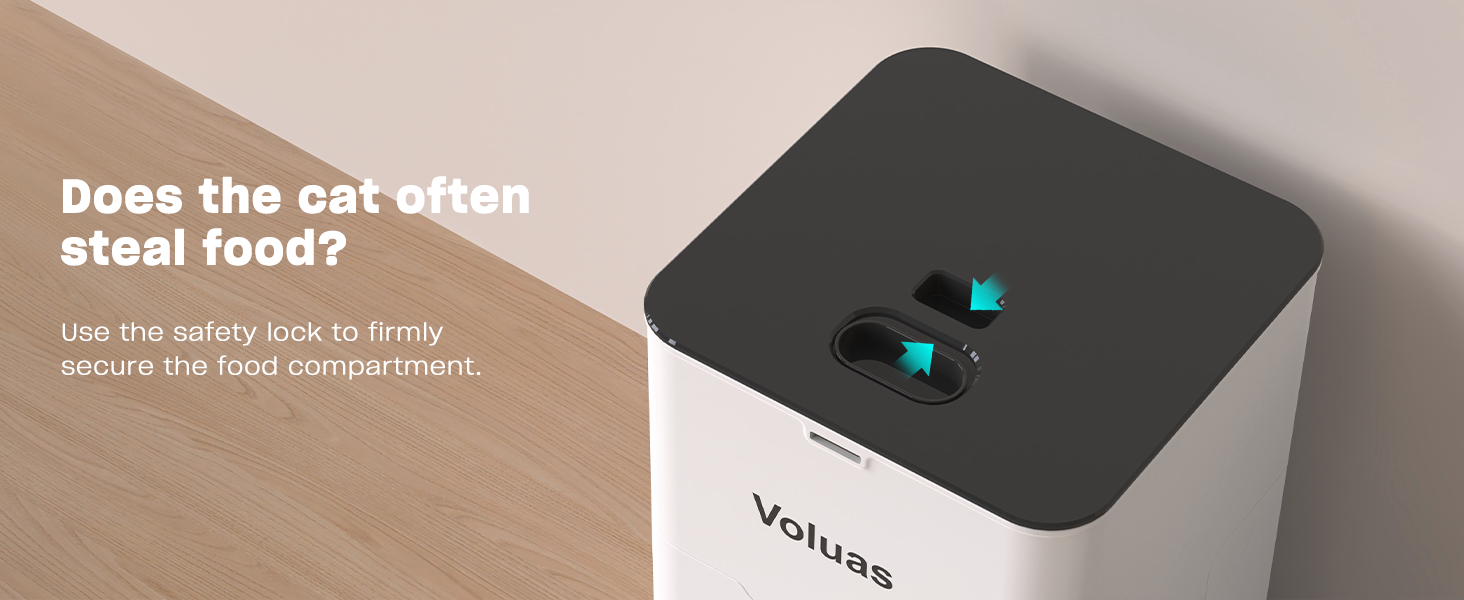
- Close the lid securely, ensuring the safety lock engages.
Bedienungsanleitung
1. Aktuelle Uhrzeit einstellen
Press and hold the 'SET' button until the clock icon flashes. Use the up/down arrows to adjust the hour, then press 'SET' to confirm and move to minutes. Repeat to set minutes. Press 'SET' again to save.
2. Programming Feeding Times and Portions
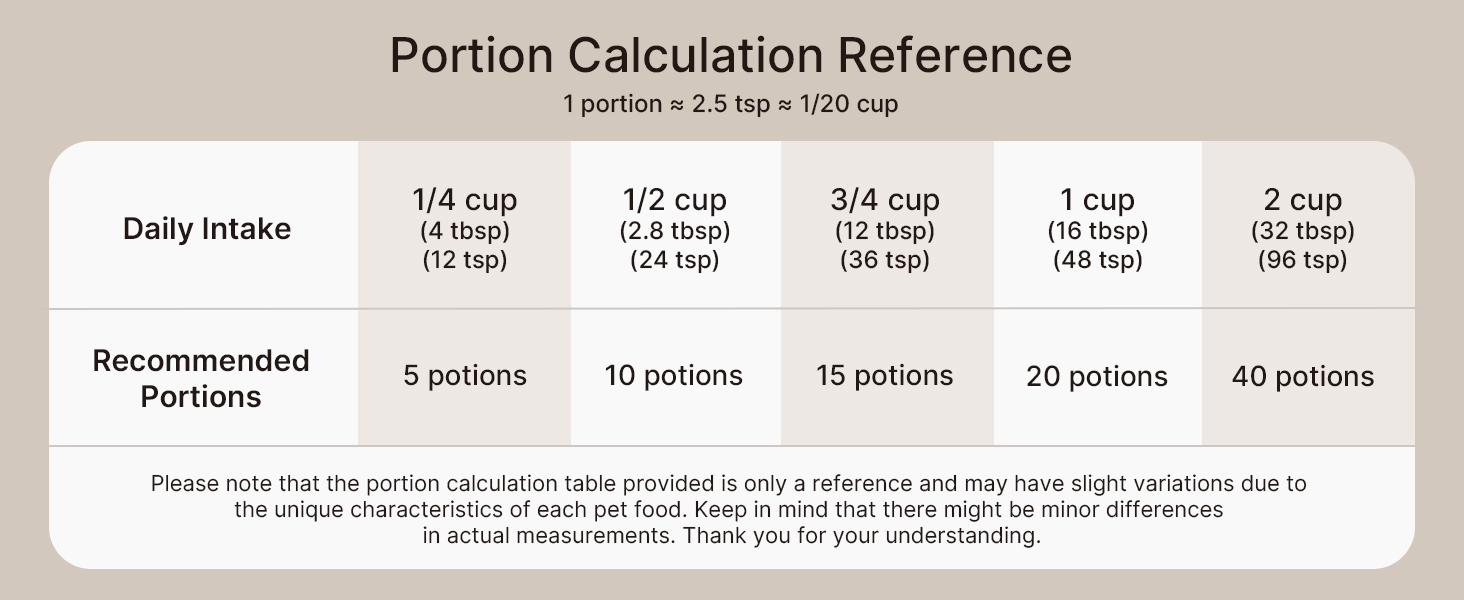
The feeder allows for up to 4 daily meals with 0-40 portion choices per meal.


- Press 'SET' once to enter meal programming mode. The 'MEAL 1' indicator will flash.
- Use the up/down arrows to set the desired feeding time for Meal 1. Press 'SET' to confirm the time.
- The 'PORTION' indicator will flash. Use the up/down arrows to set the number of portions for Meal 1 (0-40). Press 'SET' to confirm.
- Repeat steps 2 and 3 for Meal 2, Meal 3, and Meal 4 as needed. If you do not wish to set a meal, set its portion to 0.
- After setting all desired meals, press and hold 'SET' to exit programming mode.
3. Sprachaufzeichnung
The feeder allows you to record a 10-second voice message to call your pet at meal times.


- Press and hold the 'REC' button until you hear a beep.
- Sprechen Sie Ihre Nachricht bis zu 10 Sekunden lang deutlich in das Mikrofon.
- Lassen Sie die „REC“-Taste los, um die Aufnahme zu speichern.
- Zum Abspielen der Aufnahme drücken Sie die Taste „PLAY“.
4. Manuelle Zuführung
To dispense food manually, simply press the 'MANUAL' button. Each press will dispense one portion of food.
Wartung
1. Reinigung
Regular cleaning ensures hygiene and extends the life of your feeder. Only the food tank, lid, and stainless steel bowl are washable. The base unit containing electronics should never be immersed in water.


- Ziehen Sie den Netzstecker des Futterautomaten und entfernen Sie alle Futterreste.
- Remove the lid and the food tank.
- Detach the stainless steel bowl.
- Wash the lid, food tank, and stainless steel bowl with mild soap and water. Rinse thoroughly.
- Lassen Sie alle Teile vollständig an der Luft trocknen, bevor Sie sie wieder zusammenbauen.
- Wischen Sie die Basiseinheit mit Anzeige abamp cloth if needed, but do not submerge.
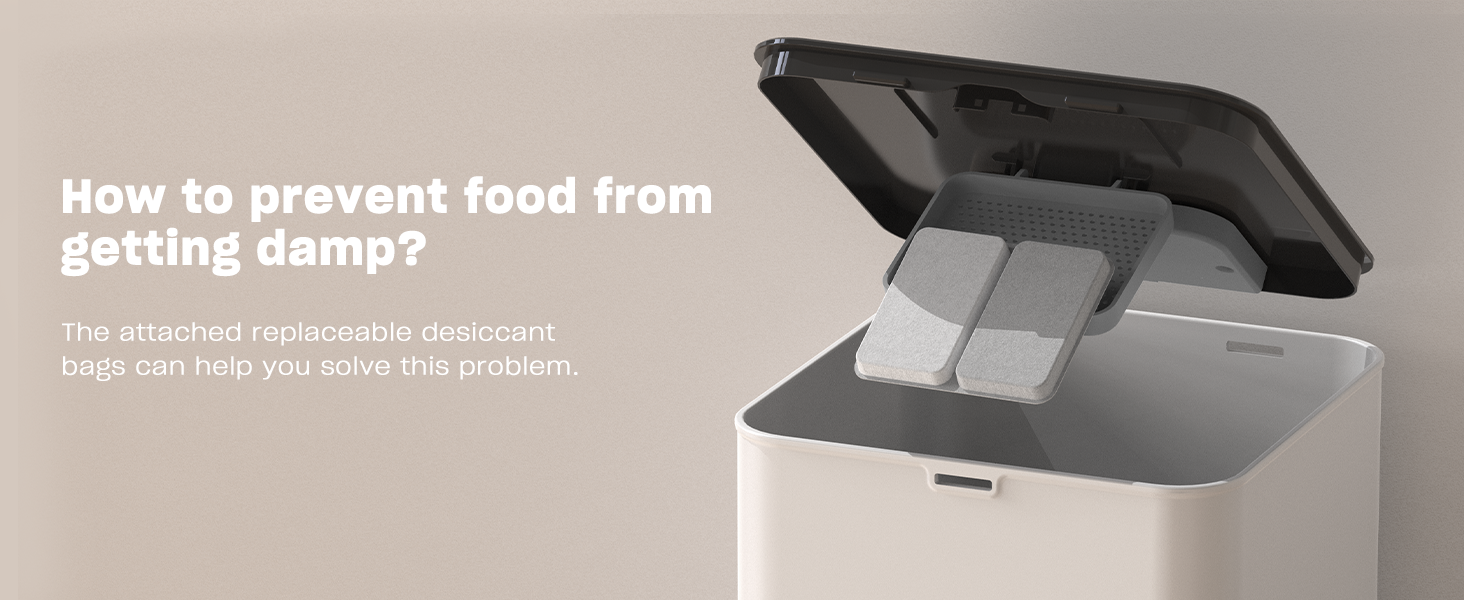
2. Trockenmittelersatz
The feeder includes a replaceable desiccant bag to keep food fresh and extend its shelf life.

Replace the desiccant bag every 1-3 months, depending on humidity levels, to ensure optimal food freshness.
Fehlerbehebung
| Problem | Mögliche Ursache | Lösung |
|---|---|---|
| Futterautomat gibt kein Futter aus. | No power; Food tank empty; Food clogged; Incorrect settings. | Check power connection/batteries; Refill food tank; Clear any food blockages; Verify programmed meal times and portions. |
| Food dispensing inconsistently. | Kibble size too large/small; Food tank not properly seated. | Ensure kibble is 2-10mm; Re-seat food tank securely. |
| Die Sprachaufnahme wird nicht abgespielt. | No recording saved; Low battery. | Re-record message; Replace batteries. |
| Anzeige funktioniert nicht. | Kein Strom; Batterien leer. | Check power connection; Replace batteries. |
Technische Daten
- Modellname: VL001
- Kapazität: 4 l / 16.9 Tassen
- Abmessungen (LxBxH): 7 x 7 x 11 Zoll
- Artikelgewicht: 3.65 Pfund (1.66 Kilogramm)
- Material: White Opaque (Plastic) with Stainless Steel Bowl
- Stromversorgung: 5V USB Power Adapter (Included) or 3 x D-cell Batteries (Not Included)
- Empfohlene Krokettengröße: 2-10 mm
- Mahlzeiten pro Tag: 1-4
- Portionen pro Mahlzeit: 0-40
- Stimmaufnahme: Bis zu 10 Sekunden
- Zielarten: Katzen, Hunde, Kleintiere
- Pflegehinweise: Drinnen halten
Garantie und Support
Voluas provides a standard warranty for this product. For detailed warranty information, product support, or to purchase replacement parts, please visit the official Voluas store on Amazon or contact customer service through your purchase platform. Keep your purchase receipt for warranty claims.
Thank you for choosing Voluas. We are committed to providing quality products for your beloved pets.