1. Einleitung
This manual provides essential information for the proper installation, configuration, and operation of your Hikvision Turbo HD DVR 8-Channel, model DS-7108HGHI-K1(S). Please read this manual thoroughly before using the device to ensure safe and efficient operation. Keep this manual for future reference.
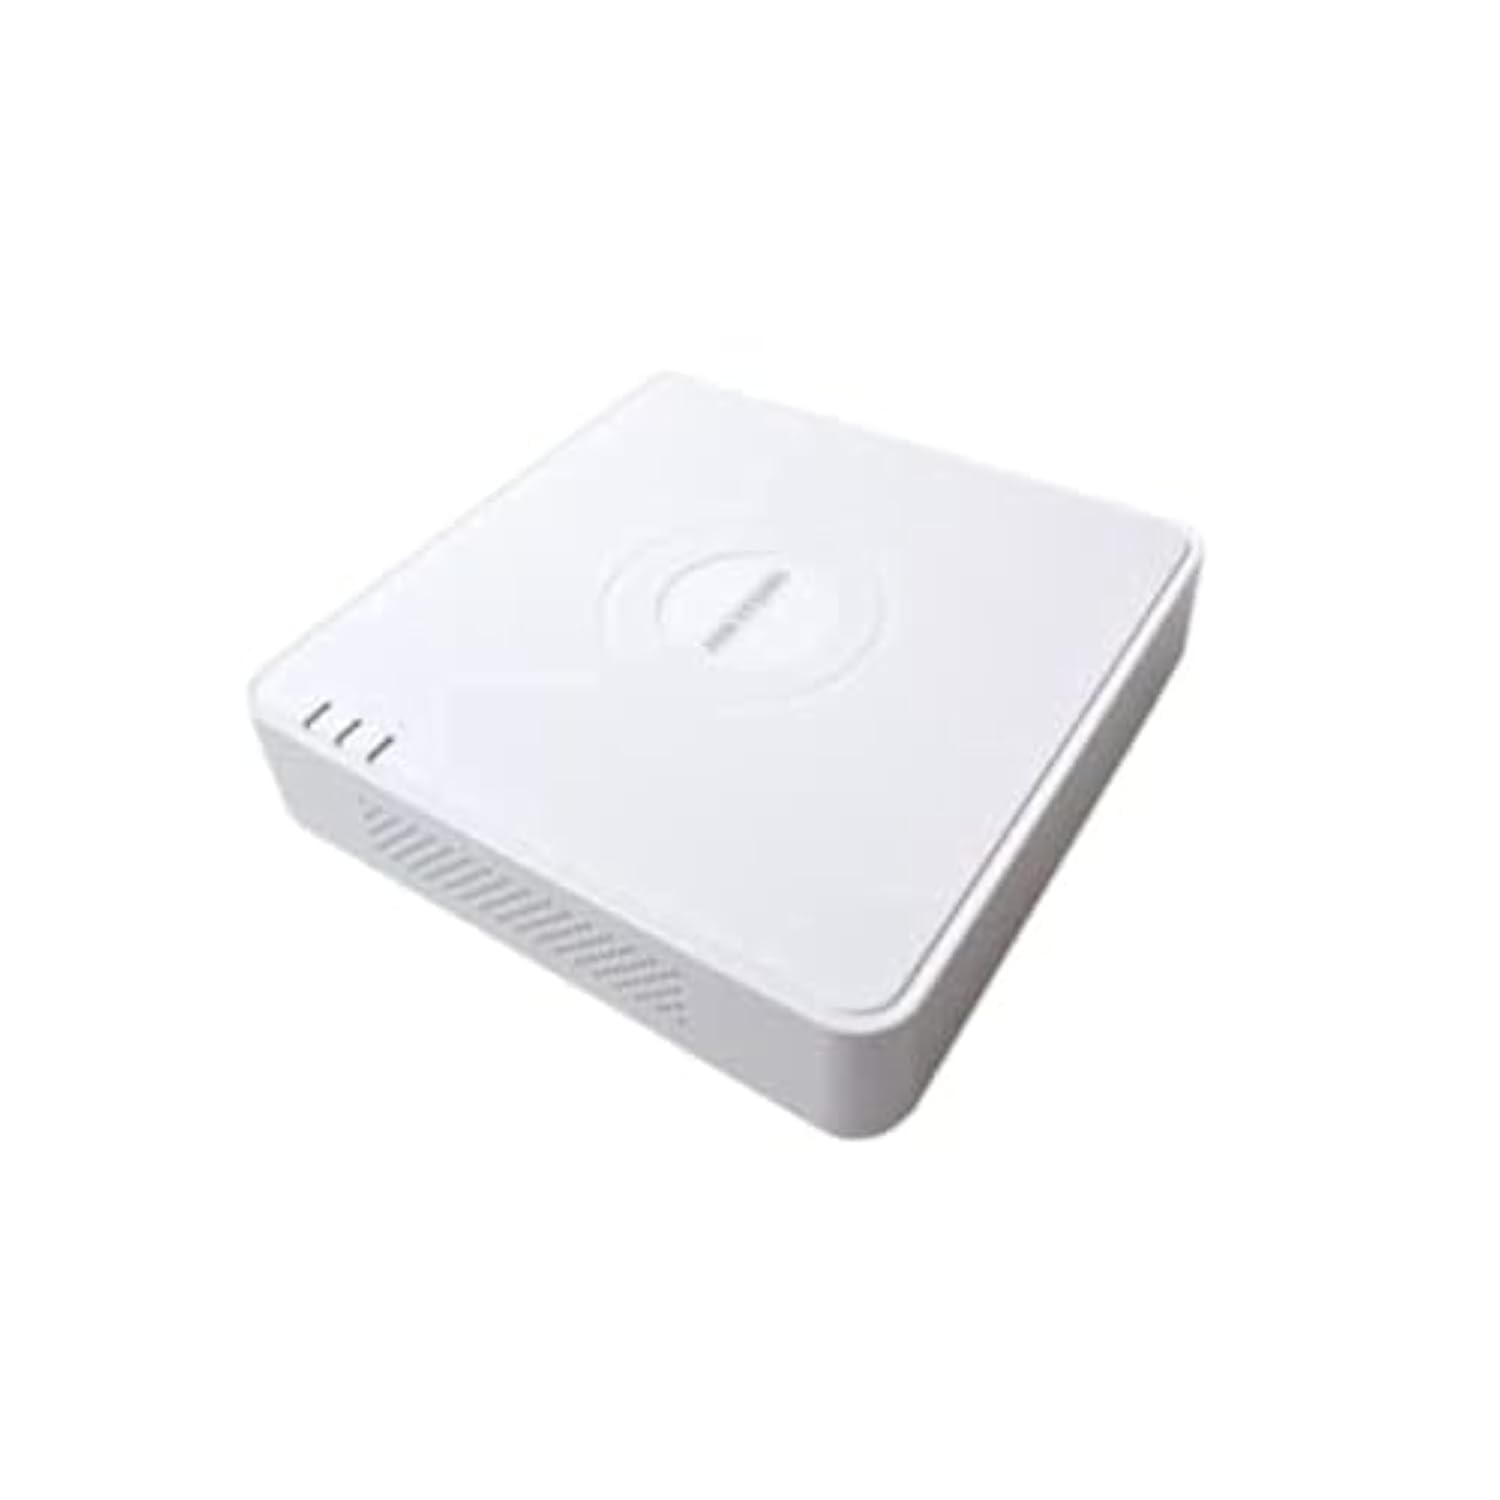
This image shows the Hikvision Turbo HD DVR unit from a front-side perspective, highlighting its compact design, ventilation grilles, and status indicator lights.
2. Produktmerkmale
- High-definition 8-channel Turbo HD DVR
- Supports audio transmission over coaxial cable
- Equipped with one SATA interface for storage
- Strapazierfähiger Kunststoffasing zum Schutz
- Video encoding capabilities up to 1080p Lite at 15 frames per second
- Advanced video compression: H.265 Pro+/H.265 Pro/H.265
3. Installationsanleitung
3.1 Auspacken und Prüfen
Carefully unpack the DVR and all accessories. Verify that all components are present and undamaged. If any items are missing or damaged, contact your supplier immediately.
3.2 Anschließen des DVR
- Connect Hard Drive (if not pre-installed): Open the DVR casing, connect the SATA data and power cables to the hard drive, and secure the drive.
- Kameras anschließen: Connect your Turbo HD cameras to the BNC video input ports on the rear panel.
- Monitor anschließen: Verwenden Sie ein HDMI- oder VGA-Kabel, um einen Monitor an den entsprechenden Ausgang des DVR anzuschließen.
- Maus anschließen: Schließen Sie die USB-Maus an einen USB-Anschluss des DVR an.
- Netzwerk verbinden: Verbinden Sie Ihren Router/Switch über ein Ethernet-Kabel mit dem LAN-Anschluss des DVR, um Netzwerkzugriff und Fernsteuerung zu ermöglichen. viewing.
- Strom anschließen: Connect the power adapter to the DVR's power input and then to a power outlet. The DVR will power on automatically.
3.3 Erstkonfiguration
Upon first power-on, the DVR will guide you through an initial setup wizard. This includes setting up a strong password, configuring network settings, and initializing the hard drive. Follow the on-screen prompts to complete the setup.
4. Bedienungsanleitung
4.1 Live View
Nach der Ersteinrichtung zeigt der DVR das Livebild an. view von allen angeschlossenen Kameras auf dem Monitor. Sie können zwischen Einzelkamera-Ansicht und Einzelkamera-Ansicht umschalten. view und Mehrkamera-Raster view über die Bedienelemente auf dem Bildschirm oder mit der Maus.
4.2 Aufnahme
The DVR is typically configured for continuous recording by default. You can access the recording schedule settings via the main menu to customize recording modes (e.g., motion detection, scheduled recording) for each channel.
4.3 Wiedergabe
Um zu review aufgenommenes footage, navigate to the Playback menu. Select the desired camera(s) and time range. You can use the timeline and playback controls to fast forward, rewind, or pause the video.
4.4 Fernzugriff
Für Fernbedienung viewing on a mobile device or computer, ensure the DVR is connected to the internet. Download the official Hik-Connect app (or client software) and follow the instructions to add your DVR using its serial number or QR code. This allows you to view live feeds and playback recordings from anywhere with an internet connection.
5. Wartung
5.1 Regelmäßige Reinigung
Keep the DVR clean by wiping its exterior with a soft, dry cloth. Ensure ventilation openings are free from dust and obstructions to prevent overheating.
5.2 Firmware-Updates
Überprüfen Sie regelmäßig die offizielle Website von Hikvision. webWebsite für Firmware-Updates. Durch die Aktualisierung der Firmware Ihres DVRs gewährleisten Sie optimale Leistung, Sicherheit und Zugriff auf neue Funktionen. Befolgen Sie die bereitgestellten Anweisungen sorgfältig, wenn Sie Updates durchführen.
5.3 Datensicherung
Sichern Sie regelmäßig wichtige Videodateien.tage to an external USB drive or network storage. This helps prevent data loss in case of hard drive failure or other unforeseen issues.
6. Fehlerbehebung
6.1 Kein Videoausgang
- Check all video cable connections (BNC, HDMI, VGA) to ensure they are secure.
- Vergewissern Sie sich, dass der Monitor eingeschaltet und auf die richtige Eingangsquelle eingestellt ist.
- Ensure cameras are powered and functioning correctly.
6.2 Netzwerkverbindungsprobleme
- Confirm the Ethernet cable is properly connected to both the DVR and the router/switch.
- Check network settings in the DVR menu (IP address, gateway, DNS). Ensure they are correct for your network.
- Restart your router/switch and the DVR.
6.3 Aufnahmeprobleme
- Verify that a hard drive is installed and properly initialized.
- Check the recording schedule and settings for the affected channels.
- Stellen Sie sicher, dass auf der Festplatte ausreichend freier Speicherplatz vorhanden ist.
7. Spezifikationen
| Besonderheit | Detail |
|---|---|
| Hersteller | Hikvision |
| Modellnummer | DS-7108HGHI-K1(S) |
| Produktabmessungen (B x T x H) | 10 x 10 x 3 cm (approximate, based on video) |
| Artikelgewicht | 1000 Gramm (1 kg) |
| Konnektivitätstechnologie | Ethernet |
| Kompatible Geräte | Kamera |
| Speicherkapazität | 4 Terabytes (HDD not included) |
| Festplattengröße | 4 Terabytes (Maximum supported) |
| Energieaufnahme | 17 Watt |
| Anzahl der Kanäle | 8 |
| Digital Video Media Format | MP4 |
8. Garantie und Support
For specific warranty terms and conditions, please refer to the documentation provided with your purchase or contact Hikvision directly. Technical support may be available through the Hikvision official webBesuchen Sie unsere Website oder wenden Sie sich an Ihren autorisierten Händler.