1. Einleitung
Thank you for choosing the Prechen 19.5-inch 1600x900 LED Monitor. This monitor is designed to provide a high-quality visual experience for various applications, including office work, multimedia, and gaming. Featuring a 1600x900 resolution TN panel, 60Hz refresh rate, and built-in speakers, it offers a versatile display solution. This manual provides detailed instructions for setup, operation, maintenance, and troubleshooting to ensure optimal performance and longevity of your device.

Abbildung 1: Vorderseite view of the Prechen 19.5-inch LED Monitor.
2. Wichtige Sicherheitshinweise
Please read all safety warnings and instructions carefully before using this monitor to prevent damage or injury.
- Setzen Sie den Monitor weder Regen noch Feuchtigkeit aus, um Brände oder Stromschläge zu vermeiden.
- Öffnen Sie den Monitor nicht.asing. Im Inneren befinden sich keine vom Benutzer wartbaren Teile. Alle Wartungsarbeiten dürfen nur von qualifiziertem Servicepersonal durchgeführt werden.
- Stellen Sie den Monitor auf eine stabile, ebene Fläche, um zu verhindern, dass er herunterfällt.
- Sorgen Sie für ausreichende Belüftung um den Monitor herum. Blockieren Sie keine Lüftungsöffnungen.
- Verwenden Sie ausschließlich das mit dem Monitor gelieferte Netzteil.
- Ziehen Sie den Netzstecker aus der Steckdose, wenn der Monitor längere Zeit nicht benutzt wird.
- Avoid placing the monitor near heat sources such as radiators, heat registers, stoves, or other products (including ampKonverter (Lüfter), die Wärme erzeugen.
3. Packungsinhalt
Bitte überprüfen Sie den Packungsinhalt, um sicherzustellen, dass alle Artikel vorhanden und unbeschädigt sind:
- Prechen 19.5-inch LED Monitor
- Netzteil
- HDMI-Kabel
- Bedienungsanleitung

Figure 2: Included accessories: Monitor, Power Adapter, HDMI Cable, and User Manual.
4. Installationsanleitung
4.1 Montage des Ständers
- Nehmen Sie die Monitor- und Standfußkomponenten vorsichtig aus der Verpackung.
- Bringen Sie den Standfuß am Standhals an und sichern Sie ihn gegebenenfalls mit der mitgelieferten Schraube.
- Align the assembled stand with the mounting slot on the back of the monitor and gently push until it clicks into place or secure with screws as per the stand design.
4.2 Anschließen des Monitors
Der Monitor unterstützt sowohl HDMI- als auch VGA-Anschlüsse.
- Stromanschluss: Connect the power adapter to the monitor's DC IN port, then plug the adapter into a power outlet.
- Videoanschluss (HDMI): Connect one end of the HDMI cable to the HDMI port on your computer or device, and the other end to the HDMI port on the monitor.
- Videoanschluss (VGA): Connect one end of the VGA cable to the VGA port on your computer or device, and the other end to the VGA port on the monitor.
- Audioverbindung: If using a VGA connection and external speakers, connect an audio cable from your computer's audio output to the monitor's audio input port. The built-in speakers will function automatically with HDMI.

Figure 3: Monitor back panel with input ports and control buttons.

Figure 4: Multiple connection options for the monitor.
5. Bedienungsanleitung
5.1 Ein-/Ausschalten
Drücken Sie den Netzschalter auf der Rückseite des Monitors, um ihn ein- oder auszuschalten. Die Betriebsanzeige leuchtet, wenn der Monitor eingeschaltet ist.
5.2 Verwendung des OSD-Menüs
The On-Screen Display (OSD) menu allows you to adjust various monitor settings. The control buttons are located on the back of the monitor (refer to Figure 3).
- SPEISEKARTE: Drücken Sie diese Taste, um das OSD-Menü zu öffnen.
- UP/DOWN (Volume Up/Down): Dient zur Navigation durch Menüoptionen oder zur Anpassung von Werten.
- ENTER (Switch): Drücken Sie, um eine Auswahl zu bestätigen oder ein Untermenü aufzurufen.
- EXIT (Return): Press to exit the current menu or return to the previous level.
5.3 Anpassen der Anzeigeeinstellungen
Navigieren Sie im OSD-Menü, um Einstellungen wie die folgenden anzupassen:
- Helligkeit Kontrast: Passen Sie die Gesamthelligkeit und den Kontrast des Displays an.
- Farbeinstellungen: Ändern Sie die Farbtemperatur, die RGB-Werte oder wählen Sie voreingestellte Farbmodi aus.
- Eingangsauswahl: Manuelles Umschalten zwischen HDMI- und VGA-Eingangsquellen.
- Seitenverhältnis: Choose between 16:9 (widescreen) or 4:3 (standard) display modes.
- Schärfe: Adjust the clarity of the image.
5.4 Audioeinstellungen
The monitor features two built-in speakers. You can adjust the volume using the OSD menu or the dedicated volume buttons on the back of the monitor.
6. Wartung und Pflege
Durch sachgemäße Pflege und Wartung verlängern Sie die Lebensdauer Ihres Monitors.
- Reinigen des Bildschirms: Wischen Sie den Bildschirm vorsichtig mit einem weichen, fusselfreien Tuch ab. Bei hartnäckigen Flecken dampBefeuchten Sie das Tuch leicht mit Wasser oder einem ammoniak- und alkoholfreien Bildschirmreiniger. Sprühen Sie den Reiniger niemals direkt auf den Bildschirm.
- Reinigung des Casing: Verwenden Sie ein weiches, trockenes Tuch, um den Monitor abzuwischen.asing. Vermeiden Sie die Verwendung von scheuernden Reinigungs- oder Lösungsmitteln.
- Lagerung: Wenn Sie den Monitor über einen längeren Zeitraum lagern, trennen Sie ihn vom Stromnetz und bewahren Sie ihn an einem kühlen, trockenen Ort auf, vorzugsweise in seiner Originalverpackung.
7. Fehlerbehebung
If you encounter problems with your monitor, please refer to the following table for common issues and solutions.
| Problem | Mögliche Ursache | Lösung |
|---|---|---|
| Kein Strom | Netzkabel nicht angeschlossen; Steckdose defekt; Monitor ausgeschaltet. | Ensure power cable is securely connected. Try a different power outlet. Press the power button on the monitor. |
| Kein Signal | Videokabel nicht angeschlossen; Falsche Eingangsquelle ausgewählt; Computer gibt kein Signal aus. | Check HDMI/VGA cable connection. Select the correct input source via the OSD menu. Ensure your computer is on and outputting video. |
| Kein Ton aus den eingebauten Lautsprechern | Volume too low/muted; Incorrect audio output selected on PC; Audio cable not connected (for VGA). | Increase monitor volume. Check PC audio settings to ensure monitor is selected as output. For VGA, ensure audio cable is connected. |
| Das Bild ist unscharf oder verzerrt. | Falsche Auflösung; Kabelproblem. | Set your computer's display resolution to 1600x900. Try a different video cable. |
8. Produktspezifikationen
| Besonderheit | Spezifikation |
|---|---|
| Marke | Prechen |
| Bildschirmgröße | 19.5 Zoll |
| Anzeigetyp | LED |
| Maximale Bildschirmauflösung | 1600 x 900 |
| Bildwiederholrate | 60 Hz |
| Ansprechzeit | 5 Millisekunden |
| Seitenverhältnis | 16:9 |
| Konnektivitätstechnologie | HDMI, VGA |
| Besondere Merkmale | Eingebaute Lautsprecher |
| Kompatibilität mit VESA-Halterung | 100 x 100 mm |
9. VESA-Montage
The Prechen monitor supports VESA standard mounting (100 x 100 mm), allowing you to mount it on a wall or an articulating arm for flexible viewing options. This feature makes the monitor lightweight and easy to install in various setups.
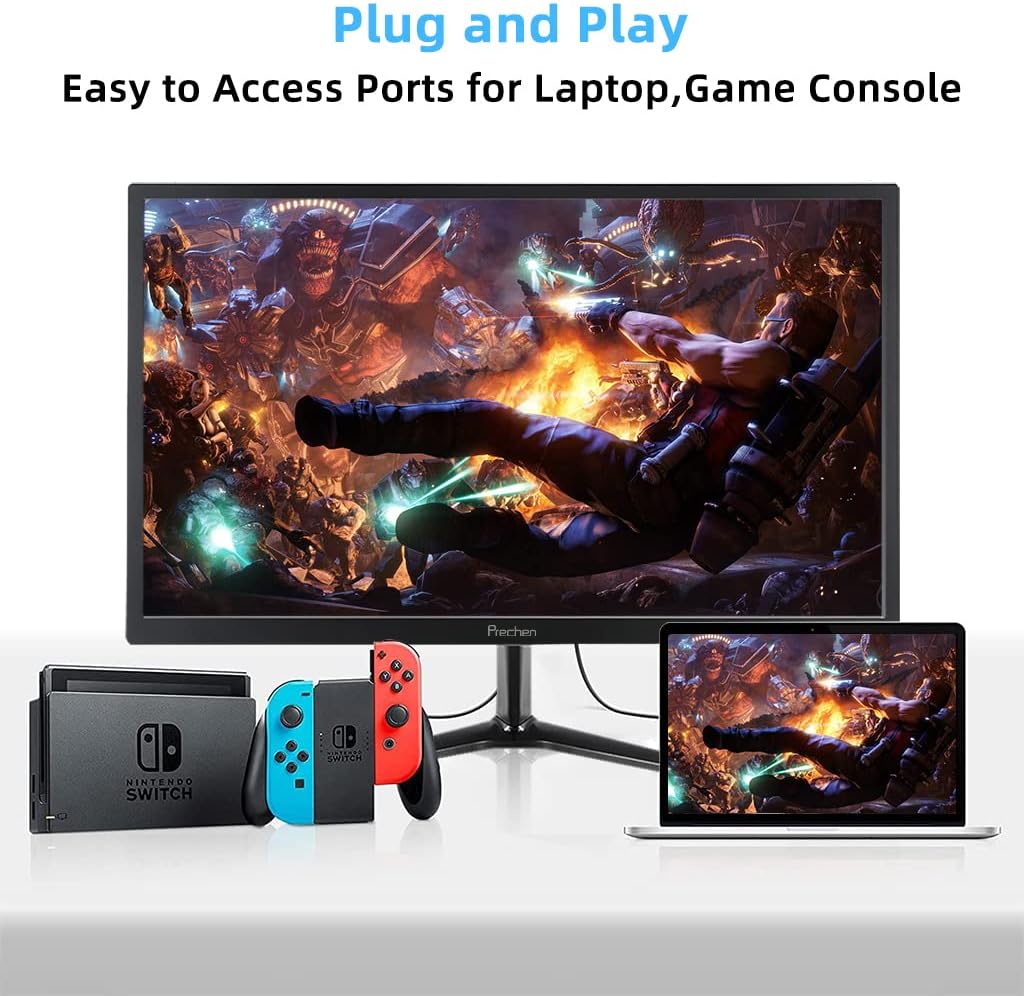
Figure 5: VESA mount dimensions on the monitor back.

Abbildung 6: Bspample of VESA mounting with an articulating arm.
10. Garantie und Support
Each Prechen product is covered by a one-year warranty from the date of purchase, which includes a one-month refund and exchange policy. This warranty covers manufacturing defects and issues arising from normal use.
For any questions, technical support, or warranty claims, please contact Prechen customer service. Please have your product model and purchase information ready when contacting support.
Contact information for customer service can typically be found on the product packaging or the official Prechen webWebsite.


