1. Produktüberschreitungview
The Onforu 2 Pack 75W Flood Lights are designed for outdoor use, providing 7000 lumens of bright, 6500K daylight white illumination. These LED floodlights feature three adjustable heads, allowing for a wide lighting coverage of up to 270 degrees. Constructed from durable aluminum, they offer efficient heat dissipation and are rated IP65 waterproof for reliable performance in various weather conditions. The lights are switch-controlled, meaning they operate via a standard wall switch and do not include motion sensors, solar power, or dusk-to-dawn functionality.
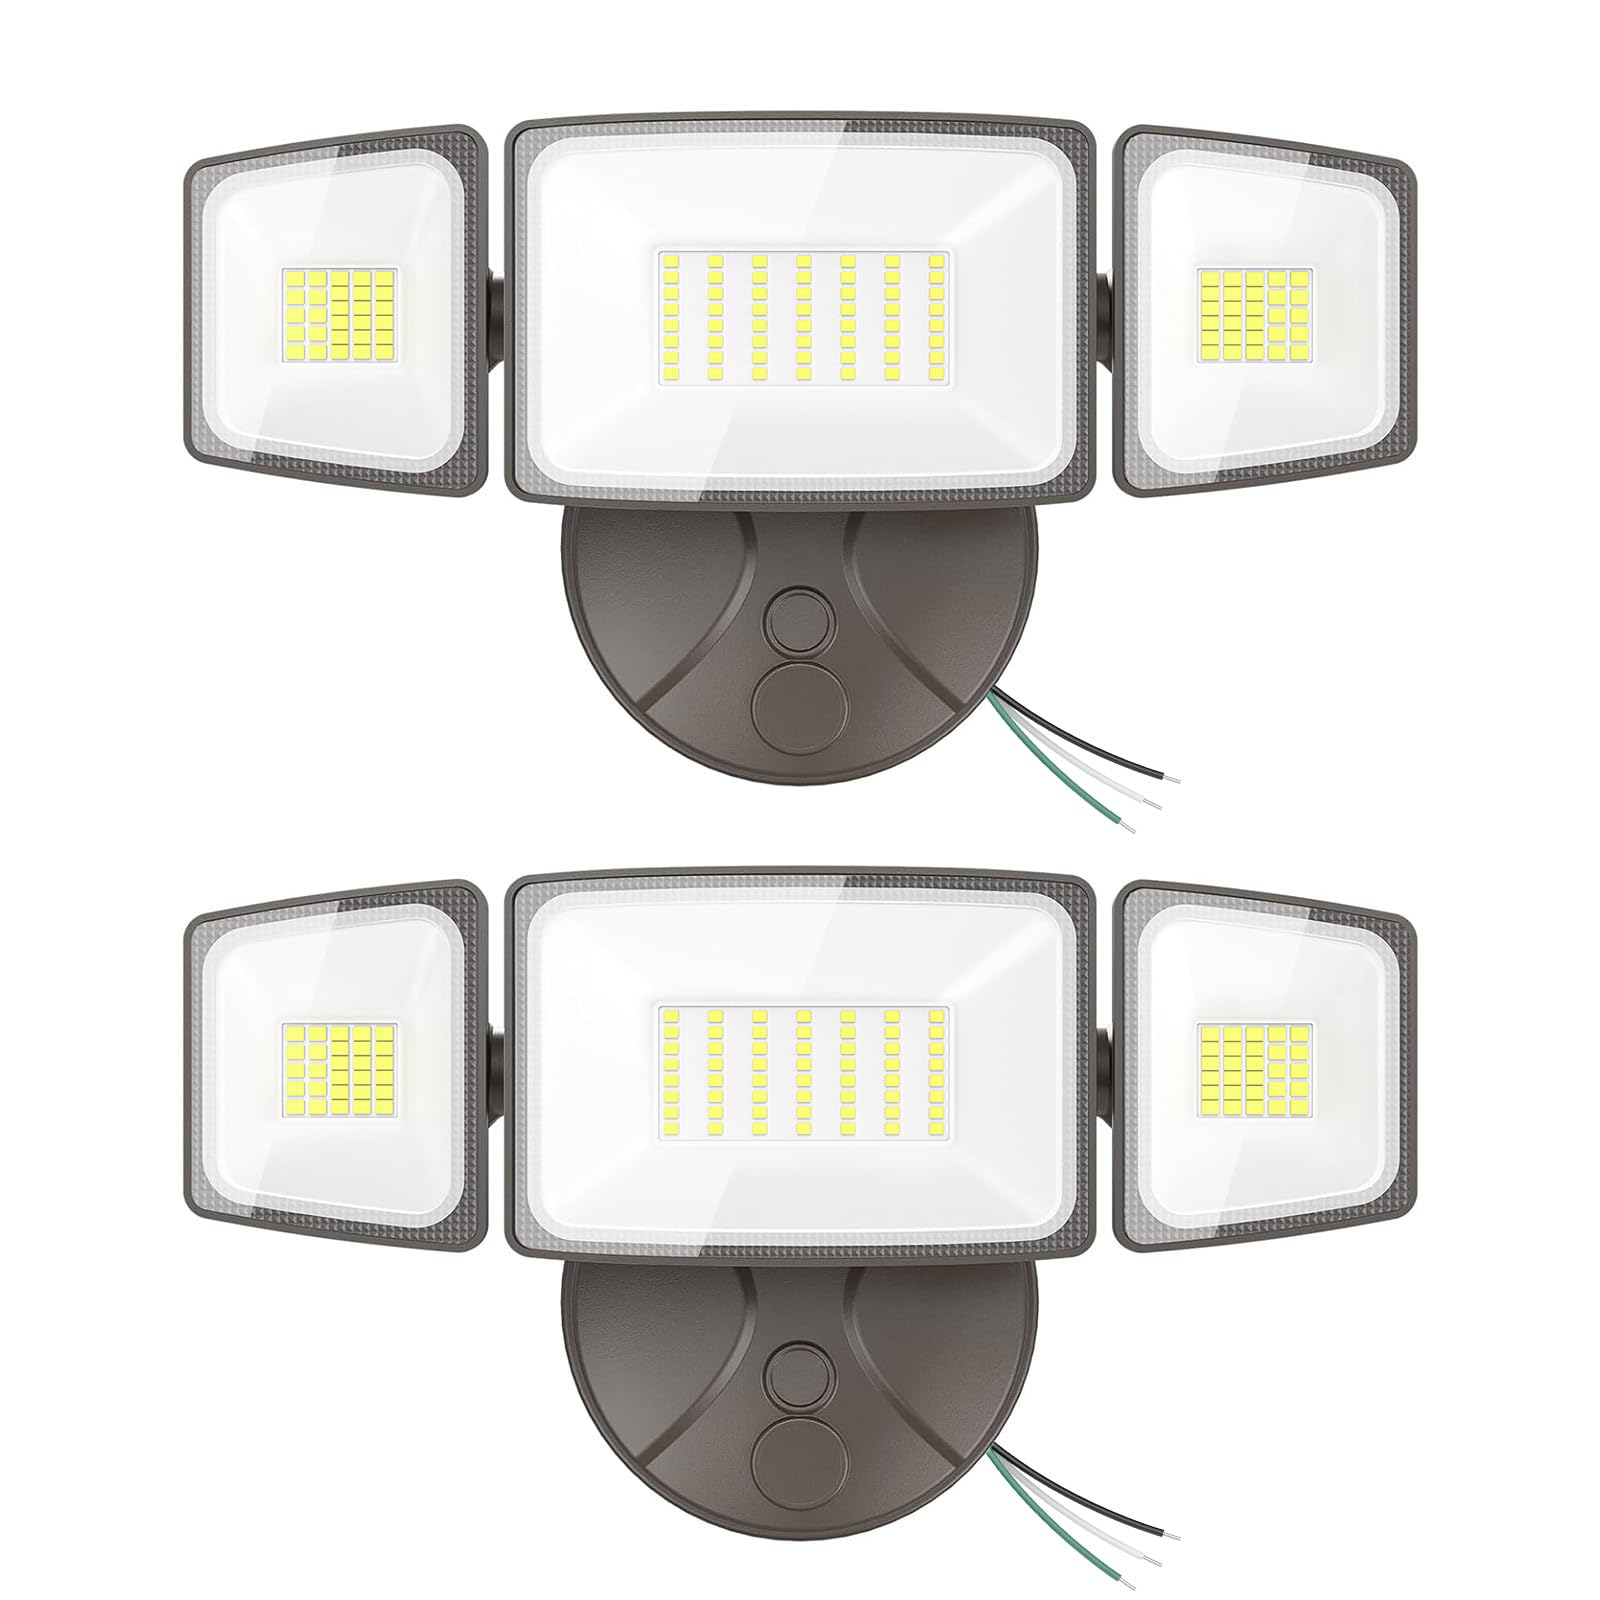
Image 1: Onforu 2 Pack 75W Flood Lights Outdoor, Brown color.
2. Packungsinhalt
Jedes Paket enthält die folgenden Artikel:
- 2 x Onforu 75W LED Flood Light Fixtures
- 2 x Montagewinkel
- 1 x Bedienungsanleitung (evtl. nicht in deutscher Sprache).
- Montagezubehör (Schrauben, Drahtklemmen)
3. Spezifikationen
| Besonderheit | Spezifikation |
|---|---|
| Marke | Onforu |
| Modellname | BDBC75-3 |
| Wastage | 75 Watt |
| Helligkeit | 7000 Lumen |
| Farbtemperatur | 6500 Kelvin (Tageslichtweiß) |
| Material | Aluminium |
| Wasserbeständigkeit | IP65 Wasserdicht |
| Kontrollmethode | Schaltergesteuert |
| Installationstyp | Wall Mount, Eave Mount (Soffit Mounted) |
| Technische Daten | 10 Zoll L x 4 Zoll B x 5 Zoll H |
| Artikelgewicht | 2 Pfund |
| Anzahl der Lichtquellen | 112 LED-Perlen |
| Abdeckung | 1150ft² |

Image 2: Detailed dimensions and adjustable angles of the floodlight heads.

Image 3: Illustration of the rugged metal design and efficient heat dissipation fins.
4. Sicherheitshinweise
Bitte lesen und verstehen Sie alle Sicherheitshinweise vor der Installation und Inbetriebnahme. Die Nichtbeachtung dieser Hinweise kann zu Stromschlag, Brand oder anderen Gefahren führen.
- WARNUNG: Stromschlaggefahr. Vor Installation oder Wartung die Stromzufuhr an der Sicherung oder dem Leitungsschutzschalter unterbrechen.
- Die Installation sollte von einem qualifizierten Elektriker oder einer Person durchgeführt werden, die mit dem Aufbau und der Funktionsweise des Produkts sowie den damit verbundenen Gefahren vertraut ist.
- Sicherstellung der Versorgungsvoltage ist korrekt (120 Volt), bevor die Leuchte angeschlossen wird.
- Schauen Sie nicht direkt in die eingeschaltete LED-Lichtquelle, da dies zu Augenschäden führen kann.
- Stellen Sie sicher, dass alle Verbindungen sicher und ordnungsgemäß isoliert sind, um das Eindringen von Wasser zu verhindern.
- Die Vorrichtung darf nicht verändert oder für andere als die vorgesehenen Zwecke verwendet werden.
5. Installation
These floodlights can be installed on a wall or soffit. Follow these steps for proper installation:
5.1 Vorbereitung
- Schalten Sie den Strom am Leistungsschalter oder Sicherungskasten ab.
- Carefully unpack the floodlight and all components.
- Identify the mounting location (wall or soffit) and ensure it is suitable for electrical wiring.
5.2 Montage der Halterung
- Attach the provided mounting bracket to the junction box using the appropriate screws. Ensure the bracket is securely fastened.
5.3 Verkabelung
- Connect the fixture's wires to the house wiring:
- Verbinden Sie Schwarz wire (Live) from the fixture to the Schwarz wire (Live) from the junction box.
- Verbinden Sie Weiß wire (Neutral) from the fixture to the Weiß wire (Neutral) from the junction box.
- Verbinden Sie Grün wire (Ground) from the fixture to the Grün or bare copper wire (Ground) from the junction box.
- Secure all wire connections with the provided wire nuts and ensure they are tightly twisted.
- Die Drähte vorsichtig in die Anschlussdose einführen.

Image 4: Wiring diagram for connecting the floodlight to a junction box.
5.4 Anbringen der Vorrichtung
- Align the floodlight base with the mounting bracket and secure it with the provided screws. Ensure a tight seal to maintain IP65 waterproof rating.

Abbildung 5: Beispielamples of wall-mounted and soffit-mounted installations, demonstrating multi-angle rotation.
6. Bedienung
The Onforu 75W Flood Lights are designed for simple, reliable operation.
6.1 Leistungssteuerung
- These floodlights are switch-controlled only. They do not feature a motion sensor, solar power, or dusk-to-dawn sensor.
- To turn the lights ON or OFF, use the connected wall switch.

Image 6: The floodlight is controlled by a standard wall switch.
6.2 Einstellen der Leuchtenköpfe
The three light heads are independently adjustable, allowing you to direct light precisely where needed.
- Each side head can be rotated up to 335 degrees horizontally and 90 degrees vertically.
- The center head can be rotated up to 110 degrees vertically.
- Loosen the adjustment screws on each head, position the light as desired, and then tighten the screws to secure the position.
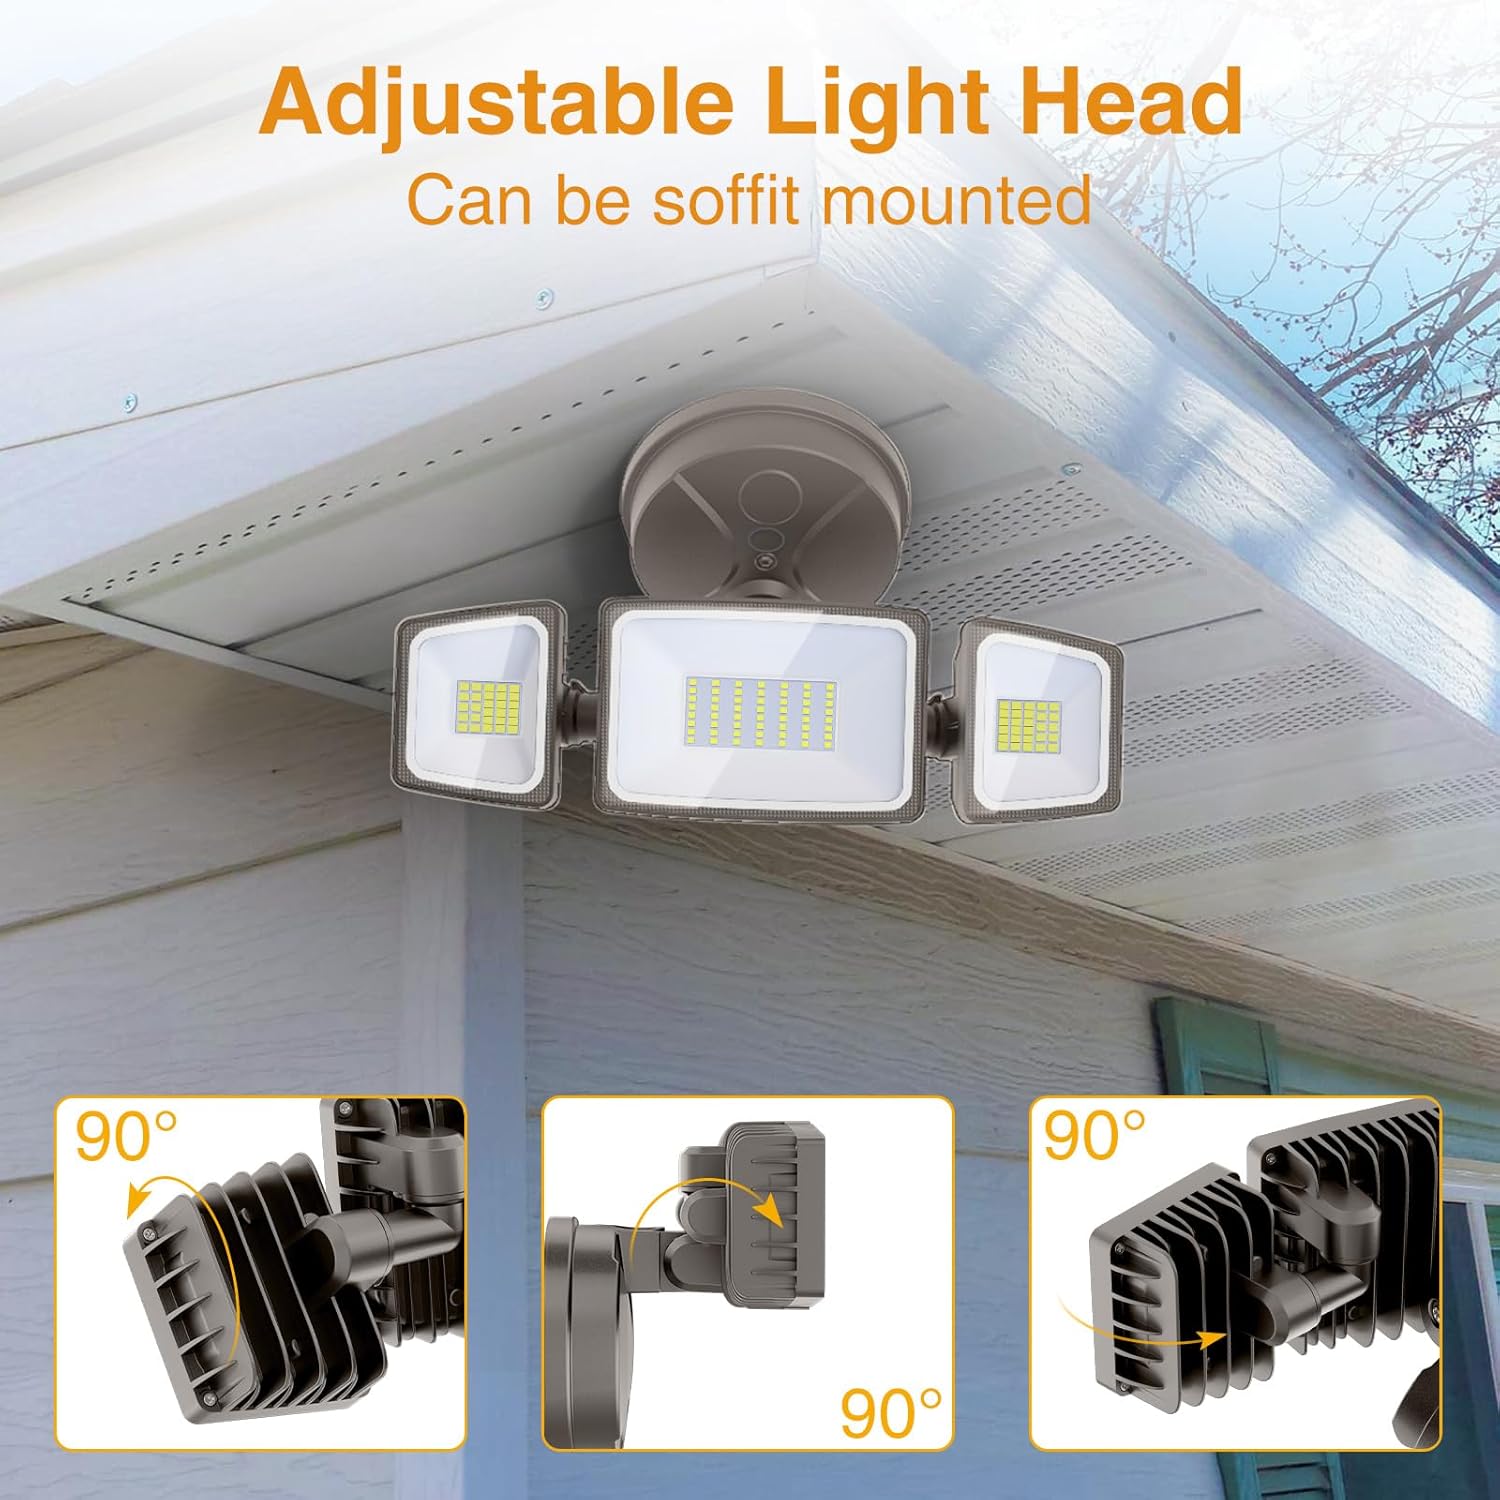
Image 7: The adjustable light heads provide flexible illumination for various outdoor areas.
7. Wartung
Regular maintenance ensures optimal performance and longevity of your floodlights.
- Reinigung: Reinigen Sie die Lampenköpfe regelmäßig mit einem weichen Tuch.amp Mit einem Tuch Schmutz und Ablagerungen entfernen. Keine Scheuermittel oder Lösungsmittel verwenden.
- Inspektion: Überprüfen Sie die Leuchte jährlich auf Beschädigungen, lose Kabel oder Verschleiß. Stellen Sie sicher, dass alle Befestigungsschrauben fest angezogen sind.
- Wärmeableitung: Keep the cooling fins on the back of the light heads clear of obstructions to ensure proper heat dissipation.
8. Fehlerbehebung
If you encounter issues with your floodlights, refer to the following common problems and solutions:
- Licht geht nicht an:
- Check the power supply at the circuit breaker or fuse box.
- Stellen Sie sicher, dass sich der Wandschalter in der Position EIN befindet.
- Prüfen Sie, ob alle Kabelverbindungen fest sitzen.
- Das Licht ist schwach oder flackert:
- Überprüfen Sie, ob die Kabelverbindungen lose sind.
- Stellen Sie sicher, dass die Stromversorgung stabil ist.
- Prüfen Sie, ob die Leuchte die korrekte Spannung empfängt.tage (120 V).
- Wasser im Inneren der Armatur:
- Die Stromzufuhr sofort unterbrechen.
- Inspect the installation for proper sealing and ensure the mounting plate is flush with the surface.
- Contact customer support if the issue persists after re-installation.
9. Garantie und Support
Onforu provides a 2 Jahr Garantie for this product, covering defects in materials and workmanship under normal use. For warranty claims, technical assistance, or any questions regarding your Onforu floodlights, please contact Onforu customer support.
Hersteller: Onforu
Weitere Hilfe finden Sie unter Onforu Store on Amazon.


