1. Einleitung
This manual provides instructions for the STARTRC Gimbal Stabilizer Lanyard and Screen Protector, designed to enhance the usability and protection of your DJI RS 3 or RS 3 Pro 3-Axis Gimbal Stabilizer. The lanyard offers a secure and comfortable way to carry your gimbal, freeing your hands during operation and transport. The screen protector safeguards your gimbal's display from scratches and damage.

Image 1.1: STARTRC Lanyard and Screen Protector on DJI RS 3 Pro Gimbal
2. Packungsinhalt
Bitte überprüfen Sie, ob alle unten aufgeführten Artikel in Ihrem Paket enthalten sind:
- 1 x Nylon Braided Neck Strap (Lanyard)
- 2 x Solid CNC Aluminum Alloy Screws
- 1 x Aufbewahrungstasche
- Screen Protector Kit (includes screen protectors, cleaning wipes, and dust absorbers)

Abbildung 2.1: Packungsinhalt
3. Einrichtungsanweisungen
3.1. Installation des Lanyards
- Locate the two attachment points on the base of your DJI RS 3 or RS 3 Pro gimbal.
- Take the two solid CNC Aluminum Alloy screws provided.
- Screw each aluminum alloy screw directly into the attachment points on the gimbal by hand until secure. No tools are required.
- Attach the clips of the nylon braided neck strap to the loops on the installed aluminum alloy screws. Ensure both clips are securely fastened.

Image 3.1: Lanyard Attachment Points
3.2. Anbringen der Displayschutzfolie
- Clean the gimbal's display screen thoroughly using the provided wet and dry cleaning wipes. Ensure no dust or smudges remain.
- Use the dust absorber sticker to remove any remaining dust particles from the screen surface.
- Ziehen Sie die Schutzfolie vorsichtig von der Klebeseite der Displayschutzfolie ab.
- Align the screen protector with the gimbal's display screen. Start from one edge and gently lay it down, allowing it to adhere naturally.
- If any bubbles appear, gently push them towards the edges using a soft cloth or the provided squeegee card.

Image 3.2: Screen Protector Applied to Gimbal Display

Image 3.3: Screen Protector Features
4. Bedienungsanleitung
4.1. Verwendung des Tragebands
Once installed, the lanyard allows for comfortable and secure carrying of your DJI RS 3 or RS 3 Pro gimbal. Adjust the shoulder/neck strap to your desired length (maximum length is 85cm) for optimal comfort and weight distribution. This helps reduce fatigue during extended shooting sessions and provides an additional layer of security against accidental drops.
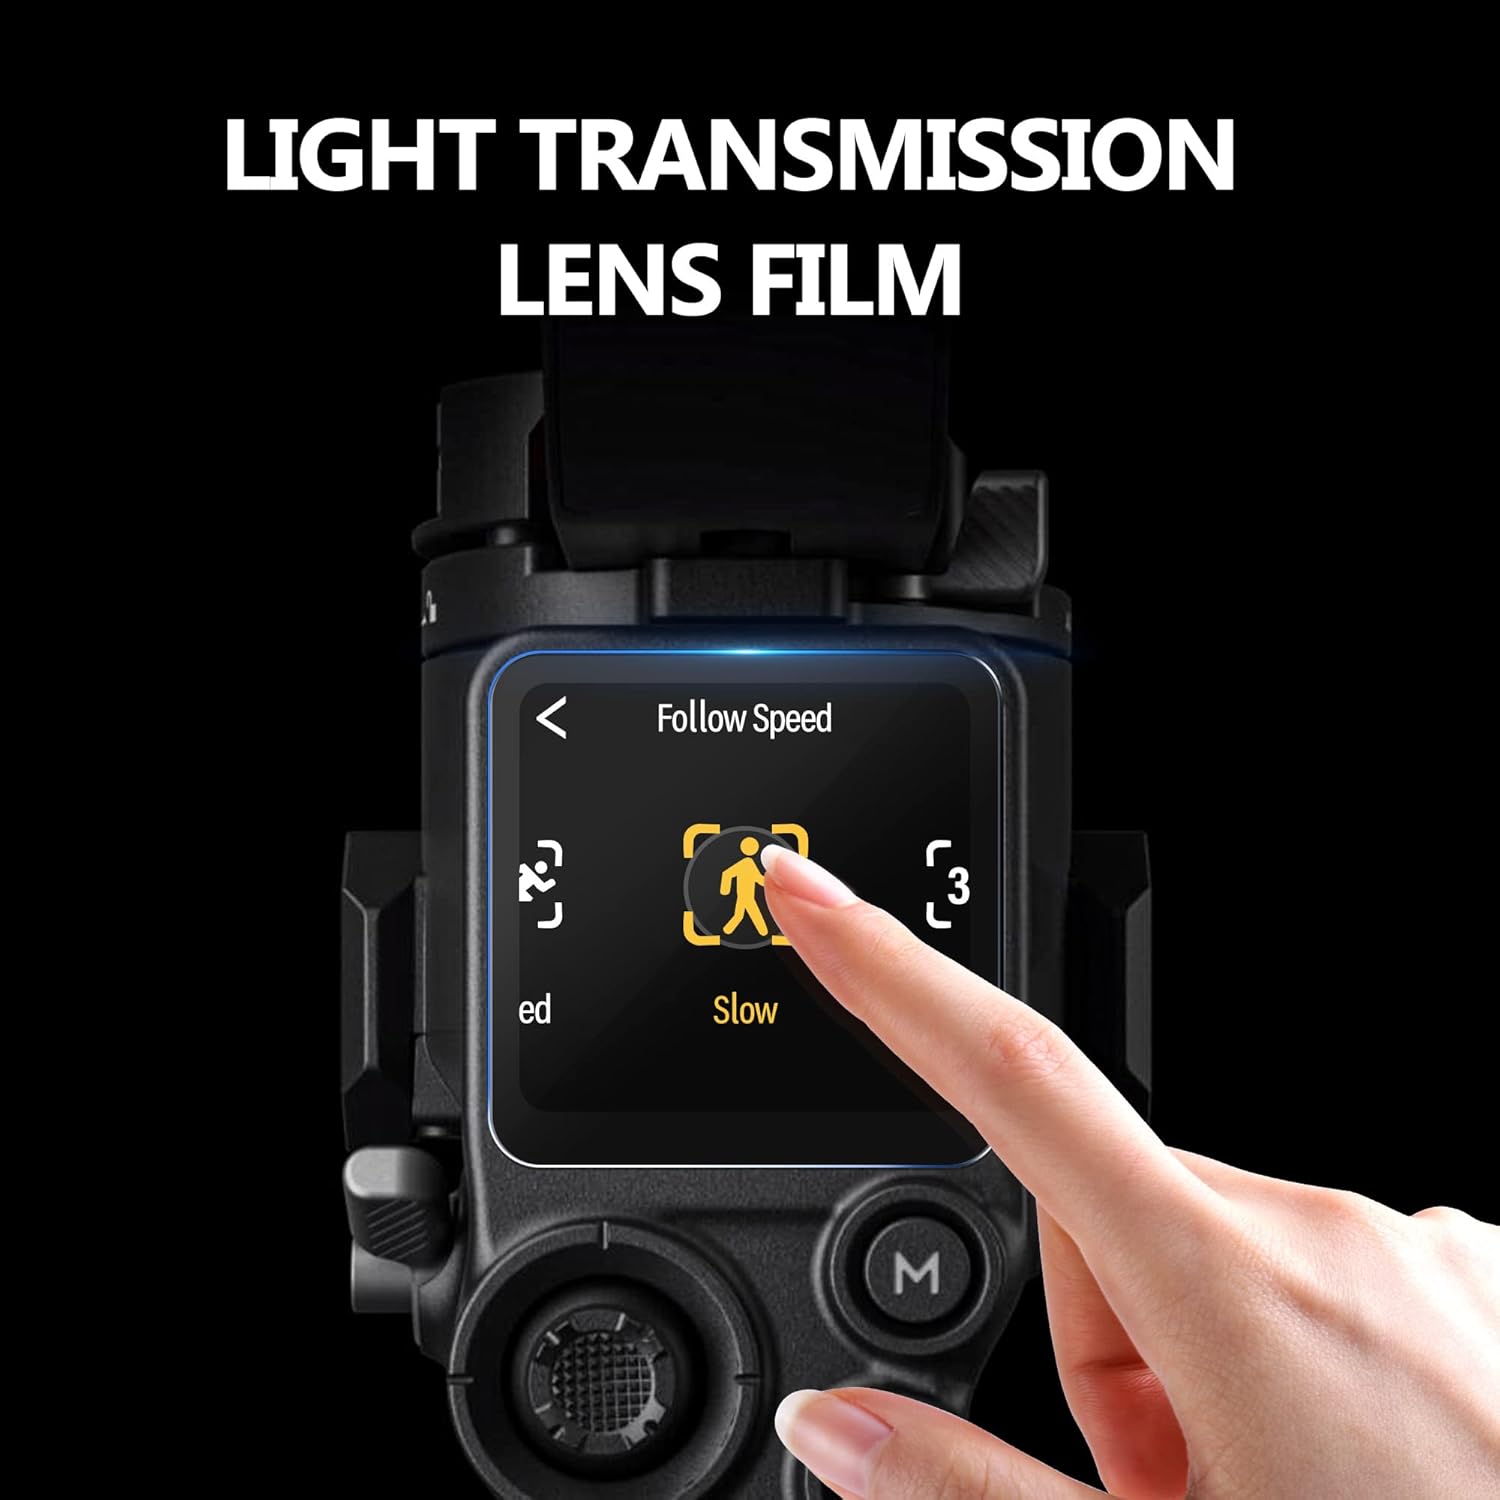
Image 4.1: User Operating Gimbal with Lanyard
4.2. Screen Protector Benefits
The applied screen protector maintains the clarity and touch responsiveness of your gimbal's display while offering protection from scratches, dust, and fingerprints. Its oleophobic coating helps resist smudges, keeping your screen clear for optimal viewwährend des Betriebs.
5. Wartung
5.1. Lanyard Care
- Clean the nylon strap with a damp Bei Bedarf mit einem Tuch und milder Seife abwischen. Vollständig an der Luft trocknen lassen.
- Inspect the aluminum alloy screws and strap clips periodically for any signs of wear or damage. Replace if compromised.
- Store the lanyard in the provided storage bag when not in use to prevent tangling and protect it from dirt.
5.2. Screen Protector Care
- Wipe the screen protector gently with a microfiber cloth to remove fingerprints and dust.
- Avoid using harsh chemicals or abrasive materials, as these can damage the oleophobic coating.
6. Fehlerbehebung
6.1. Lanyard Issues
- Lanyard feels loose: Ensure the aluminum alloy screws are fully tightened by hand. Check that the strap clips are securely attached to the screw loops. Adjust the strap length for a snug fit.
- Beschwerden bei der Benutzung: Adjust the strap length and position the padded section on your shoulder or neck for optimal comfort.
6.2. Screen Protector Issues
- Bubbles after application: Gently lift the nearest edge of the screen protector and reapply, using a soft cloth to push out bubbles as you lay it down. Ensure the screen is completely clean before reapplication.
- Screen protector not adhering: Ensure the screen surface is free of dust, oil, and moisture. If the protector has been handled excessively on the adhesive side, it may lose stickiness.
7. Spezifikationen
| Besonderheit | Detail |
|---|---|
| Technische Daten | 5.51 x 2.76 x 1.97 Zoll |
| Artikelgewicht | 6.3 Unzen (180 Gramm) |
| Marke | STARTRC |
| Farbe | Schwarz |
| Kompatible Geräte | DJI RS 3, DJI RS 3 Pro Gimbal Stabilizer |
| Lanyard Material | Nylon Braided Fabric with Soft Padding |
| Schraubenmaterial | CNC-Aluminiumlegierung |
| Lanyard Max. Length | 85 CM |
8. Garantie und Support
Specific warranty information for this product is not provided in the available documentation. For any product support, inquiries, or warranty claims, please contact STARTRC directly through their official channels or the retailer from whom the product was purchased.
You can visit the official STARTRC store for more information: STARTRC Store auf Amazon


