1. Einleitung
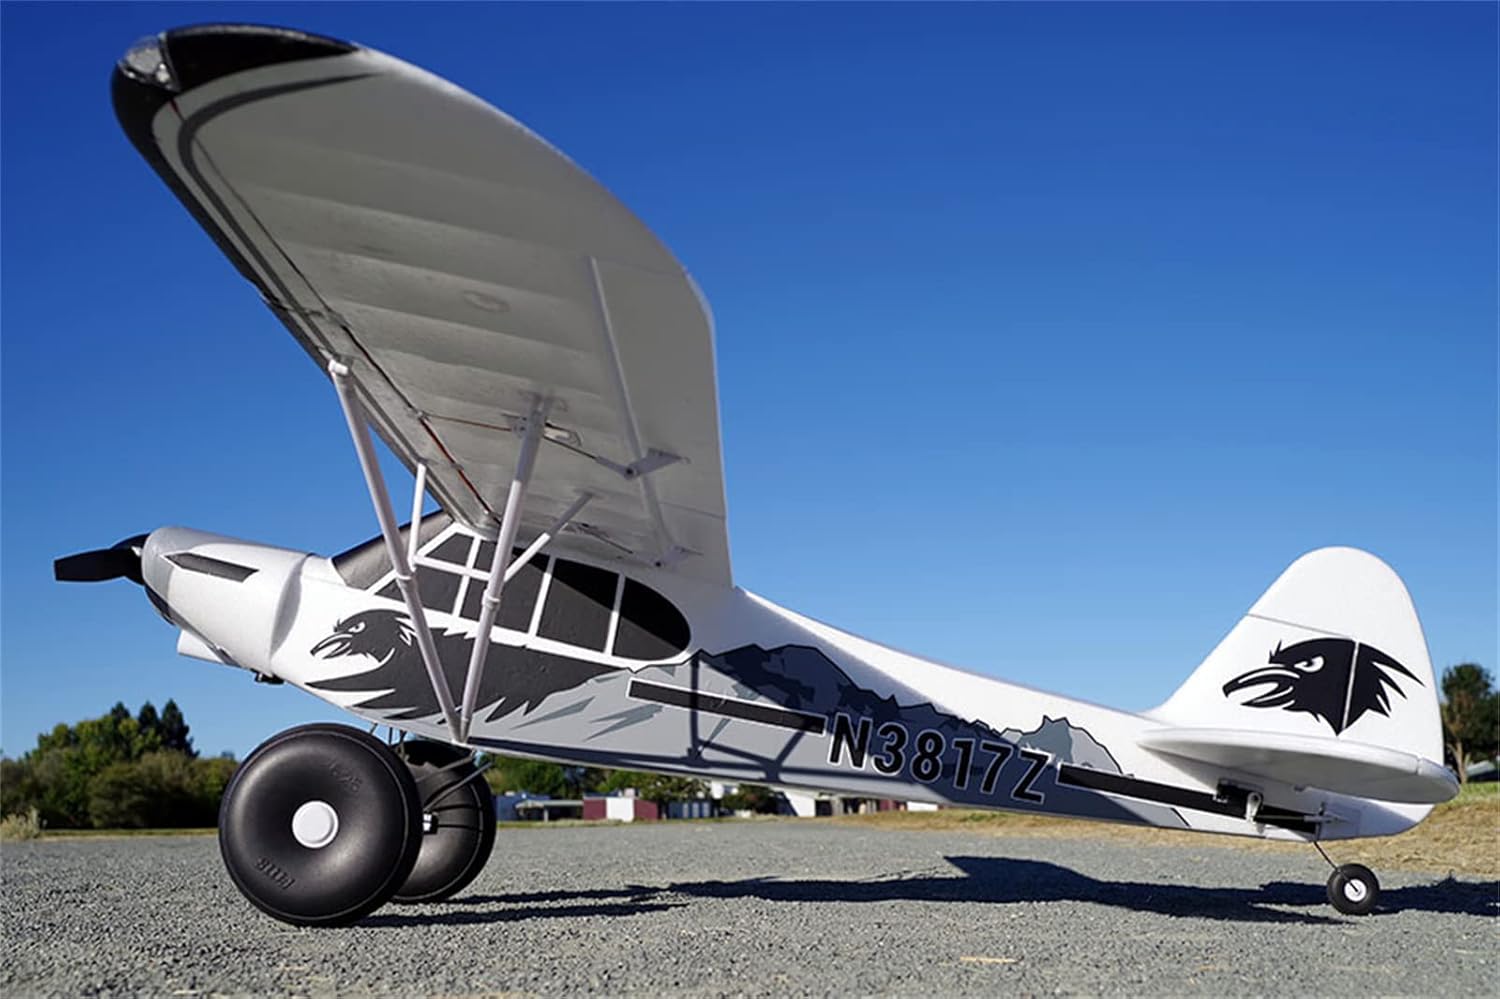
This manual provides essential information for the safe assembly, operation, and maintenance of your Fms 1700MM Piper PA-18 Super CUB remote control airplane. Please read this manual thoroughly before operating the aircraft to ensure proper function and safety.
The Fms 1700mm PA-18 Super Cub is a Plug and Play (PNP) model, meaning it comes pre-installed with ESC, motor, and servos. A transmitter, receiver, battery, and charger are NOT included and must be purchased separately.
2. Sicherheitshinweise
Operating a remote control aircraft requires caution and adherence to safety guidelines. Failure to do so may result in injury or property damage.
- Always operate your RC plane in open areas, away from people, buildings, and other obstacles.
- Vor jedem Flug muss sichergestellt werden, dass alle Batterien vollständig geladen und ordnungsgemäß installiert sind.
- Perform pre-flight checks on all control surfaces and radio connections.
- Fliegen Sie niemals in der Nähe von Flughäfen oder gesperrten Lufträumen.
- Vermeiden Sie Flüge bei starkem Wind oder widrigen Wetterbedingungen.
- Halten Sie Hände und lose Kleidung vom Propeller fern, wenn der Motor in Betrieb ist.
- Adult supervision is recommended for operators under 14 years of age.
3. Packungsinhalt
The Fms 1700MM Piper PA-18 Super CUB PNP package includes:
- Pre-assembled fuselage with motor, ESC, and servos installed.
- Main wing halves with integrated servo connectors.
- Horizontal and vertical stabilizers.
- Landing gear with 6.25-inch oversized balloon tires.
- Propeller and spinner.
- Wing struts.
- Small parts bag (screws, plastic retainers, pushrods).
- Bedienungsanleitung.
Note: Transmitter, receiver, flight battery, and charger are not included.
4. Aufbau und Montage
Follow these steps for quick and glue-free assembly:
4.1 Fahrwerksmontage
With the fuselage inverted, insert the landing gear into the designated slots. Secure the landing gear using the included screws and plastic retainers. Attach the springs to the landing gear assembly for proper suspension.

4.2 Flügelmontage
Insert the wing spar into the pass-through on the fuselage. Carefully slide both wing halves onto the wing spar, ensuring the integrated servo connectors align and seat properly. Secure the wing halves and wing struts using the included screws and wing bolts.
4.3 Horizontal Stabilizer Installation
Insert the horizontal stabilizer spat into the pass-through on the fuselage. Insert both halves of the horizontal stabilizer onto the spat. Use the included bolts to secure the horizontal stabilizer.
4.4 Control Surface Connections
With the elevator servo centered, connect the pushrod to the control horn on the elevator. Repeat for other control surfaces (ailerons, rudder) as necessary. The ball-link pushrods ensure increased precision.
4.5 Propellerinstallation
Install the propeller and spinner in the order shown in the diagram (refer to the physical manual for detailed diagram). Ensure it is securely fastened.
4.6 Einlegen der Batterie
The aircraft features an oversized battery compartment. Insert your recommended 14.8V 2200-2600mAh 35C LiPo battery (not included) into the compartment and secure it with the provided strap (if any) to prevent shifting during flight.
5. Bedienungsanleitung
5.1 Vorflugkontrollen
- Verify all control surfaces move freely and correctly in response to transmitter inputs.
- Check battery charge level on both the aircraft and transmitter.
- Stellen Sie sicher, dass der Propeller fest sitzt und keine Beschädigungen aufweist.
- Confirm the Reflex V2 system is correctly configured for your desired flight mode.
5.2 Start
The 1700mm PA-18 Super Cub is known for its Short Takeoff and Landing (STOL) capability, achieving takeoff heights of less than 3 meters/10 feet. Position the aircraft into the wind, gradually increase throttle, and apply slight elevator input as speed builds to lift off.
5.3 Flug
The aircraft offers excellent flight characteristics. Use gentle control inputs for smooth flight. For advanced maneuvers, ensure you are in the appropriate Reflex V2 mode.

5.4 Landung
Approach the landing area into the wind. Reduce throttle and maintain a controlled descent. Apply slight elevator input just before touchdown for a smooth landing. The CNC metal landing gear and oversized tires are designed for perfect landings on various terrains.
6. Reflex V2 Flight Controller System
The Reflex V2 is a user-upgradeable flight controller compatible with most FMS aircraft. It can be reprogrammed easily with different model files via a simple software interface. It offers three flight modes:
- Stabilisierter Modus: Designed for beginners. Reflex will rapidly level the aircraft from any attitude when this mode is activated. It combines accelerometer and gyro data to determine how to level the aircraft when the control sticks are released, providing peace of mind. The aircraft will maintain level flight with 50-60% throttle and climb under full throttle.
- Optimierter Modus: Utilizing advanced solid-state gyros, the Reflex system maintains aircraft attitude by counteracting inflight upsets, such as gusts or crosswinds. With Reflex, even small aircraft will fly with confidence, similar to much larger models.
- Aus-Modus: This turns off all gyro functionality. The aircraft is flown completely manually.
These modes are controlled with a two or three-position switch on your transmitter. When assigned to a two-position switch, the Reflex system changes between stabilized and optimized modes.

7. Wartung
- Regularly inspect all components for damage, especially after hard landings.
- Check propeller for cracks or chips and replace if damaged.
- Stellen Sie sicher, dass alle Schrauben und Verbindungen fest angezogen sind.
- Keep the aircraft clean and free from dirt and debris.
- Lagern Sie das Flugzeug an einem kühlen, trockenen Ort ohne direkte Sonneneinstrahlung.
8. Fehlerbehebung
| Problem | Mögliche Ursache | Lösung |
|---|---|---|
| Das Flugzeug reagiert nicht auf die Steuerung. | Low battery on transmitter or aircraft; receiver not bound; loose connections. | Charge batteries; re-bind receiver; check all wiring. |
| Aircraft flies erratically. | Incorrect control surface trim; damaged control surface; Reflex V2 settings. | Adjust trim; inspect and repair damage; check Reflex V2 mode. |
| Motor dreht sich nicht. | ESC not armed; motor or ESC failure; loose connections. | Ensure throttle is at zero and arm ESC; check connections; replace faulty components. |
9. Spezifikationen
| Besonderheit | Spezifikation |
|---|---|
| Spannweite | 1700 mm / 66.9 Zoll |
| Gesamtlänge | 1136 mm / 44.7 Zoll |
| Fluggewicht | ~2100 g |
| Motorgröße | 3541-KV750 Outrunner |
| ESC | 45A Predator |
| Servo | 17 g x 6 |
| Radiosender | 6 Channel (minimum) |
| Empfohlene Batterie | 14.8 V 2200-2600 mAh 35 ° C. |
| Approx. Flying Duration | 4-6 Minuten |
| Erfahrungsstufe | Dazwischenliegend |
| Montagezeit | Ungefähr 40 Minuten |
| Klappen | Ja |
| Zieht ein | NEIN |
| CG (From leading edge) | 80-85 mm |
| Prop Größe | 12*7.5, 2-Klingen |
| Flügellast | 50g/dm² / 0.11oz/in² |
| Flügelfläche | 42dm² / 651sq.in |

10. Zusätzliche Funktionen
- Pre-installed navigation and landing lights for enhanced visibility and realism.
- Robust two-bladed Nylon propellers.

11. Offizielle Produktvideos
FMS 1700mm(67") Piper PA-18 Super Cub - Features
Video Description: This video showcases the key features and design elements of the FMS 1700mm Piper PA-18 Super Cub RC plane, highlighting its construction and capabilities.
1700mm Piper PA-18 Super Cub
Video Description: A comprehensive video demonstrating the FMS 1700mm Piper PA-18 Super Cub in action, including flight maneuvers and showcasing seine Leistung.
12. Garantie und Support
For warranty claims or technical support, please contact Fms customer service. Keep your purchase receipt as proof of purchase.
Fms guarantees their models. If you encounter any issues, please reach out to the seller or Fms directly for assistance.
Weitere Informationen finden Sie im Fms Store on Amazon.


