1. Einführung und Endeview
The UNI-T UT204PRO is a portable True RMS AC/DC clamp meter designed for accurate and reliable electrical measurements. This professional digital multimeter features a clear LCD display and offers a wide range of functions, making it suitable for use in laboratories, factories, and homes. It measures AC/DC current up to 600A, AC/DC voltage up to 600V, frequency, duty cycle, resistance, capacitance, and temperature. Additionally, it includes Non-Contact Voltage (NCV) detection, LIVE wire detection, and diode/continuity tests.
Zu den Hauptmerkmalen gehören:
- Echte RMS-Messung: Liefert genaue Messwerte für nicht-sinusförmige Wellenformen.
- Multifunktionalität: Measures AC/DC current, AC/DC voltage, frequency, duty cycle, resistance, capacitance, temperature, diode, and continuity.
- NCV and LIVE Detection: Enhances safety and ease of use for identifying live wires.
- Klares LCD-Display: Features a backlight for visibility in low-light conditions.
- Sicherheitskonformität: Meets EN61010-1 CAT II 600V / CAT III 300V safety standards.
- Automatisches Ausschalten: Schont den Akku durch automatisches Abschalten nach 15 Minuten Inaktivität.
2. Sicherheitshinweise
Always adhere to safety precautions when using electrical testing equipment. Failure to do so may result in electric shock, injury, or damage to the meter. This device complies with EN61010-1 CAT II 600V / CAT III 300V safety standards. Ensure you understand and follow all instructions.
- Verwenden Sie das Messgerät nicht, wenn es beschädigt erscheint oder die Messleitungen beschädigt sind.
- Always ensure the function switch is set to the correct range before making measurements.
- Nicht anwenden voltage or current that exceeds the maximum rated values for the meter.
- Seien Sie äußerst vorsichtig, wenn Sie mit vol arbeitentagSpannungen über 30 V AC RMS, 42 V Spitze oder 60 V DC sind zu vermeiden, da sie eine Stromschlaggefahr darstellen.
- When measuring current, ensure the circuit is de-energized before connecting or disconnecting the clamp Meter.
- Tauschen Sie die Batterien umgehend aus, sobald die Anzeige für niedrigen Batteriestand erscheint.
- Wear appropriate personal protective equipment (PPE), such as safety glasses and insulated gloves, when performing electrical measurements.
3. Produktkomponenten
The UNI-T UT204PRO Clamp Meter is designed with user-friendly components for efficient operation.
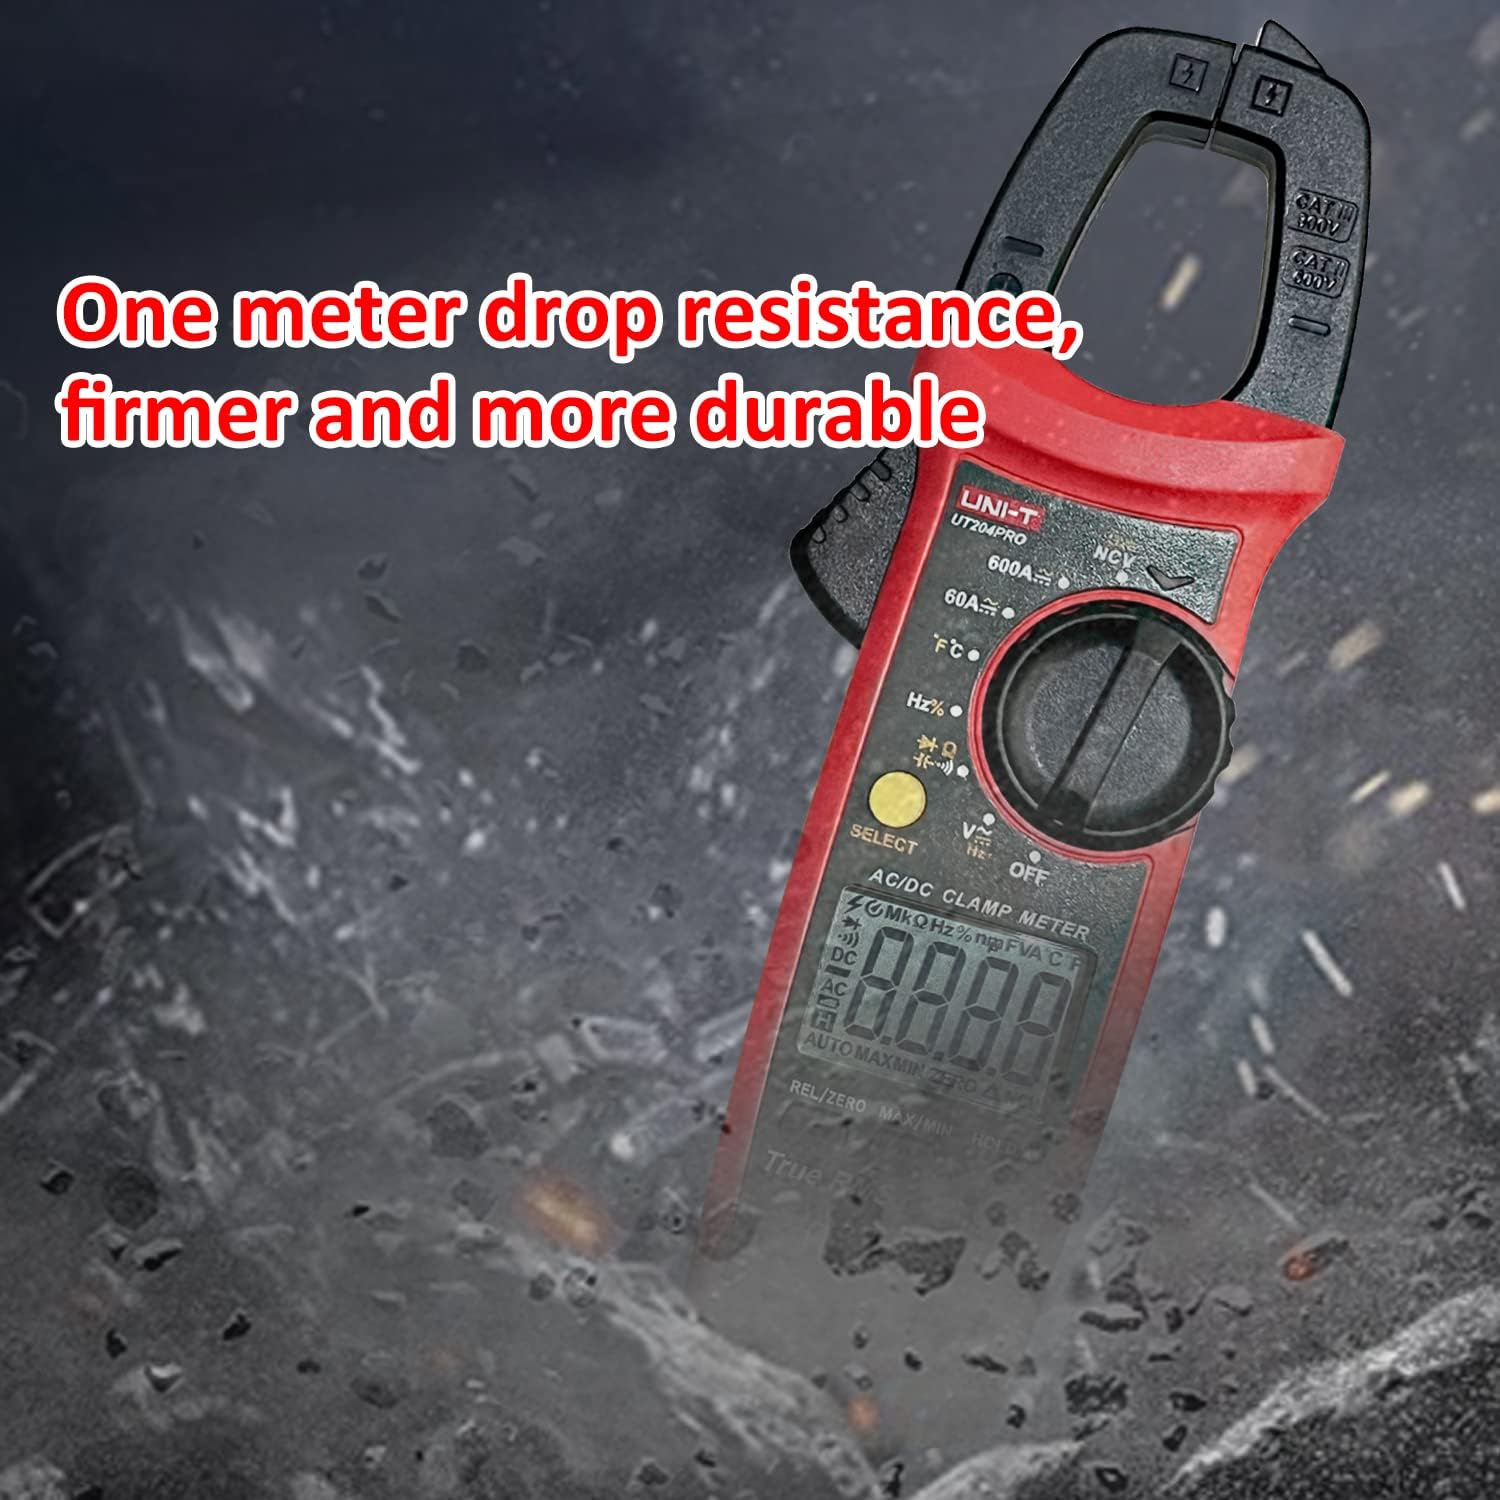
Figure 3.1: Detailed diagram of the UNI-T UT204PRO Clamp Meter, highlighting its jaws, hand guard, LED indicator, function scale knob, function buttons, LCD display, COM input jack, and Signal input jack.
Zu den Hauptkomponenten gehören:
- Clamp Kiefer: Wird zur berührungslosen Messung von Wechsel- und Gleichstrom verwendet.
- Jaw Opening Trigger: Activates the clamp Kiefer.
- Handschutz: Bietet Schutz während des Betriebs.
- LED-Anzeige: For NCV and LIVE detection.
- Function Scale Knob: Wählt die gewünschte Messfunktion aus.
- Funktionstasten: Include SELECT, HOLD/LIGHT, MAX/MIN, REL/ZERO.
- LCD Anzeige: Shows measurement readings and function indicators.
- COM Input Jack (Black): Gemeinsamer Anschluss für Messleitungen.
- Signal Input Jack (Red): Positive terminal for test leads.
- NCV-Erfassungsende: Für berührungslose Bdtage Erkennung.
4. Einrichtung
4.1 Einlegen der Batterie
The UNI-T UT204PRO requires two AAA batteries for operation. To install or replace batteries:
- Stellen Sie sicher, dass der Zähler ausgeschaltet ist.
- Suchen Sie den Batteriefachdeckel auf der Rückseite des Messgeräts.
- Lösen Sie die Schraube an der Batterieabdeckung mit einem Schraubendreher.
- Remove the cover and insert two AAA batteries, observing the correct polarity (+/-).
- Bringen Sie die Batterieabdeckung wieder an und ziehen Sie die Schraube fest an.

Figure 4.1: The UNI-T UT204PRO Clamp Meter in use, demonstrating its NCV multi-segment display with sound and light alarm prompts, and LED backlight function for clear readings in low light.
4.2 Testleitungsanschluss
Für voltage, resistance, capacitance, continuity, and diode measurements, connect the test leads as follows:
- Stecken Sie das schwarze Prüfkabel in die COM-Eingangsbuchse.
- Stecken Sie die rote Messleitung in die Eingangsbuchse VΩHz+.
5. Bedienungsanleitung
Familiarize yourself with the function switch and buttons to perform various measurements.
5.1 AC/DC Current Measurement (600A)
Um Wechsel- oder Gleichstrom mit dem Kl zu messenamp Backen:
- Set the function switch to the '600A~' or '600A=' position.
- Press the jaw opening trigger to open the clamp Kiefer.
- Enclose a single conductor (not a power cord with multiple wires) with the clamp Kiefer.
- Lesen Sie den aktuellen Wert auf dem LCD-Display ab.

Figure 5.1: The UNI-T UT204PRO Clamp Meter in use, demonstrating AC/DC current measurement by clampum einen einzelnen Leiter herum.
5.2 AC/DC-Voltage Messung (600 V)
Zur Messung von AC- oder DC-Voltage:
- Schließen Sie die Messleitungen wie in Abschnitt 4.2 beschrieben an.
- Set the function switch to the 'V~' for AC voltage oder 'V=' für Gleichstromvol.tage Stellung.
- Berühren Sie mit den Messspitzen die Schaltungspunkte, an denen Sie die Spannung messen möchten.tage.
- Lesen Sie den Bandtage-Wert auf dem LCD-Display.
Video 5.1: Demonstration of AC/DC voltage measurement using a UNI-T multimeter (UT890C model, similar operation).
5.3 Widerstandsmessung
Widerstand messen:
- Schließen Sie die Messleitungen wie in Abschnitt 4.2 beschrieben an.
- Stellen Sie den Funktionsschalter auf die Position 'Ω'.
- Touch the test probes across the component or circuit where you want to measure resistance.
- Lesen Sie den Widerstandswert auf dem LCD-Display ab.
5.4 Kapazitätsmessung
So messen Sie die Kapazität:
- Schließen Sie die Messleitungen wie in Abschnitt 4.2 beschrieben an.
- Set the function switch to the 'F' position.
- Touch the test probes across the capacitor. Ensure the capacitor is discharged before testing.
- Lesen Sie den Kapazitätswert auf dem LCD-Display ab.
5.5 Temperaturmessung
So messen Sie die Temperatur:
- Connect the K-type thermocouple to the input jacks (red to VΩHz+, black to COM).
- Set the function switch to the '°C/°F' position.
- Platzieren Sie die Thermoelementsonde auf oder in dem Objekt, dessen Temperatur Sie messen möchten.
- Read the temperature value on the LCD display. Use the SELECT button to switch between Celsius and Fahrenheit.

Figure 5.2: The UNI-T UT204PRO Clamp Meter measuring temperature using the included K-type thermocouple.
5.6 Durchgangstest
To test for circuit continuity:
- Schließen Sie die Messleitungen wie in Abschnitt 4.2 beschrieben an.
- Set the function switch to the 'Continuity' position (often shared with resistance or diode).
- Berühren Sie mit den Testspitzen die beiden Punkte des Schaltkreises, die Sie testen möchten.
- Bei Durchgang (niedrigem Widerstand) gibt das Messgerät einen hörbaren Piepton von sich.
5.7 Diodentest
So testen Sie eine Diode:
- Schließen Sie die Messleitungen wie in Abschnitt 4.2 beschrieben an.
- Set the function switch to the 'Diode' position (often shared with resistance or continuity).
- Touch the red test probe to the anode of the diode and the black test probe to the cathode.
- Das Display zeigt die Vorwärtslautstärke an.tage drop. Reverse the probes; the display should show 'OL' (open loop) for a good diode.
Video 5.2: Demonstration of resistance, continuity, and capacitance measurements using a UNI-T multimeter (UT890C model, similar operation).
5.8 NCV (Nicht-Kontakt-Volumen)tage) Erkennung
Zur Erkennung der Wechselstromspannungtage ohne Kontakt:
- Set the function switch to the 'NCV' position.
- Bring the NCV sensing end of the meter close to the conductor or outlet.
- Das Messgerät zeigt das Vorhandensein von Wechselspannung an.tage through audible beeps and visual alerts on the LCD.
Video 5.3: Demonstration of DC current measurement using a clamp meter (related product, similar operation).
5.9 LIVE Wire Detection
So erkennen Sie stromführende Leitungen:
- Set the function switch to the 'LIVE' position.
- Touch the red test probe to the conductor.
- The meter will indicate a live wire with an audible alarm and visual display.

Figure 5.3: The UNI-T UT204PRO Clamp Meter performing Live/Neutral Wire Measurement, indicating the presence of a live conductor.
5.10 True RMS Function
The True RMS (Root Mean Square) function ensures accurate measurement of AC voltage and current, especially for non-sinusoidal waveforms often found in modern electronic devices. This provides a more precise reading compared to average-responding meters.

Figure 5.4: Comparison illustrating the accuracy of True RMS measurement for various current waveforms against ordinary measurement methods.
5.11 Zusatzfunktionen
- HOLD/Light Button: Press briefly to hold the current reading on the display. Long press to activate/deactivate the backlight.
- MAX/MIN-Taste: Press to display the maximum or minimum measured value.
- REL/ZERO-Taste: Used for relative measurement or to zero out the display for DC current measurements.
- Automatische Abschaltung: The meter automatically turns off after approximately 15 minutes of inactivity to save battery life.
6. Wartung
Proper maintenance ensures the longevity and accuracy of your UNI-T UT204PRO Clamp Meter.
- Reinigung: Wischen Sie das Messgerät mit einem weichen, fusselfreien Tuch ab.amp Stoff. Keine Scheuer- oder Lösungsmittel verwenden.
- Batteriewechsel: Replace batteries as soon as the low battery indicator appears to ensure accurate readings. Refer to Section 4.1 for instructions.
- Lagerung: Wird das Messgerät längere Zeit nicht benutzt, sollten die Batterien entfernt werden, um ein Auslaufen zu verhindern. An einem kühlen, trockenen Ort aufbewahren.
- Messleitungen: Regularly inspect test leads for any damage to insulation or connectors. Replace immediately if damaged.
7. Fehlerbehebung
If you encounter issues with your UNI-T UT204PRO, refer to the following common troubleshooting steps:
- Kein Display/Strom eingeschaltet: Überprüfen Sie den Batterieeinbau und stellen Sie sicher, dass die Batterien nicht entladen sind. Tauschen Sie sie gegebenenfalls aus.
- Falsche Messwerte: Verify that the function switch is set to the correct measurement type and range. Ensure test leads are properly connected and not damaged.
- 'OL' im Display: This usually indicates an over-range condition (measurement exceeds the meter's maximum range) or an open circuit (for resistance/continuity).
- Kein Kontinuitätssignal: Check if the circuit is truly continuous and if the resistance is within the audible range (typically below 50Ω).
For persistent issues, contact Uni-T customer support.
8. Spezifikationen
Below are the technical specifications for the UNI-T UT204PRO Clamp Meter:
| Spezifikation | Wert |
|---|---|
| Marke | Uni-T |
| Modellnummer | UT204PRO |
| Wechselstrombereich | 600 A |
| Gleichstrombereich | 600 A |
| AC-Lautstärketage Reichweite | 600 V |
| DC-Voltage Reichweite | 600 V |
| Widerstandsmessung | Ja |
| Kapazitätsmessung | Up to 60 mF |
| Temperaturmessung | Yes (K-type thermocouple included) |
| NCV-Erkennung | Ja |
| Erkennung stromführender Leitungen | Ja |
| Echter Effektivwert | Ja |
| Anzahl anzeigen | 6000 |
| Stromquelle | 2x AAA-Batterien (im Lieferumfang enthalten) |
| Automatische Abschaltung | Nach 15 Minuten |
| Sicherheitsstandards | EN61010-1 CAT II 600V / CAT III 300V |
| Maße | 24.9 x 9.1 x 5.6 cm |
| Gewicht | 410 g |
9. Garantie und Support
For warranty information, technical support, or service inquiries, please refer to the contact details provided in the product packaging or visit the official Uni-T webBewahren Sie Ihren Kaufbeleg als Kaufnachweis für Garantieansprüche auf.


